Main tutorial
Stack an Amen-style DJ Intro from Scratch in Ableton Live 12
1. Lesson overview
In this lesson, you’ll build a classic Amen-style DJ intro for drum and bass / jungle in Ableton Live 12 using sampling, slicing, layering, filtering, and arrangement techniques. The goal is to create that high-energy intro DJ-friendly opening that feels like it can roll straight into a mix: raw break energy, tension-building FX, chopped drums, and a clean transition into the drop. 🔥
We’ll focus on a practical workflow:
- start with a classic Amen break
- clean and slice it in Simpler
- layer it with modern DnB drums
- build tension with filters, reverb throws, and risers
- arrange a stacked intro that sounds polished and ready for the booth
- an Amen break chop as the rhythmic backbone
- layered kicks, snares, and hats for impact
- a filtered atmos intro to create space and build anticipation
- transition FX like noise risers, impacts, and reverse hits
- a clean mixdown structure that leaves room for the drop
- jungle-informed DnB
- rolling, gritty, urgent
- dark club intro energy
- something that a DJ can mix in over a previous tune
- Simpler
- Drum Rack
- EQ Eight
- Auto Filter
- Saturator
- Reverb
- Delay
- Utility
- Drum Buss
- Glue Compressor
- optional: Sampler, Warping, Extract Groove
- Tempo: `172–174 BPM`
- Time signature: `4/4`
- Create a few tracks:
- strong transient detail
- minimal room reverb
- good stereo balance
- enough length to give you multiple slices
- Warp Mode: `Beats`
- Preserve: `Transients`
- Transient Loop Mode: off unless needed
- Adjust warp markers if the break drifts
- Slice to New MIDI Track
- Slicing Preset: `Built-In` or `Transient`
- Create one slice per: `Transient`
- Drag the break into Simpler
- Use Slice Mode
- Set slicing to Transient
- Play with the slice sensitivity until you catch useful hits
- kick
- snare
- ghost snare
- hat shards
- small break fills
- cymbal noise
- kick on the downbeat
- snare on 2 and 4
- ghost notes between
- occasional hat ticks for motion
- Beat 1: kick slice
- Beat 1e / 1a: tiny hat or ghost slice
- Beat 2: snare slice
- Beat 2&: break tail or ghost
- Beat 3: kick or low break hit
- Beat 4: snare slice
- add syncopated slices in the offbeats
- vary velocities
- slightly offset some notes early or late
- avoid hard-quantizing every slice
- clean kick
- tight snare
- crispy hat
- maybe a subtle clap or rim
- Put the kick layer below the Amen kick for more weight
- Use a snare layer with a bit of body around `180–220 Hz`
- Keep hat layers sharp and short
- vinyl noise
- filtered jungle pad
- dark drone
- distant metallic texture
- reversed ambience
- Auto Filter
- Reverb
- EQ Eight
- Utility
- Bars 1–4: atmos almost fully filtered
- Bars 5–8: slowly open filter
- Bars 9–12: add more high end
- Bars 13–16: strip some elements out before the drop
- reverse crash
- white noise riser
- impact hit
- sub drop
- rewind-style tape stop
- short vocal stab or MC-style sample
- Reverb on a send for roomy tails
- Delay for rhythmic echoes
- Auto Filter for sweeps
- Frequency Shifter for eerie movement
- Echo for dubby tension
- Put a riser over bars `13–16`
- Add a reverse crash into bar 16
- Drop an impact right before the downbeat of the drop
- Auto Filter cutoff
- Reverb send amount
- Delay feedback
- Track volume
- Utility width
- Saturator drive on later bars
- filtered Amen fragments
- soft atmos
- minimal kick/snare layer
- more break slices
- stronger kick/snare layer
- light top-end hats
- add extra ghost hits
- open filters slightly
- introduce FX motion
- highest energy intro state
- riser, reverse crash, impact
- final pre-drop drum fill
- remove low-end clutter right before drop
- clear downbeat
- consistent phrasing
- manageable low-end
- no surprise fills right at the start unless intentional
- Make the intro start on a clean bar 1
- Keep the first 4 or 8 bars relatively sparse
- Avoid filling every gap with percussion
- Leave room for the incoming track’s bassline and kick
- detuned drones
- industrial hits
- reversed metallic scraps
- low-passed vocal whispers
- distorted room noise
- duplicate the Amen and process one layer with Saturator or Pedal for grit
- add Drum Buss for punch and crack
- use Parallel compression on a return track for extra smack
- automate a filter opening very slowly
- use a narrow resonant peak in Auto Filter for tension
- add a sub hit only at the end of the intro for dramatic weight
- a filtered bass note
- a distorted low drone
- a rhythmic sub pulse
- EQ Eight
- Saturator
- Drum Buss
- Glue Compressor
- Utility
- Reverb
- EQ Eight (high-pass the return)
- Echo
- Filtered delay for dubby movement
- one Amen break
- one drum layer
- one atmos
- one FX riser
- one impact
- Version A: more jungle/raw
- Version B: darker and cleaner
- set the project at DnB tempo
- slice and reprogram the Amen break
- layer modern drums for weight
- use EQ, saturation, and Drum Buss to shape the punch
- add atmospheres and FX for tension
- automate elements across 8- and 16-bar phrases
- leave space so the intro works for DJs
- a MIDI pattern example for the Amen slices
- a full Ableton device chain for each track
- or a bar-by-bar arrangement template for a 16-bar DnB DJ intro
This is very much a sampling lesson, but it’s also about arrangement psychology: how to make an intro feel exciting, not cluttered.
---
2. What you will build
By the end, you’ll have a 16-bar DJ intro that includes:
Target vibe
Think:
Core Ableton tools used
---
3. Step-by-step walkthrough
Step 1: Set the project up for DnB pace
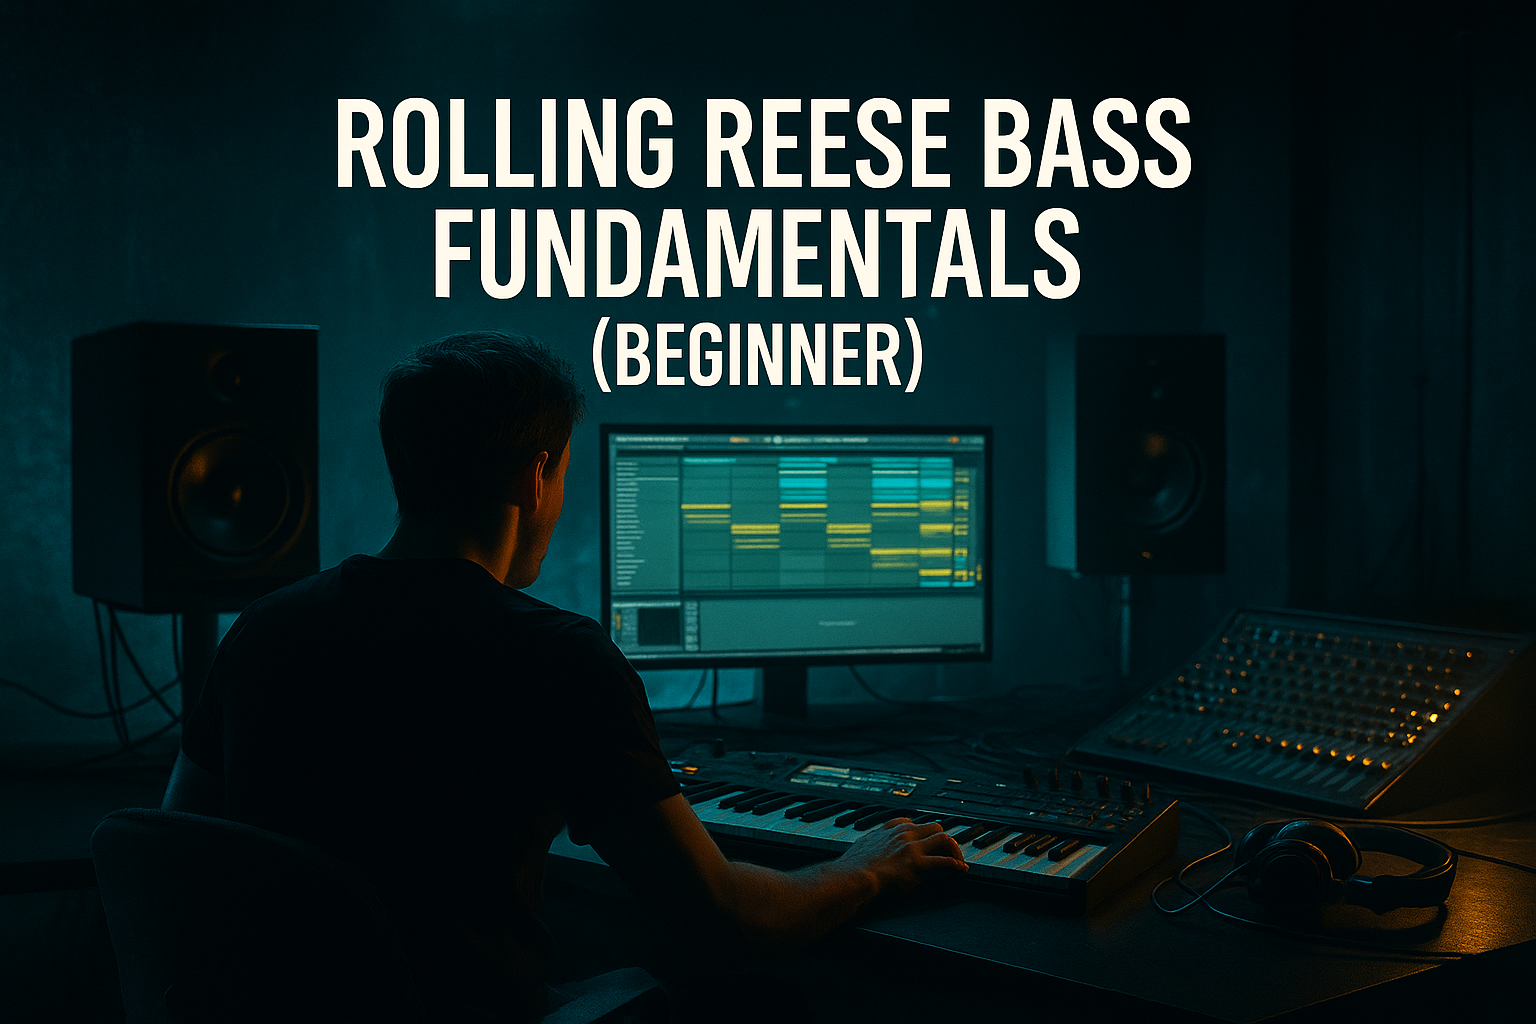
Open Ableton Live 12 and set:
A safe starting point for jungle/DnB is 174 BPM.
1. Amen Break
2. Drum Layer
3. Atmos / Texture
4. FX / Transitions
5. Bass Hint (optional for intro shading)
Keep the project organized early. DnB arrangements get busy fast, so color-code tracks if you can.
---
Step 2: Find and prep your Amen break
Import a clean Amen-style break into an audio track. Ideally use a sample with:
#### Warp settings
Select the clip and set:
If the break is already at source BPM, don’t over-process it. You want timing precision without killing the groove.
---
Step 3: Slice the break into Simpler
This is where the magic starts.
#### Method A: Slice to New MIDI Track
Right-click the audio clip and choose:
In the slicing dialog:
Ableton will create a Drum Rack with the break slices mapped across pads.
#### Method B: Drag into Simpler manually
If you prefer more control:
#### Important: what slices to keep
For a DJ intro, you don’t need every slice. Focus on:
Delete or ignore weak slices. A tight intro is better than a literal break transcription.
---
Step 4: Build a playable Amen pattern
Now create a MIDI clip and start programming the intro rhythm.
A practical approach:
#### Bar 1–4: establish the break identity
Use:
Don’t overcomplicate the first 4 bars. You’re introducing the rhythm language.
#### Suggested pattern idea
Try:
This gives you that push-pull jungle feel without sounding random.
#### Humanize the MIDI
In the MIDI editor:
If needed, use Groove Pool with a subtle swing groove, but keep it light. Jungle groove comes from timing micro-variation, not just swing percentage.
---
Step 5: Layer a modern drum kit under the break
Amen breaks are powerful, but modern DnB intros often hit harder when you layer them.
Create a second drum layer using:
Use Drum Rack for the layer and keep it simple.
#### Layering tips
#### Processing chain for the drum layer
On the drum layer group or individual tracks, try:
1. EQ Eight
- high-pass hats around `200–400 Hz`
- remove muddy low mids from snares if needed
2. Saturator
- mild drive `1–4 dB`
- soft clip on if the drums need aggression
3. Drum Buss
- add punch and a little crunch
- use transient control carefully
4. Glue Compressor
- light glue, not heavy squash
This is about support, not replacement. Your layer should make the break feel bigger and cleaner, not fight it.
---
Step 6: Shape the break with EQ and dynamics
The Amen can get messy fast, especially once layered.
#### On the Amen break chain:
Add:
1. EQ Eight
- cut unnecessary sub-rumble below `30–40 Hz`
- trim mud around `250–500 Hz` if the break feels boxy
- if the snare is harsh, notch carefully around `3–6 kHz`
2. Saturator
- subtle drive for grit
3. Drum Buss
- tiny amount of boom if the break needs weight
4. Utility
- narrow the stereo image if the break is too wide
- or keep low frequencies mono
#### Practical rule
If the intro starts to sound “cloudy,” reduce low-mid buildup before adding more samples.
---
Step 7: Add atmospheric texture for tension
A DJ intro needs space and anticipation. Use atmospheres to frame the drums.
Good options:
#### Workflow
Place atmos on a separate track and process it like this:
- low-pass automation from closed to open over 8 or 16 bars
- long decay, but filtered
- high-pass to keep space for drums
- control width if needed
#### Arrangement idea
This creates tension without making the intro feel static.
---
Step 8: Use FX to signal the transition
A stacked intro needs transition cues. Use a few carefully chosen FX elements:
#### Stock Ableton devices to help
#### FX placement
If you’re making this for DJ use, keep transition FX tight and intentional. Overlong FX can make mixing harder.
---
Step 9: Create “stacking” with automation
This lesson is about stacking, so don’t just add tracks—stack the energy.
Use automation to build layers gradually:
#### Automation targets
#### Suggested 16-bar intro structure
Bars 1–4
Bars 5–8
Bars 9–12
Bars 13–16
This layering strategy makes the intro feel like it’s climbing instead of looping.
---
Step 10: Make it DJ-friendly
A DJ intro should be easy to mix. That means:
#### Best practice
#### DJ mix tip
If the intro will be mixed with another tune, make sure the first bars don’t have excessive sub energy. Let the DJ layer the lows when appropriate.
---
Step 11: Final polish with a simple master-safe chain
Don’t overmaster the intro, but you can lightly shape the group or master for previewing.
A safe, light chain:
1. EQ Eight
- tiny low-cut if needed
2. Glue Compressor
- 1–2 dB gain reduction max
3. Saturator
- subtle, for density
4. Limiter
- only if needed for rough preview
Keep it clean. A strong intro comes from arrangement and sound choice, not a loud master.
---
4. Common mistakes
1. Over-slicing the break
If every transient gets used, the groove can turn into chaos. Keep only the slices that contribute to the intro feel.
2. Too much low-end too early
A DJ intro needs space. If the sub and kick are already huge at bar 1, you lose build-up impact.
3. No contrast between sections
If bars 1–16 all feel identical, the intro won’t “stack.” Introduce elements gradually.
4. Overprocessing the Amen
Too much compression, EQ, and saturation can flatten the break. Preserve the natural snap and swing.
5. Busy top end
Constant hats, rides, and FX can make the intro harsh. Leave silence in places so the accents matter.
6. Ignoring arrangement phrasing
DnB thrives on 8- and 16-bar logic. Make sure your layers change in musically sensible chunks.
---
5. Pro tips for darker/heavier DnB
If you want the intro to lean darker and heavier, try these techniques:
Darker texture choices
Heavier drum treatment
Make the intro ominous
Keep the bass hint subtle
If you tease the bassline, use:
The intro should hint at the drop, not reveal everything. That’s what makes the payoff hit hard. 😈
Quick chain for heavier breaks
Amen Track:
Return A:
Return B:
---
6. Mini practice exercise
Exercise: Build a 16-bar stacked intro in 30 minutes
#### Goal
Create a DJ intro using only:
#### Rules
1. Use the Amen as your main rhythmic identity.
2. Add a second drum layer only after bar 5.
3. Automate a filter on the atmos from closed to open.
4. Add a riser in bars 13–16.
5. End with a clean pre-drop impact.
#### Challenge version
Make two versions:
Compare which one feels more mixable and which one feels more powerful.
---
7. Recap
You’ve now got a practical method for building an Amen-style DJ intro from scratch in Ableton Live 12:
The key idea is simple: stack energy gradually. In drum and bass, the best intros don’t just add sounds—they create momentum. If you keep the groove tight, the arrangement clear, and the processing controlled, your intro will feel immediate, gritty, and club-ready. 🚀
If you want, I can also give you:

