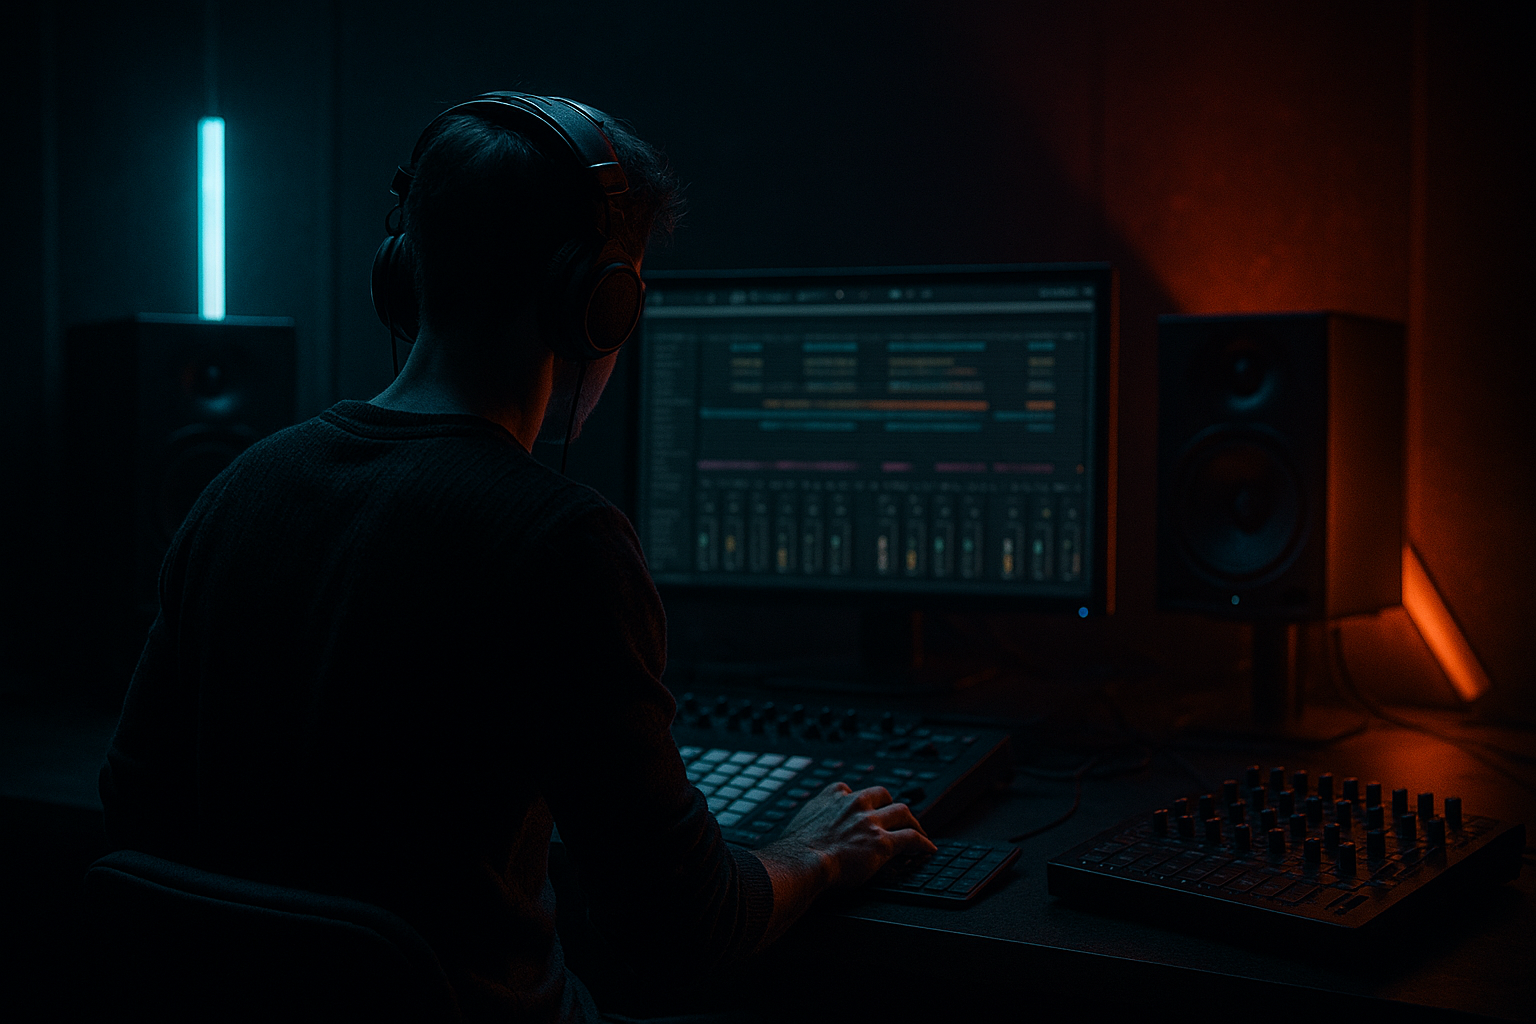
Main tutorial
Lesson Overview
This lesson is about building a ragga vocal layer in Ableton Live 12 by resampling, then shaping it so it feels native to jungle / oldskool DnB rather than pasted on top of the track. The goal is not just to place a vocal phrase in the mix, but to turn it into a rhythmic, textured, DJ-friendly element that can ride with breaks, answer the snare, and add grit and personality without fighting the bassline.
In a real DnB track, this kind of layer usually lives in the midrange and top-mid pocket: above the kick/sub weight, below harsh lead noise, and often tucked into the same emotional lane as breaks, atmospheres, and call-and-response chops. In jungle and oldskool-inspired DnB, a ragga vocal can be the thing that makes a loop feel like a record instead of a loop. It adds street energy, human phrasing, and timing imperfections that work especially well when the drums are rolling hard and the bass is staying disciplined.
Technically, this matters because vocals can become messy fast: too much low-mid buildup, too much stereo smear, awkward timing against the snare, or a layer that sounds exciting soloed but disappears once the drop hits. Resampling solves part of that by letting you print the exact vocal treatment you want, then edit it like audio rather than over-processing it endlessly. By the end of this lesson, you should be able to hear a vocal layer that feels intentional, chopped, and integrated—not like a full vocal sitting on top of the track, but like part of the arrangement engine.
This works best for:
- Jungle / oldskool DnB
- Ragga-inflected rollers
- Dark amen-based tracks
- Break-heavy club music with vocal hooks or slogans
- Second-drop switch-ups and intro tension
- a rough, tape-like edge
- a tight rhythmic identity
- enough midrange presence to cut through breaks
- controlled brightness so it doesn’t slice your head off
- optional stereo width on the texture only, not the essential body
- a call-and-response with the snare or break accents
- a phrase that lands on strong bar boundaries
- a layer that can be chopped into hits, stabs, or repeats
- something that enhances the groove without making the drum pocket feel crowded
- a character hook
- a transition device
- an energy lift on the drop
- a repeatable signature you can bring back in the second drop
- Use the vocal like percussion, not decoration. Short ragga chops can reinforce snare ghosts and break accents. If a syllable lands between kick and snare, it can create momentum without adding low-end clutter.
- Print a dark version and a readable version. The dark version can be heavily filtered and distorted for intros or breakdowns; the readable version can carry the drop. That contrast is especially effective in darker rollers.
- Keep the core mono and let the shadow go wide. A centered main vocal helps the drop stay powerful in club systems. If you want width, put it on the repeat or atmosphere layer, not the main phrase.
- Use one dirty process, not five. One good saturator stage into EQ is often enough. Too many stages flatten the transients and make the vocal feel tired rather than aggressive.
- Let the vocal answer the drums. In heavier DnB, a vocal stab after the snare can feel like a response from the track itself. That creates call-and-response energy without needing a melodic lead.
- Resample the vocal after it already sounds like part of the record. If the chain sounds right in context, print it. Committing early can give you a more cohesive arrangement and faster decisions.
- Automate darkness, not constant movement. A slow filter opening into a drop often hits harder than nonstop modulation. Darkness creates contrast; contrast creates weight.
- Use the tail strategically. A short, gritty tail after a phrase can help bridge into a fill or pickup. In DnB, that tail often matters more than the phrase itself.
- Use only one vocal phrase
- Use only stock Ableton devices
- Create two printed versions: one cleaner, one dirtier
- Keep the main layer centered or nearly centered
- Make it work over a break and bassline, not solo
- One resampled vocal audio clip chopped into at least 3 edits
- One 8-bar arrangement that includes an intro tease and a drop version
- Does the vocal still read when the drums and bass are playing?
- Can you remove it without the track collapsing, but notice its absence?
- Does it feel like a jungle / oldskool DnB record rather than a random vocal loop?
- short, attitude-heavy source material
- resampling for commitment and character
- tight EQ and stereo discipline
- phrase editing that respects the break
- arrangement evolution across sections
A successful result should feel like the vocal is driving attitude and movement, while the drums still hit cleanly and the sub stays focused. If you mute it and the track loses swagger, you’ve done it right.
What You Will Build
You will build a stacked ragga vocal layer made from a short phrase, resampled into a tight audio chop, then processed into a gritty, rhythmic support layer that can sit over a jungle drum pattern or oldskool DnB drop.
Sonically, the finished layer should have:
Rhythmically, it should feel like:
In the track, this vocal layer should function as:
Mix-ready, it should be polished enough that you can leave it in the session without it constantly demanding repair. Success sounds like this: the vocal has weight, attitude, and space, it sits in the pocket with the break, and it gives the track a “pressed record” jungle vibe rather than a generic vocal sample pasted over a beat.
Step-by-Step Walkthrough
1. Choose a short ragga phrase with strong consonants and a clear attitude
Start with a vocal phrase that has hard consonants, short syllables, and a natural rhythmic swing. Think one-liners, shouts, warnings, chants, or call phrases rather than long sung lines. In Ableton, drag the audio into a new Audio Track and trim to a useful fragment—ideally half a bar to two bars at first.
Why this works in DnB: ragga vocals are often used like percussion. The consonants can reinforce the break, while the vowel tail gives you movement and atmosphere. Long phrases often blur the groove and fight the drums.
What to listen for:
- Does the phrase have a natural bounce that can sit against a snare?
- Do the consonants still read when the drums are loud?
If the vocal is too smooth, choose a more rhythmic phrase or a different section of the sample. You want attitude first, polish later.
2. Set the phrase to your track’s grid, then deliberately break the grid where it helps the groove
Warp the sample so it locks to the project tempo, then tighten the obvious downbeat or phrase start. After that, do not make every syllable robotic. Jungle and oldskool DnB often feel better when the vocal has a slight push-pull against the drums.
Practical move: use Warp to anchor the phrase, then edit the start point so the most important word lands on a bar one or bar three accent. If the phrase has a natural “call” at the end, let it spill slightly over the bar line to create anticipation.
Good timing targets:
- Lead phrase starts on the 1
- Answer phrase lands on the “and” of 2 or beat 4
- Short chopped stabs can hit off-beats to energize the break
What to listen for:
- Does the vocal land with the drums, not behind them?
- Does it create forward motion instead of flattening the loop?
If the vocal feels stiff, stop over-tightening it. A ragga vocal should often feel performed, not quantized.
3. Create a resampling return: print the vocal through an Ableton effects chain
Now build a processing chain that turns the raw sample into a new layer you can chop. Use stock devices only.
A strong starting chain:
- EQ Eight: high-pass around 120–180 Hz to remove low clutter
- Saturator: Drive around 2–6 dB, with soft clip on if needed
- Auto Filter: low-pass or band-pass movement depending on the vibe
- Echo or Delay: very short, rhythmic repeats, kept subtle
- Utility: keep the body centered; if the original is wide, reduce Width for the core print
Alternative chain for a harsher, more aggressive result:
- EQ Eight
- Overdrive or Pedal
- Redux lightly for grit
- Compressor with gentle control
- Utility
Why this works: resampling lets you commit the character. Instead of endlessly EQ’ing a moving target, you print a version that already behaves like a DnB layer. That’s especially useful in jungle where the vocal often becomes a sample instrument, not a pristine lead.
Set up an Audio Track to record the processed output. In Ableton, route the vocal track into that recording track and capture a performance pass.
Stop here if the vocal already feels strong and rhythmically usable after the first print. If it sounds alive in context, don’t overcook it.
4. Record multiple passes and choose the best flavour: A versus B
Print at least two versions:
- A: Clean-impact version — lighter saturation, less delay, more intelligible
- B: Grit/atmosphere version — heavier distortion, more filter movement, more texture
The choice depends on role:
- Use A if the vocal is acting like a hook and needs clarity over a busy break
- Use B if the vocal is a background texture or a transition element in a darker roller
In Ableton, record 4–8 bars of each pass. Then listen in context with your drums and bass, not solo. If the vocal steals attention from the snare or masks the bass note attack, choose the cleaner print. If the mix feels too polite, choose the grittier print and tame it later.
What to listen for:
- Does the vocal still cut when the break and bass are playing?
- Does one version feel more “record-like” and less like a sample library?
This decision matters because the wrong flavour can make the whole drop feel off. A vocal that is too polished can sound modern and disconnected; a vocal that is too destroyed can lose the ragga attitude.
5. Slice the printed audio into playable hits and build a rhythmic phrase
Take the resampled clip and chop it into a few intentional pieces. You can do this manually in the Arrangement View or use simpler editing to isolate the strongest syllables. Aim for 3 to 6 usable slices: one strong opening hit, one mid phrase, one tail, and maybe one or two short accents.
Then place the slices like a drum layer:
- one stab on the snare
- one reply on the off-beat
- one longer tail into the next bar
- optional pickup before a drop or fill
Keep the edits tight enough that the phrase feels deliberate, but leave enough air for the break to breathe. Ragga vocals often work best when they “dance” around the snare instead of sitting exactly on top of every drum hit.
Arrangement example:
- Bar 1: full phrase or strongest hit
- Bar 2: chopped echo or short answer
- Bar 3: call repeated, slightly altered
- Bar 4: leave space or use a filter sweep into the next section
This creates a real DnB function: phrase repetition with variation, not random vocal sprinkling.
6. Shape the layer so it belongs in the track, not outside it
Use an EQ and level pass to place the vocal in the mix. For ragga layers in oldskool DnB, the useful area is usually the midrange and top-mid, but you want to carve out the low end aggressively.
Practical settings:
- High-pass at 120–200 Hz depending on the vocal
- If it sounds boxy, dip around 250–500 Hz
- If it bites too hard, soften around 2.5–4.5 kHz
- If it needs more cut, add a modest presence lift around 1.5–3 kHz
- Keep stereo width narrow on the core vocal; let delays or returns provide the space
Add Utility and check mono compatibility. If the vocal loses its character in mono, the layer is too dependent on stereo effects. That’s a problem in club playback because your low-mid and vocal presence need to stay readable from the center.
What to listen for:
- In mono, does the vocal still read as a distinct rhythmic element?
- Does it sit above the snare without turning harsh?
This is where a lot of layers fail. They sound exciting wide, then vanish or blur in the center. For DnB, the center matters.
7. Build movement with one deliberate modulation lane, not five
Choose one primary motion tool:
- Auto Filter for band-pass sweeps and dark movement
- Frequency Shifter very lightly for unstable, sci-fi edge
- Echo with controlled feedback for ragged repeats
Keep it restrained. A good starting point is a filter sweep that opens only a little on the way into a drop: for example, narrow and dark in the intro, then more open in the drop, then darker again after the first 8 or 16 bars.
Use automation in 8-bar phrases so the vocal has section logic:
- Intro: filtered and distant
- First drop: tighter, clearer, more percussive
- Mid-drop: one extra echo or repeat for surprise
- Second drop: slightly harsher or more chopped version
Why this works in DnB: the drums and bass already create a lot of movement. The vocal layer should contribute direction, not compete for attention with constant motion.
8. Check the vocal against the drums and bass before you commit
This is the point to place the vocal in the real track context. Turn on your break, kick, sub, and main bassline. If the vocal sounds great solo but the snare loses its snap, the vocal is too dense or too loud.
Listen for:
- The vocal should answer the groove, not smother it
- The snare should still feel like the structural anchor
- The sub should stay solid and unmasked
- The break top-end should not get fuzzy or brittle
If the vocal masks the drum transients, reduce its level first. If that doesn’t solve it, narrow the vocal with Utility or use EQ to remove some aggressive upper mids. If the problem is timing, nudge the slice earlier or later by a tiny amount until it sits in the pocket. Small shifts matter here.
This is one of the most important reasons to build the layer in context: a ragga vocal can either animate the drop or flatten it into a crowded middle.
9. Commit the strongest version to audio and make it arrangement-ready
Once the vocal layer feels right, print the final version as audio and arrange it as a proper musical part. Don’t leave it as an endlessly editable idea if the sound is already doing the job.
Commit this to audio if:
- the rhythmic chop is locked
- the tone is working with the break
- the vocal is helping the track’s identity
After printing, do arrangement work:
- use the vocal in the intro as a filtered tease
- bring the full chop in for the first drop
- strip it back for a 4-bar breakdown
- return with a new edit or extra echo in the second drop
A solid DnB phrasing move is to keep the first drop relatively readable, then make the second drop more dangerous: same vocal source, but chopped differently, with a slightly nastier print or a longer tail on one phrase. That evolution makes the track feel finished.
10. Add one final texture layer only if it improves the record, not the demo
If the vocal feels too dry or too exposed, add a subtle parallel texture on a return or duplicate track:
- a lightly distorted, filtered copy
- a short delay print
- a very narrow mono center layer plus a wider atmospheric copy
Keep the main vocal intelligible and use the extra layer as pressure, not decoration. A good final result has a clear front layer and a dirty shadow layer behind it.
If you add too much, the part stops sounding like a jungle vocal and starts sounding like a washed-out vocal effect. The difference is usually in the midrange: keep the core readable, let the grime live around it.
Common Mistakes
1. Using a full-length vocal phrase with too many words
Why it hurts: it crowds the break and makes the drop feel busy instead of sharp.
Fix: trim to a short phrase or a few syllables, then resample only the strongest section.
2. Leaving too much low-mid in the vocal
Why it hurts: it muddies the kick/sub area and makes the vocal sound cloudy.
Fix: use EQ Eight with a high-pass around 120–200 Hz, and consider a gentle dip around 250–500 Hz.
3. Over-widening the vocal
Why it hurts: wide vocals can sound exciting in solo but fall apart in mono and distract from the drum center.
Fix: keep the main printed vocal narrow with Utility; add width only to a delay or texture return.
4. Making every chop land exactly on the grid
Why it hurts: the vocal loses the human push-pull that gives jungle its attitude.
Fix: nudge selected slices slightly ahead or behind the grid so the vocal leans into the break.
5. Too much echo feedback
Why it hurts: repeats smear the snare pattern and blur the phrase shape.
Fix: lower feedback, shorten delay time, or print the echo separately and edit the tail.
6. Soloing the vocal until it sounds “perfect”
Why it hurts: a soloed vocal can be too bright, too dry, or too wide for the actual track.
Fix: always check it with drums and bass playing; balance the vocal to the drop, not the solo.
7. No arrangement evolution
Why it hurts: the vocal becomes a looped gimmick and the track loses second-drop impact.
Fix: print at least two versions and use a more chopped or dirtier variation later in the arrangement.
Pro Tips for Darker / Heavier DnB
Mini Practice Exercise
Goal: Build one usable ragga vocal layer that can sit in a jungle-style drop without masking the drums.
Time box: 15 minutes
Constraints:
Deliverable:
Quick self-check:
Recap
Stacking a ragga vocal in Ableton for jungle DnB is about turning a phrase into a rhythmic, resampled instrument. Keep the source short, print a strong processed version, chop it with intention, and place it against the drums like part of the groove.
The big wins are:
If it sounds like the vocal is driving the record without covering the record, you’ve nailed it.

