Main tutorial
1. Lesson Overview
"Spirit DJ-friendly transition: compose and arrange in Ableton Live 12 for jungle oldskool DnB vibes" — in this intermediate automation lesson you'll learn how to build a DJ-ready transition section that a DJ can mix into/out of live or that you can export as a usable loop. The focus is automation: how to automate device parameters, sends, master tempo, crossfader/utility gain and device activators to create an evolving, mix-friendly 32–64 bar bridge rooted in jungle/oldskool Drum & Bass aesthetics (chopped breaks, reese/sub interplay, ragga-style stabs). All workflows use Ableton Live 12 stock devices and both clip + arrangement automation techniques.
2. What You Will Build
- A 32–64 bar DJ-friendly transition section (loopable) for jungle/oldskool DnB.
- Breakbeat chopping and Beat Repeat stutter automation.
- Auto Filter/EQ Eight cutoff and send-reverb automation to open the mix gradually.
- Master tempo micro-adjustment for beatmatching assistance.
- Crossfader / Utility gain automation and track-width automation to make the section DJable and mono-safe.
- Macro-mapped controls for quick performance recall.
- Over-automation: automating too many parameters simultaneously can create sonic clutter. Automate with purpose — pick 3–4 focal parameters.
- Extreme tempo shifts: big tempo automation causes audible artifacts even with warp modes. Keep tempo nudges small (±1–2 BPM) for DJ-friendly behavior.
- Using high resonance: automating resonance too high on Auto Filter creates harsh ringing. Keep resonance modest (0.1–0.3) unless intentionally accenting a point.
- Forgetting to mono low-end: failing to mono the sub can make phase problems when a DJ mixes two tracks. Automate Utility Width to 0% for the bass group at key points.
- Automating device parameters that aren’t exposed: some plugin parameters aren’t automatable unless inside an Audio Effect Rack mapped to macros. Use racks to expose parameters you want to control.
- Not consolidating loops: leaving scattershot tiny clips and automation makes exporting/handing off to DJs clumsy. Consolidate into a single loop or export a rendered file.
- Macro mapping: map multiple related controls (filter cutoff + reverb send + drive) to one macro so a single motion can craft the transition in real-time.
- Use device activator automation for instant switches — cleaner than automating many parameters.
- Create an “Emergency DJ” lane: a single Utility mapped to a macro that instantly mutes or reduces the entire transition level (-18 dB) for quick on-the-fly rescue.
- Use subtle EQ automation (EQ Eight Gain) to carve room for the incoming track. Automate a dip at 200–400 Hz to make space for another kick/sub.
- For amen chops, use small randomization in clip envelopes (start point or transpose) to avoid robotic repetition while preserving groove.
- When exporting for DJs, include a version with a beat-leading intro (two bars of full break) and a clean-out version with low-end rolled off — both are useful for mixing.
- This lesson showed how to build a Spirit DJ-friendly transition: compose and arrange in Ableton Live 12 for jungle oldskool DnB vibes using stock devices and automation.
- Key automation targets: Auto Filter cutoff, send levels (reverb/delay), device activator toggles (Beat Repeat), Utility gain & width, crossfader, and Master Song Tempo.
- Use Audio Effect Racks and macros to simplify performance and use consolidation/export to hand a DJ-ready loop to a performer.
- Practice the mini exercise to internalize the techniques and keep automations purposeful and musical.
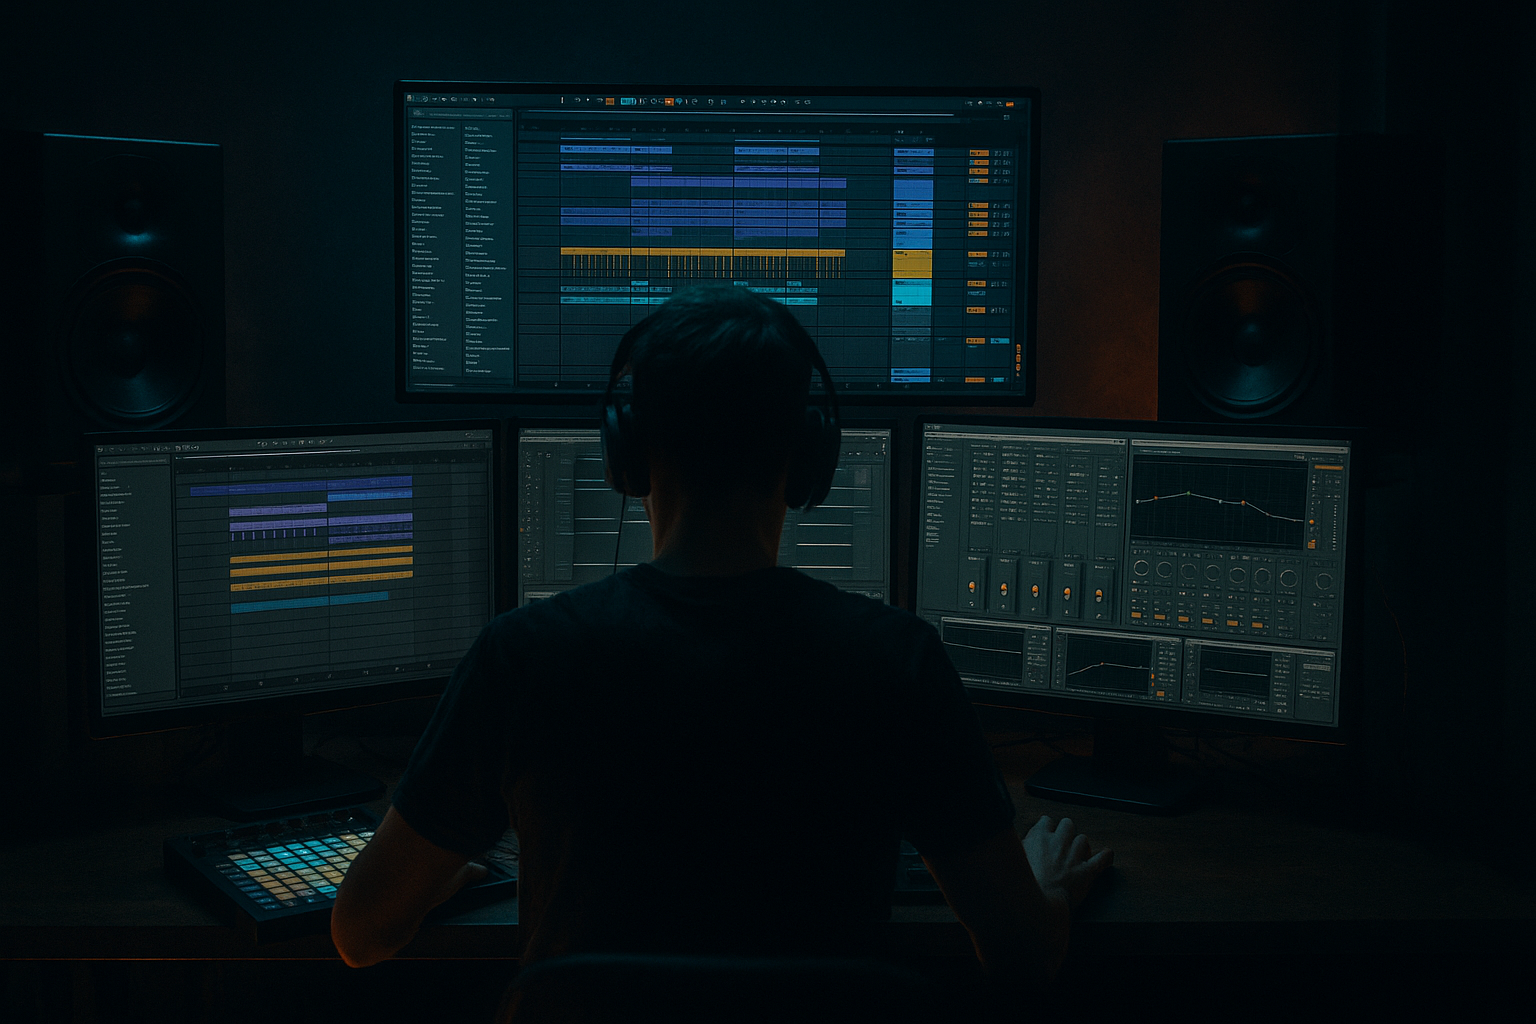
3. Step-by-Step Walkthrough
Note: keep a project tempo in the DnB range (e.g., 174 BPM) unless you’re matching a specific release. Throughout this walkthrough I’ll reference the exact topic: Spirit DJ-friendly transition: compose and arrange in Ableton Live 12 for jungle oldskool DnB vibes.
A. Project & Tracks Setup
1. Create these tracks (all audio or MIDI as appropriate):
- Breaks (Audio) — drop an Amen/Breaks sample.
- Sliced Breaks (MIDI via Slice to New MIDI Track).
- Bass (MIDI Wavetable or Analog).
- Sub (Audio sine or Simpler).
- Top Percs / Hats (Audio/MIDI).
- Fx Sends: Create Return A = Reverb (Stock Reverb), Return B = Echo.
- Group the Drum tracks into a Drum Group (Cmd/Ctrl+G). Group Bass and Sub into Bass Group.
B. Chop the Break and make it loopable
1. Right-click the break audio → Slice to New MIDI Track → choose "Transient" or "1/16" slicing. This creates a Drum Rack with Simpler slices.
2. Edit the generated MIDI clip to a 4–8 bar groove that feels classic jungle (off-grid hits, rolls). Duplicate it to cover 32 bars in Arrangement View (select clip → Cmd/Ctrl+D).
3. Consolidate a section you like (select range → Cmd/Ctrl+J) to create a single continuous clip you can further automate.
C. Create an effects chain for the Breaks (using stock devices)
1. On the Breaks group: Insert Auto Filter → set to 24 dB lowpass, start cutoff around 300 Hz, resonance 0.15.
2. After Auto Filter, add EQ Eight (to shape top end), then Saturator for bite, then Beat Repeat (for glitchy stutters). Put a Utility before the group output to control gain and width.
3. Map key parameters to macros: create an Audio Effect Rack around Auto Filter + Beat Repeat + Utility, then map:
Macro 1 = Filter Cutoff (Auto Filter Frequency)
Macro 2 = Beat Repeat Activator or Interval/Gain (use device activator automation if needed)
Macro 3 = Send A level (you can map send knobs to macro if you put a Send device? Alternatively automate send in arrangement)
D. Arrangement Automation basics
1. Switch to Arrangement View. Show automation lanes (press A or use the lane controls).
2. Expand the Breaks group track and click the Device chooser to select: Auto Filter → Frequency. This lets you draw arrangement automation for the filter cutoff.
3. Draw a long curve: bars 1–16 automate from 300 Hz → 6.5 kHz (slow opening), bars 16–24 add a quick dip then open again for a “punch” feeling. Use Draw Mode (B) for freehand or create breakpoints with the mouse.
E. Clip envelopes for micro-motion
1. If you want micro-variation inside the loop, double-click the consolidated break clip → Clip View → Envelopes. Choose “Simpler” or “Sample” device parameter (e.g., Transpose or Sample Start) to automate subtle slice start shifts every 1–2 bars for that oldskool chopped feel.
2. Use small values (±2–5 samples or small semitone transposes) to avoid ruining timing.
F. Automating Sends and Reverb for distance
1. On the Breaks track, reveal Send A automation lane (A → select "Sends" → A).
2. Draw automation so send amount increases across the transition: low at start, peak around bar 20, then return. This creates a sense of the break moving into a wash (classic DJ-friendly cueing point).
3. On Return A (Reverb), automate DecayTime minimally if you want the reverb to bloom more at the transition peak.
G. Beat Repeat and device activator automation
1. On the Breaks device chain, set Beat Repeat with Grid = 1/16, Interval = 1/4, Chance = 50% as a starting patch.
2. In Arrangement, show the Beat Repeat device’s device activator (the small device On/Off button can be automated). Draw automation toggles so Beat Repeat turns on only during the 4-bar stutter area (this is cleaner than automating many parameters).
3. Alternatively automate Beat Repeat's Interval or Grid to tighten repeats (e.g., sweep Grid from 1/16 → 1/32 during the last 2 bars).
H. Bass/Sub automation & mono-safety
1. On Bass Group, add Utility and automate Width: during the transition peak set Width to 0% (mono the low-end) for club compatibility; widen again after the transition.
2. Automate Sub level separately: gradually reduce Sub track volume (or Utility gain) towards the end if you want DJs to mix out without phase clashes. Use gentle curves, not sudden cuts.
I. Master Tempo automation for gentle beatmatching
1. Show the Master track (View → Show Master Track).
2. Create an automation lane for "Mixer → Song Tempo" (or the "Song Tempo" chooser in the lane dropdown).
3. Draw a small tempo adjustment: e.g., 174 → 175.5 over 16 bars, or 174 → 172 over 8 bars—only slight moves (±1–2 BPM). This is a DJ-friendly aid to help match an incoming track. Keep tempo changes smooth to avoid audible warping artifacts.
4. Tip: put Warp Mode for important audio clips to "Complex" or "Complex Pro" for smoother tempo automation if you change tempo while audio plays.
J. Crossfader & Utility automation for DJ-ready mix-in/out
1. Assign your outgoing (this transition) track(s) to Crossfader A, the incoming track(s) to B.
2. Show Crossfader automation lane on the Master (or on the specific track) and draw a slow move from A → Middle → B across the transition as desired.
3. Alternatively automate Utility Gain for a more surgical fade (automate Utility → Gain on Drum/Bass groups). Using both gives you fine control: crossfader for DJ feel, Utility for mastering-level trims.
K. Consolidate/Render the transition loop for DJ use
1. When satisfied, select the entire transition region and consolidate (Cmd/Ctrl+J) or Export Audio/Selected to create a stereo loop that can be dropped into a DJ set. Consolidation also bakes arrangement automation into a clean clip if you want one-file portability.
Throughout this walkthrough I applied the core idea: Spirit DJ-friendly transition: compose and arrange in Ableton Live 12 for jungle oldskool DnB vibes — by combining break manipulation, filter/send automation, Beat Repeat device activation, tempo nudges, and crossfader/utility fades.
4. Common Mistakes
5. Pro Tips
6. Mini Practice Exercise
Goal: Create a 32-bar DJ-friendly transition with one break, one bass element, Auto Filter sweep, one 4-bar Beat Repeat stutter and a 1 BPM tempo nudge.
Steps:
1. Set tempo to 174 BPM. Load an amen break on an audio track and Slice to New MIDI Track; build a 4-bar groove and duplicate to 32 bars.
2. Add Auto Filter (24 dB lowpass) to the Breaks group. Map Auto Filter Frequency to Macro 1.
3. Add Beat Repeat after Saturator. Automate the Beat Repeat device activator to turn on only bars 28–31.
4. Automate Send A (Reverb) on the Breaks track to ramp from -8 dB to -2 dB by bar 20 and back down by bar 30.
5. Add Utility to Bass Group and automate Width from 100% → 0% between bars 24–28.
6. On the Master, automate Song Tempo from 174 → 175 over bars 16–24.
7. Consolidate the 32-bar region and export as a WAV loop.
Time yourself: aim to finish this exercise in 45–60 minutes.
7. Recap

