Main tutorial
Slice oldskool DnB percussion layer without losing headroom in Ableton Live 12 🥁⚡
1. Lesson overview
Oldskool DnB percussion layers are amazing for adding movement, grit, and jungle energy — think chopped breaks, rimshots, ghost hats, shuffles, and little off-beat ticks sitting behind your main drums. The problem is that when you start slicing and layering these sounds, the transients can pile up fast and eat your headroom before the drop even hits.
In this lesson, you’ll learn a clean Ableton Live 12 workflow for:
- slicing an oldskool percussion loop into playable pieces
- keeping the layer tight and controlled
- preserving headroom while still sounding loud and aggressive
- building a useful DnB percussion rack you can drop into rolling or jungle arrangements
- takes an oldskool break/percussion loop
- chops it into individual hits or small phrases
- lets you play the slices on MIDI
- stays under control with gain staging, filtering, transient shaping, and bus processing
- works as a supporting layer under your main kick/snare and bassline
- jungle-style intro movement
- rolling halftime-to-fulltime transitions
- top-end “air” behind a modern neuro or rollers drum bus
- call-and-response fills before a drop
- oldskool break loops
- percussion loops with shakers, rims, tambourine, and ghost hits
- lightly processed funk breaks
- vinyl-style rhythm loops with room tone and natural swing
- clear transient detail
- not too much low-end rumble
- 1–4 bars long
- moderate dynamics
- interesting stereo movement, but not essential
- heavily limited loops
- overcompressed loops that are already flat
- loops with sub bass or huge kick tails unless you want to isolate them
- Project tempo: start at 170–174 BPM for modern DnB, or 160–170 BPM for more jungle-leaning ideas
- Create a group called DRUM BUS
- Create another group called PERC LAYERS
- Leave headroom on the master by aiming for peaks around -6 dB to -8 dB while building
- Mode: Slice
- Slice By: Transients
- Voices: 8–16 depending on how busy the pattern will be
- Warp: Off if the loop already sits well; on if timing needs correction
- Snap: On
- High-pass filter around 120–200 Hz
- Adjust resonance lightly or leave flat
- audition slices quickly
- program patterns with MIDI
- layer selected chops with your main drums
- mute unnecessary slices
- ghost hats
- short rimshots
- small shaker bursts
- offbeat metallic hits
- little break accents
- long kick tails
- overpowering snare hits if you already have a main snare
- noisy room hits that don’t serve the groove
- duplicate transients
- Off-beat hats on the “and” of the beat
- Ghost slices just before the snare
- Call-and-response between open-tick and closed-tick slices
- Short fills at the end of every 4 or 8 bars
- Triplet nudges for jungle flavor
- Kick on 1 and 3 from your main kit
- Snare on 2 and 4
- Perc layer:
- accent only certain slices
- keep ghost hits low
- let one or two hits poke through for groove
- Set Gain to -6 dB if the rack is still too hot
- Use Width carefully; keep percussive mono-compatible elements narrower if needed
- Reduce Volume rather than slamming a limiter later
- Aim for your percussion layer to sit under the main drums, not compete with them
- map velocity to volume in Simpler
- reduce the velocity range
- use a Compressor or Glue Compressor only if the layer feels too spiky
- Drive: low, around 5–15%
- Crunch: subtle
- Boom: usually off for high percussion layers
- Transients: slightly negative if the spikes are aggressive
- Dry/Wet: 30–70% depending on how much character you want
- Ratio: 2:1
- Attack: 10–30 ms
- Release: Auto or 0.1–0.3 s
- Aim for only 1–2 dB of gain reduction
- Drive lightly
- Turn on Soft Clip
- Use Output to compensate
- High-pass at 150–250 Hz depending on the source
- Cut muddy mids around 250–500 Hz if necessary
- Add a gentle high shelf only if the loop needs shine
- 1.5–4 kHz if it’s clashing with bass reese harmonics or snare crack
- Attack: 1–5 ms
- Release: 40–120 ms
- Gain reduction: just 1–3 dB
- Percussion bus should usually sit well below the drum bus
- The full mix should still leave enough space for the drop to feel bigger later
- Intro: filtered, narrow percussion layer
- Build: gradually unmute more slices
- Drop 1: full groove with selective chop accents
- Breakdown: remove kick-weighted slices and keep ghost textures
- Drop 2: switch to a different slice order or velocity pattern
- automate high-pass filter cutoff upward in the intro
- automate Dry/Wet on Drum Buss or Saturator
- automate Utility gain for fills and drop moments
- mute certain slices for 4 or 8 bars to create variation
- Saturator
- Roar if you want more aggressive coloring
- Overdrive for focused bite
- Main layer: sparse, stable
- Fill layer: more chopped, more chaotic
- Start with a characterful oldskool loop
- Slice it in Simpler using transients or rhythmic divisions
- Convert to a Drum Rack for MIDI control
- Keep only the useful hits
- Shape dynamics with velocity, Utility, EQ, and gentle compression
- Use saturation and Drum Buss for density, not brute-force limiting
- Route it to a percussion bus and automate it through the arrangement
- Keep headroom intact so your kick, snare, and bass can still hit hard
We’ll use stock Ableton tools, focus on practical settings, and keep everything rooted in real drum and bass production.
---
2. What you will build
By the end, you’ll have a sliced percussion layer rack that:
You can use it for:
---
3. Step-by-step walkthrough
Step 1: Choose the right source loop
Start with a loop that has character but isn’t already smashed to death.
Good sources:
Best loop traits for this workflow:
Avoid:
> Tip: If the loop already has a kick and snare you don’t want, that’s okay — we’ll slice and select only the useful percussion fragments.
---
Step 2: Set up a clean Ableton project
Before you slice anything, get your project organized.
Recommended setup:
This matters because sliced percussion can spike hard. If your project is already running hot, every new hit will cause extra gain-staging headaches.
---
Step 3: Put the loop in Simpler for slicing
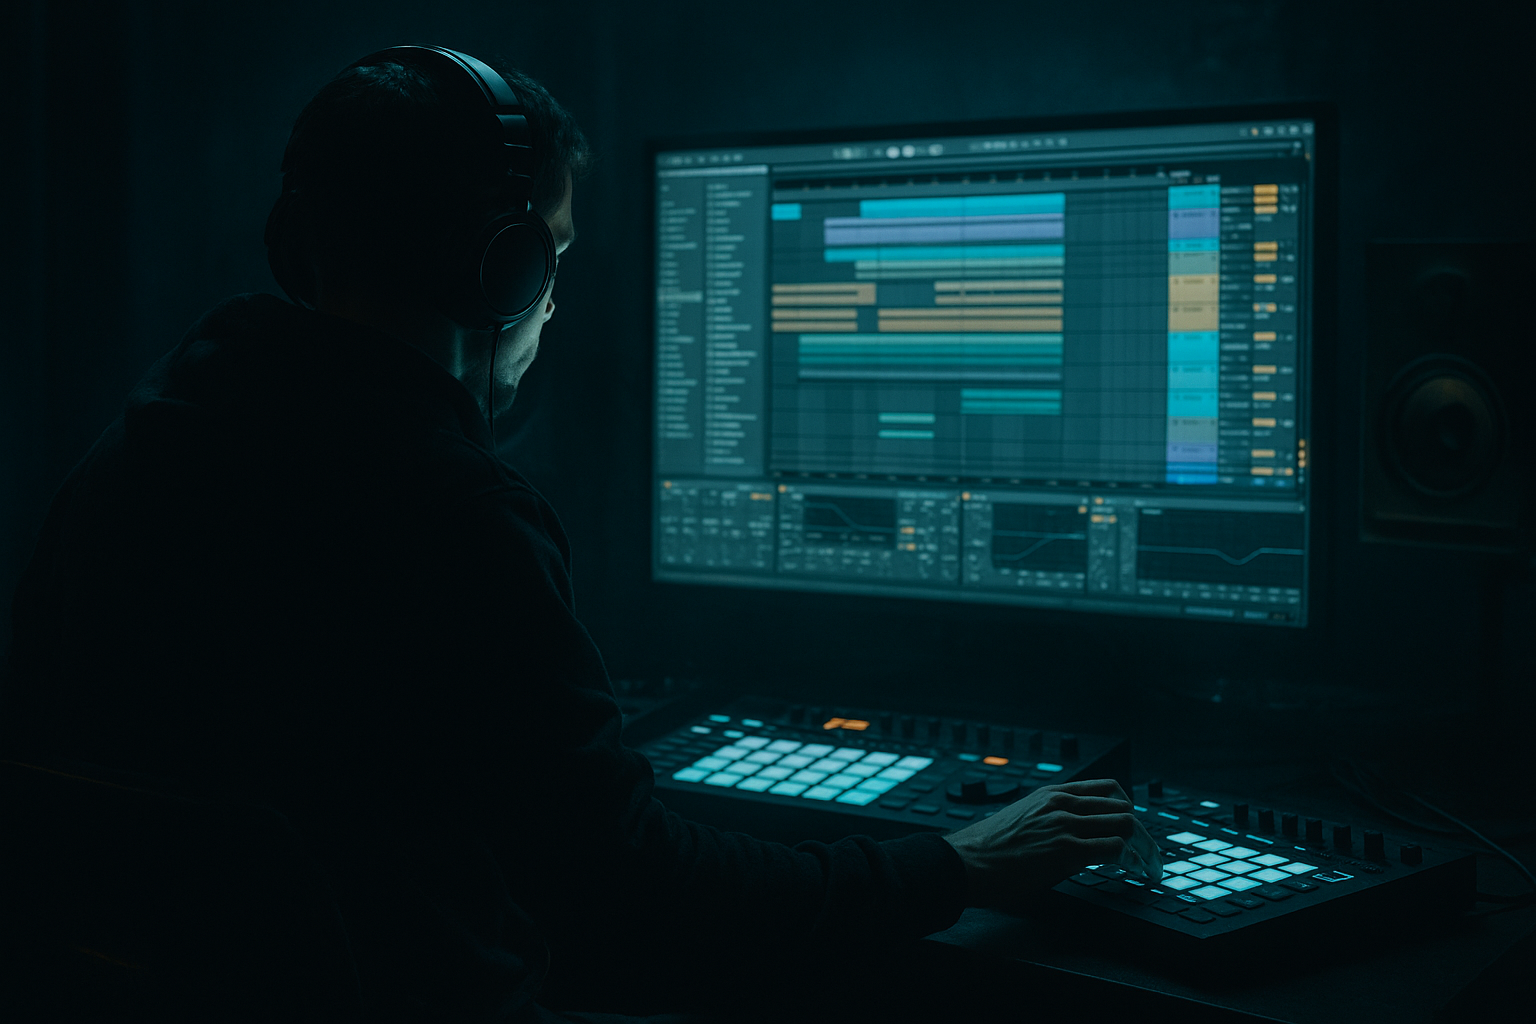
Drag the loop onto a MIDI track. Ableton will usually load it into Simpler automatically.
In Simpler:
1. Open the sample in Slice mode
2. Choose a slicing preset:
- Transients if the loop has clear hits
- 1/16 or 1/8 if the loop is rhythmically consistent
- Warp Markers if you want very specific control
3. Set Playback to Trigger
4. Turn Fade on slightly if clicks appear at slice boundaries
For oldskool percussion, Transients is usually the best place to start.
#### Suggested Simpler settings:
If the source is a little loose and human, that’s good. DnB often benefits from a bit of natural swing.
---
Step 4: Clean the source before you start chopping
Before you make a pattern, remove unnecessary low end and junk.
Add these stock Ableton devices before or after Simpler depending on your workflow:
#### Option A: Clean inside Simpler
Use the sample’s filter:
#### Option B: Clean with Audio Effect Rack or Filter Delay chain
A simple chain could be:
1. EQ Eight
- High-pass at 150 Hz with a gentle slope
- If needed, dip some boxiness around 300–500 Hz
2. Utility
- Reduce gain by -3 to -6 dB if the loop is hot
3. Saturator
- Very mild Drive, 1–3 dB
- Keep Soft Clip on only if you need extra density
This helps the percussion sit behind the kick/snare instead of fighting them.
---
Step 5: Slice into a Drum Rack for MIDI control
For a proper workflow, you want slices in a Drum Rack.
In Live 12:
1. Right-click the Simpler track
2. Choose Slice to New MIDI Track
3. Ableton creates a Drum Rack with each slice mapped across pads
Now you can:
This is where the magic happens. Instead of one messy loop, you now have a playable percussion instrument.
---
Step 6: Trim and curate the slices
Don’t use every slice. That’s how you get clutter and headroom problems.
Listen through the slices and identify:
Then mute or delete:
#### Practical approach:
Keep only 5–12 useful slices for the layer.
That is often enough for a great DnB percussion bed.
---
Step 7: Create a tight MIDI pattern
Now program the rhythm in the MIDI clip.
#### Good DnB placement ideas:
#### Example pattern idea at 174 BPM:
- tiny hat tick on the “a” before 2
- rim ghost after 2
- shaker on the off-beat between 2 and 3
- broken fill every 4 bars
Use MIDI note velocity to shape dynamics:
A lot of headroom issues come from all slices hitting equally hard. Don’t do that — vary the velocity like a human drummer.
---
Step 8: Control gain at the source
This is where headroom is won or lost.
Inside Drum Rack or on the Simpler chain:
#### Use Utility
#### Use Simpler volume
#### Use velocity mapping
If your slices are too uneven:
A clean percussion layer usually peaks much lower than people expect. That’s normal.
---
Step 9: Shape the transient without killing the vibe
If the sliced percussion is too sharp or clicky, use stock tools to tame it.
#### Option 1: Drum Buss
Great for DnB percussion layers.
Suggested settings:
#### Option 2: Glue Compressor
Use gently:
This can glue the chopped layer together without flattening it.
#### Option 3: Saturator
Great for perceived loudness without huge peaks.
This is especially useful if the slices sound too pokey but you don’t want to lose impact.
---
Step 10: Keep it out of the way of kick, snare, and bass
Your percussion layer should support the groove, not steal space.
Use EQ Eight:
If your bassline is very active in the upper mids, carve the percussion a bit around:
#### Bonus technique: sidechain the percussion lightly
Use Ableton’s Compressor with sidechain from the kick or full drum bus.
Suggested settings:
This keeps the chopped layer from cluttering kick attacks while retaining movement.
---
Step 11: Group and route for controlled bus processing
Once your sliced layer is working, route it into a Percussion Bus.
On that bus, use a very light chain:
1. EQ Eight
Tiny corrective cuts only
2. Glue Compressor
Gentle glue, no heavy smash
3. Drum Buss or Saturator
For tone and density
4. Utility
Final gain trim
This makes it easier to automate the whole layer during arrangement.
#### Headroom target:
---
Step 12: Arrange it like a real DnB record
Don’t leave the percussion loop running unchanged for 64 bars. That kills energy.
#### Arrangement ideas:
#### Automation ideas:
That movement is very important in DnB. Repetition works, but small changes keep the grid alive.
---
4. Common mistakes
1. Keeping every slice
More slices does not mean more groove. It usually means more clutter and less headroom.
2. Not gain-staging the source
If the sample is too loud going into Simpler, everything downstream becomes harder to control.
3. Using a limiter as a fix
A limiter on the percussion layer is not the first answer. It often destroys bounce and makes the layer sound small.
4. Leaving too much low end
Oldskool loops often carry kick rumble or room energy. High-pass aggressively if the layer is only meant to add top percussion.
5. Making every hit equally loud
DnB percussion needs ghost notes and accents. Flat velocity = robotic and harsh.
6. Over-widening the layer
Wide percussion sounds exciting solo, but it can smear the groove and eat mix headroom fast.
7. Ignoring arrangement
A chopped percussion layer looping forever will sound cheap. Automate, mute, vary, and evolve it.
---
5. Pro tips for darker/heavier DnB
Tip 1: Use midrange-controlled grit
For darker rollers and jungle-tech ideas, add light harmonic dirt with:
Keep it subtle. You want presence, not fizz.
Tip 2: Layer with a mono ghost percussion bus
Make one layer mono and tuck it under the stereo layer. This helps the mix feel solid while keeping width for higher percussion details.
Tip 3: Use a second sliced layer for fills only
Duplicate the rack and keep one version for the main groove, another for fills.
This is very effective in rolling DnB.
Tip 4: Resample your chopped pattern
Once you like the groove, resample it to audio. Then chop the resample again for extra texture.
This can create that broken, dusty jungle feel without endlessly stacking processors.
Tip 5: Sidechain to the snare as well as the kick
A subtle snare-triggered duck can make space for the backbeat and keep the layer from fighting your core drum punch.
Tip 6: High-pass more than you think
For dark music, the percussion doesn’t need low body. It needs attitude in the mids and top. Cut low and let the kick/bass own the bottom.
---
6. Mini practice exercise
Exercise: Build a 2-bar oldskool percussion layer for a rolling DnB drop
Goal: Create a sliced layer that enhances the groove without adding more than -12 dB to -9 dB peak on the percussion bus.
#### Steps:
1. Find a 1–2 bar break or percussion loop.
2. Slice it in Simpler using Transients.
3. Convert it to a Drum Rack.
4. Delete or mute any slice with too much low end.
5. Program a 2-bar MIDI pattern with:
- 3–5 repeating hits
- 1 ghost hit before the snare
- 1 fill hit at the end of bar 2
6. Add:
- EQ Eight high-pass around 180 Hz
- Utility with -3 dB gain
- Drum Buss with light Drive
7. Compare the layer with and without processing.
8. Automate the layer in the second 8 bars by muting half the slices.
#### Bonus challenge:
Render the percussion layer to audio and re-slice it into a second rack for a more broken, jungle-style variation.
---
7. Recap
Let’s lock in the main idea:
If you do this well, your sliced percussion layer will add authentic jungle energy and rolling movement without turning your mix into a clipped mess. That’s the sweet spot in DnB: busy, alive, and controlled 🔥
If you want, I can also turn this into a step-by-step Ableton template chain or a follow-along project recipe for 174 BPM jungle rollers.

