Main tutorial
Lesson Overview
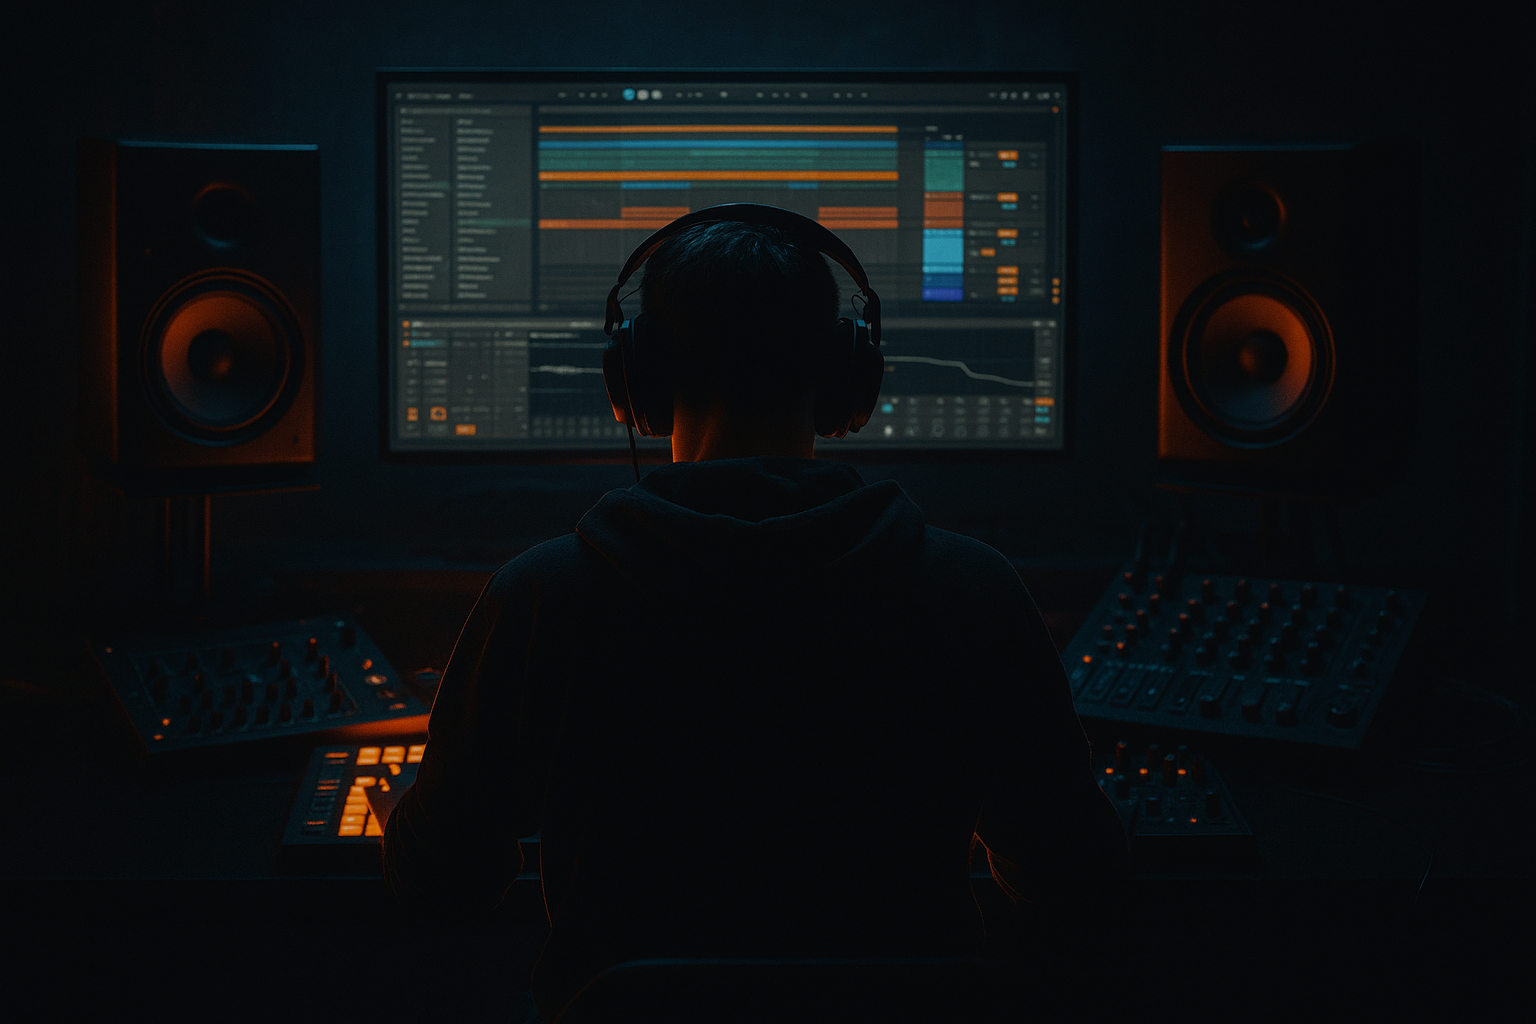
A lot of timeless DnB rollers get their power from what happens between the main drums: sliced percussion, oldskool break fragments, shakers, ragga-style offbeats, ghost hits, and little textural stabs that keep the groove moving without overcrowding the pocket. In this lesson, you’re building a percussion layer in Ableton Live 12 that sounds like it came from a dusty jungle dubplate rack, but still sits cleanly inside a modern roller arrangement.
The goal is not to “add more drums.” It’s to create a sliced, groove-driven percussion bed that pushes momentum under the kick/snare framework, adds swing and character, and gives your track that timeless forward roll. This matters in DnB because the rhythm has to feel alive at 170–174 BPM without becoming messy. The best percussion layers in jungle, ragga DnB, and darker rollers often feel simple when you hear them alone, but in context they glue the whole track together and make the drop breathe. 🔥
We’ll use Ableton stock tools like Simpler, Drum Rack, Slice to New MIDI Track, Groove Pool, Auto Filter, Saturator, Drum Buss, Utility, and Audio Effect Racks to build a layer you can reuse across intros, drops, breakdowns, and switch-ups.
What You Will Build
By the end, you’ll have a tight oldskool-style sliced percussion layer that:
- sits above the core kick/snare and breakbeat
- adds ragga-flavoured syncopation and forward motion
- works as a looped bed or a selectively edited fill layer
- can be filtered, widened, and automated for arrangement changes
- stays mix-safe in the low end while still sounding gritty and energetic
- Over-slicing everything into chaos
- Leaving too much low-mid content in the percussion layer
- Quantizing every note perfectly
- Making the layer too bright or brittle
- Adding too much reverb
- Forgetting the bass relationship
- Use a parallel distortion send
- Resample a good 4-bar groove
- Automate filter resonance carefully
- Pair percussion with bass phrasing
- Use stereo only on the top layer
- Create a 1-bar switch-up fill
- choose dusty, rhythmic source material
- keep the low end out of the layer
- use ghost notes and swing for momentum
- process with stock Ableton devices like Simpler, Auto Filter, Saturator, Drum Buss, and Glue Compressor
- automate variation so the groove evolves across the track
- keep the percussion in service of the kick, snare, and bass relationship
Musically, this could be something like a 2-bar loop with sliced conga/rim/tambourine/bongo hits, a chopped break ghosting underneath, and a few offbeat accents answering the snare. In a full roller arrangement, it might appear quietly in the intro, build in the first 16 bars, then become more animated in the drop with subtle filter movement and occasional stutter edits.
Step-by-Step Walkthrough
1. Start with the right source material
Load a short percussion break, an oldskool jungle loop, or a ragga-flavoured percussion phrase into an Audio Track. Good source material includes dusty congas, rim clicks, tambourines, shakers, or a chopped drum break with clear transient detail. If you want the layer to feel authentic, choose material that already has some room tone and grit rather than overly polished modern samples.
In Ableton Live, trim the clip so it loops cleanly over 1 or 2 bars. Keep the source simple enough to slice: if the loop is too busy, you’ll spend more time cleaning than shaping. A good starting point is a loop with 6–12 distinct transients.
Why this works in DnB: oldskool jungle momentum often comes from recycled percussion that already has swing and micro-timing built in. You’re borrowing that natural movement rather than programming every hit from scratch.
2. Slice to a Drum Rack for playable control
Right-click the audio clip and choose Slice to New MIDI Track. In the slicing dialogue, choose Transients as the slicing method for drums/percussion, or Beats if the source is more loop-like and you want a more grid-locked result.
Ableton will create a Drum Rack with each slice mapped to a pad. Now you can rearrange the rhythm in MIDI rather than audio. This is the key workflow move: once it’s sliced, you can perform the groove like an instrument.
Keep the first pass simple:
- put ghost slices on quieter 16th or offbeat positions
- reserve stronger hits for the “and” of the beat or the last 1/8 before the snare
- avoid hitting every slice at full velocity
If needed, consolidate a good 1-bar phrase and duplicate it. Intermediate DnB production is often about finding a loop that feels right, then using variation cleverly instead of overbuilding.
3. Clean the slices and shape the tone with Simpler and Filter
Open a few key pads in the Drum Rack and check the Simpler settings. For older percussion, switch to Classic mode if you want the slice to feel more direct and less stretched, or keep One-Shot for short hits. Use the Fade parameter lightly if clicks are happening, usually around 1–5 ms.
On the Drum Rack chain or the overall percussion bus, add Auto Filter:
- high-pass around 120–200 Hz to keep the layer out of the sub and kick zone
- a gentle low-pass somewhere between 8–14 kHz if the top end is too sharp
- use 12 dB slope if you want a smoother roll-off, 24 dB if you need stronger cleanup
If the source is too clean, add Saturator before filtering with Drive around 2–6 dB and Soft Clip on. This gives the percussion some ragged edge without crushing the transients.
This step matters because DnB drums and bass already occupy a dense frequency range. Your percussion layer needs character, not low-end overlap.
4. Program the groove with swing, spacing, and ghost notes
In the MIDI clip, aim for a pattern that supports the main drums instead of competing with them. For a roller at 172 BPM, try a 2-bar phrase with:
- one or two offbeat hits in each bar
- a ghosted 16th before the snare
- a small answer phrase after the snare on bar 2
- one sparse fill at the end of the second bar
Use the Note Length and Velocity to create dynamics:
- main accents: velocity around 95–120
- ghost hits: velocity around 35–70
- fill notes: keep them medium, around 80–100, so they stand out without sounding pasted on
Add Groove from Ableton’s Groove Pool. Start with a swing setting in the 54–58% range if you want subtle looseness, or try a classic MPC-style swing if the break needs more shuffle. Apply Groove Amount at roughly 20–50% so the timing feels human but still controlled.
Don’t quantize everything perfectly. A tiny push or drag in the percussion layer can make the whole track feel more “played,” especially in ragga-influenced DnB where rhythmic pressure is part of the vibe.
5. Layer with a second texture for oldskool depth
Duplicate the Drum Rack track or create a second percussion track with a different character: maybe a tambourine loop, a shaker, or a tiny chopped break fragment. Keep this second layer more minimal and textural.
Process the layers differently:
- Layer A: midrange percussion with a little saturation
- Layer B: higher texture with Auto Filter high-pass around 250–400 Hz
- optionally add slight stereo width to Layer B using Utility Width 110–130%
Keep the mono core tight. The second layer should add shimmer and movement, not smear the groove. A classic DnB trick is to let one layer carry the “body” and another carry the “air.”
Musical context example: in a 16-bar intro, this upper texture can enter after the first 8 bars to signal energy building before the bass drop. In the drop, you might mute it for 4 bars and bring it back on the switch for contrast.
6. Shape the transients with Drum Buss and controlled compression
Put Drum Buss on the percussion group or on the main percussion rack return:
- Drive: 5–15%
- Transients: +5 to +20 for more attack
- Boom: usually off or very low for this kind of layer
- Damp: adjust lightly if the top gets brittle
If the layer still feels too loose, add Glue Compressor after Drum Buss:
- Ratio 2:1 or 4:1
- Attack 10–30 ms to let the hit breathe
- Release Auto or 0.1–0.3 s depending on tempo
- aim for only 1–3 dB of gain reduction
The point is to make the percussion “stick” in the groove, not flatten it. In DnB, transient clarity is crucial because the kick/snare and bass need room to punch. A little bus shaping makes the layer feel intentional and cohesive.
7. Build movement with automation and clip variation
Don’t leave the percussion loop static. Automate the following across 8, 16, or 32 bars:
- Auto Filter cutoff: open slightly into the drop, then close for tension
- Saturator Drive: increase on the last 2 bars before a switch
- Utility Width: narrow in intros/outros, widen slightly in drops
- send amount to reverb/delay for fills only
A strong workflow in Ableton is to duplicate the MIDI clip and make tiny variations:
- remove one hit in bar 2 for breath
- add a reverse-sounding fill by reversing a slice in Audio view before re-slicing
- shift a ghost note a few milliseconds earlier for push
- add a short stop on the last beat before the drop
This is where the layer becomes a structural tool, not just a loop. You’re designing tension/release, which is essential in rollers and darker bass music.
8. Place the layer in the arrangement like a DJ would feel it
Think in 8-, 16-, and 32-bar phrases. A practical arrangement path could be:
- Intro: filtered percussion only, no full bass
- Bars 17–33: percussion opens up with groove and subtle variation
- Drop 1: full layer with bass and drums
- Midsection: strip to one texture layer plus FX
- Switch-up: bring in a short edited fill or a ragga percussion call-and-response before the next section
Keep DJ-friendliness in mind. Oldskool-inspired DnB works well when the listener can feel the grid and mix points are clear. Your sliced percussion can signal transitions without cluttering the main impact moments.
If your bassline is busy, simplify the percussion around strong bass notes. If the bass is sparse, let the percussion answer more often. That call-and-response relationship is a huge part of classic roller energy.
9. Lock the layer into the mix with discipline
Group the percussion tracks and check the following:
- High-pass any unnecessary low mids if the layer clouds the snare
- Use Utility to check mono compatibility
- Keep peaks under control so the group isn’t stealing headroom
- If the layer sounds harsh around 3–7 kHz, cut gently with EQ Eight rather than over-filtering the whole sound
A useful starting point:
- small dip around 300–500 Hz if the percussion sounds boxy
- a narrow cut around 4–6 kHz if a slice is poking too hard
- keep the overall layer several dB quieter than the kick/snare so it feels like motion, not foreground
In DnB, mix clarity is energy. If the percussion layer crowds the drums or bass, the whole track loses impact.
Common Mistakes
Fix: keep 1–2 hero slices and 2–4 supporting hits. Too many slices kill the groove.
Fix: high-pass more aggressively, usually above 120 Hz, sometimes 180–250 Hz depending on the source.
Fix: let ghost hits breathe and use Groove Pool lightly. Human push/pull is part of the vibe.
Fix: reduce top-end with Auto Filter or a small EQ Eight shelf cut; use Saturator for grit instead of boosting highs.
Fix: use short, dark reverb on sends for fills only. Percussion momentum gets smeared fast in dense DnB.
Fix: test the layer against the sub and reese. If the groove feels good solo but weak in context, simplify.
Pro Tips for Darker / Heavier DnB
Send the percussion group to a Return track with Saturator or Overdrive, then high-pass the return around 250–400 Hz so only grit comes back in. Blend subtly for weight and attitude.
Once the layer feels right, record it to audio and chop the resampled result. This is great for creating one-off fills, reverses, and little tape-like imperfections that suit darker rollers.
A small bump in resonance on Auto Filter can make a ragga hit or shaker feel more vocal and urgent. Keep it modest or it can whistle.
Let the percussion “answer” the reese or sub by leaving space on key bass notes. The groove feels heavier when every sound has a role.
Keep the punchy slices mono-ish, and widen only the airy percussion texture. This preserves club translation while still sounding wide in headphones.
For darker DnB, a one-bar edited percussion fill before a drop variation can be more effective than a huge riser. A chopped ragga click pattern or reversed slice can do the job without sounding EDM.
Mini Practice Exercise
Spend 10–20 minutes making a usable percussion layer from a single 2-bar loop.
1. Find one oldskool percussion or break loop in your library.
2. Slice it to a Drum Rack using Transients.
3. Program a 2-bar loop with at least:
- 2 ghost notes
- 2 offbeat accents
- 1 small fill at the end of bar 2
4. Add a Groove Pool swing between 54–58% and apply it at 30–40%.
5. Put Auto Filter and Saturator on the rack.
6. High-pass the layer until the sub area is clean.
7. Duplicate the clip and make one variation with one removed hit and one added fill.
8. Automate filter cutoff over 8 bars so the loop opens slightly into a drop.
Goal: by the end, you should have a percussion layer that loops cleanly, sits behind a DnB drum pattern, and feels like it adds motion rather than clutter.
Recap
The key idea is simple: slice a characterful oldskool percussion source, turn it into a playable Ableton Drum Rack, then shape it with swing, filtering, saturation, and arrangement automation so it supports the roller instead of fighting it.
Remember the essentials:
If the layer makes the track feel more alive when muted and more inevitable when it returns, you’ve nailed it.

