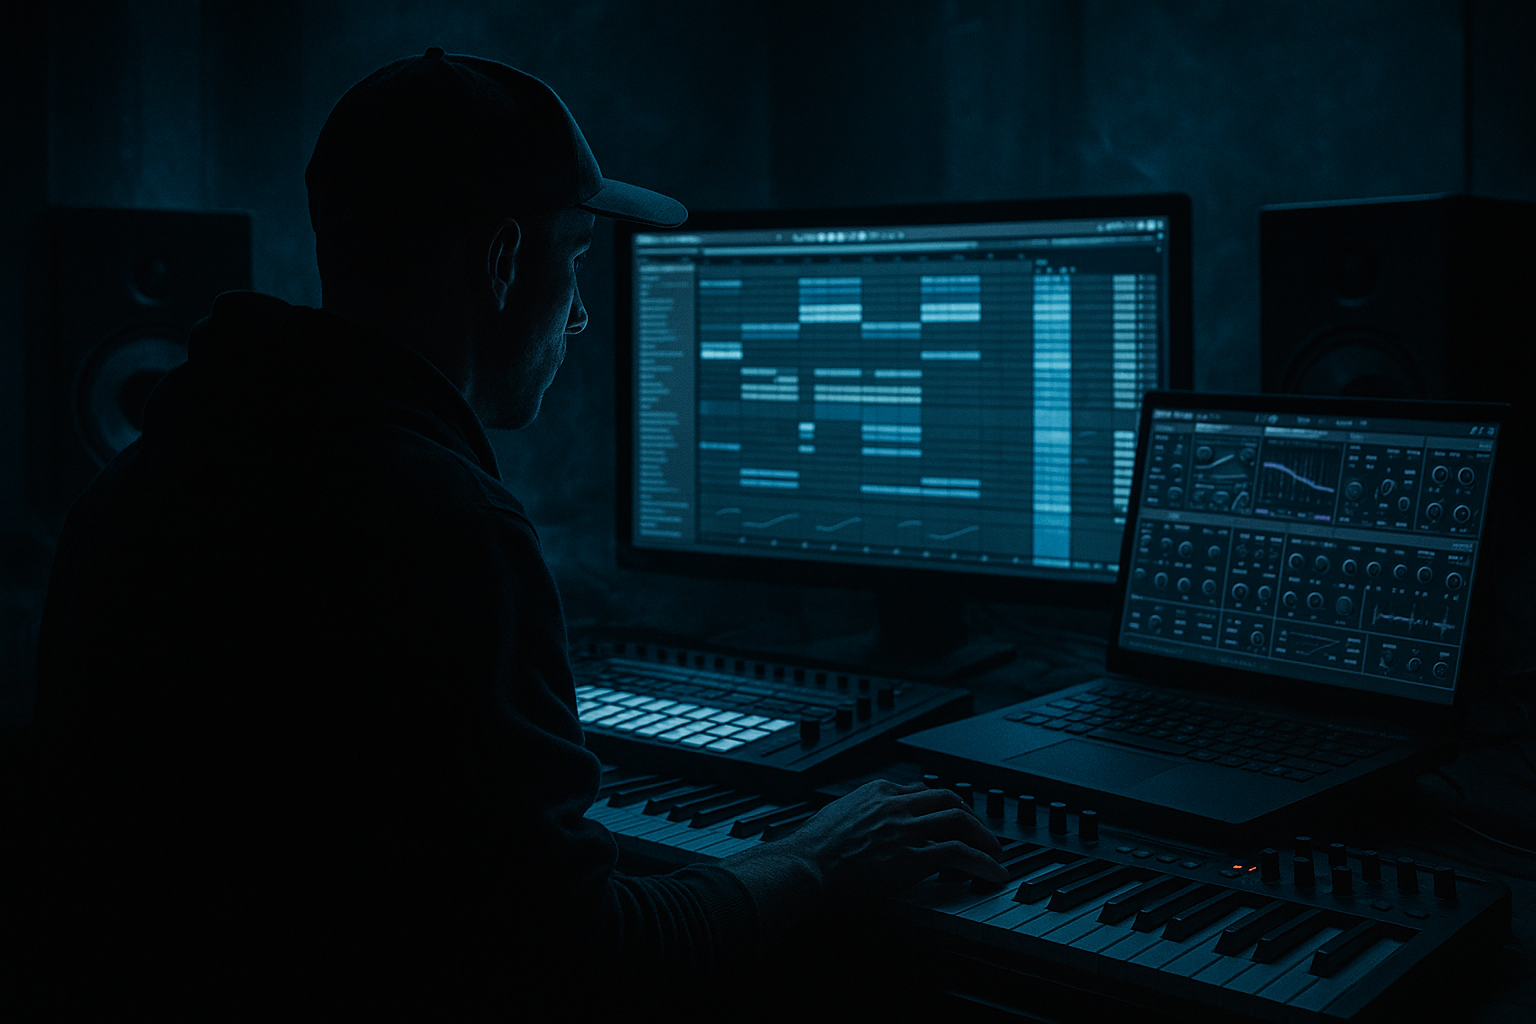
Main tutorial
Lesson Overview
Slicing an amen variation for chopped-vinyl character is one of those jungle techniques that instantly moves a loop from “clean break edit” into “this came off a dusty white label and got rinsed in a rave system.” In Ableton Live 12, the goal isn’t just to chop the Amen break for novelty — it’s to shape the performance, groove, and tonal grit so it sits like an oldskool DnB break while still sounding mix-ready in a modern project.
This lesson focuses on an advanced mixing-minded approach: how to take an amen variation, slice it with intent, and make it feel like a sampled vinyl performance rather than a sterile grid edit. That means controlling transient sharpness, preserving groove, balancing low-end bleed, adding believable wear, and arranging the chops so they work in an intro, a 16-bar drop, or a switch-up before a bassline answer.
Why this matters in DnB: the break is the emotional and rhythmic identity of jungle and oldskool DnB. If the edit feels too clean, too perfect, or too static, it loses urgency. If it’s too rough, it fights the bass and smears the mix. The sweet spot is chopped-vinyl character with disciplined low-end and controlled high-frequency texture — exactly where a modern Ableton workflow shines.
What You Will Build
You’ll build a sliced amen variation in Ableton Live 12 that behaves like a chopped sample lifted from vinyl: slightly unstable, rhythmically alive, gritty but controlled, and ready to drive an oldskool jungle or darker rollers arrangement.
By the end, you’ll have:
- A sliced break instrument from an amen variation, mapped for performance and editing
- A chopped pattern with ghost notes, micro-stutters, and “replayed sample” feel
- A vinyl-style tone shape using stock Ableton devices only
- A drum bus that sits with a sub or reese bass without masking
- A loop that can function as:
- Making every slice the same velocity and length
- Over-warping the break until it sounds synthetic
- Overcompressing the drum bus before balancing the bass
- Adding too much top-end brightness
- Letting the kick slice collide with the sub lane
- Using too much stereo widening on drums
- Layer a low room tone under the break, then high-pass it aggressively around 150–250 Hz to add “air in a warehouse” without mud.
- Use a very short Echo send on select ghost notes, synced to 1/16 or 1/8, with low feedback and filtered repeats for a haunted tail.
- Duplicate the drum bus and process the copy with heavier Saturator/Drum Buss, then blend it quietly underneath the clean version for density.
- For neuro-leaning dark DnB, keep the break slightly drier and let the bass modulation carry the motion. Too much ambience can blur the downbeat impact.
- For rollers, emphasize the midrange “stick and snap” of the break — a bit more 2–5 kHz presence helps the groove talk through the bass.
- Use Clip Envelopes or Automation to momentarily pull down the break’s top end right before a drop, then open it on the first snare hit for extra impact.
- If the chopped loop feels too static, resample it through a short saturated chain and reverse one or two slices for call-and-response tension.
- Slice the amen variation for performance, not just convenience.
- Build the groove around the snare and let ghost notes create motion.
- Use stock Ableton tools like Simpler, Drum Rack, Drum Buss, Saturator, EQ Eight, and Glue Compressor to add controlled vinyl-style grime.
- Resample and re-chop for authentic oldskool energy.
- Mix the break against the bassline, with mono compatibility and low-end separation in mind.
- Use automation and arrangement subtraction to keep the jungle vibe alive across the track.
- a 16-bar intro with DJ-friendly spacing
- a full drop groove
- a switch-up fill into a bass hit
- a breakdown texture for darker atmospheres
Musically, think of a pattern where the snare remains the anchor, the kick breathes around it, and the hats/rim fragments create that unstable, chopped momentum. The result should feel like a classic jungle edit, but mixed with modern clarity.
Step-by-Step Walkthrough
1. Start with the right amen source and prep it for slicing
Choose an amen variation that already has character: slightly degraded recording, dynamic ghost notes, or a more shuffled phrasing than a pristine loop. If you’re working from a clean break, you can still make it feel oldskool, but a variation with tonal differences or extra percussion hits gives you more material.
In Ableton Live, drag the break into an audio track and switch the Warp mode based on how much timing preservation you need:
- Complex Pro: if the source needs tempo adaptation while keeping tone relatively intact
- Beats: if you want stronger transient behavior and a more “sliceable” drum feel
For this lesson, set Warp mode to Beats and experiment with:
- Preserve: 1/16 or 1/8 for tighter transient emphasis
- Transients: around 75–100 for punch
- Flux: 20–40 if you want slight instability
Why this works in DnB: jungle breaks need snap and motion, but the groove should feel like a looped performance, not a quantized pop drum program. Preserving the transient edge keeps the break energetic enough to cut through a sub-heavy drop.
2. Slice the break into Simpler for playable chop control
Right-click the break and choose Slice to New MIDI Track. In the slicing menu, use:
- Transient slicing for performance-driven micro-edits
- Warp marker slicing only if the source has awkward timing or you need specific hit control
Ableton will create a Drum Rack with Simpler on pads. This is your performance surface.
Now do a quick cleanup:
- Rename pads based on function: kick, snare, ghost snare, hat, rim, tail
- Group the Drum Rack immediately as “Amen Chop Bus”
- Color-code the strongest hits and the ghost fragments separately
In Simpler on key pads, set:
- Start: 0 ms or very close to the transient
- Snap: On
- Mode: One-Shot
- Fade: 2–8 ms to remove clicks without softening the hit too much
For deeper chop character, on some pads use Classic mode and adjust Filter Envelope slightly so the hit has a tiny bit of “recorded” shaping rather than totally raw sample playback.
3. Design the groove around the snare, not around the grid
The oldskool jungle feel comes from phrasing around the snare anchor. Build your MIDI clip with the snare as the structural downbeat, then place kick and ghost elements to create forward motion.
Start with a 1-bar or 2-bar loop and set the Groove Pool if needed:
- Try MPC 16 Swing or a lightly shuffled groove around 54–58%
- Apply groove globally at 20–40% amount, not 100%
- Keep the snare landing stable while letting hats and ghost hits breathe
Recommended edit strategy:
- Put the main snare on a solid backbeat position
- Place one kick before the snare and one after, but vary the second bar
- Use ghost snares or short hat slices to connect phrases
- Leave tiny holes in the rhythm for bass answers
For an advanced feel, don’t duplicate the first bar exactly. In bar 2, swap one ghost note for a rim or hat slice, or pull one kick slightly earlier to create that “sampled drummer” push.
4. Shape each slice for vinyl-style realism
This is where the chopped-vinyl character starts to appear. In each Simpler instance, adjust envelope and filter behavior so the hits feel less like samples and more like a deck capture.
Suggested settings:
- Volume envelope: short decay on hats and ghost slices, longer on kick/snare hits if they need body
- Filter: low-pass around 10–14 kHz on the whole rack if the source is too bright
- Resonance: low to moderate, around 5–15%, to avoid whistling
- Pitch: subtly detune certain ghost hits by ±10 to ±30 cents for instability
Use individual pad tuning sparingly:
- Kick slices: keep centered unless the source is obviously sharp
- Snare slices: a tiny downward shift can add weight
- Ghost hits: slight pitch variation helps mimic sample reuse and replay
If one slice is too loud, don’t just pull it down. Shorten its decay or use Clip Gain/Device Gain first, then fine-tune with volume automation. That keeps the transient relationship more natural.
5. Add controlled grime with stock Ableton devices
Now push the break toward that dusty, chopped-vinyl energy without wrecking the mix.
On the Drum Rack group, chain these stock devices in this order:
- Drum Buss
- Saturator
- EQ Eight
- Compressor or Glue Compressor
Practical starting points:
- Drum Buss:
- Drive: 5–15%
- Crunch: 5–20%
- Boom: usually off or very low for break buses unless you intentionally want extra low thump
- Saturator:
- Soft Clip: On
- Drive: 1–4 dB
- Base: leave neutral unless you need tone shift
- EQ Eight:
- High-pass gently around 25–35 Hz to clear sub-rumble
- Small dip around 250–450 Hz if the break gets boxy
- Gentle shelf reduction above 8–10 kHz if the top feels too modern
- Glue Compressor:
- Attack: 10–30 ms
- Release: Auto or 0.3–0.6 s
- Ratio: 2:1
- Aim for 1–3 dB gain reduction
Why this works in DnB: the break needs density, but in a jungle mix the sub and reese are already doing a lot of the weight work. Controlled saturation and bus compression add urgency and “recorded” tone while preserving transient definition for the kick/snare relationship.
6. Build chopped-vinyl motion with tiny timing and velocity decisions
This is where the variation becomes performance-like. Use velocity, clip position, and note length to mimic hand-chopped sampling rather than machine repetition.
In the MIDI editor:
- Vary ghost-note velocities between 25 and 70
- Keep anchor hits strong, around 90–127 depending on the break
- Shorten some hat slices to create stop-start articulation
- Move selected ghost notes a few milliseconds ahead or behind the grid
Don’t randomize everything. Instead:
- Push one hit slightly early to create anticipation
- Lay one ghost hit slightly late for drag
- Alternate between sparse and busy bars
If a slice feels too “MIDI perfect,” bounce the drum rack output to audio after programming and re-chop a few regions manually. Advanced jungle programming often sounds better after resampling because the second-generation edits inherit small imperfections.
7. Resample and re-chop for true oldskool texture
For a more authentic chopped-vinyl vibe, resample the loop through a return or audio track. This lets you commit the bus processing and treat the result like a fresh sample.
Create an audio track set to resample from the Amen Chop Bus. Record 2–4 bars of the programmed loop, then drag the rendered audio back into a new track.
From there:
- Slice the rendered loop again using transient slices
- Grab 1/8, 1/16, or even single-hit fragments
- Build fills and variations from the bounced version
Useful approach:
- Use the original programmed rack for the main groove
- Use the resampled audio for fills, stutters, and drop transitions
- Layer short reversed fragments under the main break for tension
This gives you a classic DnB workflow: program, print, re-edit. It’s fast, musical, and naturally more cohesive than endlessly tweaking individual pads.
8. Mix the break against the bassline, not in isolation
In a dark jungle or rollers track, the break exists in a shared low-mid ecosystem with the bass. That means your mix decisions should be made in context with the sub or reese.
Set up your bassline first or at least have a placeholder sub/reese loop active. Then balance the break bus around it.
Mixing targets:
- Keep the break bus below the bass in the low band
- High-pass the break gently if the kick slice is competing with the sub around 40–70 Hz
- Use EQ Eight on the bass to carve a small pocket around the snare body if needed, often near 180–250 Hz
- Check mono compatibility, especially if you’ve widened hats or added stereo ambience
A strong starting move:
- Group drums and bass separately
- Put Utility on the break bus and keep low-frequency content centered
- Use narrow cuts rather than big boosts
If the bassline is a reese with movement, let the break keep the central rhythmic energy and the bass provide the tonal surge. If the bass is subby and minimal, let the break carry more midrange attitude.
9. Automate movement for arrangement and drop design
A good chopped amen variation should evolve across the arrangement. Use automation to make it feel like a living record rather than an endlessly looping break.
Practical automation ideas:
- Filter cutoff on the break bus opening by 1–3 kHz across a build
- Drum Buss Drive increasing slightly before a drop
- Reverb sends on select ghost hits in the last bar before a switch
- Reverse or delay fills into bar 8, 16, or 32 transitions
Arrangement example:
- Intro: filtered break with only hats and ghost slices, DJ-friendly 16 bars
- First drop: full chopped amen with sparse bass answers
- Bar 9/17: remove one kick and insert a rim/tom fragment for tension
- Mid-section: resampled fill and bass call-and-response
- Outro: strip back to kick/snare fragments and room texture for mixing out
This is especially effective in jungle and darker rollers because the energy comes from rotation and subtraction, not constant maximalism.
10. Final quality control: groove, headroom, and playback translation
Before you call it done, check the break as a functional mix element.
Do these checks:
- Mono check: use Utility on the break bus and audition in mono
- Headroom: keep the drum bus from clipping aggressively before mastering
- Transient consistency: make sure the snare still punches after saturation
- Low-end overlap: confirm the kick slice isn’t fighting the sub every bar
- Alt-speaker translation: the ghost notes and hat texture should still be audible on small systems
If the break feels exciting solo but messy in the full track, reduce the number of simultaneous slices before adding more processing. In DnB, clarity is often achieved by subtraction, not by more grit.
Common Mistakes
Fix: vary ghost note dynamics and shorten only the slices that need articulation.
Fix: use just enough warp to fit tempo, then commit to slice-based editing.
Fix: mix the break and bass together first, then use light bus glue.
Fix: tame 8–12 kHz with EQ Eight or a gentle low-pass so the break feels vinyl-derived, not brittle.
Fix: high-pass the break slightly, or reduce the kick’s fundamental with EQ rather than just lowering overall level.
Fix: keep the core break centered; widen only subtle texture layers or ambience.
Pro Tips for Darker / Heavier DnB
Mini Practice Exercise
Spend 10–20 minutes building a 2-bar amen variation with chopped-vinyl character.
1. Import an amen variation and slice it to a Drum Rack.
2. Program a 2-bar loop with at least:
- 2 anchor snare hits
- 2 kick slices
- 4 ghost or hat fragments
3. Add Drum Buss and Saturator on the drum group.
4. Bounce the loop to audio and re-slice 2 of the printed bars.
5. Make one version cleaner and one version dirtier.
6. Create a quick 8-bar arrangement:
- 2 bars filtered intro
- 4 bars full groove
- 2 bars switch-up with a fill
7. Check mono and adjust any slice that disappears or overwhelms the bass lane.
Goal: finish with a loop that sounds like a chopped sample performance, not a copied break.

