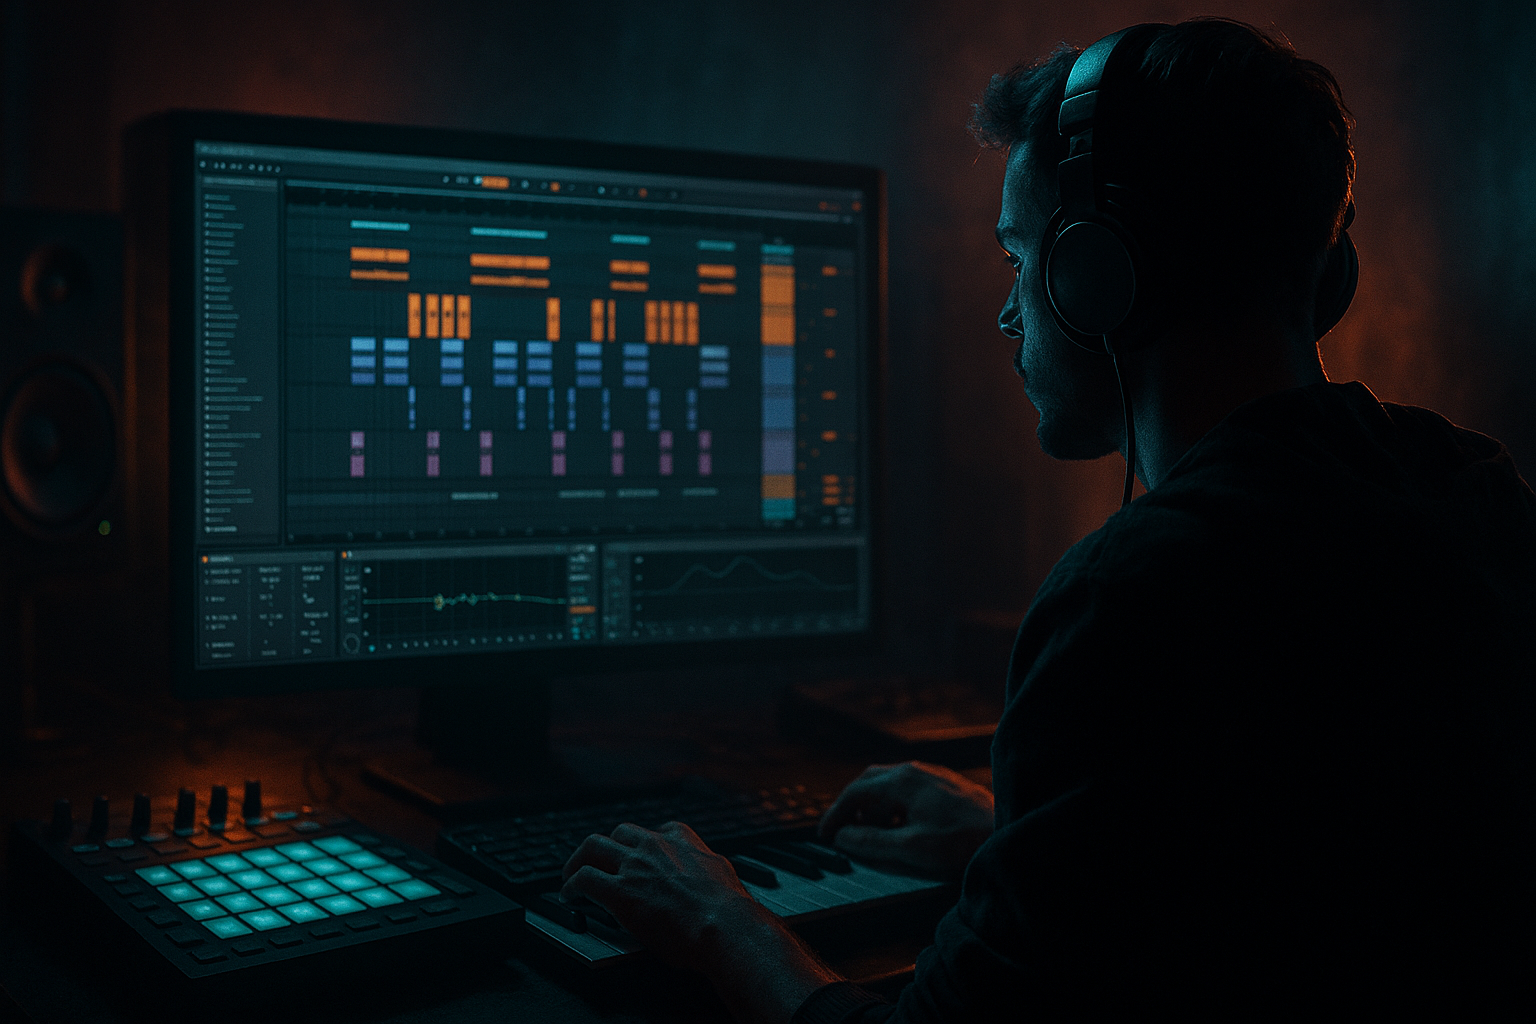
Main tutorial
Lesson Overview
Shuffle is one of the fastest ways to make Drum & Bass drums feel alive in Ableton Live 12. In this lesson, you’ll learn how to use shuffle to give a straight loop two different personalities at once: modern punch for current DnB impact, and vintage soul for jungle / oldskool swing and human movement.
In a DnB track, shuffle is especially useful on:
- drum loops and break edits
- ghost notes and percussion
- call-and-response drum fills
- intro and breakdown grooves
- light swing on hats so the kick and snare still hit hard
- a solid kick and snare foundation
- shuffled hats and percussion that create bounce
- a ghost-note break layer with vintage jungle feel
- saturated drum bus punch for modern club energy
- a simple 8-bar groove variation that could sit in a drop or intro
- a tight half-time DnB backbeat
- with rolling 16th-note movement
- and a touch of oldskool swing / chopped break energy
- main kick/snare = the spine
- hat shuffle = the swing
- break fragments = the soul
- saturation = the glue and attitude
- one kick
- one snare or rimshot
- closed hats
- an open hat or ride
- a short percussion sound or shaker
- a chopped break sample on a separate audio track if you have one
- kick on 1
- snare on 3
- add a second kick before or after the snare if it feels right
- place hats on straight 16ths first
- kick: beat 1
- snare: beat 3
- closed hats: 16ths across the bar
- one extra kick near beat 2.4 or 4.1
- a shaker or percussion hit on every second 16th
- hats around 55–85
- ghost percussion around 25–55
- main snare around 105–127
- Swing 16
- MPC-style swing
- any light 16th-note groove with gentle timing offset
- 20–35% for subtle modern bounce
- 40–55% for more obvious jungle sway
- avoid going too far on the first pass
- the hats sitting behind the beat
- the space opening up between kick and snare
- whether the groove still feels tight at 170+ BPM
- leave the main hat pattern in 16ths
- remove a few hats right before the snare
- place one or two hats slightly earlier or later if the groove supports it
- add a small open hat or shaker pickup after the snare
- put a closed hat on the “and” before snare
- let the hat after the snare be slightly louder
- create a small gap before the snare hit so the backbeat feels bigger
- use straight hats for the first 2 bars
- add shuffled hats or slightly offset percussion in bars 3–4
- then bring it back in bars 5–8 for movement
- right-click the audio clip
- choose Slice to New MIDI Track
- slice by transients for beginner control
- ghost snare taps
- tiny hat fragments
- a short kick pickup
- one or two open break hits
- lower the break layer volume by -8 to -14 dB compared to the main drums
- high-pass it lightly with EQ Eight around 120–180 Hz
- if the break is muddy, cut a little around 250–400 Hz
- Drive: 5–15%
- Crunch: low to moderate
- Boom: very subtle, or off if your kick is already heavy
- Damp: adjust if the top end gets sharp
- Analog Clip or Soft Clip on
- Drive: 2–6 dB
- Output adjusted so the level stays controlled
- Ratio: 2:1
- Attack: 10–30 ms
- Release: Auto or 0.3 s
- Gain reduction: around 1–3 dB
- keep the kick mostly straight and centered
- keep the snare strong on the backbeat
- use shorter hats and tighter break slices if the groove gets messy
- check for overlap between break hits and snare transients
- reducing break volume
- cutting some mids from the break with EQ Eight
- shortening the break sample with its envelope in Drum Rack
- moving shuffled percussion away from the snare slot
- reducing low-end clutter in the break layer
- placing the kick slightly before the snare fill, not inside it
- using Drum Buss Transients lightly to bring back attack
- Bars 1–2: straight drums, minimal shuffle
- Bars 3–4: add shuffle to hats and break fragments
- Bars 5–6: increase groove amount slightly or open the hats more
- Bars 7–8: add a small fill, break stop, or reverse hit into the loop restart
- Groove amount by duplicating clips with different groove strengths
- filter cutoff on the break layer
- send level to reverb or delay on a percussion hit
- Saturator Drive for a small lift before the drop repeats
- turn off any stereo widening on the low drums
- keep kick and snare centered
- ensure the break layer isn’t adding too much wide low-mid energy
- if needed, use Utility on the break or percussion track and reduce width slightly
- mute the break layer
- listen to the main programmed groove
- unmute the break layer
- if the groove gets better but not cloudy, you’re in the right zone
- Use shuffle on higher drums, not sub elements.
- Pair shuffle with short saturated ghost hits.
- Cut the break’s low end aggressively if needed.
- Automate tiny fill bursts before a drop.
- Use Drum Buss for transient bite, not just loudness.
- Let one element be “dirty” and one be “clean.”
- Check the groove against the bassline.
- Shuffle in DnB works best when the kick and snare stay solid and the smaller drum details move around them.
- Use Groove Pool to add swing to hats, percussion, and break layers.
- Keep the break layer low in the mix so it adds soul without muddying the groove.
- Use Drum Buss, Saturator, EQ Eight, and Glue Compressor to give the drums modern punch.
- For jungle vibes, add ghost notes, chopped break fragments, and subtle arrangement changes across 8 bars.
- Start subtle, compare often, and only increase shuffle if the loop still feels tight and powerful.
The goal is not to make everything sloppy. In DnB, the kick and snare still need to land with authority. Shuffle is there to move the smaller details around the grid so the groove feels like it’s breathing. That’s why it works so well for jungle: the rhythm gets that slightly lopsided, skippy motion that makes breaks feel soulful, while the main backbeat stays strong enough for club systems.
Ableton Live 12 gives you a very practical workflow for this using Groove Pool, clip groove amounts, quantize, and stock devices like Drum Rack, EQ Eight, Drum Buss, Saturator, and Glue Compressor. You’ll use all of them in a simple, beginner-friendly way.
Why this matters in DnB:
A clean loop can sound correct, but a shuffled loop can sound infectious. The difference is huge in jungle, rollers, and darker bass music. Good shuffle creates forward motion without destroying impact. That’s the sweet spot. 🥁
What You Will Build
By the end of this lesson, you will build a short DnB drum groove that has:
Musically, the result should feel like:
Think of it like this:
This is not a full track. It’s a strong drum foundation you can use as the basis for a jungle-style drop, a darker roller loop, or a break-driven intro.
Step-by-Step Walkthrough
1. Start with a clean 8-bar drum loop
Open a new Ableton Live set and set the tempo to 170 BPM for a classic DnB feel. If you want a slightly more modern roller vibe, try 174–176 BPM. For oldskool jungle energy, 165–172 BPM is a great range.
Create a MIDI track with Drum Rack and load:
Keep the pattern simple:
This gives you a clear base before any shuffle is added.
Why this works in DnB: the kick/snare relationship is the core of the groove. If that is strong first, you can bend the smaller notes around it without losing the impact that DnB needs.
2. Program the “straight” version before adding shuffle
Before applying any swing, write a basic 1-bar MIDI pattern in the Piano Roll.
Use this as a beginner-friendly starting point:
Don’t worry about making it fancy yet. The point is to hear how shuffle changes the feel.
Tip: keep velocities varied slightly:
This tiny velocity range is already enough to stop the loop sounding robotic.
3. Add groove with Ableton’s Groove Pool
Open the Groove Pool in Ableton Live 12 and try a stock swing groove. Look for groove presets such as:
Drag a groove onto your hat or percussion clip first, not the kick/snare clip.
Start with these groove amount ideas:
Then test the loop with and without groove. Listen for:
For beginner workflow: apply shuffle to hat and percussion clips only at first. Keep kick/snare mostly straight. That gives you control and makes the groove sound intentional.
4. Make the hats and shakers “dance” around the snare
Now use the Piano Roll to make your hats feel human.
Try this:
Suggested approach:
If you’re using Ableton’s Quantize, be careful not to over-quantize after adding groove. Quantize can flatten the human feel you just created.
A simple groove trick:
This gives your loop a tiny arrangement arc without needing extra sounds.
5. Bring in a chopped break layer for vintage soul
This is where the jungle / oldskool character comes in.
Add an audio track with a breakbeat sample or a short loop. If you don’t have a break library, use any classic drum break slice you can work with. In Ableton:
Now you can trigger pieces of the break in Drum Rack.
Focus on:
Layer this under your main programmed drums, but keep it quiet. The break is there to add texture, not to overpower the main groove.
Useful beginner settings:
This keeps the vintage movement while letting the modern kick and snare stay dominant.
6. Saturate the drum group for modern punch
Group your drum tracks into a Drum Bus and add stock Ableton processing.
A simple chain:
1. EQ Eight
2. Drum Buss
3. Saturator
4. Glue Compressor
Start with Drum Buss:
Then add Saturator:
Then Glue Compressor:
The goal here is not to crush the drums. The goal is to make the shuffled groove feel denser, more confident, and more “finished.”
Why this works in DnB: saturated drum buses help fast drum patterns stay audible on big systems. DnB drums need density because the bassline is also occupying a lot of energy. A slightly driven drum bus keeps the groove present without needing to just turn everything up.
7. Protect the kick and snare while the shuffle moves underneath
Shuffle can get exciting fast, but your kick and snare must stay clear.
Do this:
If the snare loses impact, try:
If the kick feels weak, try:
Keep the groove feeling busy, but never let the swing blur the main hit points.
8. Automate shuffle and arrangement for drop movement
Now make it musical over time.
A very usable arrangement idea for an 8-bar loop:
You can automate:
A good DnB move is to keep the first 2 bars more restrained, then let the shuffle become more obvious just before a transition. That gives the listener a sense of evolution without losing the DJ-friendly loop structure.
9. Do a quick mono and balance check
Before calling it done, check your drums in a simple, practical way.
A good beginner test:
Aim for a drum loop that feels exciting even at low volume. That’s usually a sign the shuffle is supporting the rhythm properly.
Common Mistakes
1. Shuffling the kick too much
Fix: keep the kick mostly straight. Let hats, percussion, and break fragments carry the swing.
2. Using too much groove amount immediately
Fix: start around 20–35% and increase only if the beat still feels tight.
3. Quantizing away the feel after adding shuffle
Fix: avoid heavy Quantize after groove is already set. Quantize can flatten the motion.
4. Making the break too loud
Fix: treat the break as texture. Lower it by several dB and high-pass it so the main drums stay clear.
5. Over-saturating the drum bus
Fix: if the snare loses snap or the hats turn harsh, reduce Drive and compare with bypass.
6. Ignoring velocity differences
Fix: vary hat and percussion velocities. Shuffle sounds much more musical when the dynamics change too.
7. Letting shuffle ruin the drop energy
Fix: in heavier sections, reduce the groove amount slightly and keep the backbeat firm.
Pro Tips for Darker / Heavier DnB
Keep your bassline and sub tight. Let the drums swing while the low end stays controlled.
A tiny break snare or rimshot, lightly clipped with Saturator, adds underground attitude without clutter.
In darker DnB, the sub and kick own the bottom. Use EQ Eight to remove anything below roughly 120–180 Hz on the break layer.
A 1/2-bar shuffle increase, followed by a stop, can make the drop feel harder.
A little drive and transient shaping can make shuffled hats cut through dense bass movement.
For example: clean kick/snare, dirty break layer. That contrast is very jungle and very DnB.
If your bass is syncopated, keep the shuffle lighter. If the bass is simpler, you can push the drums more.
Mini Practice Exercise
Set a timer for 15 minutes and do this:
1. Create a new 8-bar drum loop at 172 BPM.
2. Program a kick/snare pattern with straight 16th hats.
3. Apply a light Groove Pool swing to the hats only.
4. Add one chopped break layer under the main drums.
5. Use EQ Eight to remove low end from the break.
6. Add Drum Buss and Saturator to the drum group.
7. Make two versions:
- Version A: subtle shuffle, cleaner modern roller feel
- Version B: stronger shuffle, more jungle / oldskool movement
8. Compare both and write down which one feels better for:
- a drop
- an intro
- a transition
Bonus challenge: make bars 7–8 slightly more intense than bars 1–2 using only groove, velocity, and one small fill.

