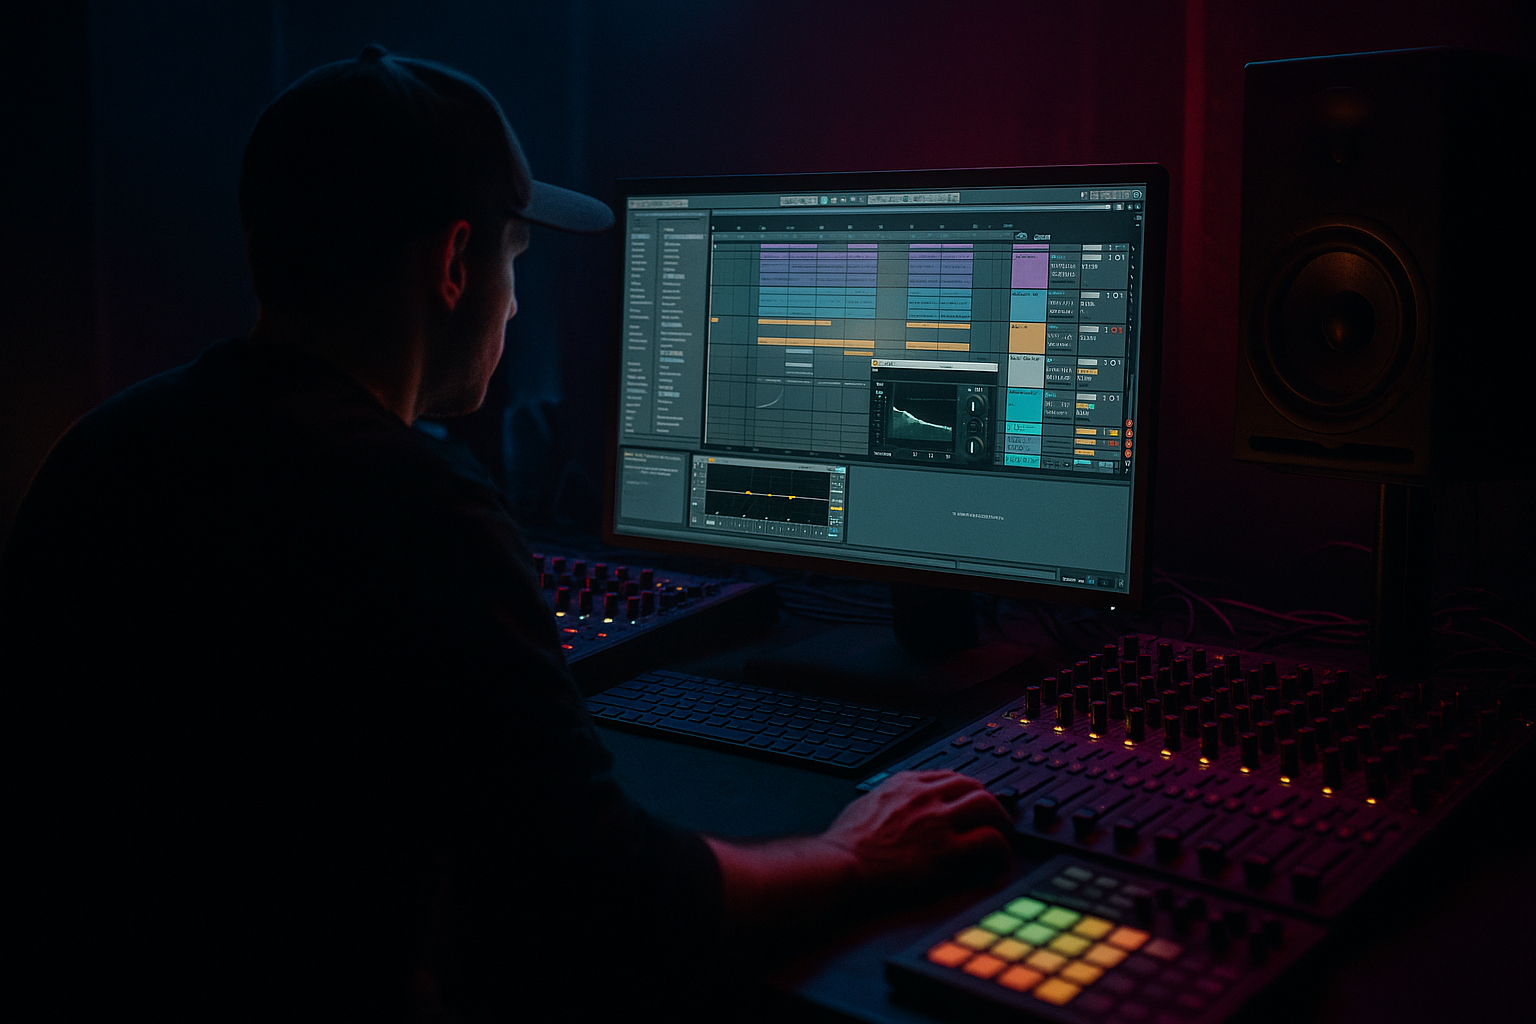
Main tutorial
Lesson Overview
A classic oldskool DnB DJ intro is the opening stretch of a tune that lets a DJ mix it cleanly, sets the mood fast, and hints at the drop without giving everything away. In 90s-inspired darkness, this usually means: broken drums, tense atmospheres, filtered bass hints, and enough space for the next record to blend in. In Ableton Live 12, you can build this kind of intro with a few stock devices, a simple drum rack, and smart automation.
Why it matters: a strong intro gives your track identity before the main drop arrives. In Drum & Bass, especially darker jungle, rollers, or neuro-leaning music, the intro is not “just an intro” — it’s where you establish weight, tension, and DJ usability. If you can make the first 16 or 32 bars feel moody and mix-friendly, your track immediately feels more professional.
This lesson focuses on shaping a DJ intro for a 90s-inspired dark DnB tune using Ableton’s stock tools only. You’ll create a drum-led opening that sounds authentic, leaves room for a DJ blend, and transitions naturally into a full drop. 🥁
What You Will Build
You will build a 16-bar dark DnB intro with:
- A stripped-back broken beat based on a classic jungle-style drum loop
- Layered kick/snare energy with ghost notes and small fills
- A filtered bass hint that teases the drop without overpowering the intro
- Atmosphere and texture for that 90s underground feel
- Automation that opens the energy gradually
- A DJ-friendly structure that can mix into and out of other tracks easily
- Making the intro too full too early
- Letting the bass hint become the main bass
- Using too much reverb on drums
- Forgetting phrase structure
- Over-quantizing the break
- Muddy low end from atmosphere layers
- Use subtle saturation on the drum bus with Saturator or Drum Buss to thicken the break without flattening the transient.
- Try resampling your drum intro to audio, then chopping the audio for extra grime and control. This is very jungle-friendly.
- Add tiny reverse hits before snares for a haunted, underground feel.
- Use a mono Utility on the bass hint and check that the low end stays centered.
- Automate Auto Filter very slowly on atmosphere layers to create motion without obvious “sweep FX.”
- Layer a quiet ride or shaker only in the final 4 bars to raise urgency.
- If the intro feels too clean, lower the sample start point or add a touch of bit reduction-style grit using Redux very lightly.
- Use Call and Response: one bar of drums with space, one bar with a small fill or texture. That push-pull feels authentic in DnB.
- For a more neuro-leaning edge, automate a narrow filter movement on the bass hint, but keep it subtle so the intro still works as a DJ tool.
- Keep the intro mix-friendly
- Let the drums lead
- Use filters and automation to build tension
- Save the full bass energy for the drop
- Keep the low end clean and centered
Musically, the result should feel like the opening of a deep oldskool DnB record: grimy, atmospheric, and functional. Think of a 4-bar drum tease, then 8 bars of increasing tension, then a final 4-bar lift that hints at the drop.
Step-by-Step Walkthrough
1. Set up a clean intro section in Arrangement View
Start a new Live Set and switch to Arrangement View. Set the tempo between 165 and 172 BPM. For this lesson, try 170 BPM — it sits comfortably in the oldskool DnB zone.
Make your intro length 16 bars. That’s long enough for a DJ to blend and short enough to keep listeners engaged.
Create these tracks:
- Drum Rack for the main break
- Audio track for any resampled break texture
- MIDI track for sub or bass hints
- Return track for delay or reverb if needed
- Optional Atmosphere track for vinyl noise, rain, or ambient texture
Why this works in DnB: DJs need predictable phrase lengths. A 16-bar intro gives clean mix points at bars 1, 9, and 17, which makes your tune easier to mix and more usable in a set.
2. Build the core drum groove first
Load a Drum Rack and put your main drum samples in it:
- Kick
- Snare
- Closed hat
- Open hat or ride
- A couple of break percussion hits if you have them
If you have a classic break sample, drag it onto an audio track and slice it to MIDI using Slice to New MIDI Track. If you’re just starting out, keep it simple: use short break hits and build a loop by hand.
For the MIDI groove:
- Place snare hits on 2 and 4
- Add kick hits on beat 1 and a syncopated kick before the next snare
- Put ghost snares very low in velocity between the main backbeats
- Add offbeat hats or shuffled hats lightly
Suggested beginner pattern idea:
- Kick: beat 1, the “and” of 2, and maybe a pickup before bar 2
- Snare: beats 2 and 4
- Ghost snare: low velocity hits just before or after beat 4
Use Groove Pool if you want a looser feel. Try a swing amount around 55–58% on a classic MPC-style groove if the beat feels too rigid.
Keep the drum rack dry at first. Don’t add heavy effects yet. The intro should have shape, not clutter.
3. Shape the break with velocity and timing
Oldskool DnB feels alive because the drums move. In the MIDI editor, vary velocity so the main snare is strong and the ghost notes stay subtle.
Good starting velocity ranges:
- Main snare: 100–127
- Kick: 90–115
- Ghost snare: 20–50
- Hats: 35–80 depending on role
Nudge a few hits slightly off-grid using the note position, but don’t randomize everything. The goal is human push-pull, not messy timing.
If your drum loop feels stiff, use Ableton’s Groove Pool with a break-style groove and apply a small amount of timing and velocity. Start with 20–35% groove amount so the pattern still feels tight.
Add a tiny bit of saturation on the drum group using Saturator:
- Drive: 1–4 dB
- Soft Clip: On
This helps the drums feel more like sampled jungle drums and less like clean MIDI.
4. Add an atmosphere layer for darkness
Create an audio track or MIDI track for atmosphere. This can be:
- A field recording
- Vinyl crackle
- Rain texture
- Low industrial hum
- A reversed cymbal tail
Keep it simple and loop it quietly underneath the drums.
Use Auto Filter to shape it:
- High-pass around 120–250 Hz to keep low end clear
- Low-pass around 6–10 kHz if it’s too bright
- Add a small amount of resonance if you want more character
Add Reverb if needed:
- Decay: 2.5–5 seconds
- Dry/Wet: 10–25%
- Low Cut: around 200 Hz or higher to avoid mud
Automate the Auto Filter cutoff slowly across the intro. Start darker and open slightly before the drop. This creates a natural tension ramp.
Why this works in DnB: dark atmospheres fill the empty space around the break, making the intro feel cinematic while leaving the bass and snare punch intact.
5. Tease the bass without giving away the drop
Create a bass MIDI track and use a simple sound first. You do not need a huge neuro patch yet. For an oldskool-inspired intro, the bass should feel like a hint.
A beginner-friendly stock setup:
- Wavetable or Operator for the source
- Low-pass Filter
- Saturator or Drum Buss for grit
- Utility for mono control
Keep the MIDI minimal:
- Long root note or two-note phrase
- Filtered and quiet
- Let it enter after the first 4 or 8 bars
Suggested bass settings:
- Low-pass filter cutoff: 120–400 Hz range for the intro hint
- Resonance: low to moderate
- Saturator drive: 2–6 dB
- Utility Width: 0% on sub frequencies, or just keep the bass mono
If you use Wavetable:
- Start with a simple saw or square-based patch
- Reduce unison width for the intro
- Use Filter Envelope Amount lightly so the bass whispers rather than shouts
Automate the filter opening over 8 bars. The bass should feel like it is crawling toward the drop, not announcing itself early.
6. Create DJ-friendly tension with simple FX automation
Add a return track with Echo or Delay for selective drum hits and snare throws. In oldskool DnB intros, FX should support the groove, not cover it.
Try these stock device ideas:
- Echo on a return track
- Reverb on a return track
- Auto Pan on a hat or atmosphere layer
- Utility for quick level changes
Practical settings:
- Echo Time: 1/4 or 1/8 synced
- Feedback: 15–35%
- Filter: cut some low end and soften highs
- Reverb return: keep it subtle and dark
Automate a snare delay send on the last hit of every 4 or 8 bars. This gives you a classic tension cue without needing a big riser.
Add a reverse cymbal or reversed drum tail before the final 2 bars. Keep it low in the mix so it feels like pressure building, not a trance-style takeover.
7. Arrange the intro like a DJ tool
Your intro should have a clear phrase structure. A very usable shape is:
- Bars 1–4: drums only, stripped back
- Bars 5–8: add atmosphere and a few extra ghost hits
- Bars 9–12: bass tease enters filtered
- Bars 13–16: filter opens a little more, add a fill, hint at the drop
Don’t crowd the first 8 bars. If the intro starts too busy, DJs lose space to mix. Think of the intro as a runway, not the destination.
A good arrangement rule:
- Keep the kick and snare clear
- Let hats and percussion evolve slowly
- Save the heaviest bass movement for the drop
If you want a real 90s feel, let the intro stay slightly lo-fi and restrained. The energy should feel underground, not polished to the point of losing grit.
8. Add a final bar fill and prepare the transition
In bar 15 or 16, add a small drum fill. This can be:
- A snare flam
- A quick tom hit
- A chopped break slice
- A reversed crash into the downbeat
Keep the fill short. The best DnB fills set up the drop without stealing the show.
Useful Ableton tools here:
- Drum Rack note editing for a quick fill
- Beat Repeat for a tiny glitch-style repeat on a snare or hat
- Auto Filter automation for a short opening sweep
Suggested fill idea:
- Duplicate the last snare
- Place one extra snare just before the next bar
- Lower its velocity slightly
- Add a short delay throw on the final hit
Then make the transition into the drop clear. If the drop starts after the intro, remove the filter, open the bass fully, and bring in the main sub and full break.
9. Balance the intro in the mix
Use Utility, EQ Eight, and your meters to keep the intro clean.
Basic checks:
- Keep sub energy controlled until the drop
- High-pass atmosphere tracks so they don’t fight the kick
- Reduce harsh top end if hats are too sharp
- Use mono for low bass elements
EQ Eight starting points:
- Atmosphere: high-pass 150–300 Hz
- Bass hint: low-pass if it’s too bright, and remove unnecessary mids
- Drum loop: small cut around 300–500 Hz if it gets boxy
Leave headroom. Your intro does not need to be loud yet. If the intro is too hot, the drop will feel smaller.
Common Mistakes
Fix: Remove one layer. In DnB, space is part of the groove.
Fix: Filter it harder and lower the volume. The intro should tease, not reveal.
Fix: Shorten decay and high-pass the reverb return. Keep the snare punch alive.
Fix: Build in 4-bar or 8-bar changes so the intro feels intentional for DJs.
Fix: Add groove and adjust velocity. Oldskool DnB needs movement.
Fix: High-pass pads, noise, and FX. Keep the sub region clean for the kick and bass.
Pro Tips for Darker / Heavier DnB
Mini Practice Exercise
Spend 10–20 minutes making your own dark DnB DJ intro in Ableton Live 12:
1. Set tempo to 170 BPM.
2. Build a 4-bar drum loop with kick, snare, hats, and one ghost note.
3. Loop it to 16 bars in Arrangement View.
4. Add one atmosphere layer and high-pass it.
5. Add a filtered bass hint that enters after bar 8.
6. Automate the bass filter to open slightly over the last 8 bars.
7. Add one snare delay throw or reverse hit in bar 15.
8. Export a rough version and listen once with eyes closed.
Goal: make it feel like a real intro a DJ could mix in with, not a full drop. Focus on tension and clarity, not complexity.
Recap
A strong oldskool DnB DJ intro is built from a few simple elements done well: broken drums, subtle movement, filtered bass hints, and phrase-based tension. In Ableton Live 12, stock devices like Drum Rack, Auto Filter, Saturator, EQ Eight, Echo, Reverb, Utility, and Drum Buss are enough to create a convincing 90s-inspired dark intro.
Remember the key priorities:
If the intro feels dark, spacious, and DJ-ready, you’re on the right path.

