Main tutorial
Lesson Overview
An Amen-style top loop is one of the fastest ways to make a Drum & Bass track feel alive, human, and properly underground. In this lesson, you’ll shape a loop that has crisp, punchy transients on the top layer and dusty, crunchy mids underneath, so it sits like a real jungle/ragga edit rather than a sterile loop.
This technique is especially useful in roller, jungle revival, dark ragga, and neuro-leaning DnB productions where the drum break needs to carry identity across the intro, build, and first drop. The goal is not just “make the Amen louder.” The goal is to carve a break that has:
- clear attack and snap,
- midrange grit and movement,
- enough space for the sub and bassline,
- and a vibe that feels chopped, swung, and intentional.
- tight transient definition on hats, snare edges, and break attacks
- dusty, characterful mids created with saturation and controlled distortion
- a clean low-end cut so the loop leaves room for the sub
- optional ragga percussion accents like shaker ghosts, rim hits, or chopped vocal textures
- a loop that works as:
- Drag the break into an audio track.
- Set the clip warp mode to Complex or Beats depending on the source.
- If the break is already in time, keep warping minimal and focus on preserving the natural attack.
- Set the clip gain so the raw break hits around -12 to -9 dB peak before processing.
- Keep the main snare hits on strong backbeats.
- Use smaller ghost hits and hat fragments to fill the spaces.
- Duplicate the break into a 2-bar pattern instead of a static 1-bar loop.
- Shift a few slices slightly early or late for groove.
- Choose Transient slicing.
- Use Simpler in Slice mode.
- Keep the kick-heavy low fragments out of the top loop if you plan to layer a separate kick later.
- Bar 1: main break statement
- Bar 2: variation with extra hat drag, reverse slice, or a tiny fill before the loop resets
- Chain A: Transient / Crisp
- Chain B: Dust / Mid Grit
- EQ Eight
- Drum Buss
- optional Saturator
- High-pass around 180–300 Hz
- Small boost around 3–6 kHz if the snares need edge
- If the hats hiss too much, dip gently around 8–10 kHz
- Transient: +10 to +30
- Drive: 5–15%
- Boom: off or very low
- Damp: adjust carefully to avoid harshness
- Drive 2–6 dB
- Soft Clip: on
- Output trimmed to maintain headroom
- EQ Eight
- Saturator
- Redux or Pedal if needed, but keep it subtle
- High-pass around 120–180 Hz
- Low-pass around 10–12 kHz
- Slight boost in the 500 Hz–2 kHz zone if the loop feels too thin
- Drive 4–9 dB
- Color on
- Soft Clip on
- Reduce bit depth gently, or downsample just enough to bring out texture
- Use sparingly; you want dusty mids, not digital fizz
- Drum Buss
- Glue Compressor
- EQ Eight
- Drum Buss Transient +15 to +35
- Drive 3–10%
- Glue Compressor: ratio 2:1, attack 10–30 ms, release Auto or 0.3–0.6 s
- Aim for just 1–2 dB of gain reduction
- reduce Drum Buss transient,
- lengthen the Glue attack,
- or cut a narrow band around 3–4 kHz if the snare edge is stabbing too hard.
- bring back upper-mid energy with a tiny boost around 5 kHz
- or reduce over-compression in the chain.
- Saturator
- Overdrive
- Pedal
- Roar if you want more modern grit and movement
- Erosion for dusty high-mid texture
- Put Saturator before EQ if you want harmonics generated across the spectrum.
- Put EQ after distortion if you want to tame harshness after the fact.
- Saturator drive 5 dB
- Soft Clip on
- Dry/Wet 60–80% if you’re using a rack chain
- Overdrive Frequency around 700 Hz–1.5 kHz
- Erosion Amount low, focused on white noise or wideband texture
- Try a groove from the Groove Pool if the break is too rigid.
- Use a swing amount around 53–58% depending on tempo and style.
- Apply groove lightly; too much swing can make the loop lazy in a fast DnB context.
- Pull one hat slice slightly late for human feel.
- Push a ghost snare slightly early for urgency.
- Duplicate a tiny slice into a fill before bar 2 returns.
- don’t quantise every slice perfectly,
- preserve some tiny asymmetry,
- and vary the final hit before the loop resets.
- chopped vocal syllables processed through Simpler
- a rim shot or woodblock layered quietly under the snare ghost
- shaker fragments with Auto Pan for motion
- a short percussive stab with Filter Delay or Echo for call-and-response
- put a vocal chop on the “and” of 2 or the last 1/8 before bar 2
- keep these accents 10–18 dB lower than the main snare
- high-pass them above 250–500 Hz so they don’t muddy the loop
- Time: 1/8 or 1/8 dotted
- Feedback: 10–20%
- Filter: narrow band, remove low-end
- Dry/Wet: low, around 8–15%
- EQ Eight
- Glue Compressor
- optional Drum Buss very lightly
- High-pass around 150–220 Hz
- Notch harshness if needed around 2.5–4.5 kHz
- If the loop fights the bass harmonics, carve a little around 180–300 Hz
- ratio 2:1
- attack 10 ms
- release Auto
- gain reduction 1–2 dB
- automate Auto Filter cutoff on the top loop during a build
- automate Saturator drive up slightly into a drop
- automate Reverb Send on the last snare of every 8 or 16 bars
- automate Echo feedback on a ragga chop for a transition fill
- Intro: filtered top loop with dusty mids, no full brightness
- Pre-drop: increase high-mid presence, add one vocal chop repeat
- Drop A: full transient version
- Drop B / second 16: remove one ghost pattern or mute a top-hat slice for contrast
- Breakdown: low-passed, reverbed fragments of the same loop
- one track with the full loop,
- one with a lighter version,
- one with a darker, more distorted version.
- transient clarity,
- mid grit,
- how much space remains for the bass,
- and whether the loop still feels strong in mono.
- mono compatibility
- top-end harshness at club volume
- whether the loop sounds exciting at low volume as well
- Over-compressing the break
- Leaving too much low-end in the loop
- Making the loop bright instead of crisp
- Distorting the whole loop equally
- Too much swing or random timing
- Ignoring the bass relationship
- Use band-limited dirt: distort the mids, not the whole spectrum. That keeps the loop heavy without killing clarity.
- Resample after shaping: once the loop feels right, print it and chop the result. New artifacts often create better fills than endless tweaking.
- Automate saturation into transitions: a tiny drive increase before a drop can make the loop feel like it’s “leaning forward.”
- Try layered ghost percussion: a very quiet rim or foley tick under the snare can add menace without being obvious.
- Use narrow mid cuts only if needed: don’t hollow out the break too much. A little boxiness can be part of the jungle charm.
- Keep bass stereo discipline strict: if you’re pairing this with a reese, keep the sub mono and let the drum loop occupy the top and mid space.
- For neuro-leaning darkness, add subtle Roar or Erosion movement on the dusty chain, but keep it controlled so the loop still feels acoustic at the core.
- loop all three for 8 bars,
- mute and unmute between them,
- and decide which one supports a sub-heavy DnB bassline best.
- Build the Amen-style loop from a break with real transient character.
- Split crisp attack and dusty mid grit into separate processing paths.
- Use Ableton stock devices like EQ Eight, Drum Buss, Saturator, Glue Compressor, Erosion, Echo, and Auto Filter to shape tone and movement.
- Keep the low end out of the top loop so the sub and kick stay strong.
- Add small ragga accents for identity and call-and-response energy.
- Automate subtle changes so the loop evolves across the arrangement.
- In DnB, the best top loops are not just loops — they are rhythmic systems that support the bass, drive the drop, and keep the track moving.
Why this matters in DnB: the top loop often acts like the glue between kick, snare, bass, and atmospheres. If it’s too clean, the track can feel flat. If it’s too distorted or too wide, it fights the bass and ruins the punch. A good Amen-style top loop gives you that classic jungle urgency while still translating in modern club systems. 🔥
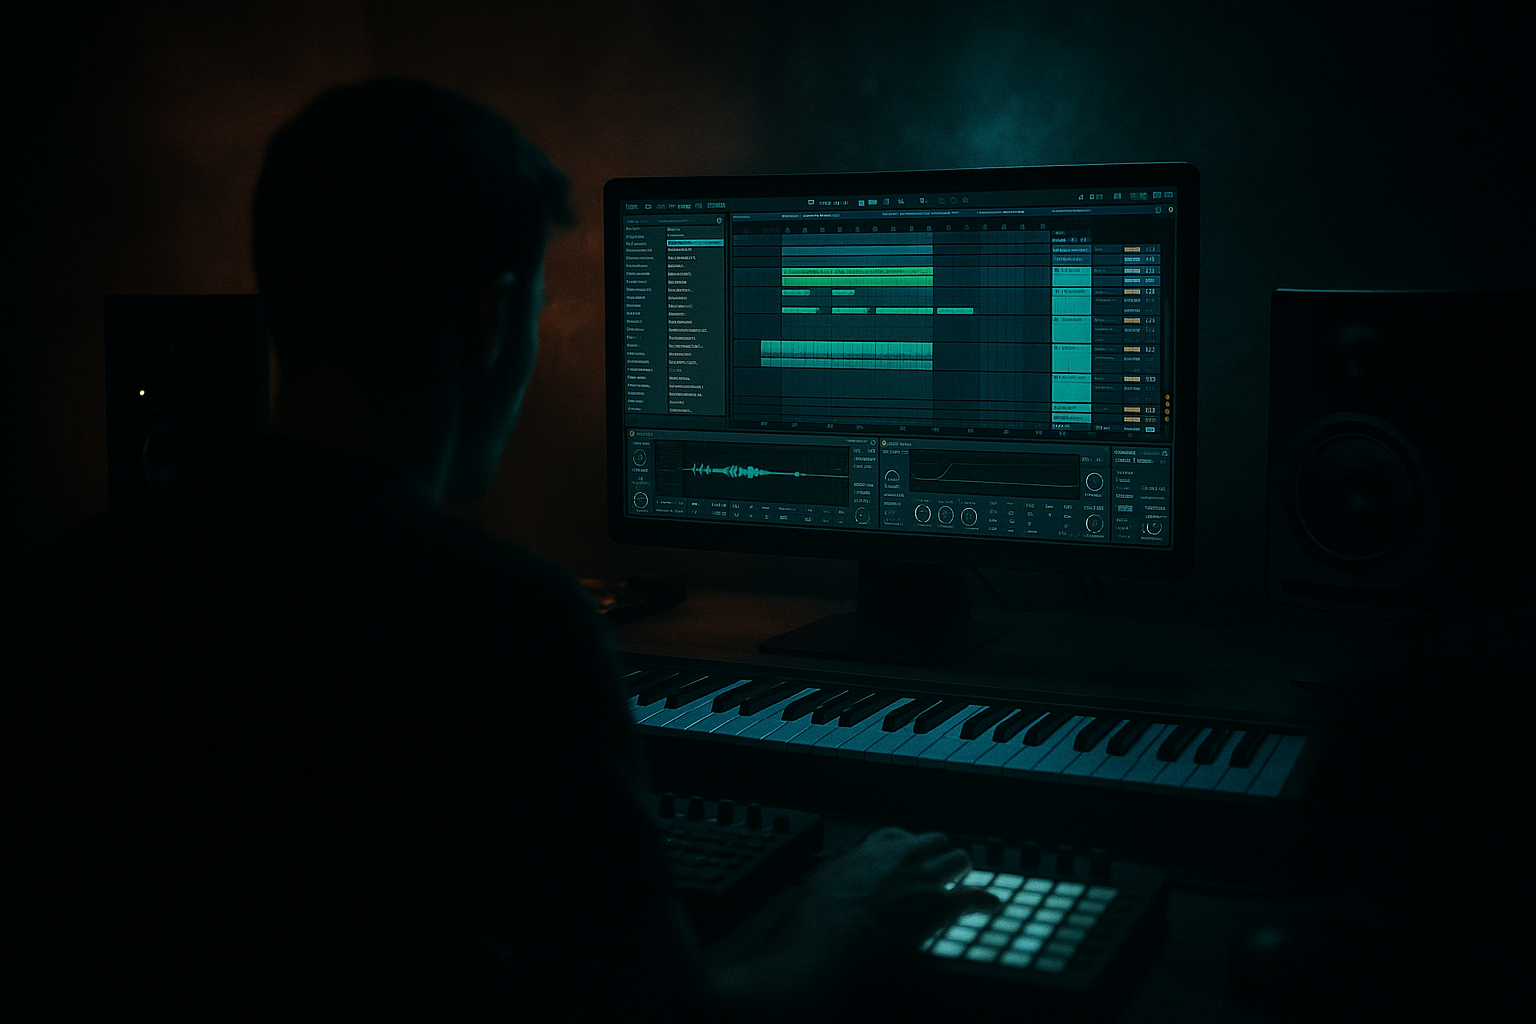
You’ll build this in Ableton Live 12 using stock devices and a practical layered workflow designed for fast results and repeatable finishing.
What You Will Build
By the end, you’ll have a 2-bar Amen-style top loop with:
- a standalone top drum bed for intros,
- a busy layer under a reese or wobble,
- or a variation for drop switch-ups and 16-bar turnaround fills
Musically, it should feel like a loop you’d hear in a dark rave intro: the break has the old-school swing and grit, but the top end stays crisp enough to cut through a modern mix.
Step-by-Step Walkthrough
1) Start with the right source: choose a break with bite, not polish
Load an Amen-style break, or an Amen-derived chop, onto an audio track. If you don’t have a perfect Amen source, any classic break with strong snare hits and busy ghost notes will work as long as it has transient detail.
In Ableton Live 12:
For an intermediate workflow, don’t over-clean the source. The grime is part of the sound. You’re shaping the break, not sterilising it.
Why this works in DnB: classic breaks already contain natural swing, micro-velocity changes, and transient variation. That movement is what makes the loop feel alive when repeated at 170–174 BPM.
2) Chop the break into useful slices and build a 2-bar phrase
Use the audio clip editor or Slice to New MIDI Track if you want performance-style rearranging.
A practical way to shape the top loop:
If you’re slicing to MIDI:
Suggested phrasing:
For ragga energy, place a small percussive vocal-like chop, rim, or shaker on the last half-beat of bar 2 to create a call-and-response feel.
3) Separate the loop into transient and body treatment with an Audio Effect Rack
Drop an Audio Effect Rack on the break track. Create two chains:
This split lets you shape the attack without flattening the whole loop.
Chain A: Transient / Crisp
Use:
EQ Eight settings:
Drum Buss:
Saturator:
This chain should give you the crisp attack and tick without adding low-end clutter.
Chain B: Dust / Mid Grit
Use:
EQ Eight settings:
Saturator:
Redux:
Blend the two chains until the loop has clear hits on top and a worn, mid-heavy interior underneath.
4) Shape transients with a transient-first mindset, not just loudness
Now focus on how the loop hits. Add Drum Buss or Transient Shaper-style behavior using stock tools.
A practical transient control chain:
Settings to try:
The idea is to keep the snare and hat attacks sharp while preventing the break from becoming spiky and unglued.
If the transient becomes too pokey:
If the loop feels dull:
5) Add dusty mids with controlled saturation and band-limited dirt
This is where the loop becomes “Amen-style” instead of just edited audio.
Use one of these approaches:
For a classic ragga/jungle tone:
Good starting settings:
The aim is to enhance the 200 Hz–3 kHz zone where break character lives. That’s the range that makes a loop sound dusty, urgent, and “sampled,” which is perfect against modern sub-heavy basslines.
6) Tighten the groove with Warp, groove, and micro-edits
Now make the loop breathe with the track.
In the clip:
Micro-edit ideas:
If you want a more authentic jungle feel, keep the loop a bit unstable:
For a darker roller, keep the groove tighter and more mechanical. For ragga/jungle energy, let the break lean forward and breathe.
7) Layer in ragga elements without crowding the loop
This lesson is in the Ragga Elements category, so add one or two small accents that imply vocal culture or street percussion without turning the track into clutter.
Useful options in Ableton:
Practical placement:
A good ragga-style move is to send just the accent hits to a short Echo with:
This adds attitude and depth without smearing the transients.
8) Bus the loop and keep the low end out of the way
Route your top loop to a dedicated drum bus or drum group. Even though this is a top loop, it should still be treated like part of the full drum system.
On the bus, use:
EQ Eight:
Glue Compressor:
This keeps the break cohesive while preserving punch.
In a DnB mix, the kick/sub relationship is sacred. The top loop should energise the groove, not steal the foundation.
9) Automate movement for arrangement: make the loop evolve across 16 bars
A static loop gets boring fast in DnB. Even if the break is strong, you need evolution.
Useful automation ideas:
Arrangement example:
A good DnB arrangement often uses the break as a recognisable identity marker, then mutates it in small ways so the crowd feels movement without losing the hook.
10) Reference, compare, and commit the sound
At this stage, duplicate the track and create a reference chain version:
Use track activator/mute to A/B quickly. Compare:
Check:
Once it works, resample the loop to audio. This makes it easier to edit fills, reverse hits, and make arrangement variations fast.
Common Mistakes
Fix: back off compression and let the snare transient breathe. In DnB, punch matters more than constant density.
Fix: high-pass the top loop more aggressively, usually somewhere between 150–250 Hz, depending on the source.
Fix: crisp means transient-defined; bright means harsh. Use transient shaping and small upper-mid boosts instead of just pushing 10 kHz.
Fix: split transient and dusty mid chains so you can preserve attack while dirtying the body.
Fix: keep the groove human, not sloppy. DnB needs momentum, especially at 170+ BPM.
Fix: if the loop masks the sub or reese, carve the 180–350 Hz area and check the arrangement with bass playing.
Pro Tips for Darker / Heavier DnB
Mini Practice Exercise
Spend 10–20 minutes building three versions of the same Amen-style top loop:
1. Clean version
- High-pass only
- Light transient enhancement
- No distortion
2. Dusty version
- Saturator drive 4–8 dB
- Mid-focused EQ
- Slight bit reduction or erosion
3. Drop version
- More transient punch
- Slightly louder snare edges
- One ragga chop or fill at the end of bar 2
Then:
If you want an extra challenge, place a reese bass under the loop and check which version leaves the cleanest space around 50–120 Hz and the most exciting midrange movement around 1–3 kHz.

