Show spoken script
Welcome to this beginner Ableton Live lesson: Session organisation for speed, for drum and bass.
Today is all about one thing: keeping momentum. Because in DnB, the second you lose flow, you start second-guessing sounds, stacking random tracks, and suddenly your “quick idea” turns into a messy project called “Audio 37” that you never finish.
So we’re going to build a clean, reusable Ableton session that helps you move fast: dropping in breaks and one-shots quickly, building a rolling bass without hunting for lanes, jumping from sketching to arranging without chaos, and staying under control with CPU and headroom.
By the end, you’ll have a template you can reuse every time you start a DnB track.
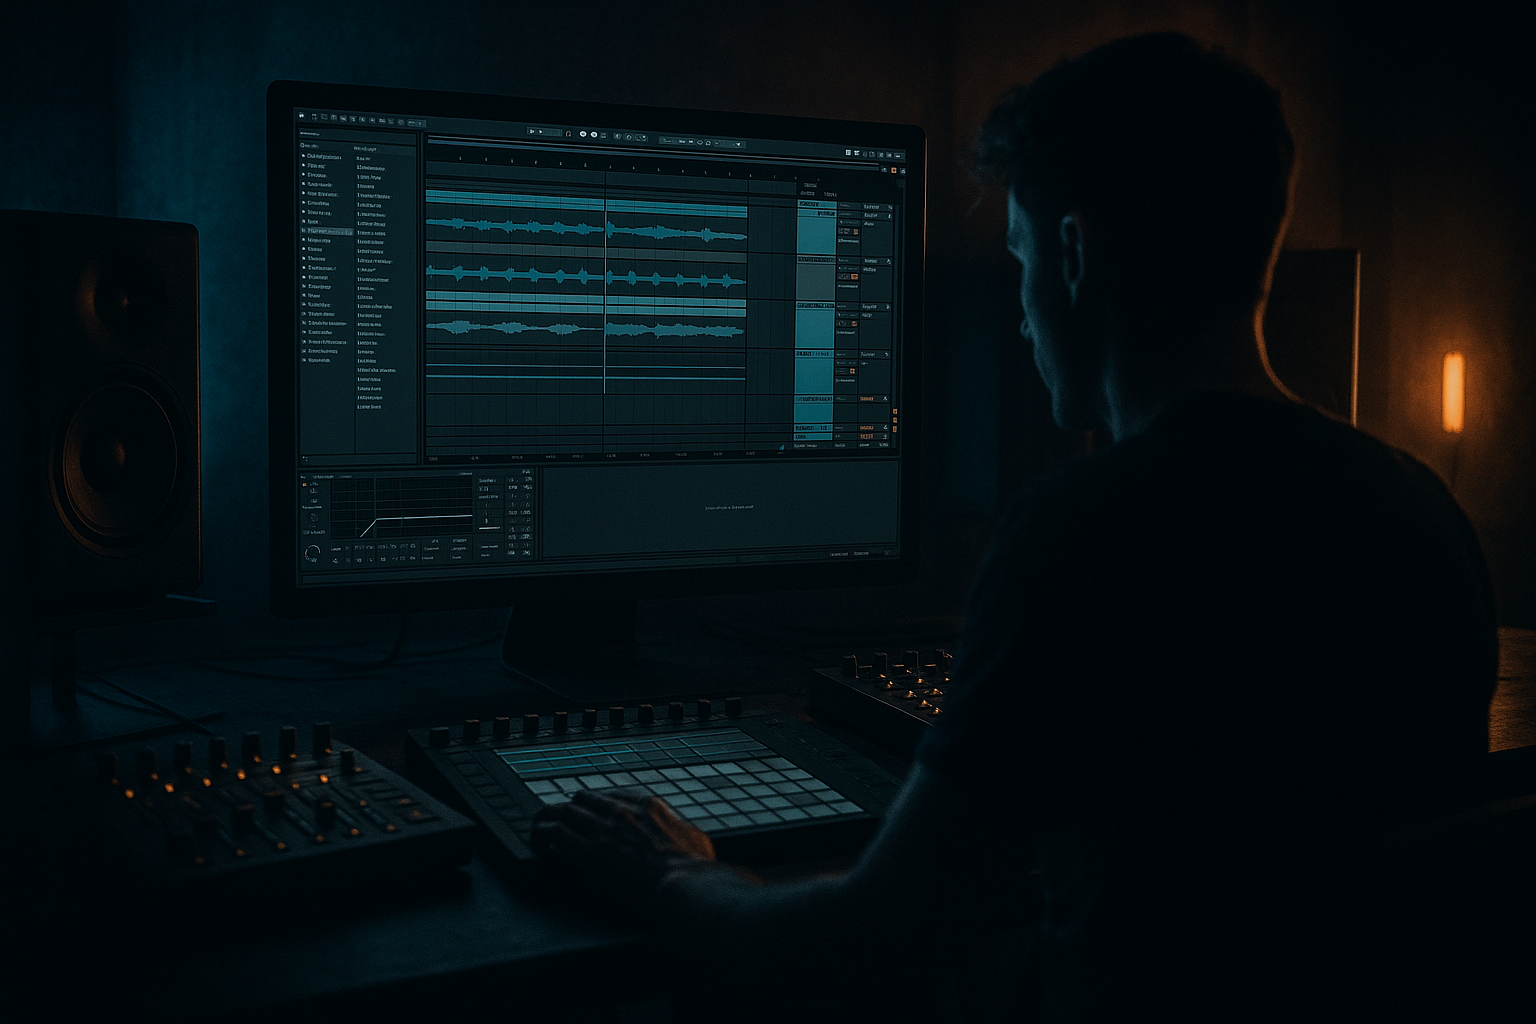
Alright. Open Ableton Live, start a new Live Set, and let’s build this like a producer.
Step zero: session defaults. This is a “do it once, benefit forever” step.
First, set your tempo. For drum and bass, you’re usually living around 172 to 176 BPM. Set it to 174 for now. Time signature: 4/4.
Now, we need to talk about warping, because breaks are the heartbeat of a lot of DnB, and bad warp defaults will slow you down and ruin punch.
Go to Preferences, then Record, Warp, Launch. Make sure Auto-Warp Long Samples is on if you often drag in longer break recordings.
And here’s the simple rule for warp modes:
For drums and breaks, you’ll usually want Beats mode because it preserves transients and keeps the punch.
For melodic samples, Complex or Complex Pro tends to behave better.
One more little quality-of-life setting: if you chop audio a lot, enable Create Fades on Clip Edges. That helps avoid clicks and pops when you slice breaks.
Now, before we go further, you’re going to save this whole setup later as a template. Not yet, but keep it in mind. The whole point is to never rebuild this from scratch again.
Cool. Step one: track layout, naming, and colors.
This is where speed really comes from. The goal is muscle memory. Drums always in the same place. Bass always in the same place. No scrolling, no guessing.
We’re going to create tracks in a specific order. Trust the order. Order equals speed.
Start with your drums. Create audio or MIDI tracks as needed, but for now just create tracks and name them.
Make these drum tracks:
DRUMS - Breaks
DRUMS - Kick
DRUMS - Snare
DRUMS - Hats
DRUMS - Perc
DRUMS - Fills
Now select all of those drum tracks and group them. Command or Control G. Name the group DRUMS (BUS).
Color that group something loud and obvious, like red or orange. When you’re deep in a project, color is not decoration, it’s navigation.
Next, bass group. Create:
BASS - Sub
BASS - Reese
BASS - Mid (Growl)
Group them, name it BASS (BUS), and color it green.
Next, music group:
MUSIC - Pads
MUSIC - Stabs
MUSIC - Atmos
Group it, name it MUSIC (BUS), and color it blue.
Now add a couple extra lanes for polish and structure:
FX - Risers
FX - Impacts
VOX - Main
Even if you don’t use vocals, having a VOX placeholder stops your session from becoming “where do I put this later?” Yellow for vocals works well, purple for FX is common. The exact colors don’t matter as long as you’re consistent.
Finally, utility lanes. These are pro-level speed tools:
REF - Reference Track
PRINT - PreMaster
Make those audio tracks. Color them grey.
Quick teacher note: this layout is intentionally boring. Boring is good. Boring means you always know where things are. Creativity goes into the music, not into inventing a new session layout every time.
Now step two: basic routing and gain staging.
We’re not doing a full mix. We’re creating a clean system that prevents clipping and makes later mixing faster.
On your group buses, drop in simple device chains.
On DRUMS (BUS), add an EQ Eight first. Then add Glue Compressor for gentle cohesion. And optionally add Saturator with a light touch.
On BASS (BUS), add EQ Eight, and optionally Glue Compressor. Then add Utility so you can manage mono. That’s huge for DnB: the low end should behave.
On MUSIC (BUS), add EQ Eight and a very light Glue Compressor if you want it.
Now for headroom targets. Keep it simple:
Individual tracks should peak roughly between minus 12 and minus 6 dB.
Groups should peak around minus 6 dB.
And while you’re writing, your master should be peaking around minus 6 to minus 3 dB.
This is not you “being quiet.” This is you leaving space so every new idea doesn’t force you into a loudness war. Headroom equals speed because you don’t have to fix clipping every five minutes.
Step three: return tracks. This is where the session starts feeling like a real DnB workspace.
Create three return tracks.
Return A: Short Room Verb.
Put Reverb on it. Set decay somewhere around 0.4 to 0.9 seconds. Pre-delay around 10 to 25 milliseconds. Low cut around 200 to 400 Hz, and high cut around 7 to 10 kHz.
The goal is not big cinematic reverb. It’s a small room that glues drums and gives a sense of space without washing out the groove.
Return B: Tempo Delay.
Use Echo if you have it, or a delay device. Set the time to one eighth or one quarter. Feedback around 20 to 35 percent. Turn on filtering and cut lows below about 200 Hz so your delay doesn’t muddy the mix.
Return C: Drum Smash, parallel.
This is your instant aggression and density button.
On that return, add Glue Compressor, then Saturator, then EQ Eight.
On Glue, set ratio to 4 to 1, attack around 3 to 10 milliseconds, release on Auto, and aim for heavy gain reduction, like 5 to 10 dB. Yes, that’s a lot. It’s parallel, so it’s allowed to be nasty.
On Saturator, drive around 2 to 6 dB, Soft Clip on.
On EQ Eight, high-pass around 30 to 40 Hz, and if you want more snap, a gentle presence boost around 3 to 6 kHz.
Teacher note: returns are a speed tool and a consistency tool. If you put separate reverbs and saturators on every channel, you’ll waste CPU and end up with a mix where nothing sounds like it belongs together.
Step four: drum workflow. Break texture plus clean one-shots. This is modern rolling DnB in a nutshell.
Go to DRUMS - Breaks. Drag in a break. Amen, Think, whatever you’ve got. Set warp mode to Beats. If the groove isn’t locking, adjust transient settings in the clip view. The idea is to keep the break punchy and in time, not perfectly stretched into mush.
Add Drum Buss on the break channel. Drive around 5 to 15 percent, Crunch around 2 to 10 percent. Usually keep Boom off for breaks, because you don’t want low-end mud living in your break track.
Now on DRUMS - Kick and DRUMS - Snare, use Drum Rack. One pad equals one sample. This is all about fast swapping. If you don’t like the kick, replace it instantly. If your snare isn’t cutting, swap without redoing your whole pattern.
Add EQ Eight on kick and snare if needed.
On kick, if it’s boxy, you can cut a bit around 200 to 400 Hz.
On snare, if it’s harsh, tame around 5 to 9 kHz.
And here’s a habit that makes your drums sound instantly more “pro DnB”:
Keep the break lower in volume than your one-shots. Break is texture. Kick and snare are the spine.
Then use your returns:
Send a bit of snare to Return A, the room.
Send break and hats a bit to Return C, the smash, to add excitement without destroying your main drum bus.
Step five: bass workflow. Sub and reese separation.
This is where beginners usually get wrecked: they put everything on one bass track, add unison and distortion, and then wonder why the low end disappears on a big system.
We’re going to give each bass layer a job.
On BASS - Sub, load Operator. Oscillator A on a sine wave. Keep it clean. If you need it to read a little better on small speakers, add a Saturator after it with very light drive, like 1 to 3 dB, Soft Clip on.
Add Utility and set width to zero percent. Mono sub. Always.
Optional but common: sidechain the sub using a normal Compressor, not Glue. Sidechain it from your kick, or even from the DRUMS bus as a starter. Try ratio 2 to 1, attack 5 to 15 milliseconds, release 60 to 120 milliseconds. You’re not trying to pump like house music, you’re making room so the kick and snare land cleanly.
On BASS - Reese, load Wavetable. Pick a basic saw-ish sound. Add a little unison if you want width and movement, but keep it under control.
Then add EQ Eight first and cut the lows. Often below 80 to 120 Hz. This is critical. Your reese should not be fighting your sub.
Then add Auto Filter for movement, Saturator for bite, and optionally Chorus-Ensemble if you want width. Just remember: the wider and more detuned you go, the more you must protect the low end by high-passing.
Organised bass lanes means faster writing and way fewer “why is my low end broken” moments.
Step six: arrangement scaffold. Because looping forever is the enemy.
Hit Tab to go to Arrangement View.
At the top, create locators:
Intro 16
Build 16
Drop 32
Break 16
Drop 2 32
Outro 16
Now, inside your Drop section, make a 16-bar loop. This is your core idea zone.
Bars 1 to 16: main drum pattern and bass groove.
Then add quick variation:
At bar 8, a tiny fill.
At bar 16, a bigger fill or a snare rush.
Here’s the DnB arranging mindset: duplicate first, then vary. DnB is repetitive on purpose. Variation is surgical. You don’t need a new drum pattern every two bars. You need small changes that control energy.
Step seven: naming, coloring, and no-scrolling habits.
Rename clips so you can search and understand them instantly later. Examples:
Break Amen 174
Snare Layer 1
Sub MIDI
Fold groups when you’re not actively editing them. Your eyes should be on what you’re changing right now, not on 40 tracks of stuff.
If your CPU starts to get spicy, Freeze tracks. Freezing is not giving up, it’s protecting momentum.
Also use Collections in Ableton to tag your go-to tools: Drum Buss, Saturator, Glue, EQ Eight, Operator, Wavetable. The point is: you should not be browsing devices like you’re shopping online. You should be placing tools like a mechanic.
Now set up your reference track. Drag a pro DnB tune into REF - Reference Track. Often it’s best to turn Warp off for the reference, so it plays naturally. Turn it down so it’s level-matched to your track. If the reference is way louder, your brain will think it’s better even when it’s not.
Extra coach notes: let’s make this even faster with a “2-second navigation” system.
One powerful trick is prefixing track names so they auto-sort and stay consistent:
D1 Breaks, D2 Kick, D3 Snare
B1 Sub, B2 Reese
M1 Pads, and so on
Even if you don’t need sorting, this makes search ridiculously fast. Type “D” and you’re basically in drum-world instantly.
Another speed trick: pin your most-used lanes mentally and visually. In arrangement, keep DRUMS bus, BASS bus, PRINT - PreMaster, and REF easy to reach. Everything else can scroll.
And if you’re on Live 11 or 12, use show and hide to keep the set minimal. Hide FX and Vox lanes until you actually need them. You’ll feel your brain unclutter.
Now, a creative-flow trick: capture ideas without committing.
In Session View, make an IDEAS scene lane, like:
IDEAS - Bass
IDEAS - Drums
IDEAS - FX
IDEAS - Chords
When you stumble on a great 1 or 2 bar moment, duplicate that clip into IDEAS. That way you don’t interrupt your arrangement decisions. You’re basically saving little “gold moments” for later.
Template safety: keep it clean, not heavy.
Don’t load a bunch of CPU-heavy stuff by default. If you love heavy reverbs or oversampling limiters, put them in racks and disable them. You can even map a macro called MIX MODE that turns them on later when you’re actually mixing.
Also, consider making one track called TRASH or AUDITION. Drag random samples there. If they don’t make the cut, delete the track when you move to arranging. This stops your project from turning into a junk drawer.
Quick routing trick: PreMaster as a checkpoint.
Route all your group buses to PRINT - PreMaster instead of directly to the master. This is huge.
It lets you A/B processing like a limiter or clipper without destroying your mix balance.
And it gives you a fast resampling lane for printing your drop, making edits, exporting, whatever.
Common mistakes to avoid as you build this:
Too many tracks with random names. If you see “Audio 37,” you’re already paying a tax.
No grouping, so you can’t control drums or bass as a whole.
Sub and reese on one track, which causes low-end chaos.
Overusing reverb on fast drums, which smears the transients.
And writing with no headroom, so louder always feels better and you can’t judge decisions.
Now let’s do a mini practice exercise. Set a timer if you want. Fifteen to twenty-five minutes.
Create the track layout and groups exactly as we did.
Add the three returns: Room, Delay, Drum Smash.
Load one break into DRUMS - Breaks.
Load one kick and one snare into Drum Racks.
Make an Operator sub with a simple two-note pattern.
Make a Wavetable reese with a one-bar rhythm.
Then build a 16-bar drop loop:
Bars 1 to 8 steady groove.
Bars 9 to 16 add one variation. A fill, a bass change, a hat switch, anything. Just one.
Save it as DnB_SpeedTemplate_Practice.
Your goal is simple: you should be able to find anything in under three seconds.
Before we wrap, here’s the bigger picture recap.
A fast DnB session is consistent structure: drums, then bass, then music, then FX, then utility.
Groups and returns give you instant control and a cohesive sound.
Separate sub and reese so your low end stays clean and heavy.
Use an arrangement scaffold so you escape the endless loop.
And template everything. Future you will genuinely be grateful.
If you tell me what lane you’re in, roller, jump-up, jungle, neuro-ish, and what version of Ableton you’re using, 11 or 12, plus whether you prefer audio chopping or MIDI programming, I can suggest a tighter template variant with default chains that match your style.