Main tutorial
Lesson Overview
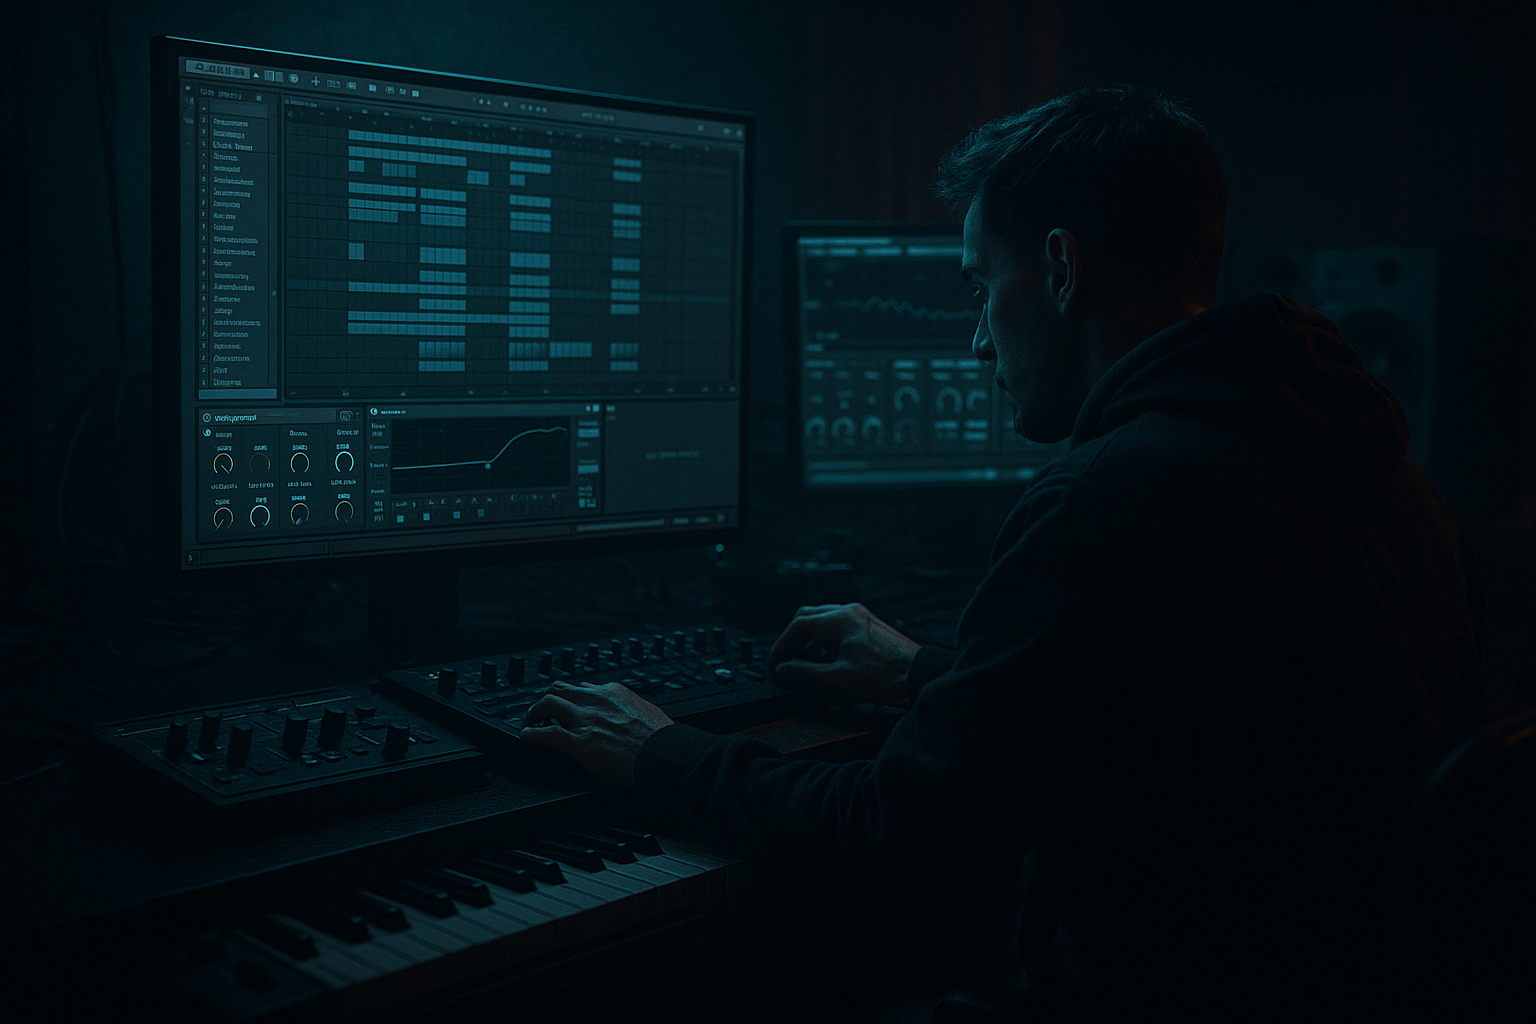
The classic jungle break is more than a loop — it’s the engine of the entire roller. In DnB, especially when you want that timeless, forward-driving momentum, your breakbeat sequence has to do three jobs at once: keep the groove moving, create tension through micro-variation, and leave enough space for the bassline to breathe. This lesson is about building that movement inside Ableton Live 12 using stock tools only, so you can program a break that feels alive, not pasted in.
The goal here is not just “make a break loop.” It’s to sequence a jungle breakbeat that has the swing, ghost notes, and edit language of classic rave/jungle, while still sitting cleanly in a modern roller arrangement. You’ll learn how to chop, reshape, layer, humanize, and automate a break so it can carry an eight-bar section, drive a drop, and transition cleanly between bass phrases without sounding repetitive.
Why this matters: in drum & bass, the drum arrangement is often the hook. A great bassline with a static drum loop can feel flat. A carefully sequenced break with evolving density, fill logic, and transient control can make even a simple bass motif feel expensive and urgent. This is especially true for rollers, darker half-step-adjacent sections, and jungle-informed neuro tracks where the drums need to move as much as the bass.
What You Will Build
By the end of this lesson, you’ll have an advanced jungle break sequence in Ableton Live 12 that includes:
- A main two-bar break phrase with authentic jungle-style chops
- Ghost notes and off-grid micro-edits for momentum
- Layered kick/snare reinforcement without killing the break character
- Controlled break saturation and transient shaping
- A bass-drum pocket that leaves space for a rolling sub or reese
- An evolving 8-bar loop with fill variations and automation
- A DJ-friendly intro/outro-ready drum section you can drop into a full DnB arrangement
- Using a break as a static loop instead of a sequenced performance
- Over-quantizing everything
- Layering too much kick and snare on top of the break
- Too much low end in the drum layer
- Over-processing with compression
- Ignoring the bass relationship
- Add a very subtle Saturator or Drum Buss drive on the drum group to create grime without making the hats brittle.
- Use ghost snares with slightly darker tone than the main hit; roll off a touch of top end so they sit like movement, not accents.
- For a darker jungle feel, leave a few “missing” 16ths in the top layer. Negative space makes the next hit feel heavier.
- Try a parallel drum chain with Compressor or Glue Compressor crushed hard, then blend it back low for extra urgency.
- Use Auto Filter automation on a parallel break layer to create tension before a drop or switch-up.
- If the roller needs more menace, lower the pitch of a few break slices by a semitone or two with Simpler, but keep it subtle to avoid cartoonish tone.
- For neuro-adjacent weight, let the drums and bass trade density: busy drums under a simpler bass phrase, then a sparser drum phrase under a more animated bass movement.
- Keep the low end mono and controlled. A huge stereo break can sound exciting soloed and messy in the room.
- Sequence the break like a performance, not a loop.
- Let the snare anchor the phrase and use ghost notes for motion.
- Reinforce only the weak points with layers.
- Shape the drum bus lightly for glue, punch, and grit.
- Automate density and tone across 8 bars for real arrangement energy.
- Always check the drum pattern against the bassline in mono and in context.
Musically, think of a track that opens with filtered atmospheres and a clipped break tease, then drops into a bassline that answers the drums in call-and-response. The drums are not just supporting the bass — they’re steering the energy of the section. The result should feel like a late-night roller with jungle DNA and modern mix discipline.
Step-by-Step Walkthrough
1. Choose a break with movement, not perfection
Start by loading a break with strong transient shape and natural ghost-note detail. In Ableton Live 12, drag an audio break into an audio track and warp it to the project tempo. For timeless jungle momentum, good source material still matters: Think Amen-style phrasing, Think, Hot Pants, Apache, or a chopped break with hi-hat chatter and snare drag character.
In Clip View:
- Turn on Warp if needed, but avoid over-stretching a break that already sits close to tempo.
- Use Beats mode for punchy material; Complex is usually too smooth for raw jungle breaks unless the source is very long.
- Set transient preservation carefully: if the break loses snap, reduce transient envelope smoothing and keep warping minimal.
Advanced move: duplicate the break onto a second audio track and create an alternate version by warping slightly differently, or by slicing a separate pass to preserve a different transient feel. You’ll use this as a ghost layer or fill layer later.
Why this works in DnB: jungle breaks already contain the internal syncopation and swing that makes rollers feel human. Starting with a break that has real dynamic variation gives you something to “arrange,” rather than building every micro-hit from scratch.
2. Slice the break into playable hits for precise sequencing
Right-click the break and use Slice to New MIDI Track. In the slicing dialog, choose a slicing method based on transients. For advanced control, use transient markers or a sensible division like 1/16 if the source is busy. This creates a Drum Rack with each chop mapped to pads, letting you resequence the break like a drum kit.
Now audition each slice and label the strongest components:
- Main snare
- Ghost snare
- Kick hit
- Hat tick
- Tail/noise slice
- Reverse/lead-in slice if available
Inside the Drum Rack, group the most important slices:
- Put kick and snare layers on separate chains if needed
- Keep ghost hits on their own chain so you can process them differently
- If a slice has too much tail, shorten it with Simpler or the clip envelope
Stock device move:
- Put Simpler on the key slices in Classic mode for tighter ADSR control
- Use a very short release on kicks and main snares, but allow slightly longer release on ghosts if they help the groove
Parameter starting points:
- Main snare decay/release: 40–120 ms if you need tighter punch
- Ghost slice level: usually 6–12 dB lower than the main snare
- Kick slice shorten/loop end: trim until the low-end doesn’t smear into the next 16th
3. Build the core two-bar phrase around snare gravity
In jungle and roller writing, the snare is often the anchor point. Program your two-bar phrase so the main snare lands with authority, then let the chopped break orbit around it.
In the MIDI clip:
- Place the main snare on the classic backbeat positions first
- Add at least one displaced snare ghost before or after each backbeat
- Use 1/16 and 1/32 placements sparingly to create forward push
- Leave intentional gaps where the bass can speak
A strong starting structure is:
- Bar 1: strong backbeat with a pickup ghost before beat 2
- Bar 2: same backbone, but with a slightly more active top-end and an extra turnaround hit near the end
Keep velocity contrast real:
- Main snare: high velocity
- Ghosts: mid-low velocity
- Fast hat fragments: varied, not uniform
In Ableton Live 12, use the MIDI Transform tools or manual velocity editing to create slight repetition without machine-gun sameness. Push a few ghost notes forward by a few milliseconds if the groove feels too rigid; pull some hats a touch late if you want a darker laid-back roller feel.
Musical context example: If your bassline is a two-note reese phrase in D minor, let the snare answer the second note of each bass call. That makes the drum sequence feel like a conversation instead of a loop.
4. Layer for impact, but keep the break character in front
Your break is the identity. The layer is just the reinforcement. Add a clean kick or snare layer only where the break needs more consistency. In a Drum Rack, create separate chains or place additional one-shot samples on a parallel audio/MIDI track.
For kick reinforcement:
- Use a short, punchy DnB kick with a solid 50–90 Hz body
- High-pass the layer if it overlaps the sub too much
- Keep it subtle; the break kick should still feel like the source
For snare reinforcement:
- Layer a crisp snare or rim with a little 180–220 Hz body
- Use EQ Eight to cut unnecessary low end below roughly 120 Hz
- If the layer sounds too modern and hard, soften it with Drum Buss or Saturator
Stock device chain suggestion on the drum bus:
- EQ Eight: clean low rumble and harsh top end
- Drum Buss: low Drive, moderate Crunch, careful Boom
- Saturator: soft clip or mild curve to thicken transients
- Utility: mono low-end check if needed
Concrete settings:
- Drum Buss Drive: 5–20% for glue and bite
- Boom: use lightly, or avoid if your bass already owns the sub
- Saturator Drive: 1–4 dB for density, not destruction
- EQ Eight high-pass on layer tops: 80–140 Hz depending on the layer
Advanced tip: sidechain your reinforcement layers very slightly to the kick/bass interaction if they crowd the groove. The goal is to preserve transient authority without turning the loop into a brick.
5. Create ghost-note motion and micro-variation between main hits
The difference between a loop and a roller is often in the ghost notes. Use tiny chopped hits to create propulsion between the main snare accents. These can come from the same break or from a second break source.
In the MIDI editor:
- Add low-velocity ghost snares before main backbeats
- Place hats on off-16ths or shuffled subdivisions to suggest swing
- Insert one or two “broken” fragments in bar 2 to hint at a fill without breaking the groove
- Avoid symmetrical repetition; let each bar breathe differently
Use groove intentionally:
- Try a subtle MPC-style groove or swing preset
- Apply groove to the ghost notes more than the main hits
- Keep the main snare stable so the whole pattern doesn’t drift
Ableton Live workflow:
- Extract groove from a reference break if useful
- Apply groove amount lightly, often in the 10–35% range, rather than full strength
- Use Groove Pool to audition swing without fully committing
Why this works in DnB: ghost notes create the illusion of a drummer pushing the tempo, even when the BPM is fixed. In rollers and jungle, that internal movement is what keeps repeated 2-bar phrases from feeling static.
6. Shape the break with transient control and bus processing
Once the sequencing feels good, shape the drum bus so the break hits with authority but still retains its ragged human edge. Group your drum tracks and process them as a unit.
Suggested drum bus chain:
- EQ Eight: remove any mud below 25–35 Hz, tame harshness if necessary around 5–8 kHz
- Glue Compressor: slow attack, medium release, light gain reduction
- Drum Buss: add edge and perceived loudness
- Utility: check mono compatibility and reduce width if top-end gets smeary
Starting points:
- Glue Compressor attack: 10–30 ms
- Glue Compressor release: Auto or 0.1–0.3 s depending on tempo
- Gain reduction: 1–3 dB max on the drum bus
- Drum Buss Transients: use carefully; small moves only
- Utility width: keep low-frequency content mono
If the break feels too spiky, use a transient-softening approach:
- Reduce the attack of the loudest slices slightly in Simpler
- Or compress the whole break lightly rather than flattening individual hits
- If the hats pierce, automate a small EQ dip or dynamic control in the high band
Mixing note: the drum bus should feel unified, not over-processed. In DnB, over-compressed breaks lose the “dance” that makes rollers powerful over long DJ blends.
7. Automate density and tonal shifts across the 8-bar phrase
Advanced drum programming is arrangement, not just loop design. Build an 8-bar phrase with a clear energy arc.
A strong roller structure:
- Bars 1–2: lean intro of the full break with restrained low-end layer
- Bars 3–4: add ghost-note density and a small hat lift
- Bars 5–6: introduce a fill variation or extra snare pickup
- Bars 7–8: either strip back briefly or use a turn-around into the next section
In Ableton Live 12:
- Automate Drum Rack chain volume for fill accents
- Automate Auto Filter on the break bus to create tonal movement
- Automate reverb sends on select ghost hits, not the whole kit
- Automate Saturator Drive or Drum Buss Drive slightly higher in the last bar for lift
Useful automation ideas:
- High-pass the break subtly during build sections, then open it on the drop
- Automate a narrow EQ dip removal around 2–4 kHz for tension, then restore brightness at the phrase hit
- Add a short delay throw to one ghost snare at the end of bar 4 or 8 for a switch-up
Arrangement context: if your bassline is a repeating four-bar reese motif, let the drums evolve every two bars while the bass changes every four. That creates a larger phrase structure without cluttering the arrangement.
8. Make it bass-friendly: carve the pocket before the sub enters
A timeless roller only feels good if the drums and bass own separate zones. Even though this lesson is drum-focused, the final check must include how the break interacts with the bassline.
Practical mix moves:
- Use EQ Eight to carve a small notch in the drum bus where the sub or low reese is strongest
- Keep the break kick lean if the bassline has heavy low mids
- If the bass has a big 120–250 Hz body, don’t let the snare layer overbuild there
For bass interplay:
- Leave space in the drum pattern for bass phrases to answer
- If the bass hits on the off-beat, avoid overloading hats on the same subdivisions
- Use call-and-response: a denser drum fill can set up a sparse bass answer, or vice versa
Mono and translation check:
- Put Utility on the master or drum bus and audition in mono
- If the break collapses badly, check phase on layers and reduce stereo widening on the drum top end
- Keep sub and kick relationships clean; the break should support the low end, not fight it
This is especially important in neuro-influenced darker DnB, where bass design can get very dense. Your break needs room to breathe through the mix so the track still feels punchy on club systems.
Common Mistakes
- Fix: chop it, resequence it, and vary ghost notes or endings every 2 bars.
- Fix: keep the main snare stable, but let smaller fragments breathe a little late or early.
- Fix: reinforce only the weak points; don’t replace the personality of the break.
- Fix: high-pass support layers and let the sub or bassline own the deepest range.
- Fix: use light glue, not heavy flattening. DnB drums need bounce, not brickwall sameness.
- Fix: always audition the break with your bassline. A great drum pattern that fights the bass will never feel like a roller.
Pro Tips for Darker / Heavier DnB
Mini Practice Exercise
Spend 10–20 minutes building a two-bar jungle roller drum phrase in Ableton Live 12.
1. Pick one break and slice it to a Drum Rack.
2. Program a basic two-bar snare backbone.
3. Add at least four ghost notes and two hat fragments.
4. Layer one kick or snare only where the break feels thin.
5. Put a drum bus on the group with EQ Eight, Glue Compressor, and Drum Buss.
6. Duplicate the pattern and make one bar denser and one bar emptier.
7. Test it with a simple 2-note sub or reese loop and adjust until the drums feel like they’re pushing the bass, not fighting it.
Goal: by the end, you should have a break that evolves across two bars and feels like it could sit inside a real DnB drop.
Recap
A timeless roller comes from tension, space, and groove control. If the break feels alive before the bass even enters, you’re already halfway to a proper DnB drop.

