Main tutorial
Lesson Overview
An Amen-style impact is one of those tiny details that can make a Drum & Bass track feel instantly more alive. In a jungle, rollers, or darker DnB arrangement, it’s the kind of hit you use to mark a drop, a phrase change, a fill, or the start of a switch-up. Think of it as a short, punchy accent made from the Amen break’s character: sharp transient, gritty midrange, and a little bit of old-school motion.
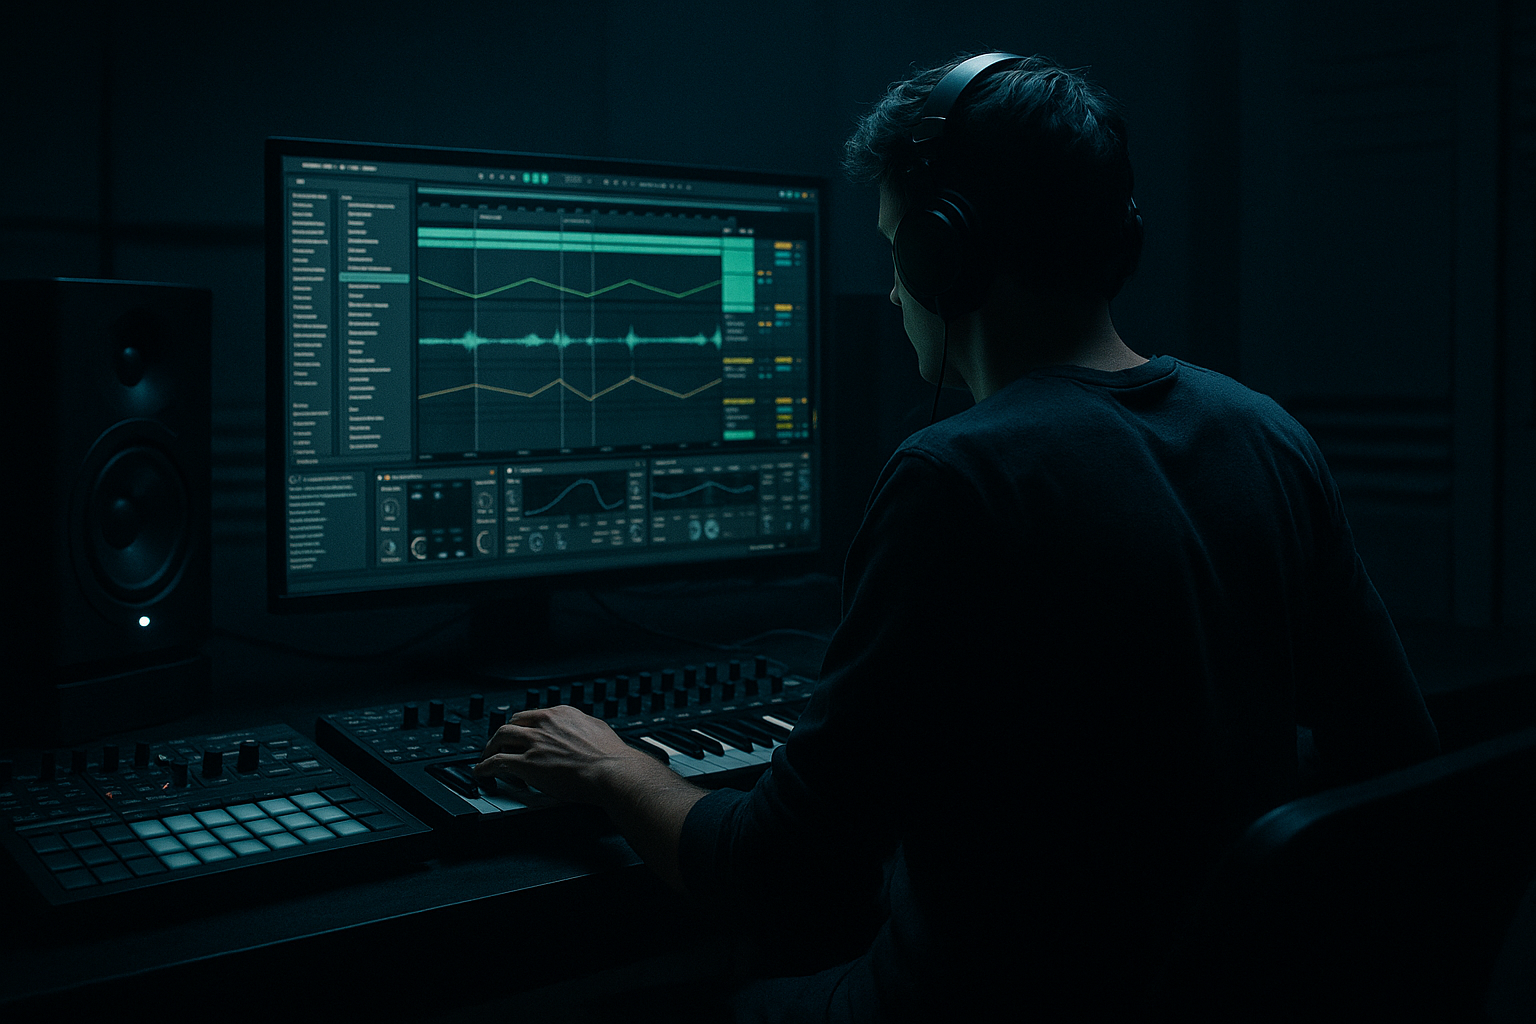
In this lesson, you’ll build a lightweight Amen-style impact inside Ableton Live 12 using stock devices only, with a focus on keeping CPU load low. That matters because DnB projects can get heavy fast: lots of drum edits, bass layers, resampling chains, and FX all stacked in one session. If your impact sound is efficient, you can use it repeatedly across the arrangement without slowing your workflow or cluttering the mix.
The goal here is not to recreate a full breakbeat loop. It’s to design a fast, reusable impact that feels like it belongs in authentic DnB. You’ll make it tight, aggressive, easy to automate, and simple to bounce into audio later if you want even more CPU headroom. This is a very practical workflow skill: build once, use it many times, and keep moving 🔥
What You Will Build
By the end of this lesson, you’ll have:
- A short Amen-style impact made from a sliced or resampled drum hit
- A compact Ableton instrument rack or audio chain that uses very little CPU
- A punchy transient with grit, a bit of room, and controlled low-end
- A version you can drop into a DnB arrangement as a phrase marker, fill, or transition hit
- A workflow you can reuse for jungle edits, rollers switch-ups, or neuro-style drum punctuation
- A short Amen break slice from your own sample library
- A clean kick-snare-perc one-shot from Session view or browser
- A single snare hit with some room tone if you want a more “impact” feel
- Mode: One-Shot
- Trigger: Gate off, so the hit plays fully when triggered
- Warp: Off if it’s already a one-shot, or on if you need to match timing
- Voices: 1 if you want strict one-hit behavior
- Start: 0% to 3%
- End: shorten until the tail stops before it muddies the next beat
- Fade: 1–10 ms if you hear clicks
- Drive: 5–15%
- Boom: Off at first, or very low if the sample lacks low body
- Crunch: 5–20%
- Damp: adjust to reduce harsh top-end if needed
- Drive: +2 to +6 dB
- Soft Clip: On
- Output: trim to avoid clipping
- High-pass around 30–50 Hz if the hit has unnecessary sub rumble
- Cut a little around 200–400 Hz if it sounds boxy
- Add a small boost around 2–5 kHz if you want more snap
- If the top is harsh, dip around 7–10 kHz gently
- HP filter: 36 Hz, 24 dB/oct
- Bell cut: -2 to -4 dB at 280 Hz
- Bell boost: +2 dB at 3.5 kHz, wide Q
- Reverb
- Hybrid Reverb
- Decay: 0.3 to 0.8 s
- Pre-delay: 10 to 25 ms
- Dry/Wet: 5 to 12%
- Size: small to medium
- Attack: 0 ms
- Decay: short, around 100–300 ms if you want a snappy hit
- Sustain: 0%
- Release: 20–80 ms
- Simpler
- Saturator
- EQ Eight
- Utility
- End of an 8-bar phrase, on beat 4 of bar 8
- Right before a drop return, on the “and” of 4
- As a pickup into a snare fill
- As a response hit after a bass stab
- Bars 1–7: steady kick, snare, and bass groove
- Bar 8: a short drum fill
- Last half-beat: your Amen-style impact
- Bar 9: full drop returns
- Macro 1: Drive / Saturator amount
- Macro 2: EQ top boost or cut
- Macro 3: Reverb Dry/Wet
- Macro 4: Output level
- Cleaner rollers: less drive, less reverb
- Jungle: more grit, slightly more room
- Neuro/darker bass: more midrange bite, less tail
- Amen Impact - Tight
- Amen Impact - Gritty
- Amen Impact - Jungle Room
- Solo the track or use resampling on a new audio track
- Record one clean hit
- Warp off if it doesn’t need timing correction
- Consolidate the clip for easy reuse
- You’re arranging lots of impact variations
- Your project has many synths or bass chains
- You want to commit and move fast
- Increase reverb slightly only on the last hit before a drop
- Automate the Drive up by 1–2 dB in heavier sections
- Cut the tail more tightly in the intro and let it ring a bit more in the breakdown
- Automate Utility gain down a little if the impact is stacking with other fills
- Add a tiny bit of Drum Buss Crunch to make the hit feel more like it came from a broken, dusty break. Great for jungle and gritty rollers.
- Use very short room reverb with a dark tone. A small space can make an impact feel bigger without sounding glossy.
- Layer a quiet sub thump underneath only if the arrangement is sparse. Keep it mono and very short, or it will fight the bassline.
- For a heavier neuro-influenced feel, emphasize the mid punch around 2–4 kHz and keep the tail tight.
- Duplicate the impact and process the second copy differently: one dry and sharp, one low and dirty. Blend them quietly for weight.
- If the drop already has a busy reese or bass movement, keep the impact minimal and percussive. In darker DnB, less often feels more powerful.
- Use the impact as a response to a bass phrase. For example, bass stab on beat 1, Amen-style hit on beat 3. That call-and-response makes the groove feel alive.
- Try subtle clip gain changes between repeated hits so the ear hears variation without needing a new sound every time.
- Version A at the end of bar 4
- Version B at the end of bar 8
- Version C before bar 16
- Build your Amen-style impact from a short drum source, not a huge layered chain.
- Keep the CPU load low with Simpler, one saturation stage, EQ Eight, and optional short reverb.
- Trim the sample tightly and control the envelope so it behaves like a proper DnB phrase marker.
- Place the hit on musical boundaries: 4-bar, 8-bar, or 16-bar transitions.
- Save the sound as a rack or resample it to audio for faster arrangement and lighter sessions.
- In Drum & Bass, a small, well-placed impact can do a lot of heavy lifting.
Musically, this will work as a one-shot accent around the start of a 4, 8, or 16-bar section. For example: in a 174 BPM roller, you might place the impact on the last beat of bar 8, right before the drop comes back in with the full drum and bass groove. Or in a darker jungle section, you might use it as a call-and-response hit between chopped breaks and a sub pulse.
Step-by-Step Walkthrough
1. Start with a clean, low-CPU drum source
Open a new MIDI track and load Ableton’s Drum Rack. This is a very efficient way to organize one-shot percussion in DnB.
For your source, use one of these stock options:
If you don’t have a sliced Amen yet, keep it simple: drag in any breakbeat loop you own and extract one good snare or combined drum hit. For beginners, the fastest route is to use a snare-heavy slice that already has some break character.
Why this works in DnB: the Amen style is about transient personality. You don’t need a huge layered sound to get that vibe. In fast music, a small, well-shaped hit often feels stronger than a bulky one, especially when the bassline is already busy.
2. Keep the source chain lightweight
Inside the Drum Rack pad, drop the sound into Simpler. Set Simpler to:
If the hit is too long, use Simpler’s Start/End controls to trim it tightly. Aim for a short decay that leaves space for the kick and sub. For a more aggressive impact, keep only the first 200–500 ms of the sound.
Suggested starting points:
This keeps the sound efficient and stops the hit from eating unnecessary CPU or low-end space.
3. Shape the transient with Drum Buss or Saturator
Add one stock processing device after Simpler. For a punchy DnB impact, Drum Buss is ideal because it adds weight and edge without building a huge device chain.
Try this:
If you want a cleaner approach, use Saturator instead:
For beginner workflow, keep it simple: one device doing most of the tone work. This is better than stacking five processors and guessing what each one is doing.
A good rule in DnB: if the impact sounds exciting at low volume, it will usually sit better in the mix.
4. Add short EQ shaping for clarity
Put EQ Eight after the saturation or Drum Buss. This is where you carve the hit so it doesn’t fight your kick, sub, or bass reese.
Use these practical moves:
A beginner-friendly starting shape:
Why this works in DnB: most of the sub weight should belong to the bassline or kick design, not the impact. By cleaning the low end, you make room for the real foundations of the track while still keeping the Amen-style bite.
5. Add a tiny room or space without washing it out
An impact feels bigger when it has a touch of space, but in DnB you want that space to be short and controlled.
Use one of these Ableton stock options:
Keep it subtle:
If the hit is supposed to feel more “old-school jungle”, a short room can help it sound like it lives inside the break. If it’s for a darker neuro or roller drop, keep the space tighter and more surgical.
Tip: place the reverb after EQ if you want the cleaned-up tone to feed the room, or before EQ if you want to shape the reverb tail too.
6. Control the envelope so it hits like an edit, not a loop
Now make the sound behave like a proper impact. In Simpler, go to the Amp envelope and tighten it if needed:
If the source is still too long, reduce the sample length further instead of relying only on envelope controls.
For more punch, you can also use a very short transient-focused chain:
Utility is useful because you can quickly adjust gain without changing tone. If the sample feels too wide or phasey, use Utility’s Width control and keep it near mono. For impacts in DnB, mono is usually safer and tighter.
7. Turn the sound into an Amen-style phrase marker
Now place the hit in a musical context. Open a MIDI clip and program the impact so it supports the arrangement rather than floating randomly.
Good beginner placements:
For example, in a 174 BPM roller, you might use:
That single hit can make the transition feel intentional and DJ-friendly. In DnB, phrase awareness is huge: even a tiny hit can signal “something is changing” before the listener consciously notices it.
8. Make it reusable with a simple rack and macros
If you want the fastest workflow, group your devices into an Audio Effect Rack or Instrument Rack and save it as an Ableton preset.
Suggested macro assignments:
This gives you a quick way to adapt the same impact across different tracks:
Save the rack with a clear name like:
This is a workflow win because you stop rebuilding the same sound every session. Instead, you recall it, tweak it, and keep arranging.
9. Resample it if you want maximum CPU savings
If your project is starting to get heavy, resample the impact to audio.
In Ableton Live:
Then freeze or deactivate the instrument track if you’re happy with the sound. This is one of the best beginner habits for DnB production because it keeps your session responsive while you build bigger drum edits and bass layers around it.
Use the audio version when:
This is especially useful in jungle and darker DnB where the arrangement may use many short edits and one-shots.
10. Automate for movement, not clutter
The impact should change just enough to feel alive. Small automation moves go a long way.
Good automation ideas:
If you are using a return track for reverb, send only the impact hit to it on selected phrases. That keeps the arrangement clean and saves CPU compared to putting a full reverb on every sound.
A subtle automation move is often more “pro” than a huge effect. In DnB, controlled movement usually sounds heavier than obvious processing.
Common Mistakes
1. Making the hit too long
Fix: trim the sample or shorten the amp envelope. DnB impacts need space to breathe.
2. Letting low-end build up
Fix: high-pass around 30–50 Hz and keep sub weight for your kick/bass.
3. Overusing reverb
Fix: use a short decay and low Dry/Wet. You want impact, not a wash.
4. Stacking too many devices
Fix: use one saturation stage, one EQ, and one space device. Keep the chain lean.
5. Placing the hit randomly
Fix: line it up with 4-bar or 8-bar phrasing so it feels intentional in the arrangement.
6. Forgetting mono compatibility
Fix: use Utility to narrow the width if needed. Impacts should translate well on club systems.
7. Leaving the sound too harsh
Fix: gently cut around 7–10 kHz or reduce saturation drive.
Pro Tips for Darker / Heavier DnB
Mini Practice Exercise
Spend 10–20 minutes building three versions of the same Amen-style impact in Ableton Live 12:
1. Version A: clean and tight
- Minimal saturation
- Short decay
- No reverb
2. Version B: jungle/gritty
- More Drive in Drum Buss or Saturator
- Small room reverb
- Slight mid boost around 3 kHz
3. Version C: dark/heavy
- Controlled top end
- Narrower stereo width
- Shorter tail
- Slight low-mid body, but still no sub overload
Then place each version in a different part of a 16-bar DnB loop:
Listen back and choose which version best supports the arrangement. The goal is not perfection — it’s fast decision-making and workflow confidence.

