Main tutorial
Lesson Overview
A think-break switchup is one of the most effective edit tools in Drum & Bass: you take the recognizable energy and swing of a breakbeat pattern, then flip it into a tighter, more arranged “think” moment that resets the groove before the drop, a new 16, or a post-drop variation. In DnB, that matters because listeners are constantly tracking momentum. If your drums keep looping with no narrative, the tune feels flat; if you switch too hard, it loses groove. The sweet spot is a controlled edit that sounds intentional, musical, and DJ-friendly.
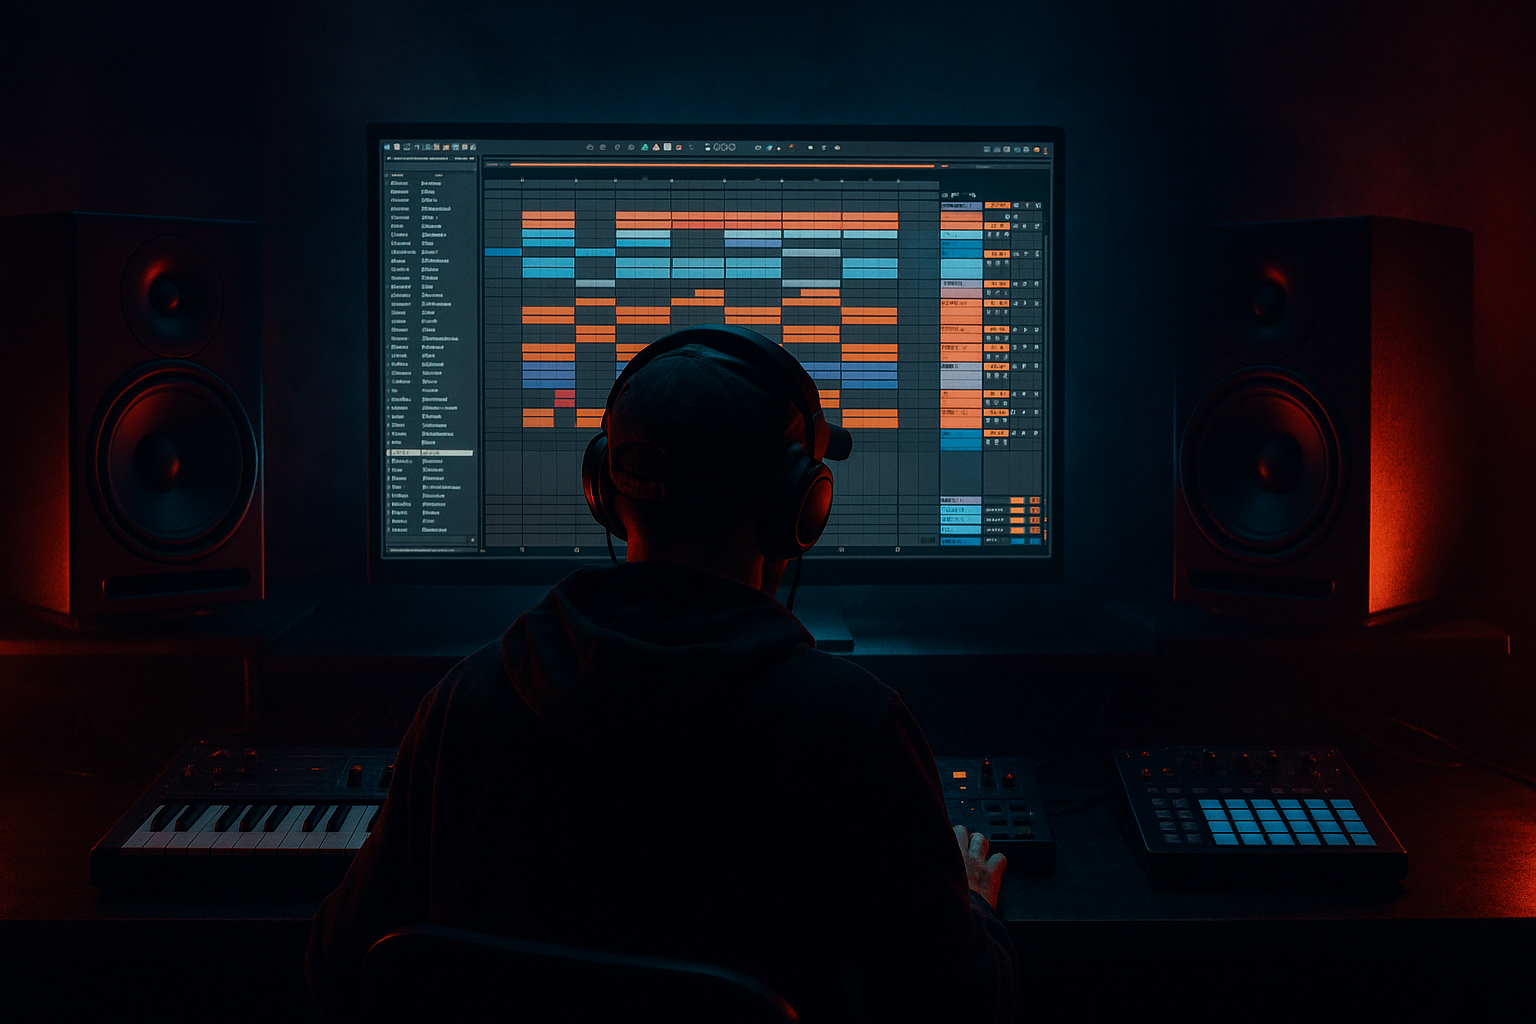
In this lesson, you’ll build a minimal-CPU think-break switchup in Ableton Live 12 using mostly stock devices, lightweight editing, and efficient routing. The goal is not to turn a full break into a giant layered monster. It’s to create a high-impact edit that feels like a deliberate roller/jungle/neuro arrangement move while keeping the session lean enough for bigger bass processing, resampling, and mix headroom.
Why this technique matters in DnB:
- It creates phrase contrast without needing a new drum kit
- It gives your drop or turnaround a “human” edit that breaks repetition
- It works brilliantly for rollers, darker half-time sections, jungle throwbacks, and neuro switchups
- It keeps CPU low by leaning on slice editing, returns, and freeze/resample logic instead of stacking heavy channels
- Starts with a rolling main break groove
- Re-edits into a tighter, more syncopated “think” phrase
- Uses ghost hits, stutters, and one or two carefully chosen fills
- Keeps the sub and bass line out of the way so the edit reads clearly
- Uses stock Ableton Live devices like Simplers, Drum Racks, Auto Filter, Saturator, Utility, Drum Buss, Echo, and Reverb
- Stays CPU-light by consolidating audio, using return tracks, and minimizing duplicate processing
- Over-editing the break until it loses its pocket
- Adding too many layers to “make it heavier”
- Leaving bass and switchup fighting in the same frequency range
- Quantizing everything dead straight
- Using too much ambience on the drums
- Forgetting CPU discipline
- Use negative space as tension
- Add grit on the drum bus, not every hit
- Use short filtered delay throws
- Monophonic low-end discipline
- Accent one “signature” ghost note
- Resample your best version
- Tension automation on the bass
- A think-break switchup is a high-value DnB edit tool for phrase contrast and momentum.
- Build it from one strong break, sliced cleanly, then re-sequence with ghost notes, gaps, and a small fill.
- Keep CPU low by using stock Ableton devices, return FX, and consolidation.
- Protect the low end: mono sub, disciplined bass phrasing, and minimal overlap during the edit.
- The best switchups sound intentional because they balance rhythm, space, and tension. That’s the DnB sweet spot 🔥
---
What You Will Build
You’ll make a 4- or 8-bar think-break switchup that:
Musically, imagine a 174 BPM roller where bars 1–2 are a straight amen-based drive, bars 3–4 introduce a think-style drum conversation, and bar 4 ends with a tiny breakfill that leads into the drop. Or a darker jungle cut where the break snaps into a chopped halftime-feel switchup before the bass re-enters. The idea is movement, not clutter.
---
Step-by-Step Walkthrough
1. Set up a lean edit canvas at DnB tempo
- Set the project to 172–176 BPM. For this lesson, use 174 BPM.
- Keep the arrangement focused: one break track, one bass track, one sub track if needed, and two return tracks for shared FX.
- Use a single audio track for the main break source rather than multiple duplicate break lanes. This matters for CPU and keeps the edit process fast.
- If you’re building from samples, place your break loop on an audio track and warp it tightly. For a think-break edit, use a loop that already has personality: think amen, funky drummer, hot pants style material, or a modern jungle break with a natural swing pocket.
2. Choose the break section that will “think” best
- Solo through the break and find a 2- or 4-bar phrase with strong ghost notes and a clear kick/snare relationship.
- Look for a moment where the break breathes: a small gap before a snare, a thin pickup, or a little room after a kick. Those details are what make a think-break feel alive.
- In clip view, set the loop brace to the cleanest region, ideally 1 or 2 bars long.
- If the source is busy, don’t fight it. You want a section with usable transient information, not a fully packed wall of hats.
3. Slice the break in a CPU-friendly way
- Right-click the clip and choose Slice to New MIDI Track.
- Slice by Transients for break work. This preserves the feel and gives you fast access to individual hits.
- In the Slice settings, choose a lightweight target like Simpler or Drum Rack pads. For maximum speed and organization, Drum Rack is usually best.
- Once sliced, mute the original audio track if you don’t need it live. You can keep it disabled or frozen for reference.
- Why this works in DnB: break-based genres rely on transient placement and micro-variation. Slicing lets you rearrange groove without adding new instruments or heavy processing.
4. Build the base switchup as a 2-bar call-and-response
- In MIDI, create a first bar that keeps the original break’s identity: kick, snare, one or two ghost hats, maybe a pickup ghost snare.
- In the second bar, flip the phrase. Move one kick earlier, leave a pocket of silence before a snare, or repeat a tiny hat cell as a rhythmic answer.
- Think in call-and-response rather than “fill.” For example:
- Beat 1: kick + low break tail
- Beat 2: snare
- Beat 2.3: ghost hat
- Beat 3: kick
- Beat 3.4: tiny snare drag
- Beat 4: open space or a two-hit pickup
- Keep the density controlled. Advanced DnB edits often sound bigger because they leave room between the hits.
- If you want the “think” feel to read more clearly, slightly reduce the number of continuous hats in the switchup and let the snare/groove articulation do the work.
5. Shape the groove with timing, not just notes
- Open the MIDI clip and use Groove Pool if the original break has swing you want to preserve. Apply a subtle groove, not a heavy quantize flattening.
- For a think-break switchup, you usually want slightly human placement:
- Kick notes a touch ahead or on grid depending on the source
- Ghost notes a little late for pocket
- Snare hits locked tighter than hats
- Use MIDI velocity to separate primary hits from ghost notes. As a practical range:
- Main snare accents: around 95–127 velocity
- Ghost notes: around 30–70 velocity
- Hat pickups: around 40–85 velocity
- This lets the break breathe without needing extra layers.
6. Use Drum Rack or Simpler processing sparingly and deliberately
- On the break rack, keep processing minimal:
- Simpler: Short Attack, Release around 20–60 ms if you need clean tails
- Filter off unless you need tonal shaping
- One instance of Saturator with Drive around 1–4 dB for grit
- If using Drum Rack, group hits into a few logical zones rather than processing each pad heavily.
- Put a Utility after the break processing and keep width controlled. For low-end break hits, consider narrowing the rack or even setting Utility width to 0–60% on the low break layer.
- If you want a transient-focused snap, add Drum Buss lightly:
- Drive around 5–15%
- Crunch low or off
- Transients subtle, not smashed
- This gives you impact without CPU-heavy parallel chains.
7. Create the switchup movement with automation and tiny FX
- Automate Auto Filter on the break bus or a return:
- Slight low-pass pull from around 18 kHz down to 8–12 kHz over 1–2 bars for tension
- Or a narrow band-pass flick briefly on the final hit before the drop
- Use Echo very lightly on only one or two hits via a send:
- Time synced to 1/8 or 1/4
- Feedback low, roughly 10–25%
- Filter the repeats so they don’t clutter the low mids
- Reverb can work on a send for the snare tail or a single ghost fill:
- Decay short to medium, around 0.6–1.4 s
- Pre-delay 10–25 ms
- High-pass the return so the tail doesn’t eat the sub zone
- Keep FX as punctuation, not decoration. In DnB, a good switchup is mostly rhythm with a little atmosphere.
8. Lock the bass and sub around the edit
- If your bassline is active, simplify it during the switchup. This is where the edit gains authority.
- Use arrangement space: drop the bass phrase density for 1 bar, or keep only a sub note under the first bar and let the switchup breathe.
- If you’re using a reese or neuro bass, automate a low-pass or movement reduction during the edit so the drums can speak.
- Stock devices that work well:
- Auto Filter for bass tone control
- Saturator for harmonic thickness
- Utility to mono the sub
- Keep the sub mono below about 120 Hz. In Ableton, you can do this by placing Utility on the sub channel and setting Width to 0%, or by filtering the upper layer away from the sub region.
- This is crucial: the think-break switchup sounds much more powerful when the low-end is disciplined instead of constantly competing with it.
9. Consolidate the edit for speed and CPU efficiency
- Once the pattern works, consolidate it to an audio clip if you no longer need MIDI flexibility.
- This is especially smart in advanced DnB sessions where bass sound design, atmospheres, and master-bus checks can get heavy fast.
- After consolidating:
- Rename the clip clearly, e.g. “ThinkBreak_Switchup_174”
- Color-code it to match your drum section
- Keep a backup duplicate of the MIDI version muted in case you want to revise later
- If the switchup has a strong transient signature, the consolidated audio may actually feel tighter than the MIDI-based version because the micro-timing gets locked in cleanly.
10. Place the switchup in a phrase-aware arrangement
- The strongest DnB placement is usually at the end of a 16 or 32-bar section:
- Bars 15–16: tension build
- Bar 16: think-break switchup
- Bar 17: drop back in or new variation
- It also works before a second drop or as a DJ-friendly intro/outro variation.
- For a darker roller, try this:
- 8 bars groove
- 4 bars bass reduction
- 2-bar think-break switchup
- 1-bar fill or impact
- Drop returns with a slightly different bass phrase
- The arrangement win here is contrast. The switchup acts like a punctuation mark, not just a drum loop edit.
---
Common Mistakes
- Fix: preserve the original snare placement and only change a few supporting hits. The groove should still feel like DnB, not random percussion.
- Fix: let the break, sub discipline, and automation do more of the work. Heavy DnB often feels bigger because it’s cleaner.
- Fix: thin the bass for the edit, mono the sub, and high-pass reverbs and echoes.
- Fix: keep ghost notes, hat flicks, and fill hits slightly human. A think-break lives in the push/pull.
- Fix: use tiny send-based FX, not huge wash. DnB needs impact and front-to-back clarity.
- Fix: consolidate loops, freeze heavy instruments, and reuse return tracks. Don’t build a switchup with six separate processing chains if one routed bus can do it.
---
Pro Tips for Darker / Heavier DnB
- One bar with fewer hats and a more exposed snare can hit harder than a fully packed fill. Dark DnB loves restraint.
- A touch of Saturator or Drum Buss on the break group can unify the edit. Keep Drive modest so transients stay sharp.
- Send just the last ghost snare or pickup hat into Echo with the return filtered down. This creates a smoky tail without clouding the low mids.
- Keep the bass fundamentals centered and the break lows controlled. If your switchup feels small, check stereo width before adding more processing.
- In darker rollers and neuro edits, a single late snare drag or a weirdly placed kick can become the hook. Don’t turn every bar into a fill.
- Once you find a switchup that works, resample it and chop that resample further if needed. This is classic jungle/DnB workflow: capture, edit, reuse.
- A small Auto Filter closing motion or a harmonic fade before the switchup can make the drum edit feel enormous when it lands.
---
Mini Practice Exercise
Spend 10–20 minutes building a 2-bar think-break switchup at 174 BPM.
1. Pick one break sample and slice it to Drum Rack.
2. Program a 2-bar loop with at least:
- 2 main snare hits
- 2 ghost notes
- 1 intentional gap
- 1 small pickup into bar 2
3. Add only one drum bus processor, either:
- Saturator with 2–3 dB Drive, or
- Drum Buss with light Drive
4. Route a snare hit to Echo on a return and keep feedback low.
5. Automate a low-pass on the break bus across the last bar.
6. Place the switchup before a drop and mute or simplify the bass underneath.
7. Export or consolidate the result and listen back in mono.
Goal: make it feel like a proper DnB arrangement move, not a chopped-up loop. If it doesn’t feel dangerous in the gap before the drop, simplify it and try again.
---

