Main tutorial
Lesson Overview
A filtered breakdown is one of the most effective tension-build tools in jungle and oldskool DnB. It gives you a moment to strip the track back, expose the groove, and then reintroduce the bass and drums with a bigger impact. In a proper DnB arrangement, this is not just “take some stuff out” — it’s a controlled mix move that shapes energy, keeps the listener locked, and makes the drop feel earned.
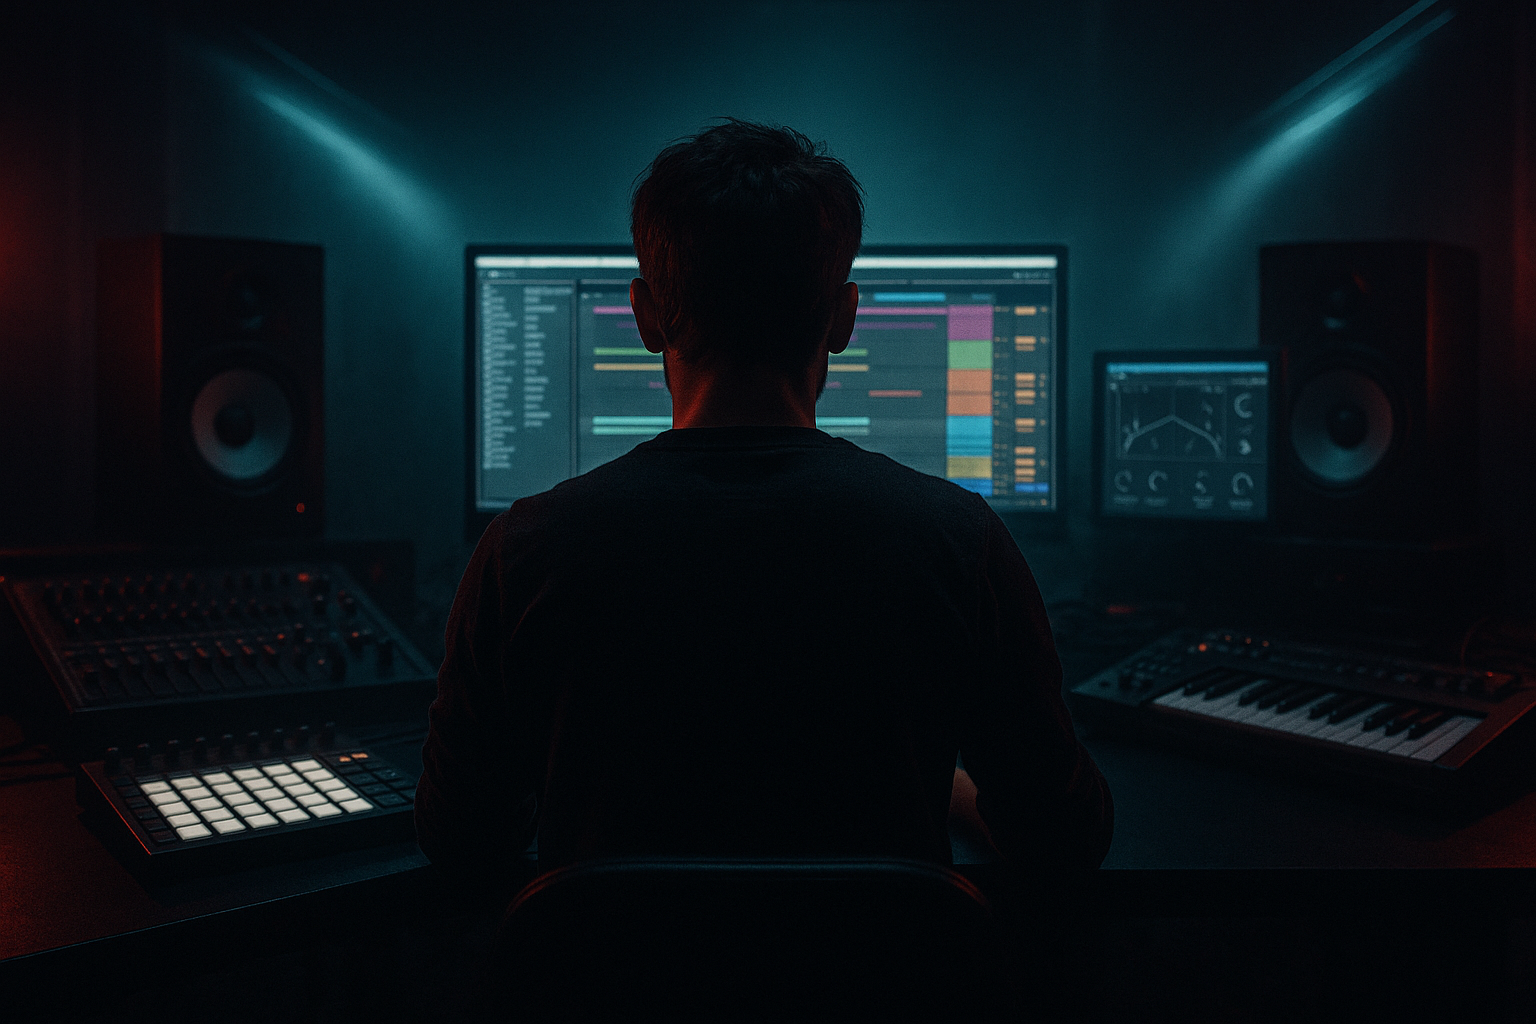
In this lesson, you’ll build a filtered breakdown in Ableton Live 12 that feels authentic to jungle, rollers, and darker DnB. The focus is on mixing decisions: how to keep the low end under control, how to filter without flattening the groove, how to use stock Ableton devices to automate movement, and how to make the breakdown feel musical rather than empty.
This technique matters because DnB lives on contrast. You want the listener to feel the weight of the drop by removing just enough sub, drum impact, and harmonic information — but not so much that the breakdown loses identity. The best breakdowns still pulse with rhythm, atmosphere, and tension. That’s the balance we’re aiming for.
What You Will Build
You’re going to build a 4-, 8-, or 16-bar breakdown section that works in a jungle/oldskool DnB arrangement. The result will have:
- A filtered drum loop or breakbeat with the midrange kept alive
- A bassline or reese element that fades into a band-limited, tension-building version
- Atmospheric texture like vinyl noise, reverb tails, or a sampled pad
- Automation that opens the mix back up into the next drop
- A clear DJ-friendly arrangement shape that feels authentic on a dancefloor
- Making the breakdown too empty
- Filtering everything the same way
- Letting reverb wash out the groove
- Leaving sub bass running too loud
- Overdoing filter resonance
- Ignoring mono compatibility
- No arrangement contrast
- Use saturation before filtering on breaks
- Keep the sub “implied” if you want tension
- Parallel process your drum bus
- Automate narrow boosts with caution
- Use call-and-response between bass and drums
- Try a “dark room” breakdown
- Resample your transition
Musically, think of this as the section after a first drop where the drums start to thin out, the bassline becomes more ghostly or distant, and a vocal stab, amen chop, or pad phrase keeps the listener hooked. The groove should still “speak,” even if the full energy is temporarily pulled away.
Step-by-Step Walkthrough
1. Set up a clean arrangement lane and define the breakdown length
Start by locating the section where your breakdown will sit. In jungle and DnB, common breakdown lengths are 4 bars for a quick reset, 8 bars for a standard tension builder, or 16 bars if you want a more DJ-friendly phrase and a bigger emotional arc.
In Ableton Live 12:
- Drop a locator at the start of the breakdown
- Another locator at the next drop
- Loop the section and work inside it only
For mixing clarity, keep your arrangement organized:
- Drums on grouped tracks
- Bass on its own group
- Atmosphere/FX on a separate group
This makes it much easier to automate filters and gain changes without wrecking your overall balance. If you’re building an oldskool/jungle vibe, a 16-bar breakdown often works well when the first 8 bars still carry some chopped break energy, and the last 8 bars become more stripped and suspenseful.
2. Start from the groove, not from silence
A good filtered breakdown in DnB usually still has a rhythm. Instead of muting everything instantly, reduce density in stages.
Choose your core drum material:
- Amen or break layer
- Kick/snare layer if you use one
- Hats or ride texture
- Optional percussion loop
In the breakdown, keep one or two rhythmic anchors alive. For example:
- Let the snare still hit every 2 and 4
- Remove the kick for 2 bars, then bring it back lightly
- Keep ghost notes or chopped break tails running underneath
Use stock Ableton devices to control this cleanly:
- Auto Filter on the drum bus for sweep control
- Utility to trim gain as density changes
- Gate if you want tighter break chopping on roomy samples
Why this works in DnB: the listener’s body is locked to the drum pulse. If you erase all rhythmic identity, the breakdown loses tension and becomes a dead stop. Keeping a partial groove maintains momentum while making the drop feel heavier later.
3. Filter the drums in a musical way, not just a dramatic one
Put Auto Filter on your drum group. Start with a low-pass filter to progressively remove top-end brightness and some upper mids from the break or percussion bus.
Useful starting points:
- Low-pass cutoff: around 8–12 kHz at the start of the breakdown, then move down toward 2–6 kHz depending on how buried you want it
- Resonance: keep modest, around 10–25%, so the sweep has character without whistling
- Drive: light to moderate if you want a gritty jungle edge
For darker DnB, you can also automate:
- A high-pass filter on a parallel noise layer
- A band-pass filter on a chopped amen for that “telephone/radio memory” effect
- Filter type changes mid-breakdown for a switch-up
Try this structure:
- Bars 1–4: low-pass opens slightly, break still present
- Bars 5–8: cutoff closes more, snare and ghost elements remain
- Last 1–2 bars before drop: quick opening sweep or automation reset
Keep the filter movement tied to phrasing. In jungle, small automation moves on the last beat of a bar can feel more musical than huge sweep gestures.
4. Shape the bass so it disappears without losing identity
The bassline is often what makes the breakdown feel “real” in DnB. Even if the full low end drops out, the bass character should leave a trace.
If your bass is a reese, sub, or warped bass stab:
- Split the bass into sub and mid layers if possible
- Keep the sub simple and controlled
- Filter the mid layer more aggressively
Stock Ableton workflow:
- On the bass group, add Auto Filter
- Add Saturator before or after the filter depending on tone
- Add Utility to mono the low end if needed
Suggested settings:
- Sub layer: keep it mostly untouched at first, then automate a gentle gain drop of 2–6 dB during the breakdown
- Mid bass layer: low-pass around 300–1,000 Hz depending on the sound
- Saturator drive: 2–6 dB for subtle weight, or more if you want a more crushed oldskool edge
- Utility Width: set to 0% on the sub, 50–100% on the upper bass if it needs stereo movement
For a classic jungle vibe, let the bassline phrase continue but thin it out with filtering instead of deleting it entirely. For example, a 2-bar bass motif can repeat with the filter opening slightly every second pass, creating call-and-response tension.
5. Build atmosphere with a controlled noise and space layer
A filtered breakdown needs air. This is where atmospheres, vinyl texture, short reverbs, and sampled ambience become essential. Keep it subtle and mix-aware.
Good stock Ableton options:
- Vinyl Distortion for a dusty edge
- Erosion for fine grit and upper texture
- Reverb or Hybrid Reverb for a wide, washed tail
- Echo for rhythmic depth and throw delays
- Simpler for a noise sample, wind texture, or chopped vocal atmosphere
Practical setup:
- Place a vinyl/noise layer at very low level
- High-pass it around 150–300 Hz so it doesn’t cloud the low end
- Automate its filter cutoff so it becomes more exposed in the breakdown
- Use a short reverb send on snare hits or vocal chops to create a sense of space
Parameter suggestions:
- Reverb decay: 1.2–2.8 seconds for tight DnB space, longer if you want more atmospheric tension
- Pre-delay: 10–35 ms to keep transients clear
- Echo feedback: 15–35% for subtle throws, not a wash
This layer helps the breakdown feel intentional rather than empty. In darker DnB, a tiny amount of grit and room tone can make the whole section sound more “record-like” and less sterile.
6. Use automation to create a tension arc, not just a filter sweep
The real magic is in the automation curve. A breakdown should feel like a journey from full energy to controlled emptiness and then back to impact.
In Arrangement View, automate:
- Drum group Auto Filter cutoff
- Bass group gain or filter cutoff
- Send levels to reverb and delay
- Drum bus saturation or distortion amount
- Width on atmospheres, not on the sub
A strong 8-bar breakdown shape might look like this:
- Bars 1–2: drum filter begins closing, bass still audible
- Bars 3–4: bass midrange reduces, drums become thinner
- Bars 5–6: atmosphere increases, snare or clap remains dominant
- Bars 7–8: brief tension peak with riser, reverse hit, or filtered fill
- Final beat: hard reset into the drop
Use smooth automation curves for filters, but more abrupt changes for mutes and fill hits. That contrast is very DnB-friendly.
If you want a more oldskool feel, automate the last bar so the break becomes more exposed right before the drop, then slam the full mix back in. If you want a neuro-leaning darkness, keep the breakdown more claustrophobic and slowly destabilize it with movement rather than lifting everything open too early.
7. Add break edits and ghost details to keep the rhythm alive
Jungle and oldskool DnB breakdowns often stay compelling because the break itself mutates. Instead of only filtering, edit the actual rhythm.
In Ableton Live 12:
- Use Slice to New MIDI Track on your break if needed
- Re-sequence a few ghost hits, snare pickups, or reversed break fragments
- Keep timing loose enough to preserve human feel
- Use Groove Pool if you want a more swung jungle push
Good editing ideas:
- Remove the kick from the first half of the breakdown, then reintroduce it as a ghost hit
- Double one snare hit before the drop
- Use a reverse break slice leading into the downbeat
- Layer a short fill with reduced low end on the last 1 or 2 bars
Mixing note: make sure these edits don’t jump out too much in level. They should feel like part of the breakdown design, not a separate loop pasted on top. A small gain trim or Utility device on the fill track can keep it locked.
8. Check the breakdown in the full mix and protect low-end separation
This is the mixing step many producers skip. A filtered breakdown only works if it still sits correctly with the rest of the track.
Do quick checks:
- Compare the breakdown level against the drop
- Make sure the sub is not silently lingering and masking the kick re-entry
- Check mono compatibility, especially for the bass and any wide atmospheres
- Listen for harsh resonance on the filter sweep, especially around 2–5 kHz
Ableton tools that help:
- Utility for mono checks
- Spectrum to spot low-mid buildup or harsh peaks
- EQ Eight to notch any ugly resonances or high-pass unnecessary low end from FX layers
Practical balance targets:
- Keep sub elements very controlled or absent in the breakdown if the next drop needs impact
- Leave enough midrange in the drums so the listener still feels the groove
- Don’t let the reverb tail smear the snare transients
If the breakdown feels weak, it usually means either:
- Too much is muted at once, or
- The remaining elements have no defined midrange identity
In DnB, the breakdown should reduce energy without losing direction.
9. Design the transition back into the drop
The final bar matters a lot. This is where you convert tension into impact.
Strong transition tools in Ableton:
- Reverse cymbal or reverse break hit in Simpler
- Filter opening automation on the drum bus
- Short Echo throw on a snare or vocal stab
- Downlifter or impact sample with a high-pass ramp
- One-beat mute before the drop for extra punch
Suggested transition recipe:
- Last 2 beats: bass filter opens slightly
- Last beat: a snare fill or break fill lands
- Final 1/4 beat: cut atmosphere or mute reverb send
- Downbeat: full kick, sub, and bass return
For a jungle/oldskool flavor, try a short break fill that is heavily filtered until the last half-beat, then let the full drums slam back in. For rollers, keep it cleaner and let the sub and kick re-enter with maximum weight.
The goal is a clear “before and after” moment. If the return feels weak, your breakdown probably didn’t leave enough contrast.
Common Mistakes
- Fix: keep at least one rhythmic anchor alive, like a snare pattern, ghost break, or subtle percussion loop.
- Fix: treat drums, bass, and atmospheres separately. The drums may need a low-pass, while the bass needs a level drop plus midrange shaping.
- Fix: shorten decay, use pre-delay, and high-pass the reverb return so the low end stays clean.
- Fix: automate sub gain down by 2–6 dB or mute it entirely in the breakdown if the drop needs impact.
- Fix: keep resonance moderate. A screaming filter can sound cheap fast, especially in darker DnB where clarity matters.
- Fix: check bass and low mids in mono. Keep sub centered and reduce width on anything below roughly 120 Hz.
- Fix: make sure the breakdown actually changes the density and tone of the track. A small EQ sweep alone usually isn’t enough.
Pro Tips for Darker / Heavier DnB
- A touch of Saturator or Vinyl Distortion before Auto Filter can make the breakdown feel grimier and more authentic.
- Sometimes the sub can drop out, but a filtered bass harmonic or a distorted low-mid layer can maintain presence without full weight.
- Duplicate the break group or use a return track for distorted, filtered ambience. Blend it quietly under the clean groove for more menace.
- A small EQ lift around 700 Hz–2 kHz can make chopped breaks feel more forward during the breakdown, but keep it subtle to avoid honk.
- In oldskool DnB, let a bass stab answer a snare fill or a break hit answer a bass phrase. That dialogue makes the breakdown feel musical, not automated.
- High-pass atmosphere, low-pass drums, reduced sub, and a very controlled echo send can create a claustrophobic, underground feel that hits hard when the drop returns.
- Once you like the breakdown movement, resample a bar of it into audio. Then chop or reverse that audio for tighter transition edits inside the arrangement.
Mini Practice Exercise
Spend 10–20 minutes building a breakdown from an existing 16- or 32-bar DnB loop.
1. Pick an 8-bar section before a drop.
2. Group your drums, bass, and atmospheres separately.
3. Add Auto Filter to the drum group and automate a low-pass sweep over 8 bars.
4. Reduce bass level by 3–6 dB during the breakdown, or filter the mid bass down to around 400–800 Hz.
5. Add one noise or ambience layer with Simpler, Vinyl Distortion, or Erosion.
6. Automate a reverb send on the snare for the last 2 bars.
7. Create one fill or reverse hit on the final beat.
8. Listen in mono and check that the breakdown still feels rhythmic.
9. Export or bounce the section and compare it against the drop.
Goal: make the breakdown feel tense, groove-aware, and mix-clean without relying on huge FX.
Recap
A strong filtered breakdown in Ableton Live 12 is about controlled subtraction. Keep some rhythm alive, shape drums and bass separately, automate filters and space with intention, and protect the low end so the next drop lands harder. In jungle and oldskool DnB, the breakdown should still move — just with less weight, more tension, and a clearer sense of anticipation.

