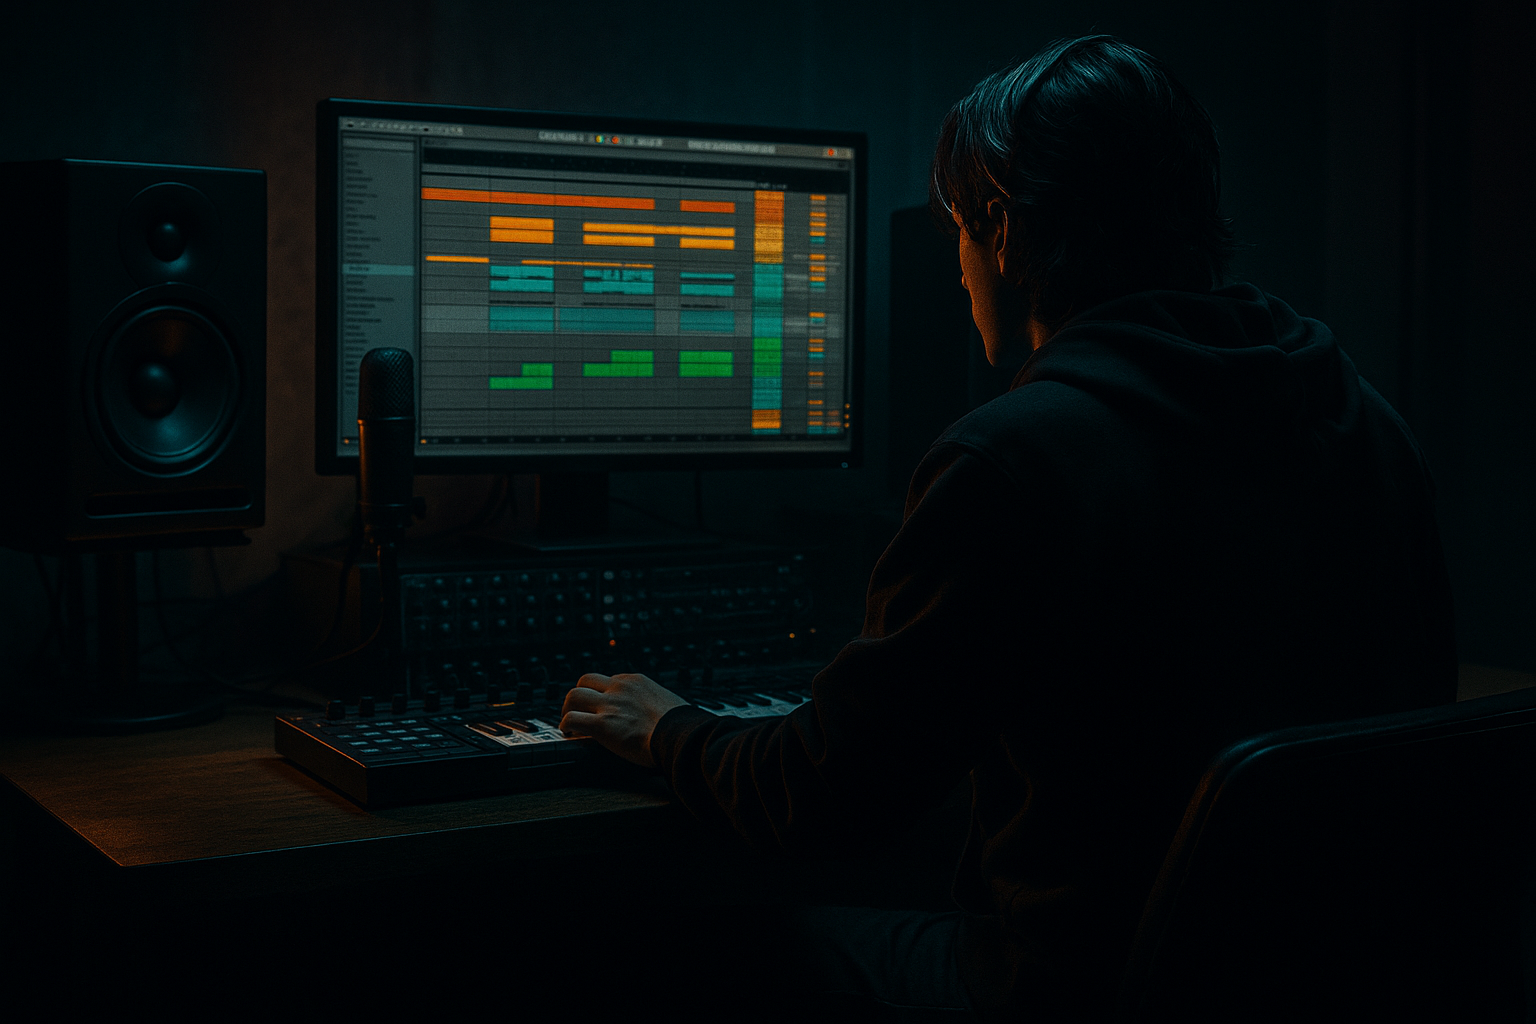
Main tutorial
Lesson Overview
A selector dub edit is the kind of ragga cut that feels like it was lifted from a dubplate session, then sharpened for a modern DnB drop. In this lesson, you’ll build one from scratch in Ableton Live 12: a vocal-led edit with chopped-up callouts, heavy stop-start phrasing, and a bass/drum response that leaves space for the MC energy to hit. This technique lives best in intros, switch-up sections, drop refills, and second-drop versions where you want instant personality without overcrowding the low end.
Musically, a selector dub edit matters because it gives your track a human front edge. Technically, it’s about making the vocal cut feel locked to the groove while still sounding like a ragga performance, not a random sample chopped to death. For DnB, that means controlling phrasing, trimming tails, managing bass gaps, and making sure the edit still reads on a big system with the drums punching underneath.
This lesson suits jungle-leaning rollers, darker jump-up-adjacent edits, modern minimal DnB, and any club track that needs a rude, speaker-rattling vocal hook. By the end, you should be able to hear a clean, confident selector dub edit that lands on the grid, moves with the drums, and feels ready to sit in a real arrangement rather than just a loop.
What You Will Build
You’ll build a ragga cut blend with:
- a chopped vocal phrase that feels like a selector calling into the tune
- short gaps for drum impact and bass answers
- subtle delay throws and filter movement
- a bass stab or reese response that supports the vocal without masking it
- a mix-ready top that is gritty but controlled
- a structure that can function as an intro hook, a drop variation, or a switch-up before the second drop
- Use silence as part of the cut. A one-beat gap before the vocal reply can feel heavier than another effect layer. In darker DnB, negative space is often the menace.
- Let the vocal trigger the drop, not decorate it. If the selector line lands right before the bass comes in, the whole section feels intentional. The vocal becomes the cue, not the wallpaper.
- Keep the sub disciplined. If the bass is moving under the edit, make the sub stable and let the mid-bass carry the attitude. This preserves mono power while still sounding nasty.
- Use filtered repeats instead of full-range echoes. A darker echo that loses low and high extremes sits behind the drums better and feels more underground.
- Resample tiny bits of the vocal through distortion. A short printed layer with more Saturator or a narrowed bandwidth can become a transition hit, a stab, or a pre-drop threat.
- Make the second drop mean something different. Remove one word, swap the response, or shift the bass answer up an octave for a bar. Heavier DnB often hits harder because it evolves, not because it adds more.
- Mono-check the core cut. If the vocal loses weight when collapsed, your width is coming from the wrong place. Keep the main phrase centered and push movement into delays, tops, or upper harmonics.
- Use only Ableton stock devices
- Use one vocal phrase only
- Keep the main vocal core mostly mono
- Add no more than one delay throw
- Make the bass answer only twice in the 8 bars
- Can you still understand the phrase on first listen?
- Does the bass leave enough room for the vocal?
- Does the loop feel like a purposeful selector moment rather than a random edit?
- If you mute the drums, does the vocal still feel musical, and if you mute the vocal, does the groove still hold?
The finished result should feel rough in attitude but clean in timing. It should have that “one-bar command, one-bar answer” energy, with the vocal sitting confidently above the drums while the bass drops out or steps around it in a controlled way. Success sounds like a cut that makes you nod immediately: rude, spaced correctly, rhythmically tight, and polished enough to stay in a pro DnB arrangement without sounding pasted on.
Step-by-Step Walkthrough
1. Choose the right source and commit to a clear role
Start by finding a ragga vocal phrase with a strong first consonant, a recognisable accent, and at least one tail you can chop. You want something like a selector call, a warning, a hype line, or a short response phrase. In Ableton, drag the audio into an Audio Track and trim it so the main phrase sits cleanly on a bar line or just before it.
The key decision here is not “best sounding sample,” but “best usable phrasing.” A vocal with strong rhythm and clear syllables will survive chopping much better than a long atmospheric quote.
What to listen for: the first transient should be distinct enough to define the cut, and the tail should not smear into the next bar unless you intend it to.
If the sample has too much room sound or a long tail, don’t fight it yet. Tighten the clip edges first, then decide whether the ambience is part of the charm or just mud.
2. Map the phrase to a 2-bar DnB grid
Set your project around your track tempo, usually somewhere in the 170–174 BPM zone for this style. In Arrangement View, line the vocal so the most important word lands on beat 1 or beat 3 of a bar, depending on whether you want it to feel commanding or more conversational.
A very effective selector dub structure is:
- Bar 1: the full call
- Bar 2: a chopped echo or short reply
- Bar 3: a repeat with a different cut
- Bar 4: a bass/drum answer or a fill
This works in DnB because the listener needs enough repetition to lock in, but not so much that the cut loses its “dubplate” urgency. Four-bar phrasing is still your friend, but the edit itself can be 1-bar or 2-bar internally.
Use Clip Gain to balance the vocal before any effects. Aim to leave headroom so the chain isn’t slamming the track too early.
3. Build the first processing chain: cleanup, bite, and control
On the vocal track, start with Ableton stock devices in a simple order:
- EQ Eight: high-pass around 90–140 Hz to remove low junk. If the sample is thick, push it higher; if it’s thin, stay conservative.
- Saturator: add mild drive, usually around 2–6 dB, with Soft Clip on if the sample needs density.
- Compressor: use light control to even out word peaks. Fast enough to catch jumps, but not so hard that the vocal flattens.
- Gate if the tail noise is messy and you need tighter stops between chops.
If the sample is already gritty, use less drive and more cleanup. If it is too clean and modern, saturate it until the consonants start to speak like they’ve been through a PA.
Why this works in DnB: the vocal has to cut through dense drums and bass at club volume. Harmonic density helps the words stay present without needing huge level, and the EQ keeps the sub range available for your kick and bass.
4. Turn the phrase into a playable chop pattern
Slice the vocal into a few meaningful pieces rather than over-editing every syllable. Keep:
- the main call word
- one short response or exclamation
- one tail or breath
- one extra accent for variation
You can do this directly in Arrangement View with clip edits, or consolidate useful pieces into separate clips for faster building later. Keep the chop rhythm simple enough that the groove stays readable.
A strong starter pattern is a 1-bar call with a delayed 2nd half-bar answer:
- Beat 1: main phrase
- Beat 2.3 or 3: short cut
- Beat 4: tiny tail or mute
- Next bar: silence or a one-shot tag
Workflow efficiency tip: once you find the core phrase, duplicate the clip and make one version “full,” one “short,” and one “gap.” You’ll assemble faster and avoid over-editing every pass.
5. Choose A or B: dry selector cut or dub-echoed selector cut
This is the first real flavour decision.
A — Dry and aggressive
- Keep the vocal mostly upfront
- Use short gaps and tight stops
- Let the drum energy do the heavy lifting
- Best for darker rollers, minimal switch-ups, and modern sparse drops
B — Dub-echoed and wider
- Add a delay throw on the last word of the phrase
- Use Echo or Delay with short feedback and filtered repeats
- Best for ragga intros, half-step tension, and old-school/jungle flavour
For option B, keep the delay filtered so the repeats sit behind the lead. A useful starting point is to roll off both lows and highs on the repeats so they don’t fight the snare crack or the cymbal shelf. If the echo sounds too obvious, reduce feedback before you reduce wet level.
What to listen for: the echo should create pressure and space, not turn the phrase into a wash that weakens the bar line.
6. Lock the edit to the groove with drums underneath
Bring in your core drum loop or full drum section now. Don’t judge the selector cut in isolation. In DnB, a vocal like this succeeds when it locks to the snare backbeat and makes room for kick weight and break detail.
Place the vocal where it complements the snare:
- if the vocal phrase is busy, let the snare hit cleanly underneath it
- if the vocal lands on the snare, make sure the transient doesn’t hide the word
- if needed, shift the vocal by a few milliseconds earlier or later to feel more “rushed” or more “laid back”
For jungle-leaning energy, let a chopped break answer the vocal. For darker rollers, keep the drums more rigid and let the vocal be the only unruly element.
Check in context: if the vocal feels exciting on mute but confusing with drums, simplify the chop pattern before adding more effects.
7. Add a bass response that leaves the vocal room
Now build a bassline or bass stab that answers the vocal rather than stepping on it. In selector dub style, the bass often functions like a response from the system itself.
A practical stock-device chain for a bass response:
- Operator or Wavetable for the core bass tone
- Saturator for harmonics
- EQ Eight to control the low end and carve out the vocal zone
- Utility to keep the low end mono if needed
Keep the bass phrase short and intentional. For example:
- Bass hits on the “and” after the vocal word
- Bass holds under a silence bar while the vocal repeats
- Bass drops out entirely on the phrase tail, then returns with more force
Suggested starting points:
- sub layer mostly under 90 Hz, mono
- mid-bass energy around 150–600 Hz, depending on tone
- reese width only above the low end, never in the sub
Why this works in DnB: the vocal needs a clear pocket to feel like a selector cut. If the bass keeps talking over it, the edit loses its dubplate authority.
8. Shape the movement with automation, not constant processing
Use automation on the vocal track and effects return to create movement across the phrase. Good targets in Ableton:
- filter cutoff on Auto Filter
- wet amount on Echo
- drive or output level on Saturator
- high-pass frequency on EQ Eight if you want to thin the phrase at the end of a bar
A very effective move is to open the filter slightly on the first repeat and close it on the last word. That gives the impression of the selector leaning into the system, then pulling back.
Keep automation musical and phrase-based. Don’t wobble every eighth note unless that is part of the design. In DnB, constant automation can blur the drop contour and reduce impact.
What to listen for: the vocal should feel like it is coming forward into the bar line, then getting out of the way before the next drum hit.
9. Commit the best version to audio
Once you have a cut that works, print it. This is where a lot of producers get faster and better. Duplicate the track, or record the vocal-plus-effects pass to a new audio track, so you can edit the final result like a performance rather than a moving target.
Stop here if: the rhythmic shape already feels good with the drums and bass. Commit it to audio if further tweaking is only making it more uncertain.
Printed audio lets you:
- tighten breaths and tails
- reverse tiny pieces for transitions
- add micro-gaps before drop hits
- create a cleaner arrangement without CPU-heavy live chains
This is especially useful when the edit needs to sit next to dense drum layers and a moving bassline. A committed audio pass is often easier to finish and easier to mix.
10. Place it in a real arrangement and test the payoff
Don’t leave the selector dub edit as a loop. Put it into a track section:
- 4 or 8 bars of intro tension
- 8 bars of main drop
- 4 bars of switch-up with reduced drums
- 8 bars of second-drop variation
For a strong arrangement move, use the vocal cut as a pre-drop tease in bars 7–8, then hit the full selector dub line on bar 1 of the drop. In the second drop, remove one phrase and let the bass answer more aggressively. That keeps the idea alive without repeating the exact same impact.
A useful phrasing example:
- Intro: isolated vocal tag with filtered drums
- Drop 1: full vocal call every 2 bars
- Bar 8 of drop 1: half-bar stop and delay throw
- Drop 2: vocal cut shortened, bass more dominant, extra drum fill
If the arrangement only works when looped, it’s not finished yet. The best selector dub edits create anticipation and give the DJ a clear moment to mix in or out.
Common Mistakes
1. Over-chopping the vocal into meaningless fragments
This kills the ragga identity and makes the cut sound like random syllables.
Fix: keep one clear phrase intact and only chop the supporting words or tails. Use fewer, stronger edits.
2. Leaving too much low end in the vocal
The vocal clouds the kick and bass, especially in the 100–250 Hz zone.
Fix: use EQ Eight high-pass filtering, usually somewhere around 90–140 Hz, and remove extra low-mid boxiness if needed.
3. Putting delay everywhere instead of on the important hits
Constant delay muddies the groove and weakens the bar line.
Fix: automate delay throws only on phrase endings or transitions. Keep the core line mostly dry.
4. Letting the bass speak through the vocal phrase
If the bass is too busy, the selector cut loses authority.
Fix: create call-and-response. Carve space with rests, shorter bass notes, or a dropped bass bar.
5. Making the vocal too wide in the low-mid range
Wide low-mids can smear mono compatibility and make the mix wobble on club systems.
Fix: keep the low end mono with Utility, and only widen upper harmonics or delay returns.
6. Ignoring drum placement while editing the vocal
The cut may sound cool alone but land awkwardly against the snare or break.
Fix: audition the phrase with the full drum groove and nudge the clip a few milliseconds if the pocket feels late or early.
7. Using too much saturation too early
This can flatten the transients and make the vocal harsh before it even reaches the mix.
Fix: add moderate Saturator drive first, then compare against the dry level and back off if the consonants lose clarity.
Pro Tips for Darker / Heavier DnB
Mini Practice Exercise
Goal: build one 8-bar selector dub edit that can sit in a real DnB intro or drop.
Time box: 15 minutes.
Constraints:
Deliverable: an 8-bar loop with a vocal call, one chopped response, one delay ending, and a bass/drum pocket that feels ready to drop into a track.
Quick self-check:
Recap
A strong selector dub edit in DnB is about phrasing, space, and control. Keep the vocal readable, chop only what serves the groove, and let the drums and bass answer instead of compete. Use stock Ableton tools to clean, saturate, filter, and automate the phrase, then commit the best version to audio and place it in a real arrangement. If it feels rude, tight, and system-ready without muddying the drop, you’ve nailed it.

