Main tutorial
```markdown
Saving Break Racks Masterclass (DnB) — Clean Routing in Ableton Live 🥁🔧
1) Lesson overview
In drum & bass, breaks are rarely “just a loop.” You’ll slice, re-balance, distort, transient-shape, resample, and layer… and you’ll do it fast if your routing is clean.
This lesson shows a repeatable Break Rack system you can save as a preset (and/or default template) that gives you:
- Drum Rack slicing (classic Amen/Think/Funky Drummer workflows)
- Dedicated return FX inside the rack (parallel processing that travels with the rack)
- Clean group routing to your drum bus, parallel smash, and master
- Macros that matter for rolling/jungle edits and modern DnB punch
- A Drum Rack with sliced break hits (kick/snare/hat/ghosts)
- Pad groups (Kick, Snare, Hats, Ghosts/FX) for quick mixing
- Rack Returns:
- A clean external routing scheme:
- a .adg Rack preset (drag-and-drop into any set)
- optionally as part of your default Live Set for instant starting speed
- Rename the track: `BREAK RACK – DnB Master (WIP)`
- Open the Drum Rack chain list and rename key pads as you identify them: `Kick`, `Snare`, `Hat`, `Ghost`, etc.
- EQ Eight
- Saturator
- Drum Buss
- EQ Eight
- Auto Filter
- Saturator (optional)
- Utility
- EQ Eight
- Glue Compressor
- Saturator
- EQ Eight
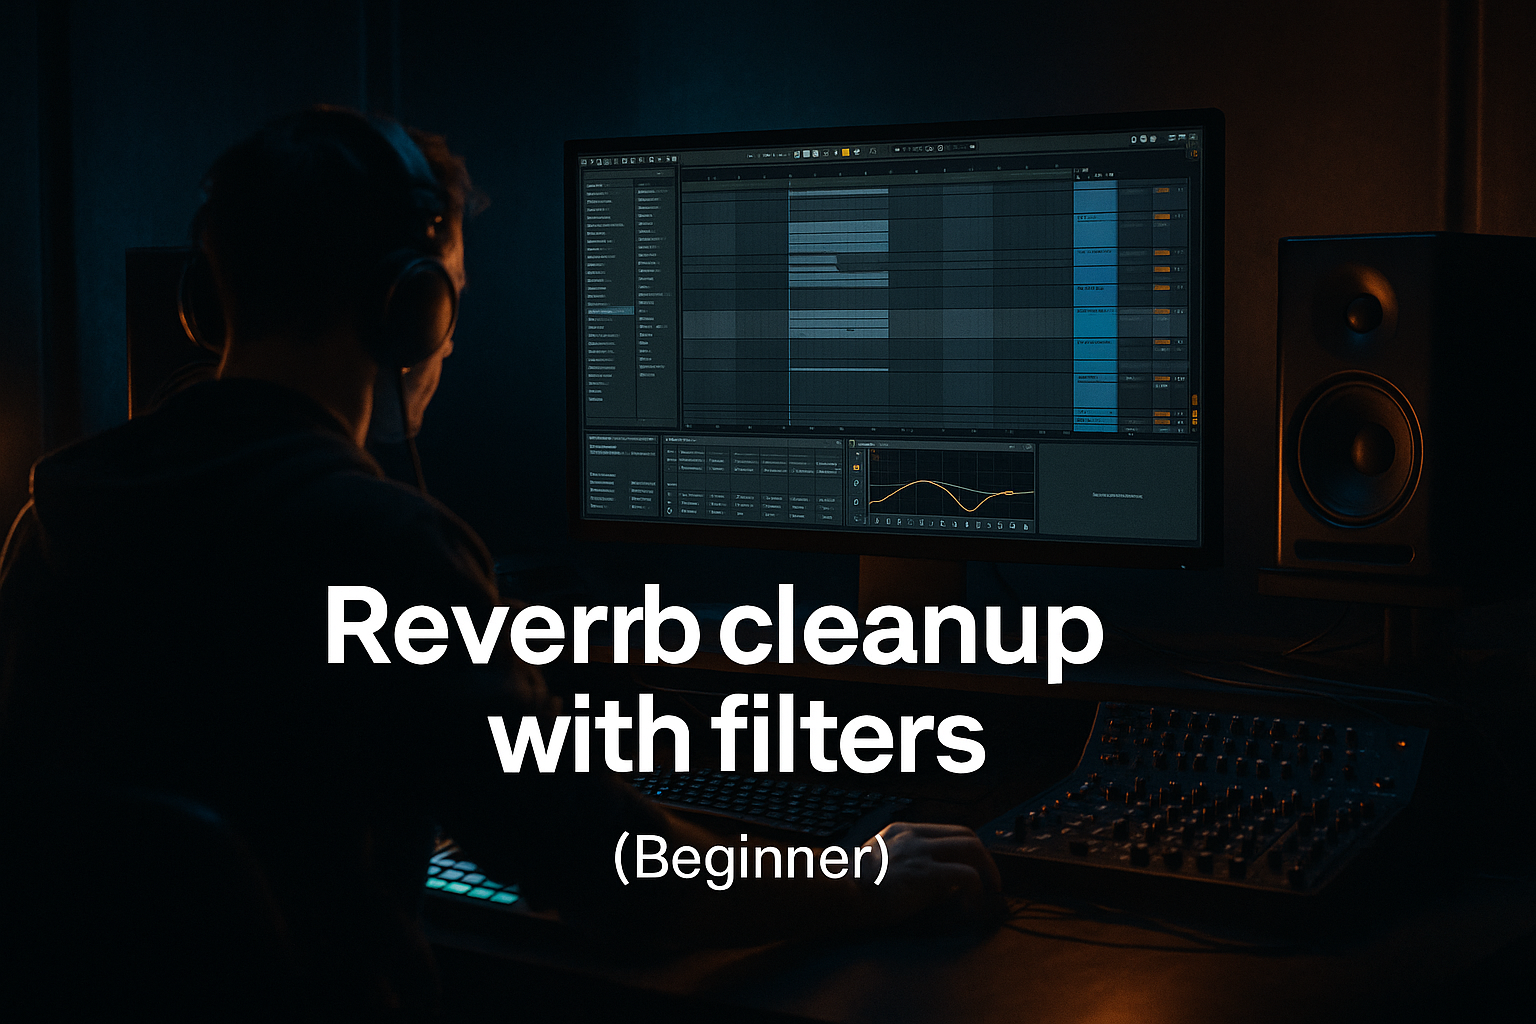
- Hybrid Reverb
- Optional after: EQ Eight (tame 2–4 kHz if it rings)
- Echo
- Optional: Auto Pan
- `BREAK RACK – DnB Master` (your Drum Rack track)
- `DRUM BUS` (Audio track)
- `PREMASTER` (Audio track)
- `MASTER` (Live’s Master)
- EQ Eight
- Glue Compressor
- Soft Clip option (stock):
- Optional: Utility
- Save an Ableton Template Set with `DRUM BUS` + `PREMASTER` already routed.
- Color code:
- Create `BREAK PRINT` audio track
- Audio From: `DRUM BUS` (or directly from the Break track if you prefer)
- Monitor: In
- Arm and record 8–16 bars of groove
- micro-edits, fades, reverse hits, stretching
- new slicing from your processed break
- Right-click `BREAK RACK…` track → Freeze → Flatten
- Controlled distortion > random distortion: Put Saturator before Glue on the parallel chain for denser sustain, then compress.
- Midrange aggression with discipline: Use EQ Eight M/S on `DRUM BUS`:
- Jungle ghosts that roll: High-pass ghosts, then compress lightly so they speak consistently.
- Rumble-free heaviness: If your bass is doing the sub work, keep break low end tidy:
- Clip for modern loudness: A touch of Saturator soft clip on `DRUM BUS` can give that current “front-of-speaker” snap without limiting everything to death.
- You built a portable DnB Break Rack with internal return FX and clean external bus routing.
- You grouped pads for fast, musical control, then used macros for automation-ready movement.
- You set up a proper drum bus → premaster workflow so your projects scale cleanly.
- You learned a resampling path that’s ideal for modern rolling and jungle-influenced DnB.
Advanced focus: signal flow discipline so you can process surgically without phase chaos or “where is this going?” headaches.
---
2) What you will build
A “BREAK RACK – DnB Master” containing:
- Return A: Parallel Smash (compression + saturation)
- Return B: Air/Space (reverb)
- Return C: Time FX (dub delay / jungle throws)
- `Break Rack Track` → `DRUM BUS`
- optional `PARA SMASH` track for additional parallel (if you prefer outside the rack)
- `DRUM BUS` → `PREMASTER` → `MASTER`
You’ll save it as:
---
3) Step-by-step walkthrough
Step 0 — Prep your session (so the rack behaves reliably)
1. Set tempo typical for DnB: 170–176 BPM.
2. Turn on Warp settings you actually want:
- For a classic break loop: Warp = On, mode = Beats
- Preserve: Transients
- Envelope: 100
- If you’re slicing anyway, don’t overthink it—slicing will define timing.
Workflow suggestion: Put a utility marker track named `ROUTING NOTES` with a short text clip describing your buses. You’ll thank yourself later. 📝
---
Step 1 — Create the Drum Rack by slicing the break
1. Drag in a break (Amen, Think, Hot Pants, etc.).
2. Right-click the clip → Slice to New MIDI Track.
3. In the dialog:
- Slice by: Transient (classic)
- Create one slice per: Transient
- Slicing preset: Built-in → Sliced Beat (fine)
4. Live creates a Drum Rack with slices mapped across pads.
Immediate clean-up:
---
Step 2 — Build pad groups (for quick mixing & consistent processing)
Inside the Drum Rack:
1. Create pad groups by selecting related pads (e.g., all kicks) → Cmd/Ctrl + G.
2. Name your groups:
- `KICK GRP`
- `SNARE GRP`
- `HATS GRP`
- `GHOST/FX GRP`
Why this matters: You can put group-level processing (EQ/clip/saturator) without touching each slice.
---
Step 3 — Insert “core” devices on groups (tight, minimal, effective)
Keep it punchy and predictable.
#### On `KICK GRP`
- HP filter: 30 Hz, 24 dB/oct (remove sub rumble)
- Small dip if boxy: 250–400 Hz (-2 to -4 dB, Q ~1.2)
- Mode: Analog Clip
- Drive: 1–4 dB (don’t nuke it yet)
- Soft Clip: On
#### On `SNARE GRP`
- Drive: 5–15%
- Crunch: 0–10%
- Boom: 0–10% (careful—DnB snares can get tubby)
- Transients: +5 to +25 (for crack)
- Control harshness: small notch around 3–6 kHz if needed
- Add snap: gentle bell ~200 Hz or ~4.5 kHz depending on the sample
#### On `HATS GRP`
- HP: 250–600 Hz (depending on break)
- Resonance low (0.3–0.7) to avoid “whistle”
- Drive: 1–2 dB for density
#### On `GHOST/FX GRP`
- Gain: -3 to -10 dB (ghosts should support, not dominate)
- HP: 150–400 Hz to keep low-end clean
---
Step 4 — Add Rack Returns (parallel FX that stays with the rack) 🎛️
This is the “masterclass” move: Return chains inside the Drum Rack keep your break processing portable.
1. In the Drum Rack, click Show/Hide Chain List.
2. Click Show/Hide Returns (the small `R` icon) to reveal A/B/C returns.
3. Create 3 return chains and name them:
#### Return A: `PARA SMASH`
Suggested chain (stock devices):
- Attack: 0.3 ms
- Release: Auto
- Ratio: 4:1
- Threshold: aim for 5–10 dB gain reduction
- Make-Up: Off (set output manually)
- Mode: Soft Sine or Analog Clip
- Drive: 4–10 dB
- Soft Clip: On
- HP: 100–150 Hz (keep smash from muddying subs)
- Optional: gentle shelf +1–2 dB at 8–12 kHz for airy grit
✅ This gives modern DnB weight and urgency while preserving transients from the dry signal.
#### Return B: `AIR ROOM`
- Algorithm: Room / Plate
- Decay: 0.4–1.2 s
- Pre-delay: 10–25 ms
- HP: 250–500 Hz
- Dry/Wet: 100% (it’s a return)
#### Return C: `DUB THROW`
- Time: 1/8 or 1/4 (try dotted 1/8 for jungle swagger)
- Feedback: 20–45%
- Filter: HP around 250 Hz, LP around 6–10 kHz
- Modulation: subtle
- Rate: 1/4
- Amount: 20–40% for movement (don’t over-widen drums)
---
Step 5 — Control sends per group (not per slice)
Advanced but essential.
1. In the Drum Rack, ensure you can see send knobs on chains.
2. Set sends on groups:
- `KICK GRP`: A = 0–5%, B/C usually 0%
- `SNARE GRP`: A = 10–30%, B = 5–15%, C = 0–10%
- `HATS GRP`: A = 5–20%, B = 5–10%, C = 0–10%
- `GHOST/FX GRP`: B and C can be higher depending on vibe
Reason: You maintain groove consistency and avoid 30 micro send knobs per slice.
---
Step 6 — Clean external routing (the part everyone messes up)
Here’s a routing layout that stays readable in big DnB projects.
#### Create these tracks:
#### Set I/O (example):
1. On `BREAK RACK…`:
- Audio To: DRUM BUS
2. On `DRUM BUS`:
- Audio To: PREMASTER
3. On `PREMASTER`:
- Audio To: Master
Why “PREMASTER”? You can A/B loudness, print stems, and do mixbus moves without wrecking your master chain.
#### On `DRUM BUS` add a tight bus chain:
- HP: 20–30 Hz (tiny cleanup)
- Optional dip ~300 Hz if break feels cardboard
- Attack: 3 ms
- Release: Auto
- Ratio: 2:1
- GR: 1–3 dB (gentle glue)
- Saturator (Analog Clip, Soft Clip On, Drive 1–3 dB)
- Width: 80–100% (keep drums centered if needed)
---
Step 7 — Macro map the stuff you’ll actually automate 🎚️
Open the Drum Rack’s Macro section and map:
1. Smash Amount → Return A send on `SNARE GRP` + `HATS GRP`
2. Snare Crack → Drum Buss Transients on `SNARE GRP`
3. Hat HP → Auto Filter cutoff on `HATS GRP`
4. Room Send → Return B send on `SNARE GRP`
5. Dub Throw → Return C send on `SNARE GRP` (for fills)
6. Tone → EQ Eight high shelf on `DRUM BUS` (subtle +/–)
7. Drive → Saturator drive on `KICK GRP` and/or `DRUM BUS`
8. Ghost Level → Utility gain on `GHOST/FX GRP`
Arrangement idea: Automate Macro 5 (Dub Throw) only on the last snare before a drop for instant jungle flair.
---
Step 8 — Save it properly (so it recalls clean every time) 💾
1. Click the Drum Rack title bar (top of the rack device).
2. Click the disk icon to Save Preset.
3. Name format suggestion:
- `BREAK RACK – DnB Master – Clean Routing v1`
4. In the User Library, create folders:
- `User Library / Presets / Instruments / Drum Rack / DnB Break Racks`
Optional (pro workflow):
- Break rack = orange
- Drum bus = red
- Premaster = purple
---
Step 9 — Resampling workflow (for modern DnB punch)
Two clean approaches:
A) Print the rack to audio (recommended):
Now you can do:
B) Freeze/Flatten (fast):
---
4) Common mistakes
1. Parallel smash includes sub/low-mid mud
Fix: HP the parallel chain at 100–150 Hz.
2. Reverb on kicks (accidentally)
Fix: keep kick sends at zero; send only snare/hats/ghosts.
3. Over-slicing transients = flammy groove
Fix: re-check warp, or slice by 1/16 for more consistent grid breaks.
4. Everything routed to everything (and you forget where audio goes)
Fix: simple hierarchy: Rack → Drum Bus → Premaster.
5. Too much transient shaping on snare = clicky, thin
Fix: add body around 180–220 Hz or layer a clean snare under.
---
5) Pro tips for darker/heavier DnB 🖤
- Slight mid boost around 1–2 kHz (Mid only)
- Keep sides tighter under 150–250 Hz
- HP many break elements up to 80–120 Hz (except intentional kick layers)
---
6) Mini practice exercise (15 minutes) ⏱️
1. Load an Amen break and build the rack using steps above.
2. Program an 8-bar loop:
- Bars 1–4: straight roll
- Bars 5–6: add 1 extra ghost snare hit
- Bar 7: automate Dub Throw on the last snare only
- Bar 8: automate Smash Amount up by ~20% for a ramp
3. Print to audio (`BREAK PRINT`) and slice the printed loop again.
4. Compare:
- Original sliced rack groove vs. resampled groove
Choose which feels more “finished” and why.
---
7) Recap
If you want, tell me your preferred sub style (deep rollers vs. neuro/heavy) and I’ll suggest a matching break rack macro layout + bus chain values. 🥁
```

