Main tutorial
```markdown
Saturate Jungle Sampler Rack for “Sunrise Set” Emotion (Ableton Live 12) 🌅🔥
Skill level: Advanced
Category: Resampling (Drum & Bass / Jungle)
---
1) Lesson overview
You’re going to build a purpose-built Jungle/DnB “Sunrise Sampler Rack” that makes breaks and pads feel warm, emotional, and forward—without losing the fast, rolling urgency that jungle needs.
The core idea:
- Saturate + compress + widen in a controlled way
- Resample the processed tone back into audio
- Slice and re-sequence it into fresh, uplifting break loops for a sunrise set vibe (think: warm tape grit, airy tops, controlled sub, wide “golden hour” chorusing).
- Sampler (break/pad/amen slice source)
- Pre-saturation tone control
- Saturation stage (multi-flavor with parallel blend)
- Glue + transient shaping
- Width + shimmer
- Resample-ready routing + workflow
- A “clean” version (for punch)
- A “golden” saturated version (for emotion)
- A “hyped” version (for lifts/fills)
- HP filter: 24 dB/oct at 25–35 Hz (remove sub rumble)
- Dip: -2 to -4 dB around 250–400 Hz (reduce box)
- Presence lift: +1 to +2 dB around 2.5–4.5 kHz (snare crack clarity)
- Air shelf: +1 to +3 dB at 10–12 kHz (only if the source is dull)
- Mode: Soft Sine (warm) or Analog Clip (more bite)
- Drive: 2 to 6 dB (start at 3.5 dB)
- Base: 0.00
- Turn on Soft Clip
- Output: reduce to match input (aim unity gain)
- Color: On (if you want a bit more “hardware tilt”), keep it subtle
- Duplicate chain inside Instrument Rack:
- On Chain B, set Saturator Drive higher (6–10 dB) and lower chain volume.
- Map chain volumes to a Macro: “Saturate Blend” so you can ride it live.
- Routing: Single band (start simple)
- Type: Tape or Tube
- Drive: 5–15% (don’t overcook)
- Dynamics: slightly compressing (if available per mode)
- Modulation: slow LFO on Drive or Tone
- Attack: 3 ms (preserves snap; 1 ms if you want tighter)
- Release: Auto or 0.1–0.3 s
- Ratio: 2:1
- Gain Reduction: aim 1–3 dB on peaks
- Optional: Soft Clip on
- Drive: 5–15%
- Boom: Off for breaks unless you’re using it subtly
- Transient: +5 to +15 (for snap) OR -5 for softer “round” vibe
- Crunch: 0–10 (watch the hats)
- Mode: Ensemble (usually the lush one)
- Amount/Depth: low-medium (start 15–25%)
- Rate: slow (start 0.10–0.25 Hz)
- High-pass if available (or use EQ after): keep low end mono-safe
- Consider placing Utility after Chorus:
- Algorithm: Plate or Shimmer (very subtle)
- Pre-delay: 10–25 ms
- Decay: 0.6–1.4 s
- Dry/Wet: 3–8%
- High-pass the reverb: 200–400 Hz
- Low-pass: 8–12 kHz (avoid fizzy tails)
- Select the recorded region → Ctrl/Cmd + J to Consolidate.
- Warp mode for breaks: Beats (Transient loop, preserve transients)
- Right-click the sampler track → Freeze then Flatten
- Great when you want exact recall.
- Program a new 2-bar loop:
- Use velocity to keep it rolling (ghost hits at 30–60).
- Groove Pool: try a subtle MPC-style groove or shuffle
- Apply at 10–20% (keep jungle urgency)
- 0–16: filtered intro (HP filter rising, low saturation)
- 16–32: drop drums + sub, keep shimmer minimal
- 32–48: introduce “golden” resample layer (wider, air shelf +1–2 dB)
- 48–64: uplifting peak: add pad/chords, increase shimmer slightly, add ride loop
- Layer your clean break under the saturated break:
- Use Utility to keep low end solid:
- Swap “sunrise air” for “industrial edge”:
- Add Auto Filter post-sat:
- Use Multiband Dynamics (carefully):
- Make hats sharper without harshness:
- For heavier impact moments:
- Built a Sampler-based saturation rack designed specifically for jungle/DnB emotion 🌅
- Used parallel saturation, controlled glue, and subtle width/shimmer
- Resampled performance moves into audio to “print the vibe”
- Sliced the resample into a new Drum Rack to create fresh jungle patterns
- Applied arrangement techniques that work in sunrise sets: gradual warmth, controlled air, and uplifting width
This is not generic saturation—this is a performance-ready rack with macro-driven tone shaping and resampling workflow built in.
---
2) What you will build
A) A single Instrument Rack containing:
B) A resampling method to create:
Then you’ll slice the resample into a new drum rack and write a sunrise roller arrangement.
---
3) Step-by-step walkthrough
Step 0 — Session prep (fast + reliable)
1. Set tempo to 165–172 BPM (try 170).
2. Create a group called BREAKS BUS and another called MUSIC BUS.
3. Turn on Options → Reduced Latency When Monitoring (helpful while resampling).
4. Make sure you’ve got a few classic sources ready:
- A crunchy break (Amen / Think / Hot Pants style)
- A more open break (ride-heavy, airy top)
- A musical loop (rhodes stab, pad, vocal ahh, jungle chord)
---
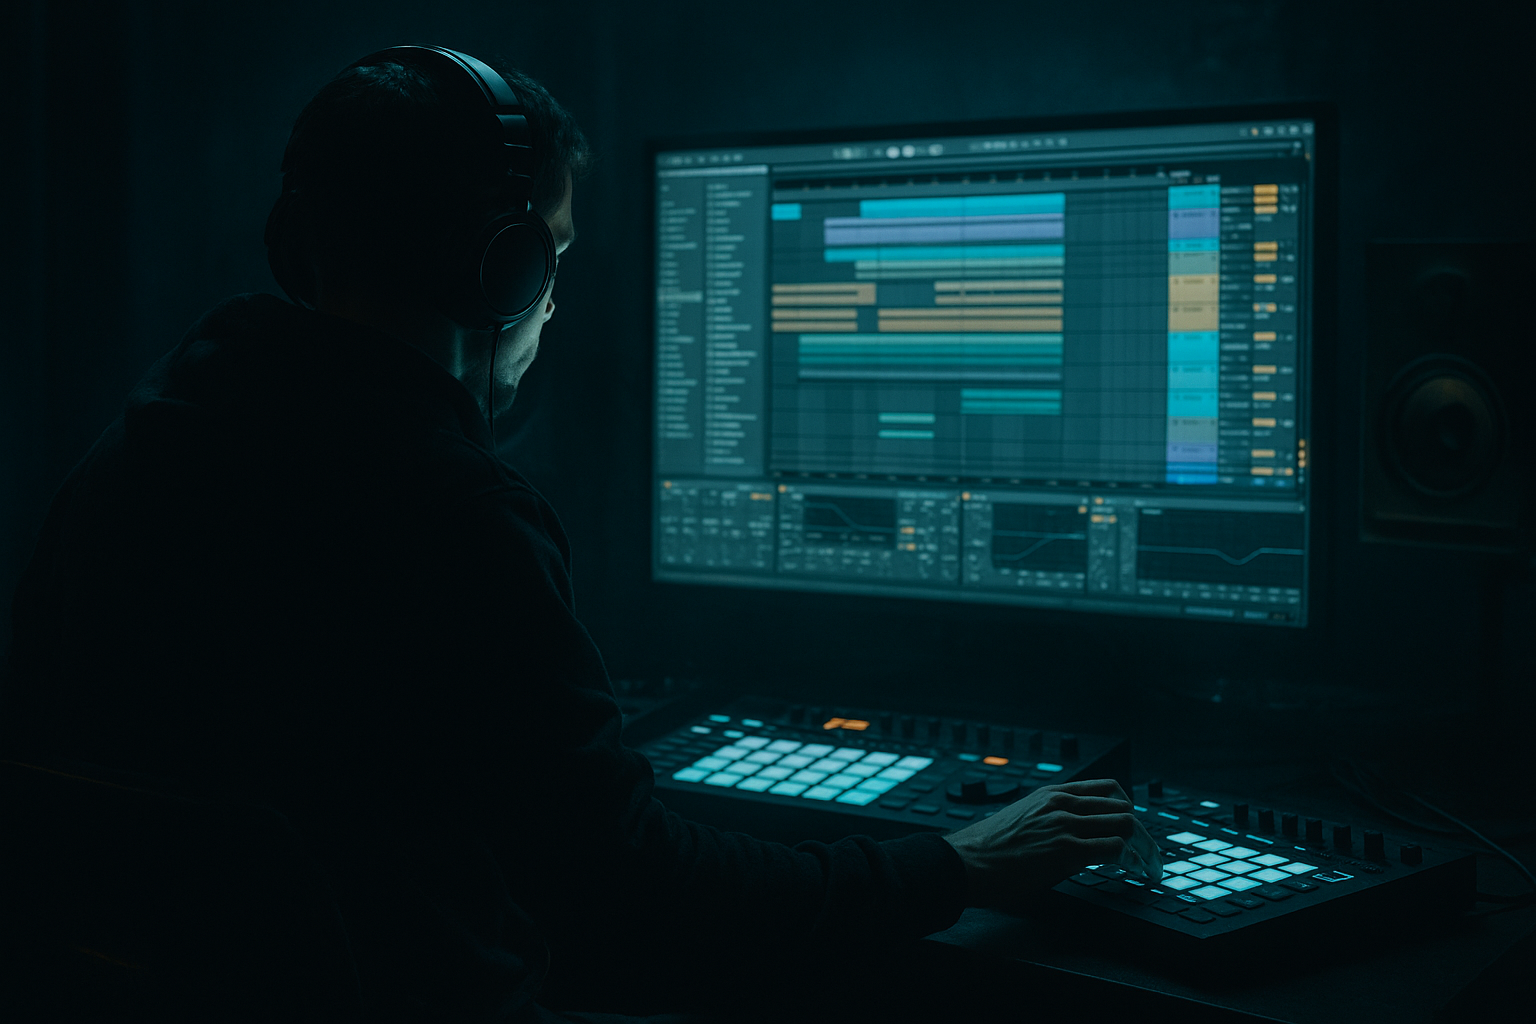
Step 1 — Build the “Sunrise Saturate Sampler Rack”
1. Create a MIDI track: Insert → Sampler
2. Drag a break loop into Sampler.
3. Right-click Sampler → Group (wrap into an Instrument Rack). Rename it:
“Sunrise Jungle Sampler Rack” 🌅
Now we’ll build a device chain after Sampler inside the rack:
#### Device chain (in order)
1) EQ Eight (pre-tone shaping)
2) Saturator (main harmonics)
3) Roar (character + motion, optional but powerful in Live 12)
4) Glue Compressor (cohesion)
5) Drum Buss (weight + smack)
6) Chorus-Ensemble (width + glow)
7) Hybrid Reverb (tiny shimmer send feel)
8) Limiter (safety for resampling)
Let’s dial practical settings.
---
Step 2 — Pre-tone shaping (EQ Eight)
Goal: clean junk that saturation would exaggerate + pre-emphasize the “sunrise” bands.
EQ Eight settings (typical break loop):
Tip: Keep it subtle; we’re about to add harmonic hype.
---
Step 3 — Main saturation (Saturator)
Goal: warm thickness and perceived loudness, but keep transients alive for jungle swing.
Saturator settings:
Advanced move: Put Saturator into parallel inside the rack:
- Chain A: “Dry”
- Chain B: “Saturate”
This lets you keep the transient snap while adding emotional density.
---
Step 4 — Character + motion (Roar in Live 12) 🐗
Goal: add controllable “movement” that feels alive in sunrise sets—like tape/valve push with gentle modulation.
Roar settings (starting point):
- Rate: 1/2 to 2 bars
- Amount: tiny (we want “breathing,” not wobble)
If Roar starts to smear transients, reduce drive and let Saturator do the heavy lifting.
---
Step 5 — Glue + transient focus (Glue Compressor + Drum Buss)
Glue Compressor settings (break bus style):
Drum Buss settings (for sunrise weight):
- If on: Frequency 50–60 Hz, Amount 5–10%
The combination gives you that “finished record” feel before resampling.
---
Step 6 — Width + glow (Chorus-Ensemble + Hybrid Reverb)
Goal: wide, uplifting “golden hour” sheen without making the break hollow or phasey.
Chorus-Ensemble settings:
- Bass Mono: 120 Hz
- Width: 110–140% (small moves!)
Hybrid Reverb (micro-shimmer, not wash):
This is where the “sunrise emotion” lives. Keep it tasteful—DnB still needs drive.
---
Step 7 — Make it playable: Macros that matter 🎛️
Map these to 8 macros (suggestion):
1. Saturate Blend (Dry vs Saturate chain volume)
2. Drive (Saturator Drive or Roar Drive)
3. Warmth (EQ Eight low-mid tilt: + at 180 Hz / - at 350 Hz)
4. Snap (Drum Buss Transient + Glue threshold small)
5. Air (EQ shelf 10–12k)
6. Width (Utility Width or Chorus depth)
7. Shimmer (Hybrid Reverb Dry/Wet)
8. Clean-Up (post EQ low cut / harsh dip around 6–8k)
Now you’ve got a rack you can perform while resampling.
---
Step 8 — Resampling workflow (the money step) 🎙️➡️🎛️➡️📌
You’ll print multiple tone passes and slice them.
Option A: Resample to audio track (fast and classic)
1. Create a new audio track: name RESAMPLE PRINT.
2. Set its input to Resampling.
3. Arm RESAMPLE PRINT.
4. Solo the sampler track and record 8–16 bars while you perform macros:
- Start cleaner (less blend)
- Add saturation + shimmer toward bar 9 (sunrise lift)
- Pull width down briefly for impact moments
Then consolidate:
- Try Preserve: Transients, and adjust Envelope if needed.
Option B: Freeze/Flatten (more deterministic)
---
Step 9 — Slice the resample into a new Drum Rack (jungle re-sequence)
1. Drag the consolidated audio clip into a new MIDI track.
2. In the dialog, choose Slice to New MIDI Track:
- Slicing preset: Transient
- Create: Drum Rack
3. Now you’ve got a sliced kit from your saturated performance.
DnB arrangement move:
- Bar 1: tight, classic hits
- Bar 2: add a few extra ghost slices + one reversed slice
Add a tiny swing:
---
Step 10 — “Sunrise set” arrangement ideas 🌅
Build an 64-bar progression that feels like dawn breaking:
Example structure (170 BPM):
Layer idea:
- Clean = punch + definition
- Saturated = emotion + glue
- Saturated layer: high-pass at 120–180 Hz
- Clean layer keeps body + punch
---
4) Common mistakes
1. Over-saturating before EQ
Saturation amplifies mud/harshness. Clean first, then drive.
2. Too much chorus width on breaks
It can hollow out the snare and cause phase issues in clubs. Keep width subtle and mono the lows.
3. Printing too hot when resampling
Leave headroom. Aim peaks around -6 dBFS before the limiter; let mastering do the rest.
4. Reverb tails washing the groove
Jungle relies on rhythmic clarity. Use micro reverb and high-pass the reverb return.
5. No parallel control
If you only run full wet saturation, you’ll lose transient punch. Parallel blend is your safety net.
---
5) Pro tips for darker/heavier DnB (while keeping the workflow)
Want to adapt this rack for techy/menacing rollers? 😈
- Saturator mode to Hard Clip
- Roar type: more aggressive mode, reduce width
- Low-pass around 14–16k with mild resonance for darker tone
- Tighten low-mids (120–400 Hz) to stop boom
- Use EQ Eight to notch 6–8k if painful, then add a gentle shelf at 10k
- Print a second resample pass with more drive + less reverb
- Use it only on fills and drop impacts (bar 15–16, 31–32)
---
6) Mini practice exercise (20 minutes) ⏱️
1. Load one classic break into the rack.
2. Create three resample prints:
- Clean: Saturate Blend 0–15%, Shimmer 0–3%
- Golden: Blend 30–50%, Shimmer 4–7%, Width +10%
- Hyped: Blend 60–80%, Snap higher, Shimmer still controlled
3. Slice Golden to a Drum Rack via Transients.
4. Write a 2-bar jungle loop:
- Include at least 4 ghost notes
- Add 1 reverse slice before the snare on bar 2
5. Arrange 32 bars:
- Bring in Clean first
- Crossfade to Golden by bar 17
- Drop Hyped for a 1-bar fill at bar 32
Export a quick bounce and check: does it feel warm + rolling + euphoric without losing punch?
---
7) Recap
If you want, tell me what break you’re using (Amen/Think/etc.) and whether your target is LTJ Bukem-ish lift or modern liquid roller glow—I can suggest exact macro ranges and a matching bass/sub strategy.
```

