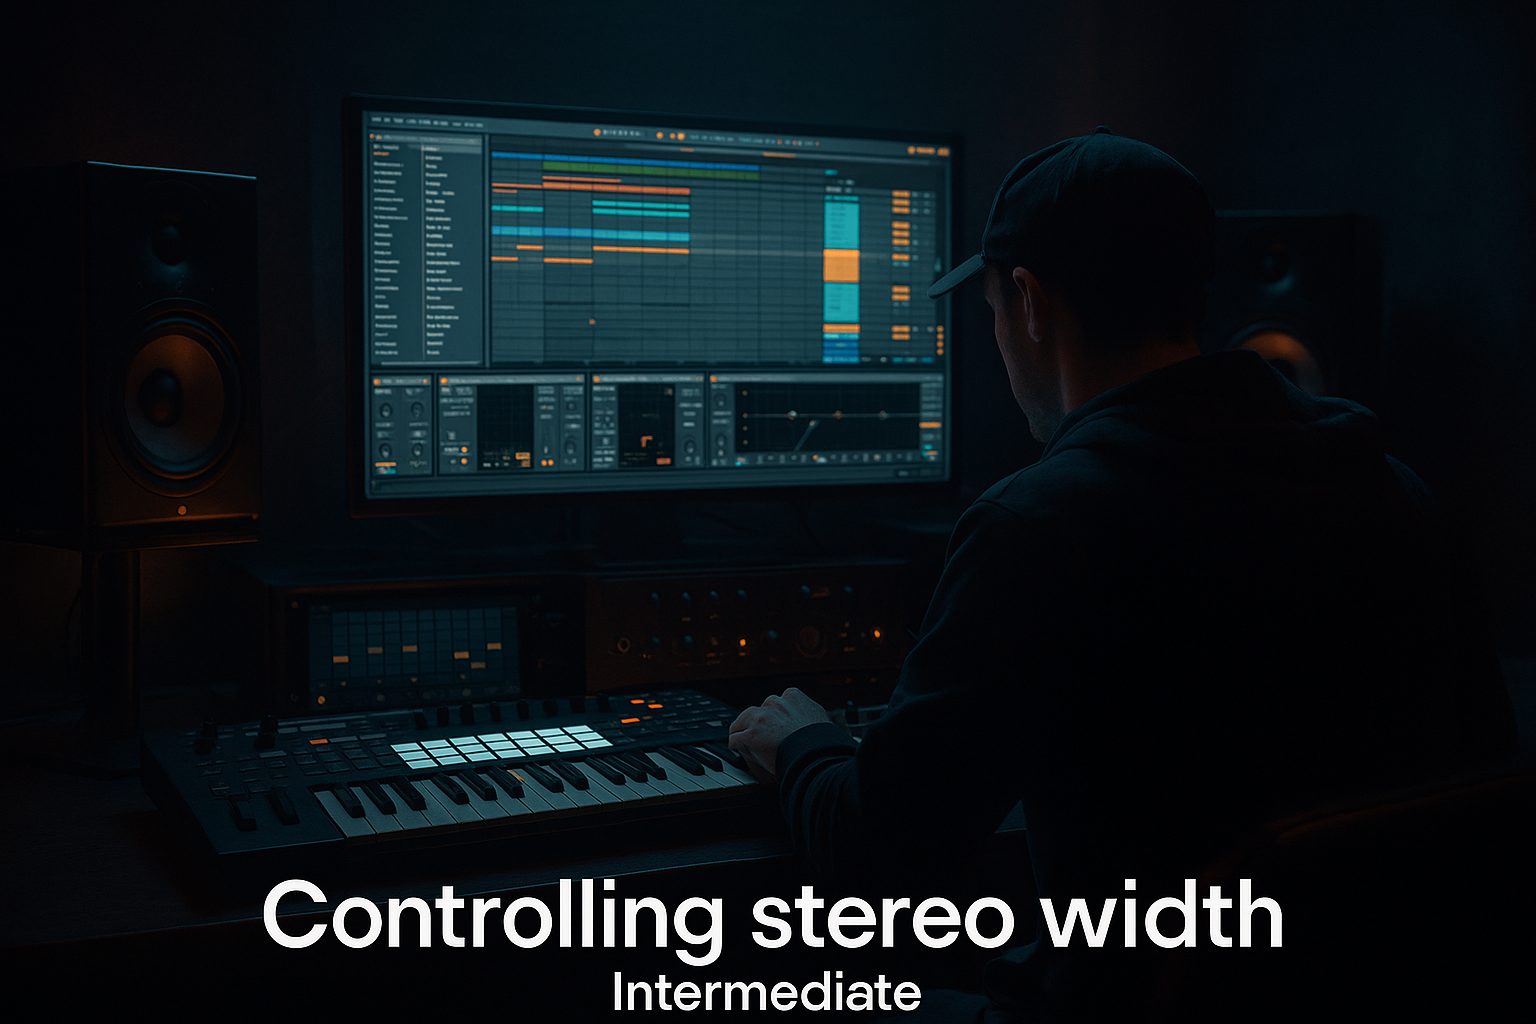
Main tutorial
Lesson Overview
A jungle pad in DnB is rarely just “background harmony.” In a proper breakbeat tune, it often does three jobs at once: it gives the intro identity, it glues chopped breaks and bass together during transitions, and it creates emotional width without stepping on the sub. The problem is that lush pads can eat CPU fast, especially when you start stacking unison, long reverb tails, and movement layers.
In this lesson, you’ll build a saturated jungle pad in Ableton Live 12 that sounds rich, worn-in, and moody, but stays lightweight enough for bigger sessions. The core idea is simple: create a strong harmonic source, shape it with efficient Ableton stock devices, add controlled saturation for density, then freeze the expensive stuff into audio so the project stays responsive. That workflow matters a lot in DnB, where your set can easily contain break edits, bass resamples, atmospheres, impacts, FX returns, and multiple arrangement versions.
Why this technique matters in DnB: jungle and darker rollers often rely on pads that feel half-dream, half-rubble. You want movement and grime, but you don’t want the pad to blur the drums or flatten the drop. A good pad should support the break, not compete with the transient language of the break. The trick is to make it thick in the mids, restrained in the low end, and efficient in CPU use.
What You Will Build
You will build a gritty, wide, jungle-flavoured pad that sounds like it could sit under chopped amen edits, filtered bass call-and-response, and a moody 16-bar intro. It will have:
- A warm but slightly degraded harmonic core
- Gentle saturation and controlled alias-style edge without third-party plugins
- Modulation that feels alive, not wobbly
- A filtered, DJ-friendly intro version and a fuller drop-support version
- Low CPU usage through device choice, flattening, and audio resampling
- Enough tonal character to work in jungle, atmospheric rollers, darker techstep, or neuro-adjacent breakdowns
- Osc 1: Saw
- Osc 2: Triangle or Saw, tuned +7 semitones or at unison if you want a denser haze
- Voices: 4 to 6 max
- Unison: 2 voices or off
- Warp/Spread: keep moderate, around 10–25%
- Filter: low-pass with cutoff around 400–1.2 kHz to begin
- Envelope: attack 40–120 ms, release 2.5–6 seconds
- LFO to filter cutoff: very slow, 0.03–0.10 Hz equivalent feel, depth around 5–12%
- LFO to wavetable position or fine pitch: tiny depth, 1–3%
- Envelope to filter: short-to-medium decay, around 250–800 ms
- Velocity sensitivity: light if you want the pad to react to chord accents
- Glide/portamento: only if you’re voicing monophonic chord stabs; otherwise leave off
- Bars 1–4: cutoff around 500–700 Hz
- Bars 5–8: open gradually to 1.5–2.5 kHz
- Last bar before drop: tighten back down to create tension
- Saturator
- EQ Eight after Saturator
- Drive on Drum Buss: 5–15%
- Crunch: very low, just enough to roughen the harmonics
- Boom: off for a pad, unless you are intentionally designing a bass-pad hybrid
- Dry chain: mostly clean pad
- Dirty chain: Saturator + EQ + slight Auto Filter
- Put Utility after the main tone shaping
- Use EQ Eight to high-pass the pad so only mids and highs spread wide
- If the pad has too much left-right wobble, reduce unison or chorus depth in the instrument rather than fixing it later
- Auto Filter
- Echo
- Hybrid Reverb or Reverb
- Phaser-Flanger or Chorus-Ensemble
- Intro pad: Reverb + Auto Filter
- Breakdown pad: Echo + Saturator + Utility
- Drop support pad: Saturator + EQ Eight + very light Chorus-Ensemble
- Freeze the track, then Flatten it if you’re done with MIDI editing
- Or resample the pad to audio on a new track
- Trim the clip, consolidate the best 1–4 bar loop, and warp only if needed
- It preserves the exact tone you built
- It reduces CPU before the arrangement gets dense
- It lets you chop the pad like an audio texture, which is very useful for breakbeat edits
- Reverse little slices for tension before fills
- Gate the audio with volume automation
- Put tiny reverb throws on the last chord of an 8-bar phrase
- Re-sample the resampled pad again through saturation for a more degraded jungle texture
- 16 bars intro with filtered pad and break fragments
- 8 bars build with harmonic opening and tension FX
- Drop with reduced pad or a thinner filtered version
- 8-bar switch-up with pad stabs and call-and-response bass
- Bars 1–8: filtered pad, no sub, broken amen slices, vinyl noise, distant impact
- Bars 9–16: pad opens, snare ghost notes and fills get more obvious, bass teases in low level
- Drop: pad pulls back to a narrow, high-passed version or disappears entirely except for held tails
- Second phrase: bring the pad back as a response to bassline gaps
- Filter cutoff: close in drops, open in intros
- Saturator drive: slightly higher in breakdowns for grit, lower when drums get dense
- Reverb send: increase on transition bars, reduce in the drop
- Utility width: narrower in the drop, wider in the intro
- Echo feedback: automate up briefly before a fill, then snap down
- Is the pad masking the snare crack around 180 Hz to 2 kHz?
- Is the pad’s low-mid energy clouding the kick or sub?
- Is the width causing phase weirdness when summed to mono?
- Does the saturation make the pad louder without actually needing volume?
- High-pass more aggressively if needed, even up to 250–350 Hz for dense arrangements
- Use a gentle dynamic reduction with Compressor or Glue Compressor only if the pad swells into the break too much
- Lower pad gain before adding more saturation
- Use mono checks with Utility on the master or a separate monitoring chain
- Compare against a reference roller or jungle tune at similar density
- Overusing stereo width on the pad
- Leaving too much low-mid content
- Saturating before the sound is well-shaped
- Using huge reverb directly on the instrument track
- Keeping the pad running unchanged through the drop
- Not committing to audio
- Blend in a resampled dirt layer
- Use chorus only above the body
- Turn the pad into a transitional tool
- Automate saturation like energy, not distortion
- Sidechain subtly if the break is busy
- Use note gaps for call-and-response
- Print multiple versions
- Bars 1–8: filtered intro pad
- Bars 9–12: opening tension
- Bars 13–16: drop-ready reduction or hard cut
- Build the pad from a lean Ableton stock instrument first.
- Add movement with subtle modulation, not excessive layering.
- Saturate after shaping, then control width and low-mid clutter.
- Resample or flatten once the sound is working to save CPU.
- Automate the pad like a real DnB arrangement tool: open, close, support, and retreat.
- Keep the break and bass dominant, and let the pad provide character, tension, and atmosphere.
Think of it as the kind of pad that can open a tune with rain-soaked tension, then tuck behind the first break switch-up without fighting the sub or snare.
Step-by-Step Walkthrough
1. Set up a lean instrument source first
Start with a single MIDI track and load Wavetable, Operator, or Analog. For the most CPU-efficient route in Live 12, Wavetable is a strong choice if you keep voices modest; Operator is even lighter if you want pure efficiency. For this lesson, use Wavetable because it gives you rich harmonics without needing multiple layers.
Suggested starting patch:
Play minor 7ths, sus2 chords, or simple root-fifth-octave shapes in the range of F2 to F4. For darker DnB, avoid overly wide major voicings in the low-mid; keep the harmony readable and moody.
Why this works in DnB: jungle and rollers often rely on harmony that is more textural than melodic. A restrained chord shape gives you atmosphere without clashing with the break phrasing or the sub movement.
2. Shape the pad for movement without heavy processing
Before you add any saturation, get the movement right using stock modulation. Use Wavetable’s envelope and LFO, but keep modulation subtle so the pad feels alive without becoming a trance wash.
Recommended movement settings:
If you want a more organic jungle character, automate the filter cutoff across eight bars instead of making the sound constantly animated. For example:
This keeps the pad evolving like a scene change rather than an EDM supersaw.
3. Add saturation in a controlled, CPU-friendly way
Now add Ableton stock saturation devices to thicken the pad and make it feel slightly smoked-out. Use Saturator first, not heavy overdrive chains.
Suggested chain:
- Drive: +2 to +6 dB
- Soft Clip: On
- Output: trim so level matches bypass
- Analog Clip or Curve: use subtly; don’t chase obvious distortion
- High-pass around 120–250 Hz to protect the sub region
- Gentle dip around 250–450 Hz if the pad clouds the break
- Small shelf or bell boost around 1.5–3 kHz only if it needs presence
If the pad still feels too clean, add a second Saturator or use Drum Buss lightly:
A great advanced move is to use parallel saturation. Create an Audio Effect Rack with two chains:
Then blend the dirty chain at 10–35%. This gives you controlled grit without overcooking the entire sound.
4. Control stereo width so the pad supports the break instead of smearing it
In DnB, the drum groove needs a stable center. A pad can be wide, but it should not destabilize the mono image or swallow the snare crack. Use Utility and, if needed, a M/S EQ approach.
Suggested workflow:
- Width: 110–140% for atmosphere
- Bass Mono: if you’ve got low content in the pad, keep it narrow or remove it instead
If you want a classic jungle intro feel, keep the pad wide only above roughly 300 Hz and leave the low mids more centered. That creates space for kick, snare, and sub to hit with authority.
5. Add texture with a low-CPU FX stack
Instead of loading many heavy processors, build a small but intentional FX chain. The goal is texture, not clutter.
A very effective stock chain:
- Use a low-pass or band-pass
- Automate resonance lightly for tension
- Time: 1/8, 1/4, or dotted 1/8 depending on tempo and phrasing
- Feedback: 10–25%
- Filter the repeats so they sit behind the break
- Keep decay moderate: 1.5–4 seconds
- Pre-delay: 10–30 ms
- High cut to avoid hiss overload
- Use sparingly; depth around 5–20% is enough
For minimal CPU, don’t stack all four at full force. Pick two or three based on the role:
A strong DnB move is to put the reverby part on a Return track instead of directly on the pad. That lets you control pad dry/wet balance across arrangements and save CPU if multiple layers share the same space.
6. Resample or freeze once the character is right
This is where the CPU savings become real. Once the pad sounds good, commit it.
Workflow options in Ableton Live:
For advanced DnB production, resampling is often better than leaving the synth live. Why?
After resampling, you can:
This is especially effective in breakbeat arrangements where you want atmosphere to “chop” with the drums.
7. Arrange the pad like a DnB record, not a loop demo
Now place the pad in a real arrangement context. A common DnB structure might be:
Example musical context:
This is where the pad becomes part of the rhythm section. Don’t leave it static across the whole tune unless you’re making a very ambient liquid cut. For darker rollers, let the pad answer the drums: open on bar endings, close on snare pickups, and breathe around the bass phrase.
8. Automate for tension, release, and DJ-friendly transitions
Now make the pad work as a transition tool. Use automation to create movement that supports mix energy and arrangement logic.
Useful automation targets:
A very effective move in a jungle track is to automate the pad’s filter and reverb into the last 2 bars before the drop, then hard-cut or sharply reduce the pad right as the kick and snare commit. That makes the drop feel bigger because the space collapses.
If you’re making DJ-friendly arrangements, keep an 8- or 16-bar intro version of the pad with restrained lows and clear phrasing so it can be mixed in cleanly.
9. Balance the pad against breaks and bass using a quick mix check
Even a great pad can ruin a DnB mix if it eats the transient zone. Do a fast balance pass in context with your break and bass.
Check these points:
Practical fixes:
The pad should sit like atmosphere around the drum/bass engine, not on top of it.
Common Mistakes
- Fix: narrow the low end, reduce unison, and keep the center stable for the break and bass.
- Fix: high-pass more decisively and carve a small dip around 250–450 Hz if the break feels buried.
- Fix: get the chord, filter, and movement right first; then saturate to enhance, not to rescue.
- Fix: use a Return track or keep decay shorter; long tails can wash out break details fast.
- Fix: automate it smaller, darker, or thinner in the drop so the drums and bass hit harder.
- Fix: freeze/flatten or resample once the tone is approved. Live synths are convenient, but audio is faster and easier to arrange in dense DnB sessions.
Pro Tips for Darker / Heavier DnB
- Duplicate the pad, high-pass the copy, and push it through Saturator or Drum Buss lightly. Blend it under the main pad for a dusty, underground edge.
- Keep the pad’s wider motion in the upper mids and highs. The more your harmony spreads, the more critical it is to protect the mono foundation.
- Resample a 2-bar pad swell and reverse it before a snare fill. That works brilliantly in jungle and dark roller arrangements.
- Slightly raise saturation in breakdowns and reduce it in the drop. That makes the pad feel like it’s breathing with the arrangement.
- Use Compressor with a soft ratio and short release to duck only a couple of dB from the kick/snare region. Keep it natural; the pad should pulse, not pump like house music.
- In a neuro-leaning or heavier roller context, let the pad leave space for the bass question phrase. The pad can sustain on bars 1 and 3, then pull back on bars 2 and 4.
- Make one “intro pad” render, one “drop support” render, and one “FX tail” render. This is a fast, pro-level workflow for finishing DnB without reopening heavy instruments later.
Mini Practice Exercise
Spend 10–20 minutes building three versions of the same pad in Ableton Live 12:
1. Make a clean pad in Wavetable or Operator using a minor 7th chord.
2. Create a saturated version with Saturator + EQ Eight + Utility.
3. Resample the pad to audio and make a chopped transition version with one reverse swell and one short tail.
Then place them into a simple 16-bar DnB loop:
Bonus challenge: audition the loop in mono and make one adjustment to improve break clarity.

