Main tutorial
Sampler Rack in Ableton Live 12: Chopped-Vinyl Character for Jungle / Oldskool DnB 🎛️🥁
1. Lesson overview
In this lesson, you’ll build a Sampler-based drum rack in Ableton Live 12 that gives you that dusty, chopped-vinyl, oldskool jungle/DnB feel—tight snares, crunchy breaks, pitched chops, and a bit of “worn record” attitude without killing the groove.
This is not just about making drums sound old. It’s about making them feel like they’ve been lifted from a record, sliced, pushed, and arranged into a rolling DnB pattern that still hits hard in a modern mix.
You’ll learn how to:
- Build a Sampler Drum Rack for chopped breaks
- Shape each chop with filters, envelopes, pitch, and transient control
- Add vinyl-style movement using stock Ableton devices
- Arrange loops into classic jungle energy: call-and-response, fills, drop tension, and breakdowns
- Keep the sound gritty but usable in a full arrangement
- Jungle
- Oldskool DnB
- Rolled breakbeat sections
- Dark halftime-to-jungle flips
- Intro/drum breakdown material
- Kick-heavy slice
- Snare slice
- Ghost-note slice
- Hat/tick slice
- Accent / fill slice
- Vinyl texture
- Punch
- Controlled grit
- Oldskool motion
- Mix-ready drum energy
- Fast 2-step / breakbeat patterns
- Jungle-style re-edits
- Snare roll buildups
- Drop fills
- Ghost-note variations
- Arrangement transitions
- Classic funk break loops
- Live drum breaks
- Dusty soul loop drums
- Percussive vinyl chops
- Your own bounced drum pattern with swing
- Main snare
- Main kick
- A ghost note
- A hat or ride tick
- A transition slice
- Mode: Classic
- Filter: Low-pass or band-pass depending on the slice
- Filter Drive: 2–8 dB for body and grit
- Start/End: Trim tightly so the transient is immediate
- Amp Envelope:
- Pitch Envelope: slight downward pitch dip on some hits for oldskool thunk
- Glide: off unless you’re using pitched fills
- Keep the low end focused
- Use a very short release
- Add slight saturation later, not too much inside the sampler
- If the source kick is muddy, high-pass gently at the rack level later
- Lower volume significantly
- Shorten decay
- Use brighter filter settings if you want them to cut through
- Pan subtly left/right for human feel
- Short release
- Higher cutoff
- Slight stereo spread can help, but keep it controlled
- Filter type: Low-pass
- Cutoff: 8–14 kHz for a dusty top end
- Resonance: low to moderate
- Add a little Drive if needed
- Drive: 2–6 dB
- Soft Clip: On
- Curve: default or slight custom boost
- Output: compensate carefully
- Drive: 5–20%
- Crunch: subtle, not overcooked
- Damp: adjust to soften harsh hats
- Boom: use carefully; often better off or very low for jungle breaks
- Transients: positive for snap, negative for smoother grime
- Redux: reduce bit depth/sample rate lightly
- Vinyl Distortion: use subtly for hiss, wear, and movement
- Ping-pong subtly on fills
- Filtered delays on snare hits
- Very short feedback for rhythmic trails
- Velocity zones
- Chain selector
- Random / Round Robin-style switching if you map variations manually
- Slightly different processing on similar chops
- Different pads
- Or layered chains with velocity control
- Kick on the downbeat
- Snare on the backbeat
- Ghost chops between the main hits
- Small fills every 4 or 8 bars
- Bar 1: break chop phrase with kick/snare anchor
- Bar 2: add extra ghost note and a hat tick
- Bar 3: repeat but shift one slice for variation
- Bar 4: add fill and turnaround
- 2-bar phrases
- 4-bar movement
- 8-bar tension release
- Use Groove Pool
- Try funk or swing grooves at:
- Reduce groove amount if it gets too loose
- Slightly offset ghost notes
- Nudge some hits ahead/behind the grid
- Vary velocities
- Let certain slices ring shorter or longer
- Intro: filtered break + vinyl noise + sparse hits
- Build: add ghost notes and snare rolls
- Drop: full chop pattern with bass
- Breakdown: remove low end, leave dusty top slices
- Second drop: tougher variation with extra fills
- Use automation on filters, reverb sends, and distortion
- Drop in single-hit fills at the end of 8-bar phrases
- Every 4 or 8 bars, change one chop or mute one slice
- Use a call-and-response between kick-heavy and snare-heavy sections
- Keep kick and sub from fighting
- Use EQ Eight to clean unnecessary low-mid mud
- High-pass dusty tops if they clutter the bass
- Sidechain bass lightly to the snare or kick if needed
- Kick fundamental: keep focused
- Snare body: usually around the low-mid punch zone
- Break chop tops: carve out space above the bass harmonics
- Use Utility to mono the low end if needed
- A short, dark room hit
- A low-passed noise layer
- A subtle clap or rim for bite
- Saturator
- Drum Buss
- A parallel low-end layer
- Tick
- Air
- Transient detail
- increase Drive on Saturator
- open Auto Filter
- add short Echo throws
- slightly increase Redux degradation
- Triggering bass accents off snare gaps
- Leaving space right after the main snare
- Matching ghost-note rhythm to bass flicks
- Version A: dusty and filtered
- Version B: harder and brighter
- Start with a break that has natural movement
- Slice it, then use Sampler on key hits for detailed control
- Shape each chop with envelopes, filter, pitch, and decay
- Add character using Auto Filter, Saturator, Drum Buss, Redux, and Vinyl Distortion
- Arrange the break like a DnB record: phrases, fills, drops, and breakdowns
- Keep the low end clear so the bass and drums work together
- gritty
- energetic
- oldskool
- musical
- and properly jungle 🥁🔥
This workflow is perfect for:
---
2. What you will build
You’ll build a Drum Rack containing a few key Sampler pads loaded with chopped break slices from a breakbeat loop.
Each pad will act like a playable chop:
Then you’ll process the rack with a chain that gives:
Final result
A rack you can use to program:
---
3. Step-by-step walkthrough
Step 1: Choose the right source material
Start with a break that already has movement.
Good source types:
Best approach: pick a loop with clear transient detail and a bit of room tone.
Avoid overly clean, hyper-compressed loops if you want that chopped-vinyl vibe.
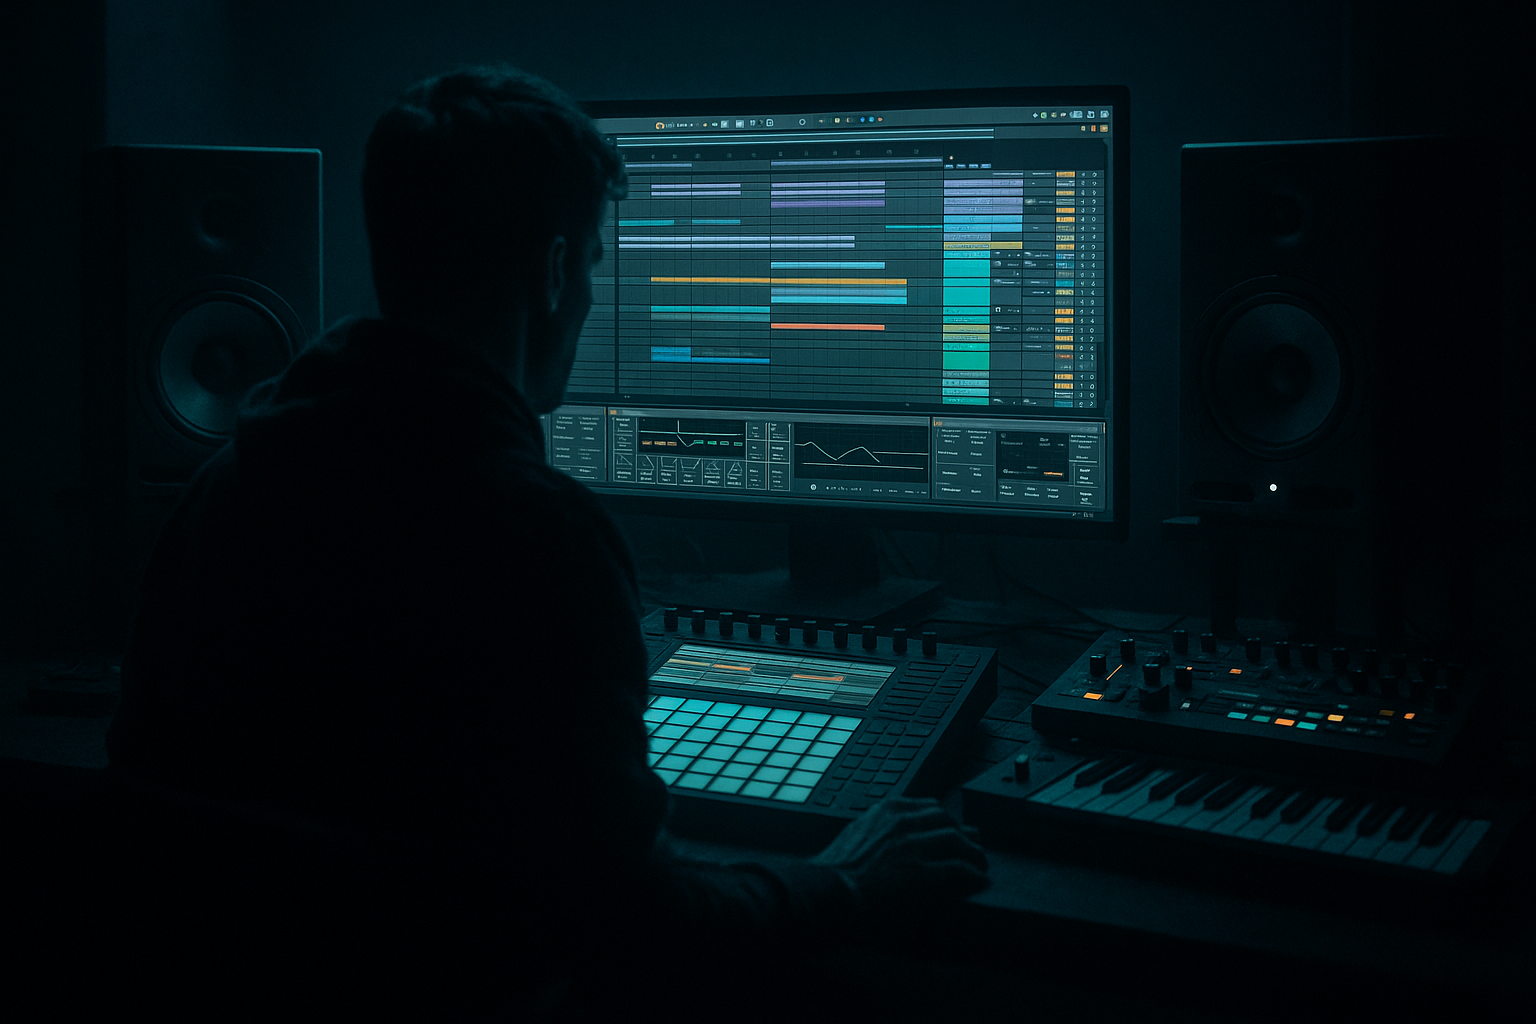
#### In Ableton:
1. Drag your loop into an Audio Track
2. Set the project tempo around 160–174 BPM for jungle/DnB context
3. Warp it if needed, but don’t over-correct the human feel
Tip: If the break has nice swing, keep it. That natural push-pull is part of the character.
---
Step 2: Slice the break into a Drum Rack
Now turn the break into a playable instrument.
#### Method:
1. Right-click the audio clip
2. Choose Slice to New MIDI Track
3. In the slicing dialog, choose:
- Transient for natural hits
- or 1/8 if you want a more grid-based chop workflow
Ableton creates a Drum Rack with slices mapped across pads.
Each slice usually loads into Simpler, but we’re going to refine those into Sampler-style control.
---
Step 3: Replace key slices with Sampler for deeper shaping
For this lesson, the important move is to use Sampler on key pads so you can sculpt the chops more precisely.
#### Which pads to convert first:
#### How:
1. Click a pad containing a slice
2. Open the device chain
3. Replace Simpler with Sampler if your version/workflow supports it, or load a Sampler manually and drag the slice in
4. Repeat for the most important chops
If you prefer to keep it faster, you can leave some pads as Simpler and only use Sampler on the featured hits. That’s a good hybrid method.
---
Step 4: Set up the Sampler for chopped-vinyl tone
Now the fun part: make each slice feel like it came off a dusty record.
#### Core Sampler settings for the main snare chop
- Attack: 0–2 ms
- Decay: 120–300 ms for short chops
- Sustain: 0 dB for sustained break hits, lower for one-shots
- Release: 40–120 ms
#### For kick slices
#### For ghost notes
#### For hats/ticks
---
Step 5: Make the chops feel like vinyl
This is where the character lives. Stock Ableton devices are perfect here.
Add these after the Drum Rack or on groups/returns:
#### A. Auto Filter
Use it to emulate the dulling/brightness shifts of sampled vinyl.
Suggested settings:
Automate the cutoff in arrangement to mimic filter sweeps on breaks.
---
#### B. Saturator
Use gentle drive for record-style density.
Suggested settings:
This helps the break feel more “glued” and less sterile.
---
#### C. Drum Buss
Very useful for oldskool DnB punch.
Suggested settings:
Use this lightly on the rack or on a parallel drum bus.
---
#### D. Redux or Vinyl Distortion
For intentionally degraded texture.
Do not destroy the transient. A little goes a long way.
---
#### E. Echo or Delay
For classic chopped movement and dubby breakdown energy.
Try:
---
Step 6: Build a rack chain with variation
A jungle drum rack should not sound identical on every hit. You want micro-variation.
#### Use these rack features:
Practical setup:
Create 3 snare variations:
1. Dry/snappy
2. Dusty/filtered
3. Big/roomy
Map them to:
This helps avoid the “looped sample” feel and makes the drums breathe.
---
Step 7: Program a classic DnB/jungle pattern
Now write the actual groove.
#### Starter pattern idea at 170 BPM:
Example feel:
Rhythm mindset
Think in:
Jungle thrives on momentum. Even simple patterns should evolve.
---
Step 8: Add swing and human feel
Oldskool DnB is rarely rigid.
#### In Ableton:
- 54–58% timing for subtle swing
Also:
This is what makes chopped breaks feel alive.
---
Step 9: Make it arrangement-ready
A good sound is only useful if it works in an arrangement.
#### Arrange your rack into sections:
Arrangement tips:
That variation keeps the arrangement moving like a proper DnB tune, not a static loop.
---
Step 10: Blend with bass properly
This is crucial in DnB.
Your chopped-vinyl drums must leave room for the bass.
#### If you have a reese, sub, or rolling bass:
#### Practical balance:
---
4. Common mistakes
1. Over-processing the chop
Too much distortion, bit reduction, and filtering can flatten the break.
Fix: stack processing lightly. Let the source breathe.
---
2. Killing the transient
Jungle breaks need attack.
Fix: shorten release carefully, but keep the initial hit sharp. Use transient shaping through Drum Buss or clip gain rather than crushing compression.
---
3. No variation
A repetitive chop loop gets stale fast.
Fix: make at least 2–3 variations of the same break slice and rotate them.
---
4. Too much low end in the break
If your sampled break has lots of kick bleed, it may clash with your sub.
Fix: high-pass selectively, or use EQ to tame the low end while keeping the body.
---
5. Ignoring arrangement
A great drum rack still needs tension and release.
Fix: automate filters, mute slices, and create phrases over 4/8 bars.
---
6. Over-warping the source
Warping can erase the human feel.
Fix: use just enough warp to sync the break. Don’t over-tighten everything.
---
5. Pro tips for darker/heavier DnB
Tip 1: Use filtered snare layers
Layer your snare chop with:
Then group them and process together with Drum Buss and EQ Eight.
---
Tip 2: Add subharmonic weight carefully
If the break needs more weight, use:
Do not just boost lows blindly. Keep the groove tight.
---
Tip 3: Make the top end feel aged, not weak
Use a gentle low-pass and a touch of noise instead of removing all high frequencies.
A darker DnB break still needs:
Use a controlled shelf or band emphasis around the upper mids if the break disappears in the mix.
---
Tip 4: Automate grit on transitions
For breakdowns and fills:
Then pull it back hard on the drop.
That contrast gives you classic tension.
---
Tip 5: Keep your bass and drums rhythmically locked
In dark DnB, the break and bass should feel like one machine.
Try:
That interlock is what makes rolling DnB feel heavy and intentional.
---
6. Mini practice exercise
Goal:
Build a 4-bar jungle drum loop using Sampler chops and make it arrangement-ready.
Exercise steps:
1. Pick one breakbeat loop
2. Slice it into a Drum Rack
3. Convert 3 key slices to Sampler
4. Make:
- 1 main snare
- 1 ghost note
- 1 hat/tick slice
5. Add:
- Auto Filter
- Saturator
- Drum Buss
6. Program a 4-bar pattern at 170 BPM
7. Add one variation in bar 4
8. Automate a filter sweep into the loop repeat
9. Bounce the loop and listen in context with a sub and bassline
Challenge version:
Make two versions:
Then compare which one works better in the drop.
---
7. Recap
You’ve now got a practical workflow for building a Sampler rack with chopped-vinyl jungle character in Ableton Live 12.
Key takeaways:
If you do this right, your drums will sound:
If you want, I can also turn this into:
1. a step-by-step Ableton session template, or
2. a device-by-device rack chain diagram for jungle drums.

