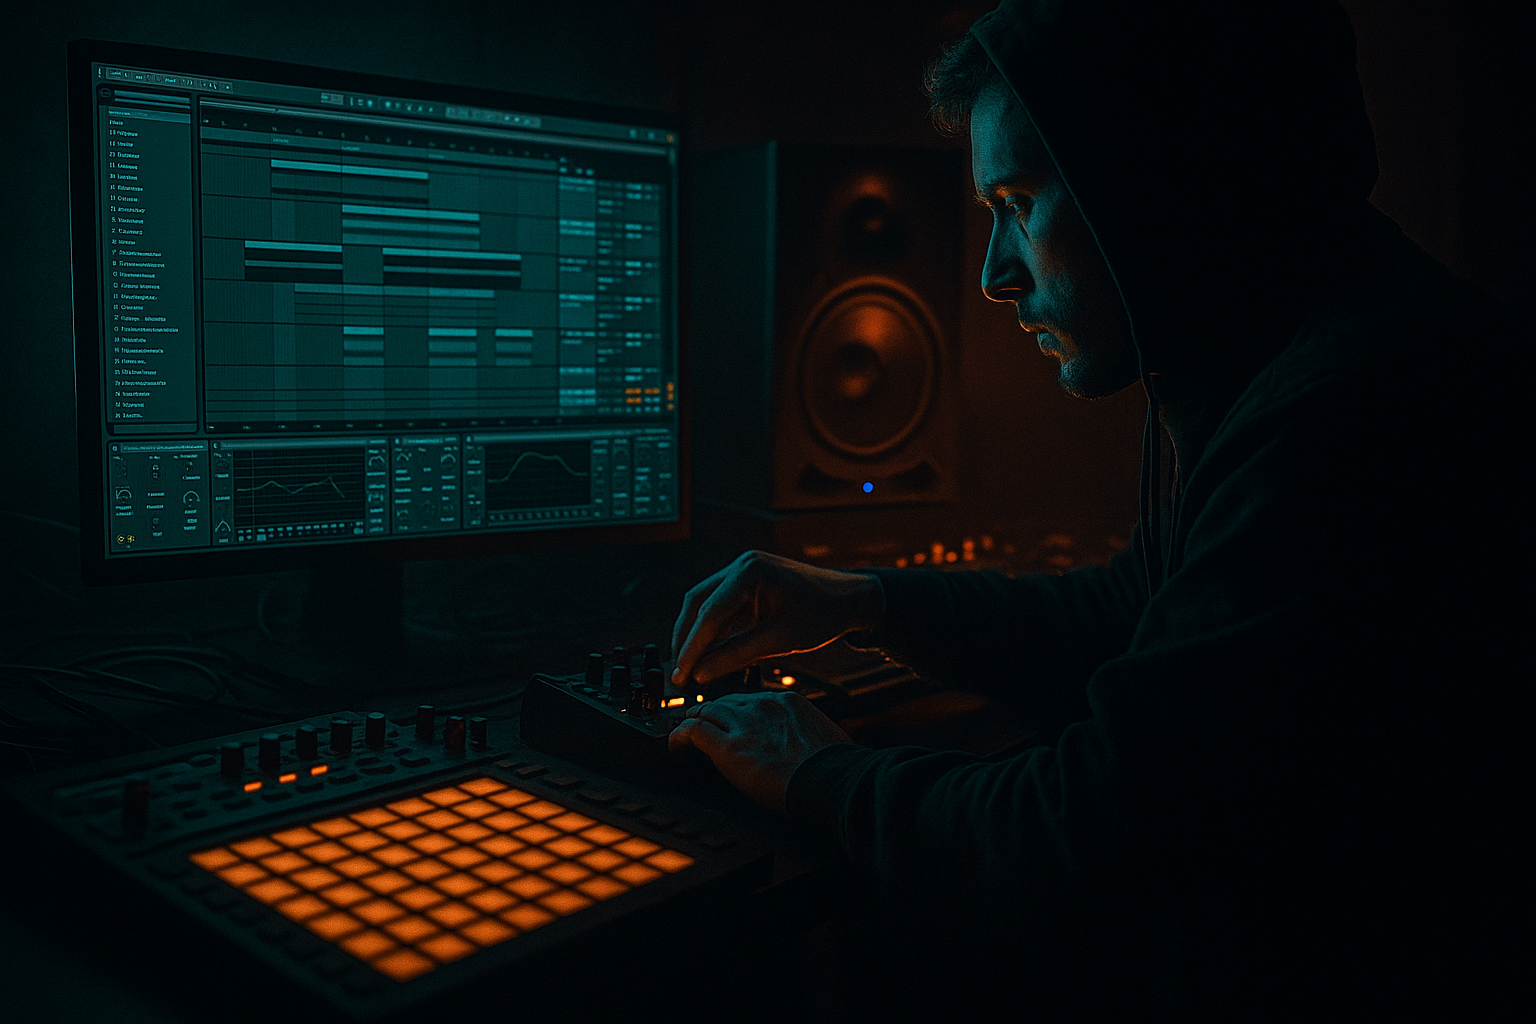
Main tutorial
Lesson Overview
In this lesson, you’ll clean up a Sampler-based rack in Ableton Live 12 so it stays tight, punchy, and full of oldskool jungle energy without chewing through headroom. The goal is not to make the sound “small” — it’s to make it controlled, so your bass, breaks, and mix bus have room to breathe.
This sits right in the sweet spot of workflow + mixing + sound design for DnB. A lot of oldskool jungle and rollers feel huge because the elements are well-managed, not because they’re oversized. If your Sampler rack is holding a chopped break, a sub layer, a reese stab, or a gritty bass one-shot, cleaning it correctly means you can push the vibe harder later with less fighting in the mix.
Why this matters in DnB:
- Breakbeats need transients to stay alive.
- Sub needs space to stay solid on club systems.
- Reese and midbass layers need width and movement without stealing low-end power.
- Headroom is arrangement power: the less clutter your rack creates, the more you can automate, resample, and build tension on the drop.
- A sub-safe low layer that stays mono and stable
- A mid layer with controlled harmonics for bass presence
- A break or texture layer that can be filtered, distorted, and automated
- A macro-controlled rack that lets you adjust:
- A version that sits better in a jungle-style drop, where the break can be energetic without masking the bass
- Enough headroom to keep your track around -6 dB peak on the master before mastering, which is a practical target while building
- a reese bass with a chopped break underneath
- a sub + mid bass stack for a dark roller
- a sampled oldskool stab with a low layer
- a resampled jungle bass phrase that needs to hit hard without flattening the mix
- Making every chain full-range
- Using too much saturation too early
- Leaving the sub stereo
- Overlong release tails
- Boosting loudness instead of cleaning balance
- Ignoring the break’s transients
- Not checking the rack in the full arrangement
- Use parallel dirt, not full-time dirt
- Resample the cleaned rack
- Automate narrow-to-wide movement carefully
- Use small filter moves for big emotion
- Let the drums breathe around the bass
- Drum Buss can help oldskool grit
- Keep the midrange honest
- Split your Sampler rack into sub, mid, and texture layers.
- Keep the sub mono, short, and clean.
- Use the mid layer for character and movement.
- Use the texture layer for grit and rhythm, not loudness.
- Control the rack with macros so it’s fast to write, automate, and revise.
- Protect headroom by cleaning the rack before it reaches the master.
- Always check the sound in the full DnB arrangement, not just solo.
This lesson focuses on using Sampler in a rack, plus a few stock Ableton tools like EQ Eight, Utility, Saturator, Drum Buss, Auto Filter, Compressor, and simple routing to keep the sound clean but aggressive. You’ll end with a rack that works for jungle oldskool drum programming, rollers, darker half-time bass, and neuro-leaning movement.
What You Will Build
You’ll build a clean, performance-ready Sampler rack with:
- sub level
- tone
- drive
- filter movement
- stereo width
- attack/release feel
Musically, this could be used for:
Step-by-Step Walkthrough
1. Start with a clean rack layout inside Sampler
Load your source into Sampler — this can be a bass hit, a reese note, a chopped break slice, or a resampled phrase from your DnB project.
Inside the instrument rack, create three chains:
- Sub
- Mid
- Texture / Break
This split is the workflow win. In DnB, a single sound often needs to act like three sounds: the foundation, the character, and the motion.
In each chain, keep the source simple:
- Sub chain: sine-ish or low-passed version of the sample
- Mid chain: original or harmonically rich layer
- Texture chain: filtered, distorted, or transient-focused layer
If you’re starting from a break or a bass sample, use Sampler’s zone/filter controls to keep the source playable but not overly wide or boomy.
2. Set the sub layer to be solid, short, and mono
On the Sub chain, use Sampler’s filter to remove unnecessary highs. A good starting point:
- Low-pass cutoff: around 80–140 Hz depending on the sample
- Resonance: low, around 0–10%
- Attack: 0–5 ms
- Release: 40–120 ms for clean note endings
Then add Utility after the sub chain:
- Set Width to 0%
- Keep it mono
- If needed, reduce gain slightly so the chain is stable before the rest of the rack
If the source is a bass sample rather than a pure sub, use EQ Eight to gently cut anything above the low fundamentals and remove mud around 180–300 Hz if it’s getting cloudy.
Why this works in DnB: jungle and rollers rely on a sub that is consistent under fast drums. If the sub is wide or overlong, it blurs kick/break punch and kills the “bounce” in the drop.
3. Shape the mid layer for reese-style movement without eating the low end
On the Mid chain, keep the full harmonic character of the sample but clean the extremes.
Use EQ Eight:
- High-pass around 90–150 Hz
- If the sound feels boxy, dip 250–450 Hz by 2–4 dB
- If it’s sharp or brittle, tame 2.5–5 kHz with a narrow or medium Q cut
Add Saturator:
- Drive: start around 2–6 dB
- Turn on Soft Clip if the sound is spiky
- Keep output gain matched so you’re hearing tone, not just louder volume
If you want classic DnB movement, use Auto Filter or Filter Delay very lightly:
- Auto Filter with a low-pass or band-pass
- Modulate the cutoff with subtle automation over 8 or 16 bars
- Use tiny movements, not giant sweeps, for dark rollers or oldskool rinse-outs
This layer should carry the identity of the bass or break without duplicating the sub. A clean mid layer lets you push the drop harder later because the low-end stays open.
4. Build the texture chain as the “energy layer,” not a loud layer
The Texture / Break chain is where you keep the grit, chop, and movement that makes jungle and darker DnB feel alive.
Try this chain:
- EQ Eight: high-pass around 150–300 Hz
- Drum Buss: light Drive, maybe 5–20%, with Boom used carefully
- Auto Filter: automate cutoffs for motion
- Optional Redux very lightly for extra grain if the source can take it
If your source is a chopped break, focus on transient clarity rather than volume. If it’s a bass texture, focus on top-end rasp and rhythmic movement.
Keep this chain lower in level than you think. In DnB, the ear perceives power from contrast: if the texture is too loud, the drop loses punch and the drums stop feeling explosive.
5. Use rack macros to clean and control the sound fast
Map the most important controls to macros so you can make decisions quickly while arranging.
Strong macro choices for this kind of rack:
- Macro 1: Sub Level
- Macro 2: Mid Drive
- Macro 3: Texture Level
- Macro 4: Tone / Filter Cutoff
- Macro 5: Stereo Width
- Macro 6: Release / Tail
- Macro 7: Break Bite
- Macro 8: Output Trim
Suggested ranges:
- Sub Level: use a modest range, maybe -inf to 0 dB, but rarely above unity
- Mid Drive: map to 0–6 dB on Saturator or equivalent
- Width: map only the mid/texture chains, not the sub
- Release: keep it tight for fast patterns, longer for halftime or atmospheric sections
Workflow win: macros turn cleanup into performance. You can automate a single knob move instead of opening three devices every time you want a variation.
6. Control headroom at the rack output, not after the mix is already broken
Put a Utility or EQ Eight at the end of the rack to manage overall output. This is where you protect the rest of the project.
Good practice:
- Watch the rack’s output so it doesn’t constantly hit red
- Aim for steady peaks, not clipped random spikes
- Keep enough headroom so the master isn’t fighting the rack
If the rack feels huge but messy, don’t just turn it down. Instead:
- Reduce sub chain gain
- Lower Saturator drive
- Tighten release
- Cut a little mud in the 200–400 Hz area
- Make sure the texture layer is high-passed enough
In DnB, clean headroom is essential because drums, bass, and fx all need peak space to hit hard. Overbuilt racks often sound impressive soloed but weaker in the full drop.
7. Add sidechain behavior that suits the groove
Use Compressor or Glue Compressor for subtle sidechain-style ducking from the kick or main drum bus.
For a jungle or roller feel:
- Keep the ducking musical, not pumpy
- Try 2–5 dB of gain reduction
- Fast attack, medium release
- Adjust release by feel so the bass returns in time with the groove
If the track has a chopped break, you may not need strong kick-driven sidechain at all. Sometimes a tiny amount of ducking from the kick plus smart arrangement is enough.
This is especially useful when the rack contains both bass and break texture. The ducking allows the break to stay energetic without masking the kick or sub.
8. Use arrangement-aware automations to keep the rack exciting
Don’t just clean the rack in isolation — make it arrangement-ready.
Good automation ideas:
- Open the Auto Filter cutoff over the last 2 bars before the drop
- Increase Texture Level only in the second half of a 16-bar section
- Pull down Mid Drive for a breakdown, then push it on the drop
- Narrow the width in the intro, widen it slightly in the drop’s call-and-response moments
- Shorten the release for busy 16th-note bass phrases, lengthen it for more legato 2-step sections
Example context:
- Bars 1–16: DJ-friendly intro with only filtered texture and light sub hints
- Bars 17–32: first drop with restrained mid drive and clean sub
- Bars 33–48: switch-up with more break texture and a slight filter open
- Bars 49–64: second drop with extra drive and automation on the texture chain for more intensity
That’s how you keep a jungle arrangement moving without piling on unnecessary new sounds.
9. Finish with mono checks and low-end separation
Before calling it done, check the rack in mono using Utility:
- Collapse width
- Listen to the sub and low mid balance
- Make sure the bass still feels solid
Then compare your rack against the kick and break:
- If the kick loses impact, the rack is too wide or too dense in the low mids
- If the break loses snap, you may have too much mid-bass saturation masking transients
- If the sub disappears in mono, your sub layer is not clean enough
If needed, clean further with:
- EQ Eight on the mid/texture chain
- Utility on every chain except the sub
- Slightly reduced drive or shorter release
In DnB, mono compatibility is not a technical checkbox — it’s a club translation issue.
Common Mistakes
- Fix: high-pass the mid and texture layers so only the sub owns the bottom.
- Fix: add drive after filtering and level matching. Saturation should reveal detail, not flatten the rack.
- Fix: mono the sub chain with Utility and keep width off the low end.
- Fix: shorten release to keep fast DnB phrases articulate.
- Fix: reduce mud, tame harshness, and level-match before increasing output.
- Fix: if the texture chain contains a break, focus on preserving snap with EQ and restraint on compression.
- Fix: always audition it with kick, hats, and bass together. A soloed rack can lie.
Pro Tips for Darker / Heavier DnB
- Blend a gritty texture chain underneath a cleaner bass core. This keeps the drop heavy without losing definition.
- Once it’s balanced, resample 8 or 16 bars and edit the audio. This is classic jungle workflow: commit, chop, and re-arrange for stronger phrasing.
- Keep the sub mono always, but let the mid/texture open slightly on fills or call-and-response bars for tension.
- Even a subtle 500 Hz to 8 kHz movement on a texture chain can make a bass phrase feel alive in a dark roller.
- If the rack is busy, simplify the kick pattern or remove competing low percussion during the heaviest bass moments.
- Use it lightly on the texture chain to get that crunchy, forward-moving energy without destroying the transient shape.
- Dark DnB often sounds bigger when the 300–800 Hz area is controlled rather than boosted. Too much here makes the whole drop feel foggy.
Mini Practice Exercise
Spend 15 minutes building a rack like this:
1. Pick one source: a bass stab, reese note, or chopped break slice.
2. Create Sub, Mid, Texture chains.
3. On each chain, set clear EQ boundaries:
- Sub: low-pass around 100 Hz
- Mid: high-pass around 100–150 Hz
- Texture: high-pass around 200 Hz
4. Add one tone device to each:
- Sub: Utility
- Mid: Saturator
- Texture: Drum Buss or Auto Filter
5. Map three macros:
- Sub Level
- Drive
- Cutoff
6. Program an 8-bar loop with:
- 4 bars of simple bass phrase
- 4 bars with a small variation or fill
7. Automate one macro across the loop:
- Open the filter slightly into the variation
8. Check it in mono and reduce anything that competes with the kick.
Goal: by the end, you should have a rack that feels full but controlled, ready for a jungle or dark roller drop without eating your mix headroom.
Recap
If you get this rack workflow right, your jungle and DnB bass parts will hit harder, leave more space for drums, and stay flexible enough to evolve through the arrangement.

