Main tutorial
Lesson Overview
This lesson is about building a Ruffneck-style vocal texture riser in Ableton Live 12 that carries the emotional lift of a sunrise set while still feeling rooted in oldskool jungle / DnB culture. Think less “big festival EDM whoosh” and more dusty rave memory, chopped vocal ghosting, tape-worn anticipation, and emotional pressure building into the drop.
In DnB, a riser is not just a transition effect. It is part of the phrase design. In jungle and rollers especially, the best rises often feel like they were pulled from the same world as the tune: chopped vocal fragments, resampled breaks, delay tails, and harmonics that hint at the drop instead of shouting over it. For a sunrise set, the emotional angle matters even more. You want the build to feel hopeful, fragile, and slightly rough around the edges — uplifting, but still believable in a late-night / early-morning sound system context.
The goal here is to create a layered vocal-texture riser that:
- starts intimate and dry,
- becomes wider, grainier, and more urgent,
- carries tension without masking the drums,
- and lands cleanly into a jungle-flavoured drop or switch-up.
- a narrow, intimate start
- pitch-up tension or formant-like lift
- filtered delay and reverb bloom
- resampled grainy motion
- stereo expansion only in the upper layer
- controlled harshness so it still works in a dense DnB mix
- a sunrise roller with emotional uplift,
- a jungle halftime switch-up into full pace,
- or a darker liquid-to-jungle transition where atmosphere needs momentum.
- Making it too shiny
- Using too much reverb too early
- Letting the riser fight the snare or break
- Over-stereo widening the whole signal
- Pitching the vocal so hard it loses emotion
- No arrangement payoff
- Layer one grimy harmonic bed under the vocal
- Use break-derived transients with the vocal
- Make the tail duck into the first kick
- Add an ugly layer on purpose
- Use filtered noise only as support
- Automate a narrow band-pass sweep for tension
- a jungle break loop,
- a sub + reese drop,
- and a roller groove.
- Start with a short, emotional vocal source that feels authentic to DnB culture.
- Build the riser in layers: dry core, filtered mid, airy top.
- Use automation for filter, delay, reverb, width, and pitch movement.
- Resample to add grit, glue, and control.
- Make the riser interact with the breaks, bassline, and drop timing.
- Keep the result bright enough for sunrise emotion but rough enough for jungle / oldskool credibility.
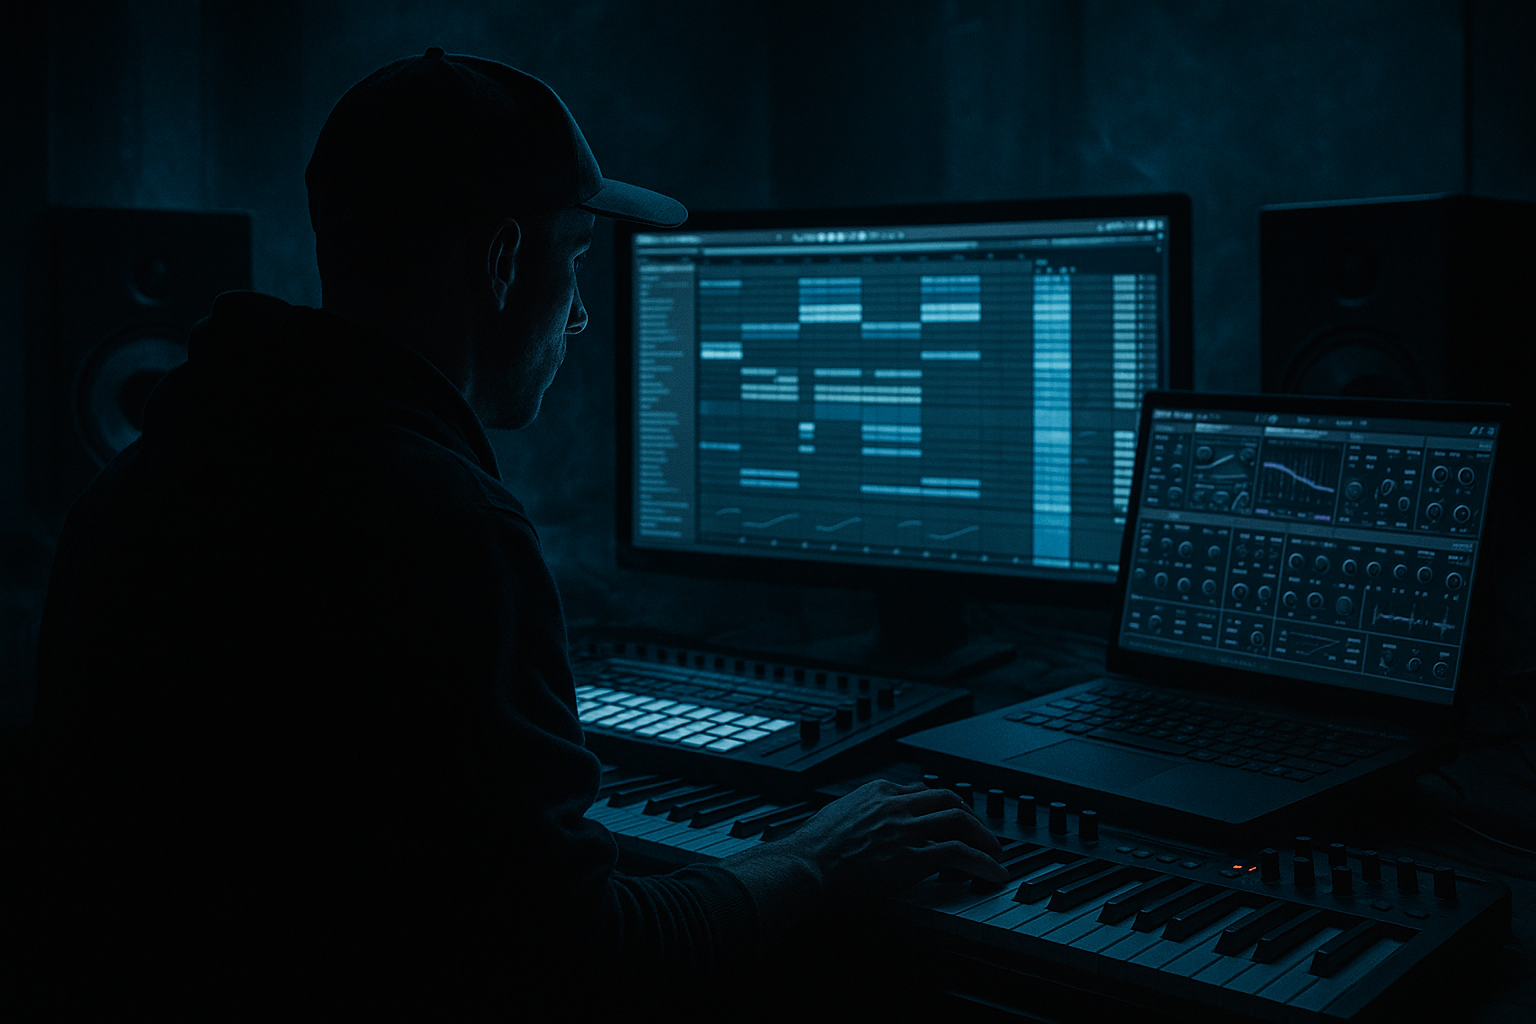
We’ll use stock Ableton Live 12 devices and practical routing to build something that can sit over break edits, sub movement, and atmospheric pads without turning into generic noise. This is especially useful for intro-to-drop transitions, 16-bar build sections, 8-bar mix phrases, and final pre-drop tension moments where the emotional payoff matters. 🌅
What You Will Build
By the end, you’ll have a multi-stage vocal riser chain made from one or more short vocal phrases, transformed into a moving, evolving texture with:
Musically, this should feel like a “Ruffneck” emotional cue: a raw vocal fragment that can sit over an oldskool break loop, then rise into a drop with reese bass, sub hits, and chopped amen variations. It should feel appropriate for:
The final result is not a one-shot effect. It is a usable riser element you can repeat, resample, and automate across the arrangement.
Step-by-Step Walkthrough
1. Choose the right vocal source and trim it ruthlessly
Start with a short vocal phrase, ad-lib, spoken word fragment, or a single emotional syllable. For this style, avoid polished pop vocals. You want something with human texture: breath, grit, throat noise, or slight rasp.
In Ableton, place the vocal on an audio track and:
- trim it to a 0.5–2 bar phrase,
- remove any dead silence,
- and choose a section with a strong consonant or vowel shape.
Good source traits for this workflow:
- words with open vowels: “rise,” “run,” “light,” “feel,” “right”
- whispered or half-sung delivery
- a slightly imperfect recording
If the vocal is too clean, degrade it later. If it is too cluttered, cut it back now. The riser works best when the source feels like a ghost from the track’s emotional core, not a random sample.
Why this works in DnB: DnB arrangements move fast, so the listener needs instant identity. A concise vocal fragment gives the build a memorable human hook without using too much frequency space.
2. Create a layered rack: dry core, filtered mid layer, and air layer
Group the vocal into an Audio Effect Rack or duplicate it onto 3 tracks for more control. Build three layers:
- Core layer: mostly dry, low stereo width, close and intelligible
- Mid layer: filtered, delayed, slightly pitch-shifted
- Air layer: heavily reverbed, widened, and high-passed
On the core layer, use:
- EQ Eight: high-pass at around 120–180 Hz
- gentle dip around 250–400 Hz if it gets boxy
- Utility: Width at 0–30% to keep the center solid
On the mid layer, try:
- Auto Filter with a band-pass or high-pass
- Echo synced to 1/8D or 1/4 with feedback around 20–35%
- Pitch or Shifter for subtle upward movement, around +2 to +5 semitones if needed
On the air layer, use:
- Reverb with Decay around 4–8 seconds
- Hybrid Reverb if you want a cleaner/longer tail
- EQ Eight after reverb with a high-pass at 400–800 Hz
Keep the three layers evolving differently. The goal is a textural crescendo, not one static vocal duplicated three times.
3. Build motion with automation instead of relying on one effect
In advanced DnB, the riser should feel alive. Automate key parameters over 8 or 16 bars:
- Auto Filter cutoff rising gradually from about 200 Hz to 6–10 kHz
- Reverb dry/wet from 10–15% up to 35–50%
- Echo feedback from 15% up to 40%, then cut it before the drop
- Utility width on the air layer from 20% to 120%
- Shifter pitch rising subtly over time if the source can handle it
A strong arrangement move is to make the first half feel restrained, then let the last 2 bars open up sharply. For example:
- Bars 1–4: vocal is intimate, filtered, mostly mono
- Bars 5–8: delay starts blooming, reverb length increases
- Bars 9–12: more noise and brightness, stereo opens
- Bars 13–16: tension peak, maybe a reverse tail or quick stop before the drop
Keep automation curves musical. Avoid linear “robot climbs” when the source is emotional. Slight S-curves often feel more natural.
4. Resample the riser for grime, glue, and control
Once the first pass feels good, resample it. Create a new audio track, set its input to the vocal bus, and record the build into audio. This gives you a performance-like texture you can edit, warp, and further degrade.
After resampling:
- turn on Warp if needed and clean the timing
- cut the file into 2–4 meaningful chunks
- reverse a few tails for pre-drop suction
- add tiny crossfades to avoid clicks
Then process the resampled audio with:
- Saturator: Drive around 2–6 dB
- Redux very lightly, if you want grain, not digital destruction
- Gate if the room tail gets messy
- Compressor with gentle glue, not heavy squeeze
This stage is where the riser gets that oldskool sample feel — almost like it has already lived through one or two generations of bouncing and resampling. That roughness reads as authentic in jungle and rugged rollers.
5. Rhythmize the vocal texture so it locks with the break
A rising vocal effect is stronger when it feels rhythmically intentional. Use the Drum Rack-style mindset, even though this is a vocal texture. You want the build to interact with the drums.
Try these rhythmic edits:
- slice the vocal into 1/8 or 1/16 hits
- use Follow Actions only if you’re working with clipped phrases in Simpler/Sampler
- place short stutters on the last 1–2 bars before the drop
- mute the vocal on kick hits to make room for sub impact
- offset a few slices slightly late for a looser jungle feel
If you’re in a 170–174 BPM tune, a good approach is:
- keep the vocal mostly sparse through the first 8 bars
- introduce a call-and-response with snare ghosts or break fills
- let the final 2 bars become more active, almost like a chopped amen vocal hook
Add a tiny bit of swing by nudging a few notes late, but keep the core phrase tight enough that the build doesn’t drift away from the downbeat.
6. Add spectral brightness without harshness
Sunrise emotion needs air, but DnB mixes punish brittle highs. Use EQ Eight, Auto Filter, and optionally Dynamic Tube or Saturator to sculpt brightness intelligently.
Practical settings:
- EQ Eight high shelf: boost 1–3 dB at 8–12 kHz if the vocal needs lift
- cut any harsh band around 2.5–5 kHz if the vocal becomes piercing
- use a narrow dip if one resonant frequency jumps out after pitch or resampling
- Auto Filter resonance should stay moderate; too much resonance on a rising vocal can scream instead of build
If the vocal is too dull, excite the upper harmonics lightly with:
- Saturator in Soft Clip mode
- Dynamic Tube with low drive
- Multiband Dynamics only if you know exactly what band needs lift
Keep checking the vocal against the break and bass. A sunrise riser should feel like it’s opening the sky, not shredding your ears.
7. Design the drop handoff so the riser makes the bass hit harder
The riser is only successful if it improves the drop. Plan the handoff:
- automate the vocal to cut out sharply 1/8 or 1/4 beat before the drop
- leave a tiny gap for the kick/sub impact, or
- let only the reverb tail spill into the first downbeat
For jungle and oldskool DnB, this can be very effective:
- vocal build rises over the last 8 bars
- final bar includes a break fill and a reversed vocal tail
- the drop lands on a full drum hit + sub note + reese stab
- the riser’s reverb tail is ducked or filtered so it doesn’t blur the first bar
Use a Return track with a sidechained reverb or echo if you want the tail to breathe around the drums. In Ableton, a Compressor with Sidechain from the kick or drum bus can keep the build tucked in during the drop.
This is the arrangement mindset: the riser is not a standalone effect, it is the mechanism that makes the drop feel inevitable.
8. Finish with movement, contrast, and DJ-friendly structure
In a real DnB arrangement, the riser should support phrasing that works for DJs. That means:
- build sections that are 8 or 16 bars long
- leave enough drum or atmosphere material to mix in/out
- avoid overloading every bar with vocal activity
Suggested context example:
- Bars 1–16: sparse intro with broken amen atmosphere and filtered bass hints
- Bars 17–24: vocal riser begins, mostly dry and intimate
- Bars 25–32: vocal texture widens, break fills increase, reese hint rises
- Bar 33: drop lands with full drums and bass
If you want a more classic jungle feel, let the riser appear over a breakdown of the amen or a half-time drum phrase before the full-speed return. For a rollers vibe, keep the tension a bit more restrained and let the subline take the emotional lead after the build.
Always check the transition in context:
- full mix
- mono
- low volume
- with the bass muted
- with the drums soloed
If the vocal still feels compelling in all these states, you have a strong riser.
Common Mistakes
- Fix: reduce high shelf boosts, add a slight dip at 3–5 kHz, and degrade the source with subtle saturation.
- Fix: keep the first half dry and intimate; automate reverb in later.
- Fix: carve space around 180–250 Hz and 2–4 kHz depending on the drum content, and use sidechain if needed.
- Fix: keep the core layer narrow and widen only the air layer. Check mono regularly.
- Fix: use smaller rises or resample in stages. Sometimes texture matters more than obvious pitch movement.
- Fix: cut the riser sharply before the drop or let only the tail spill. The handoff should feel intentional.
Pro Tips for Darker / Heavier DnB
- Duplicate the riser and place Saturator or Roar lightly on the lower layer. Keep this mono and filtered below 300–500 Hz so it adds menace without clouding the mix.
- Combine the vocal rise with tiny chopped break hits or ghost snares. This makes the build feel like part of the drum arrangement, not a separate FX lane.
- Sidechain the reverb or the whole riser bus from the kick. A fast attack and medium release keeps the drop clean while preserving atmosphere.
- A little Redux or aggressive resampling can push the emotional vocal into deeper underground territory. The contrast between beauty and degradation is very DnB.
- If you add noise, keep it as a glue layer. The vocal should remain the identity. Noise is the frame, not the picture.
- A band-pass rising from roughly 500 Hz to 4–6 kHz can create a claustrophobic-to-open arc that works beautifully in darker bass music.
Mini Practice Exercise
Spend 10–20 minutes making three versions of the same vocal riser:
1. Version A: Clean and emotional
- Use a short vocal phrase.
- Add EQ, light reverb, and subtle automation only.
2. Version B: Grimy and oldskool
- Resample Version A.
- Add saturation, slight Redux, and break-like rhythmic chopping.
3. Version C: Sunrise lift
- Make Version B wider and brighter in the last 2 bars.
- Automate delay feedback and reverb wetness upward.
- Cut everything 1/8 beat before the drop.
Then audition all three over:
Pick the one that feels strongest in context, not in solo.

