Main tutorial
Lesson Overview
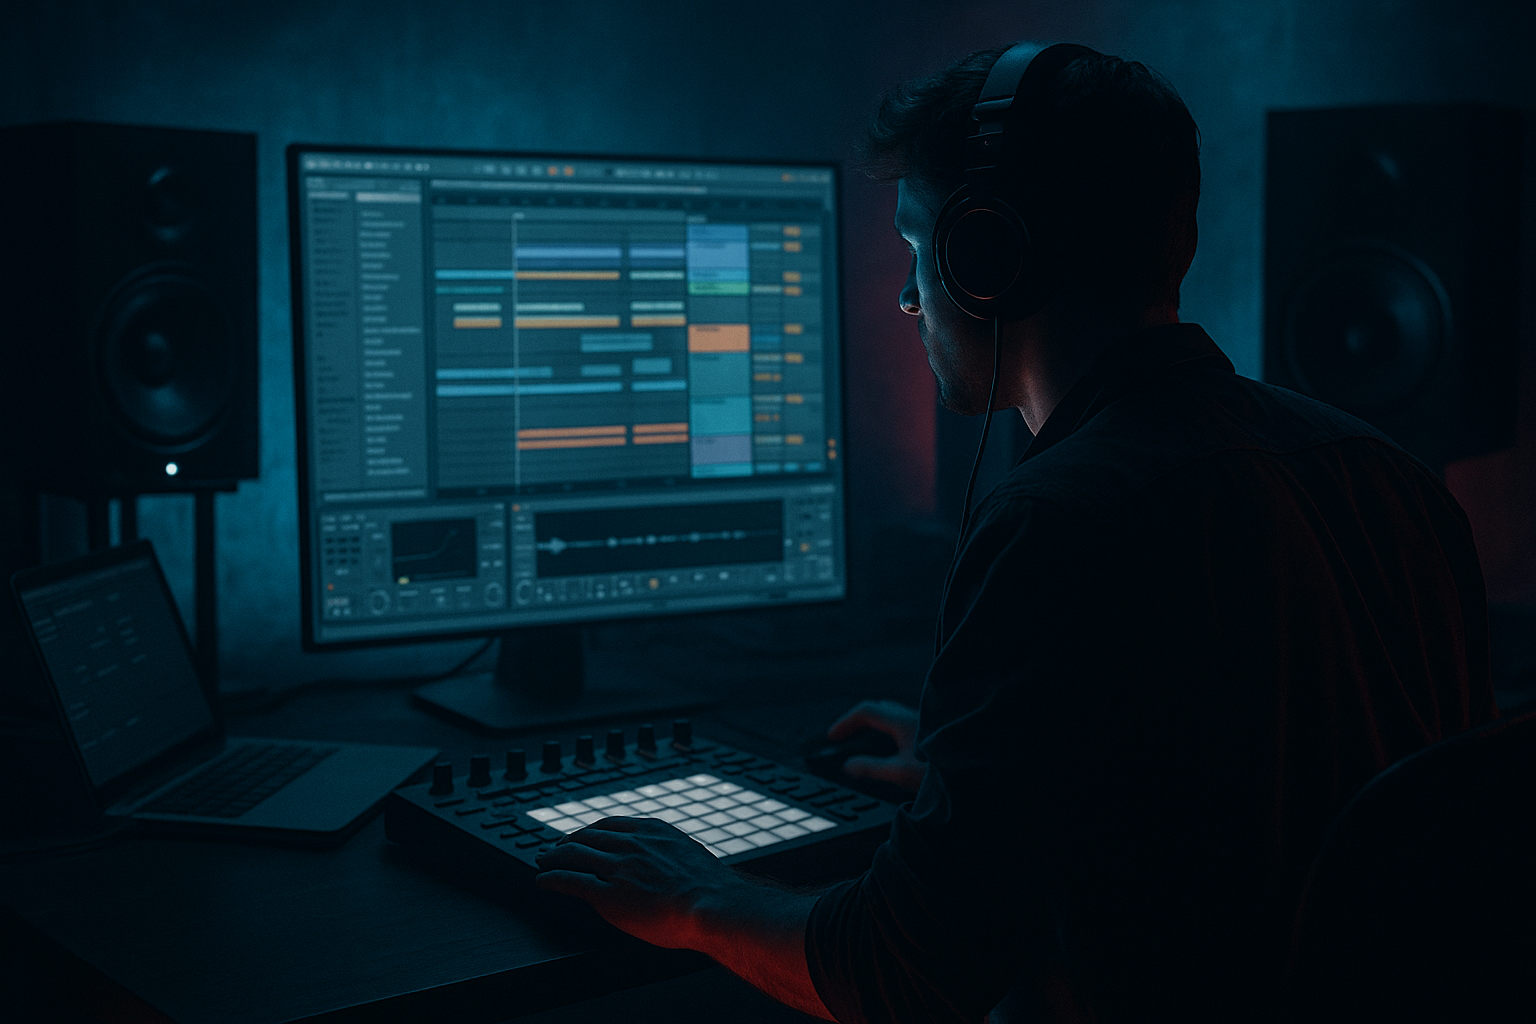
In this lesson, you’ll build a clean top loop for a 90s-inspired dark DnB / jungle / oldskool ruffneck vibe inside Ableton Live 12. The focus is not on making the loop huge or modern-polished — it’s on making it tight, tense, grainy, and usable as a top-layer atmosphere and rhythmic texture over a break-heavy groove.
For DnB, a top loop is often the thing that glues the entire intro, break section, or first drop together. It can sit above your drums, hint at the main identity of the tune, and keep energy moving without stealing space from the kick, snare, or sub. In dark jungle and oldskool-inspired rollers, this often means:
- a loop from a dusty break or percussion layer
- subtle filtering and stereo shaping
- movement from modulation and resampling
- enough grime to feel authentic, but enough cleanup to stay mix-friendly
- dark and haunted
- rhythmically alive
- slightly lo-fi and ruff
- spacious enough to sit above a sub-heavy DnB arrangement
- usable in an intro, build, or mid-track switch-up
- high-frequency focus without brittle harshness
- controlled transient snap
- movement from filtering, delay, and modulation
- a mono-safe core with optional width on the very top
- oldskool jungle character rather than glossy EDM polish
- a classic break slice with hats and ghost hits
- a noisy percussion loop
- a lightly broken ride or shaker phrase
- a tiny fragment from an Amen, Think, or similar oldskool break
- Use Utility to reduce gain by around -6 dB to -10 dB
- Add EQ Eight
- If the top end is too sharp, gently shelf down around 8–12 kHz by 1–3 dB
- Manual slicing in Arrangement: split the audio into short regions and rearrange the best hits
- Slice to New MIDI Track: right-click the clip and slice to Drum Rack using transient markers
- slicing preset: Built-in default
- transient detection: adjust until ghost hits and hats are separated cleanly
- a few hat ticks
- one or two ghost snare textures
- a thin ride tail or break rattle
- leave small gaps
- reduce the level of overly loud hits by -3 to -6 dB
- shorten noisy tails using Simpler controls if needed
- use Clip Gain on individual regions if staying in Arrangement view
- Drive: 5–12%
- Crunch: low, around 0–15%
- Boom: usually off for this layer, or very low
- Transients: slightly down if the loop is too clicky
- EQ Eight
- Auto Filter
- Saturator
- Hybrid Reverb or Reverb
- Utility
- high-pass at 180–300 Hz
- small cut at 2.5–4.5 kHz if the loop is biting too hard
- gentle shelf down above 10 kHz if needed
- use Low-Pass or Band-Pass
- cutoff around 5–9 kHz depending on brightness
- resonance low to moderate: 0.7–1.5
- automate cutoff slowly over 4 or 8 bars for tension
- Drive around 2–6 dB
- Soft Clip on if the loop needs density
- Output compensate so you don’t overhit the bus
- short room or dark plate style
- decay around 0.4–1.2 s
- pre-delay around 5–20 ms
- low cut in the reverb around 250–500 Hz
- high cut around 6–9 kHz
- keep the base layer mostly mono or narrow
- Width around 70–100% if the source is already stable, or keep it narrower if you’ll add separate width later
- bars 1–2: cutoff around 5.5–6.5 kHz
- bars 3–4: open to 8–10 kHz
- then pull it back slightly before the next section
- Reverb dry/wet from 8% to 18%
- Saturator drive by a small amount during builds
- Utility width slightly wider in breakdowns, narrower before drops
- slow rate
- tiny amount of filter movement
- avoid obvious wobble
- Time set to 1/8 or 1/16
- Feedback around 10–25%
- Filter cut to keep the repeats dark: low-pass around 4–7 kHz
- Modulation low
- Dry/Wet 100% on the return, then blend with send amount
- set the track’s input to Resampling or the loop track’s output
- record 2–4 bars of the processed loop
- then chop the resampled audio into a new clip
- reverse tiny sections
- duplicate interesting tails
- create micro-edits with little fill moments
- add a short fade-in or fade-out to avoid clicks
- 16-bar intro: filtered top loop gradually opening
- 8-bar pre-drop: more resonance, less low-pass, slight delay
- drop section: lower in the mix, or stripped back to selected hits
- switch-up: bring it back in for 4 bars after a bass phrase change
- Bars 1–8: kickless intro with the top loop, distant ambience, and a filtered break
- Bars 9–16: snare enters, bass tease begins, top loop opens slightly
- Drop: full drums and reese bass arrive, top loop is reduced to a quieter rhythmic texture
- Mid-track: bring the loop back with wider reverb and a small filter sweep for contrast
- no low-end buildup below 150–250 Hz
- no harsh ring around 3–6 kHz
- no stereo low-end pollution
- the loop should still have rhythmic identity
- the mono version should not collapse into mush
- the core texture must survive without stereo trickery
- Layer a second high-only texture behind the loop, such as a vinyl-like noise slice or a filtered shaker, but keep it very quiet. This adds air without clutter.
- Use Drum Buss on a group bus for subtle glue and edge. A little Drive and Transients control can make oldskool loops feel more solid.
- Print variations: resample one version dry, one with more reverb, and one with filter movement. Then arrange them across sections for easy contrast.
- Automate the last 1/8 of the bar: tiny delay throws or filter flicks at bar endings create that classic jungle tension.
- Use transient gaps on purpose: leaving space before the snare or after a strong hit can make the loop feel heavier.
- Keep bass and top loop separated by role: if your bass is busy, simplify the loop; if your bass is minimal, the loop can carry more motion.
- Check the loop at low volume. If you still feel the groove and atmosphere quietly, it’s usually well-balanced.
- Use short reverse edits from the resampled audio as tension pickups before a drop or switch-up.
- Try subtle tape-like degradation with Saturator and EQ instead of heavy distortion. Oldskool darkness often comes from restraint, not destruction.
- Reference classic jungle phrasing: 2 bars of tension, 2 bars of release, then a variation. That structure keeps the loop musical and DJ-friendly.
- start with the right break or percussion source
- cut low-end aggressively
- shape transients and density
- add subtle saturation, filter movement, and short dark space
- resample for commitment and character
- arrange it as a support layer that enhances the bass and drums
This matters because in DnB, especially darker styles, the top end can easily become harsh, messy, or too modern-clean. A good ruffneck top loop gives you that 90s tension while still leaving room for the bassline and main break to punch. It’s a small part of the arrangement, but it massively affects vibe.
You’ll also learn a practical workflow for turning a raw loop into a controlled atmospheric layer that can evolve across an 8-bar phrase with automation, filtering, and resampling. This is a very repeatable technique for intros, breakdowns, and pre-drop tension sections.
---
What You Will Build
You’ll create a 2-bar to 4-bar top loop made from a chopped break or percussion source, processed into a clean-but-dirty atmospheric layer that feels:
By the end, your loop will have:
Musically, think of it as the kind of loop that could sit over a Amen-style drum bed, a reese bassline, and a distant atmosphere stab while the track builds tension before the drop.
---
Step-by-Step Walkthrough
1) Pick the right source material: dusty, busy, but not already over-processed
Start with a break, percussion loop, or a chopped drum phrase that has a strong top-end identity. Good sources for this style are:
In Ableton Live, drag the audio into a new audio track and set Warp to Complex Pro if the loop has tonal ambience, or Beats if it’s mostly drum transients. For top loops, Beats often keeps the rhythm sharper.
Now clean the source before processing:
- high-pass around 180 Hz to 300 Hz
- if the loop has nasty low-mid boxiness, dip 250 Hz to 500 Hz by 2–4 dB
Why this works in DnB: the sub and kick are doing the heavy lifting below, so your top loop should act like a rhythmic atmosphere, not a second drum kit fighting for space.
2) Chop the loop into usable rhythmic cells
Open the clip and find the most interesting 1-bar or 2-bar section. Then use one of two Ableton workflows:
For an intermediate workflow, slicing to Drum Rack is faster and more flexible. Choose:
Then build a 2-bar pattern that keeps only the most useful elements:
Don’t make it too busy. A strong top loop often feels more powerful when it breathes.
Arrangement tip: create a pattern that feels like it could loop endlessly, but with a slight variation at bar 2 so it doesn’t sound static.
3) Shape the transient behavior with Drum Rack or clip gain
If you sliced the loop to Drum Rack, individual hits can be controlled like instruments. This is great for refining the loop into a premium atmospheric topper.
For each slice, try:
If the loop feels too spiky, place Drum Buss on the group or track:
You want the top loop to keep a broken, human feel — but not dominate the transient picture. In DnB, transient control is everything when layering over snares and fast hats.
4) Add the atmospheric “ruffneck clean” chain
Now build your tonal treatment. A strong stock Ableton chain for this style is:
Suggested starting settings:
EQ Eight
Auto Filter
Saturator
Hybrid Reverb
Utility
This chain gives you the “clean” part of the ruffneck top loop: controlled, atmospheric, and ready to sit in a mix.
5) Create movement with modulation and tiny automation curves
The reason this kind of loop works in dark DnB is that it keeps motion alive without needing big melodic content.
Use Auto Filter automation to create a gradual phrase:
You can also automate:
If you want more animated texture, use LFO in Ableton’s modulation system if available in your workflow, but keep it subtle:
A top loop should feel like a living layer, not a synth effect. The movement should be felt more than heard.
6) Add rhythmic glue with delay, but keep it controlled
A small amount of delay can turn a plain top loop into a proper atmospheric DnB layer. Use Echo or Delay on a return track so you can keep control.
Try an Echo return with:
Send only selected hits or the whole loop lightly. If it starts cluttering the groove, automate the send amount only on the last hit of the bar or during transitions.
Why this works in DnB: short filtered echoes fill the gaps between fast drum hits and make the loop feel deeper without adding too much frequency content.
7) Resample the loop for extra grime and commitment
If the loop feels good, commit it. This is a classic DnB workflow and especially useful for dark atmospheres.
Route the loop to a new audio track:
Now you can:
This resampling step helps you get that slightly “printed to tape” feeling without using non-existent or third-party tools. It also makes the loop feel more intentional and less like a raw loop pasted on top.
8) Place it in an arrangement that serves the bass and drums
For a DnB arrangement, don’t just loop it endlessly. Use it as a functional atmospheric layer:
A practical context example:
This keeps the track DJ-friendly and avoids crowding the drop.
9) Mix it against the drum bus and bassline
Once the loop is in context, check it against your core DnB elements.
Use Utility and EQ Eight to ensure:
If the top loop is masking snare crack, make a small dynamic dip around 4–5 kHz or lower its level by 1–3 dB. If the loop feels too thin, use a little saturation instead of adding more EQ boost.
Always audition in mono:
A top loop is successful when it supports the track rather than attracting attention every second.
---
Common Mistakes
1. Leaving too much low-mid content in the loop
Fix: high-pass more aggressively, often around 200–300 Hz.
2. Making the loop too bright and fatiguing
Fix: use a gentle shelf cut, or a band dip around 3–6 kHz.
3. Over-widening the whole loop
Fix: keep the core narrower; widen only reverb or high-frequency detail.
4. Using too much reverb
Fix: shorten decay and high-cut the reverb. Dark DnB atmosphere should be depth, not wash.
5. No movement across the phrase
Fix: automate filter cutoff, send levels, or reverb wetness over 4–8 bars.
6. Clashing with the snare or ride
Fix: reduce hits near the snare zone or lower the loop around 2–5 kHz.
7. Forcing the loop to do too much
Fix: treat it like a texture layer, not the main hook.
---
Pro Tips for Darker / Heavier DnB
---
Mini Practice Exercise
Set a 15-minute timer and build three versions of the same top loop.
1. Find one break or percussion source.
2. Make a clean version: high-pass, light saturation, narrow stereo.
3. Make a dark version: more filtering, short reverb, slight delay send.
4. Make a wild version: more resampling, one reverse hit, one automated filter rise.
5. Place all three on the timeline across a single 16-bar section:
- clean in bars 1–4
- dark in bars 5–8
- wild in bars 9–12
- clean again in bars 13–16
6. Listen with a sub and a snare loop playing.
7. Decide which version best supports the bass without stealing focus.
Goal: by the end, you should be able to identify which processing choices make the loop feel more ruffneck, more clean, and more usable in a full DnB arrangement.
---
Recap
A strong ruffneck top loop in dark DnB is about controlled grime:
The key idea is simple: in oldskool-inspired jungle and darker rollers, the top loop should feel like atmosphere with rhythm, not just a loop on top. Keep it tight, tense, and mix-aware, and it’ll become one of your fastest tools for building authentic 90s-inspired darkness in Ableton Live 12.

