Main tutorial
Lesson Overview
Ruffneck-style chop balance is one of the fastest ways to make a bassline feel like proper jungle / oldskool DnB pressure instead of a loop that just “plays notes.” In this lesson, you’ll learn how to shape the relationship between sub, mid-bass, rhythmic chops, and silence so your bassline hits with that raw, impatient, off-grid energy you hear in classic hardcore, jungle rollers, and darker ruffneck DnB.
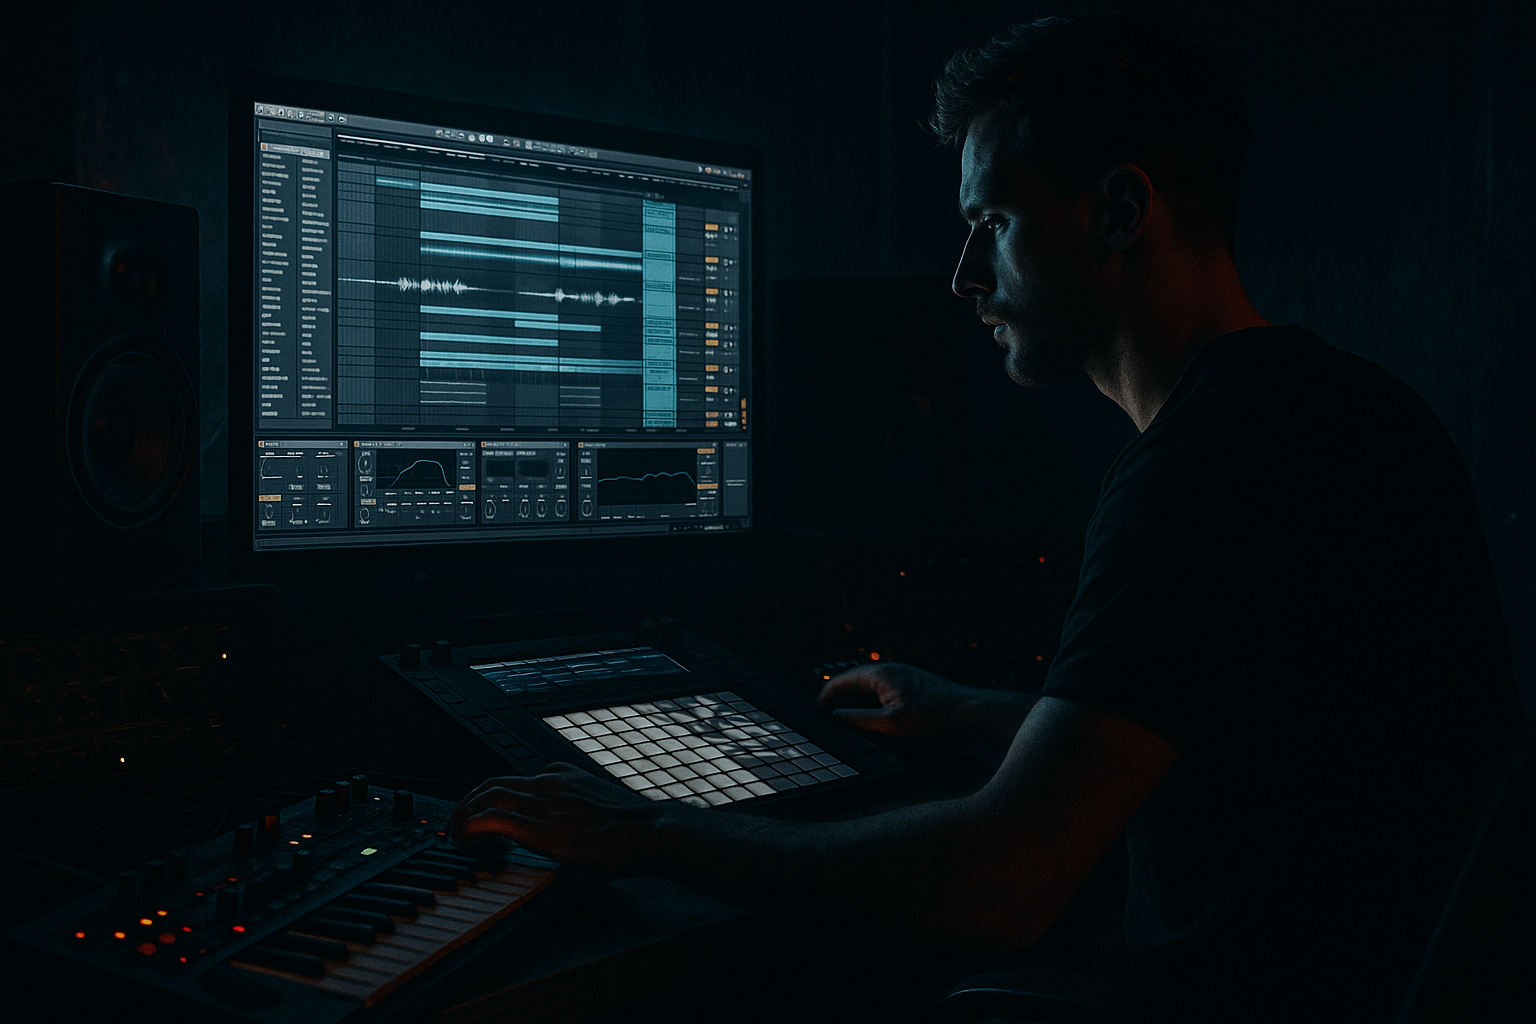
In Ableton Live 12, this is especially powerful because you can build the whole thing from a tight combination of MIDI editing, Audio Warp slicing, envelopes, resampling, and stock device chains. The main goal is not just to write a bassline, but to make the chops feel balanced against the drums: enough space for the break to breathe, enough midrange movement to stay dangerous, and enough sub discipline that the drop still shakes the room.
Why this matters in DnB:
- Jungle and oldskool DnB rely on rhythmic tension as much as note choice.
- A ruffneck bassline often works because it alternates between dense chop clusters and negative space.
- The groove comes from how the bass interacts with the kick, snare, break ghost notes, and offbeat hats, not just the sound itself.
- If the chops are too busy, the drop loses swing. If they’re too sparse, the tune loses urgency.
- A 4- or 8-bar bass phrase that balances chop density with breathing room
- A bass sound that has oldskool edge but still feels mix-ready
- A setup that can be arranged into a drop with call-and-response, switch-ups, and DJ-friendly energy
- A workflow you can reuse for jungle, rollers, darkstep, and neuro-adjacent bass writing
- Sub notes anchoring the bar
- Mid-bass chops answering the drums
- Occasional micro-rests that let the break hit harder
- Enough movement to feel alive, but not so much that the groove becomes cluttered
- Too much bass activity under the snare
- Sub and mid-bass both dominating the same frequency area
- Every chop has the same length and velocity
- Bassline sounds huge soloed but collapses in the drop
- Too much distortion destroys the note movement
- Phrase loops too obviously
- Use a slightly detuned Reese mid-bass under the chop layer, but keep the detune subtle enough that the groove stays readable.
- Add Redux very lightly on a duplicated mid-bass layer for aliasing grit; blend it low.
- Use Erosion or Frequency Shifter carefully on a parallel chain for metallic tension, then low-pass it so it doesn’t get harsh.
- Automate Auto Filter resonance into short phrase peaks to create “talking” bass moments.
- If the drop feels too clean, layer a very quiet noise burst or filtered texture at the start of certain chops.
- For darker rollers, keep the bassline more repetitive but vary the last note of each 4-bar phrase.
- If the low end is muddy, try putting Utility before the distortions on the sub and after them on the mid-bass so the processing stays disciplined.
- In heavy sections, let the bass “duck” slightly before the snare rather than over-sidechaining the whole bus. That preserves punch without losing weight.
- Use stereo width only on the upper harmonics. Keep the fundamental dead center. If it feels wide below about 120 Hz, it’s probably weakening the drop.
- Ruffneck chop balance is about how bass phrases interact with drum space.
- Keep the sub mono, stable, and simple.
- Make the mid-bass short, gritty, and rhythmically selective.
- Use call-and-response, not constant bass chatter.
- Resample when you want more control over slice timing and oldskool character.
- Arrange with variation, tension, and DJ-friendly phrasing so the bassline feels like a real DnB drop, not a static loop.
This lesson focuses on building a balanced chopped bass phrase that can sit under a break at around 160–174 BPM, with enough character for jungle oldskool vibes but still clean enough to arrange into a modern DnB track. Think: gritty sub foundation, syncopated mid-bass stabs, quick call-and-response phrases, and controlled decay. 🔥
What You Will Build
You’ll build a two-part ruffneck bassline system inside Ableton Live 12:
1. A sub layer: a mono, stable low-end foundation that follows the root movement and stays locked with the kick.
2. A chopped mid-bass layer: a resonant, distorted, slightly unstable bass voice with short notes, muted gaps, and rhythmic variation.
By the end, you’ll have:
Musically, the result should feel like:
A good target is a bassline that can sit under a chopped break and still feel purposeful when soloed. The real win is how it behaves in the full drop: the bass should seem to punch through the break, not fight it.
Step-by-Step Walkthrough
1. Start with the drum context first, not the bass sound
Open with a clean break loop in Session View or Arrangement View. Choose a classic-style chopped break pattern: think Amen, Funky Drummer-style fragments, or any tight 2-step/jungle hybrid. Keep a kick and snare pattern present so you can judge the bass against the backbeat immediately.
In Ableton Live 12:
- Put the break on one audio track.
- Add a kick and snare layer if needed for clarity.
- Set the project between 160–174 BPM depending on vibe.
- Add a utility track for reference if you like, but keep the main focus on the drum pocket.
Why start here? Because ruffneck chop balance is not a “bass in isolation” exercise. If the bass sound feels huge soloed but stomps all over the snare, it’s wrong. You need the drum/bass conversation from the first minute.
2. Build a mono sub foundation with a simple synth voice
Create a MIDI track and load Operator or Wavetable for the sub. For classic jungle, Operator is excellent because it’s fast and pure.
Suggested setup:
- Operator: sine wave only
- Octave range: around -2 to -3 octaves
- Voices: 1
- Turn on Legato if you want connected slides
- Add a very small Amp envelope release: around 50–120 ms
- Keep the sound mono using Utility after the instrument
Write a root-note pattern first. Keep it simple:
- Hold the tonic under the bar
- Use one or two passing notes per phrase
- Avoid too many low note changes at once
If the track is in A minor, for example, keep the sub centered around A, with occasional movement to G or F as a turnaround. The sub should be the “floor,” not the melody.
Why this works in DnB: a stable mono sub gives the drums room to swing and prevents the low-end from blurring when the chopped mid-bass gets more rhythmically aggressive.
3. Design the ruffneck mid-bass as a resampled or synthesized chop voice
Create a second MIDI track for the mid-bass. You can either synthesize it directly or resample it into a simpler playable form. For an oldskool edge, start with a basic Saw + pulse blend in Wavetable or Operator, then dirty it up.
Suggested stock chain:
- Wavetable: saw-based wavetable, 2 voices, slight detune
- Saturator: Drive around 3–8 dB
- Amp or Overdrive: keep it gritty but not fizzy
- EQ Eight: high-pass around 90–140 Hz to make space for the sub
- Auto Filter: low-pass or band-pass for movement
For a more authentic ruffneck response, keep the mid-bass short and talkative:
- Amp envelope decay: 80–250 ms
- Release: 20–90 ms
- Filter envelope amount: modest, so each chop has a clear attack but doesn’t wash out
- Add subtle pitch motion with automation or clip envelopes if needed
The aim is a mid-bass that feels like a chopped Reese / rave stab hybrid rather than a full sustained pad.
4. Program the chop balance in MIDI with phrase logic, not random notes
In the MIDI clip, work in 2-bar or 4-bar phrases. Start by placing notes where the drum pattern leaves space:
- Let the snare hit breathe
- Avoid stacking the bass too heavily on every break transient
- Use short note lengths with deliberate gaps
A strong approach is:
- Bar 1: two short chops, then a longer note
- Bar 2: a response phrase with fewer notes
- Bar 3: repeat with one variation
- Bar 4: empty or near-empty turnaround
Suggested note behavior:
- Note lengths: roughly 1/16 to 1/8
- Occasional longer note: 1/4 for punctuation
- Leave at least one clear pocket around the snare for impact
- Use velocity changes to create emphasis, not just volume
In Live 12, use the MIDI note editor to:
- Shorten note tails so they don’t blur into each other
- Nudge some notes slightly earlier or later for groove
- Use velocity to make the main chop hit harder than the ghost chops
This is where “chop balance” starts to matter: too many equal-length notes create a flat, mechanical loop. A great ruffneck bassline has foreground chops, background flickers, and deliberate silence.
5. Use call-and-response between sub and mid-bass
Don’t let both bass layers do the same thing at the same time. Instead:
- Keep the sub holding the root on key downbeats
- Let the mid-bass answer on offbeats or syncopated gaps
- In some bars, let the mid-bass vanish so the sub feels larger
Example musical context:
- Bar 1: sub holds A, mid-bass chops on the “and” of 2 and 4
- Bar 2: mid-bass answers with three quicker chops after the snare
- Bar 3: both layers thin out for a tension pocket
- Bar 4: a small fill or rising bass stab before the next phrase
This style works especially well in jungle drop design because the listener feels the bass “talking” with the break, not sitting on top of it.
Keep the sub and mid-bass on separate tracks so you can:
- Sidechain or transient-shape them independently
- Process the midrange with more aggression
- Keep the low-end clean and centered
6. Shape the groove with Ableton stock devices and clip-level automation
Add groove without losing precision. Use Groove Pool carefully if the drums are already swinging, but don’t overdo it. For the bassline itself, clip envelopes are often cleaner than random MIDI shift.
Useful moves:
- Automate Auto Filter cutoff slightly open on phrase start and slightly darker on phrase end
- Automate Saturator Drive by 1–2 dB on key hits
- Automate Filter resonance for tension peaks, but keep it controlled
- Add tiny pitch envelopes on a few notes for a more ruffneck “yelp”
Try these parameter ranges:
- Auto Filter cutoff sweep: roughly 300 Hz to 2.5 kHz on the mid-bass
- Resonance: 10–30% for edge without whistle
- Saturator drive modulation: subtle, not constant
- Utility gain on bass bus: trim 1–3 dB during dense sections if needed
This is the detail that makes the chops feel intentional. The bass isn’t just repeating; it’s phrasing.
7. Resample the mid-bass for extra texture and chop control
Once the core phrase works, resample it to audio. This is a classic DnB workflow because it turns a synthetic pattern into something you can edit like break material.
In Ableton:
- Route the mid-bass to a new audio track set to Resampling or internal input
- Record a clean pass of 4 or 8 bars
- Slice the audio into a new Simpler/Sampler track or edit in Arrangement View
Why resample?
- You can trim chop tails more precisely
- You can reverse fragments for tension
- You can place micro-silences that would be awkward in MIDI
- You can layer the chopped audio with the original synth for thickness
Try adding:
- Warp set carefully if needed
- Quick fades on slice edges
- A few reversed slices before the snare
- A second layer processed with Redux at low mix for extra grit
This is very effective for oldskool jungle because the bass starts to feel like part of the break editing tradition, not just a synth patch.
8. Bus the basses together and control the low end like a system
Route the sub and mid-bass to a group bus. On the bus, use only light control:
- EQ Eight: small cleanup, not extreme sculpting
- Compressor or Glue Compressor: gentle glue, often just 1–2 dB of gain reduction
- Utility: check mono compatibility and trim overall gain
- Optional Saturator: for a little bus density
Important mixing moves:
- Keep everything below roughly 120 Hz mono
- High-pass the mid-bass so it does not cloud the sub
- Use spectrum checking to ensure the sub is not fighting the kick
- Leave headroom on the bass bus if the drop gets busy
If the kick is supposed to punch through, carve a small pocket in the bass around the kick’s fundamental region rather than over-compressing everything. In DnB, clarity is aggression.
9. Arrange the riff with tension/release and DJ-friendly flow
Shape your bassline into a proper DnB arrangement:
- Intro: tease a filtered version of the chop or a sub hint only
- Build: introduce the mid-bass texture in fragments
- Drop A: full chop balance with clean call-and-response
- Drop switch-up: remove the sub for one bar, or flip the rhythm
- Drop B: bring back the main motif with a heavier variation
- Outro: strip back to bass fragments and drums for mixability
A practical arrangement example:
- 8 bars intro with filtered break + sub teaser
- 16-bar first drop with a 4-bar bass phrase
- 4-bar switch where the mid-bass answers more aggressively
- 8-bar second drop with one extra note in the turnaround
The point is to make the chops feel like they evolve. Oldskool-inspired DnB thrives on recognisable motifs with controlled variation.
Common Mistakes
- Fix: leave a pocket around the snare hit and move some chops to the following offbeat.
- Fix: keep the sub mono and clean; high-pass the mid-bass more aggressively than you think.
- Fix: vary note lengths, accents, and gaps so the phrase has shape.
- Fix: test with the drums on from the start and reduce low-mid buildup.
- Fix: distort the mid-bass, not the sub; use parallel-style layering if needed.
- Fix: add one turnaround bar, a silence, or a reversed resampled slice every 4 or 8 bars.
Pro Tips for Darker / Heavier DnB
Mini Practice Exercise
Spend 15 minutes building a ruffneck chop-balance loop:
1. Set Ableton to 170 BPM.
2. Load a chopped break and program a simple kick/snare skeleton.
3. Create a mono sub in Operator with a sine wave and write a 2-bar root-note pattern.
4. Build a mid-bass in Wavetable or Operator, then high-pass it and add light saturation.
5. Program a 4-bar MIDI phrase with:
- 2 strong chops
- 2 ghost chops
- 1 bar of lighter response
- 1 turnaround bar with a rest or reverse effect
6. Resample the mid-bass and chop one audio fragment in half.
7. Compare the loop with and without the mid-bass for 30 seconds.
8. Make one decision only: either remove one note, shorten one note, or darken one filter sweep.
Goal: make the groove feel more like a conversation between drums and bass, not a bass loop sitting on top of a break.

