Main tutorial
Lesson Overview
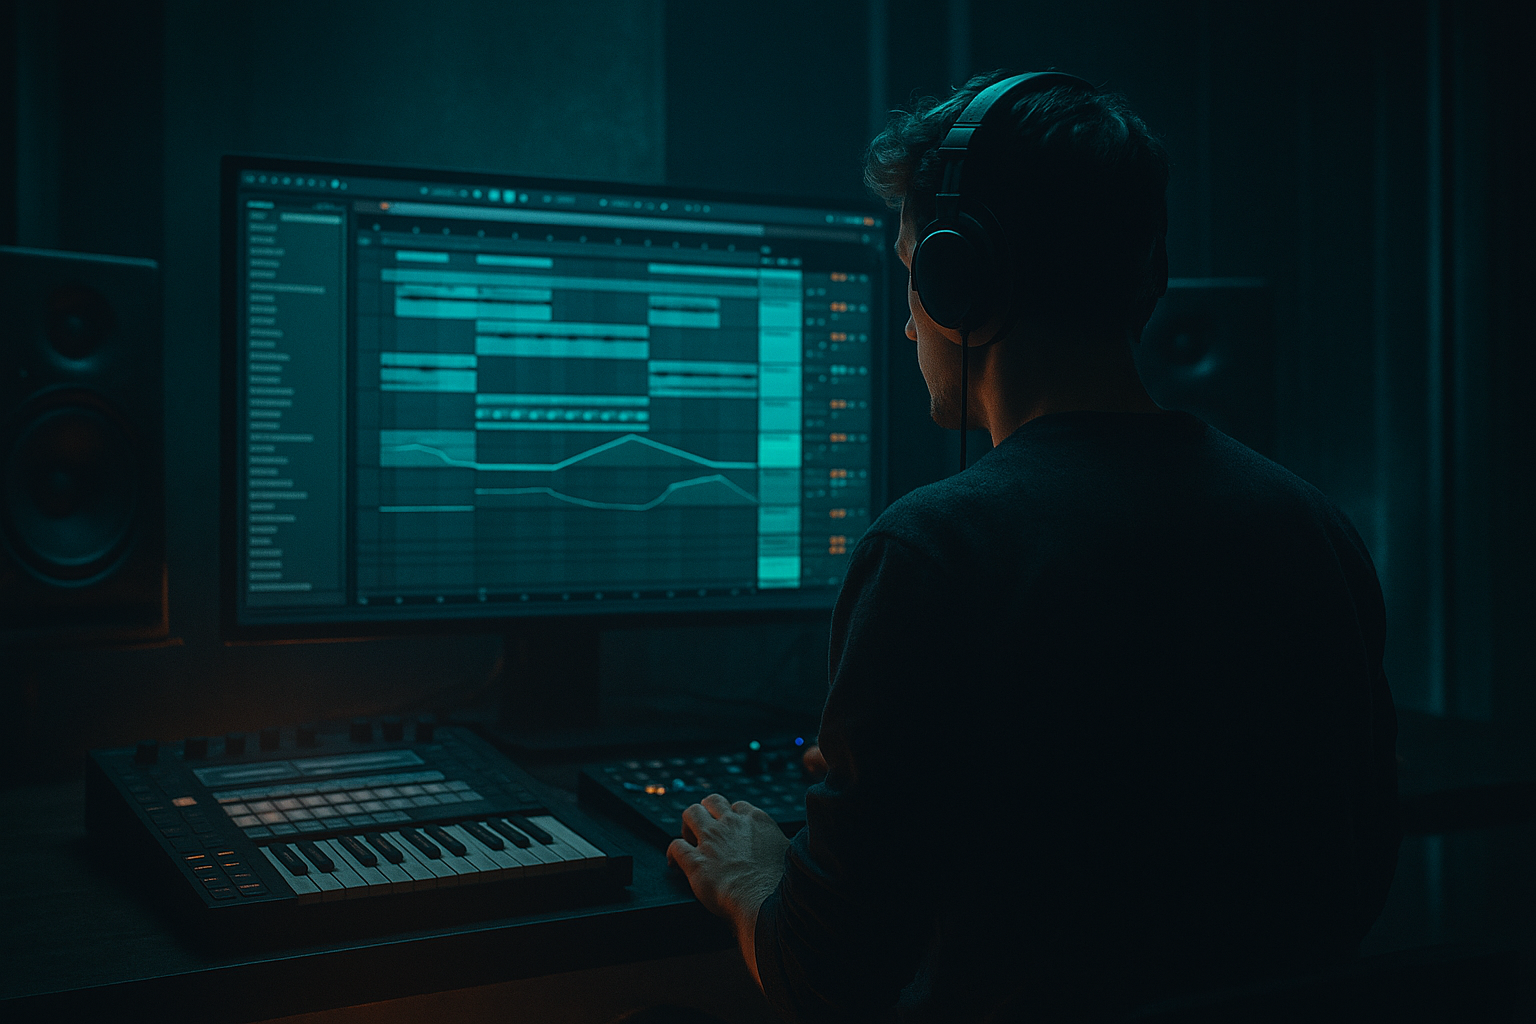
In a Drum & Bass track, the drop is not just “the bass coming in” — it’s the moment where drums, sub, mids, movement, and automation all lock into one high-impact system. This lesson shows you how to route a jungle drop in Ableton Live 12 using macro controls creatively, so your drop feels performance-ready, mix-controlled, and arrangement-aware rather than static.
The goal is to build a single, playable drop rack where one set of macros can shape the entire energy curve: bass brightness, filter opening, distortion drive, break chop density, reverb space, and even stereo width behavior. This is especially powerful for jungle, rollers, darker neuro-leaning DnB, and modern halftime-to-drop switches because those styles depend on tension/release and microscopic changes in groove.
Why this matters in mastering context: a well-routed drop makes the mix easier to finish. If your bass movement, drum bus, and FX are controlled from a structured macro system, you can automate performance changes without destroying headroom, low-end focus, or tonal balance. In other words: less random automation lanes, more controlled impact. 🔥
What You Will Build
You will build a jungle drop rack in Ableton Live 12 with:
- A sub layer locked in mono and controlled separately from the mid bass
- A reese / growl mid-bass layer with filter, saturation, and width movement mapped to macros
- A breakbeat drum bus with chop density, transient shaping, and parallel crunch
- A drop FX layer with tension risers, reverse hits, and short impacts
- A macro-controlled arrangement system for opening the drop, switching energy, and doing call-and-response phrasing
- tight intro pressure
- first-bar impact
- second-bar variation
- 4- or 8-bar switch-up
- DJ-friendly loopability
- Mapping too much range to one macro
- Letting the sub get stereo
- Using distortion on the whole bass chain
- Overprocessing the break
- Automating volume instead of arrangement
- Ignoring mono checks
- Making every bar equally intense
- Use parallel saturation on the mid bass, not full insert saturation, to keep the sub clean while adding attitude.
- Try Auto Filter resonance around 15–35% for a tense, nasal movement that works well in neuro or dark rollers.
- Put Redux very subtly on a parallel return for digital edge; keep it high-passed so it doesn’t crush the low end.
- Use Drum Buss Transients to sharpen break hits, but don’t overdo Boom unless the kick is weak.
- For a grimier jungle feel, resample a 2-bar drop section and chop the best reactive moments into a new Simper slice performance rack.
- Automate Utility width only on the higher bass harmonics so the drop feels larger without muddying the center.
- Add tiny delay throws on the last note of a bass phrase, but filter the delay aggressively so it doesn’t cloud the snare.
- If the drop feels static, vary only one macro every 4 bars: cutoff, crunch, or break density. Small moves are often heavier than big ones.
- Keep sub and mids separate
- Use macros for musical movement, not random automation
- Let the break, bass, and FX respond to each other
- Protect mono compatibility and headroom
- Shape the drop in phrases so it feels alive, heavy, and replayable 🎛️
The final result should feel like a drop that can move from:
Musically, think of a darker jungle/roller context: 170 BPM, a clipped but punchy break, a sub note that lands on the downbeat, and a reese line that answers the drums with syncopated phrases instead of constant activity.
Step-by-Step Walkthrough
1. Build the drop as a group-based routing system, not a pile of tracks
Start with three groups in Session or Arrangement view:
- DRUMS
- BASS
- FX
Inside DRUMS, create:
- a main break track
- a top-loop or ghost percussion layer
- a drum parallel/crush return if needed
Inside BASS, create:
- SUB
- MID BASS
- optional TEXTURE or NOISE layer
Inside FX, create:
- impacts
- risers/downlifters
- reverse atmos / fills
Put each group through its own Audio Effect Rack or at least a dedicated group bus. This makes macro control meaningful because you’re not just automating one sound — you’re shaping the entire drop architecture.
Why this works in DnB: fast music needs fast decisions. A routed structure lets you make big arrangement moves quickly while keeping the low end disciplined. Jungle and rollers especially benefit from this because the groove lives in the interplay between break, sub, and bass response.
2. Design the sub and mid bass as separate roles, then link them with macros
On the SUB track, use Operator or Wavetable for a clean sine/triangle-style low end. Keep it simple:
- Oscillator: sine or triangle
- Filter: off or very gentle
- Mono: enabled via instrument voicing or a simpler mono approach
- Optional Saturator: Drive around 1–3 dB, Soft Clip on
On the MID BASS track, use Wavetable, Operator, or Analog for a reese/growl layer:
- Detune two oscillators slightly
- Add Auto Filter with a low-pass cutoff around 120–300 Hz depending on density
- Add Saturator or Drum Buss for edge
- Add Utility after the chain and keep width controlled
Now map key parameters to macros in a Bass Rack:
- Macro 1: Sub level
- Macro 2: Mid bass drive
- Macro 3: Filter cutoff
- Macro 4: Stereo width of the mid layer
- Macro 5: Tone/air amount using EQ or filter
- Macro 6: Bass release or envelope amount if using device envelopes
Practical starting points:
- Mid bass filter cutoff: 150–250 Hz for darker sections, 300–600 Hz for more open bars
- Saturator drive: 2–8 dB
- Width on Utility: 0–60% for bass, not full wide unless it’s a high-mid-only layer
Use macro ranges intentionally. Don’t map the full parameter range unless you truly want extreme movement. For example, a cutoff map from 140 Hz to 2.2 kHz may be too wild for a drop; try 180 Hz to 900 Hz for more usable control.
3. Route the breakbeat like a performance instrument
For jungle and darker DnB, your break is the character piece. Load your break into Simpler in Slice mode or use Drum Rack with chopped slices. A more advanced approach is to split the break into:
- kick/snare foundation
- ghost notes and hats
- extra top percussion
On the break bus, add:
- Drum Buss for transient punch and glue
- EQ Eight to remove low-end mud below roughly 25–35 Hz
- Glue Compressor if the break needs a bit more cohesion
- Auto Filter or Frequency Shifter for automated movement
Then map these to macros:
- Macro 1: Break level
- Macro 2: Drum Buss drive
- Macro 3: Crunch/parallel amount
- Macro 4: Filter opening
- Macro 5: Transient or punch emphasis
- Macro 6: Reverb send amount for fills only
Suggested Drum Buss settings:
- Drive: 5–20%
- Crunch: light to moderate, especially if the break is already noisy
- Transients: +5 to +20
- Boom: use carefully, or avoid if your sub already owns the low end
If your break is too busy, use macro-controlled Gate or Auto Pan on a send return to create rhythmic motion only in selected sections. That gives you switch-up energy without rewriting the entire break.
4. Create a macro-controlled call-and-response between drums and bass
This is where the drop becomes musical instead of just loud. Program your bass phrase so it leaves space for the break accents. In a 2-bar loop, try:
- Bar 1: bass hits on beat 1, late syncopation on the “and” of 2
- Bar 2: bass answers with a different rhythm, maybe a longer note or a pickup into the snare
Then use macros to make the response dynamic:
- Macro 1: Bass note length via clip envelopes or MIDI gate feel
- Macro 2: Mid bass brightness
- Macro 3: Send to delay/reverb only on selected notes
- Macro 4: Drum chop density
- Macro 5: FX fill level
- Macro 6: Overall drop energy via group volume balance
A practical arrangement example:
- Bars 1–4: stripped first drop, sub + break + restrained bass
- Bars 5–8: open the filter and add extra ghost percussion
- Bars 9–12: introduce a reverse fill and a wider mid layer
- Bars 13–16: remove one bass element and let the break breathe before the next phrase
This kind of controlled switch-up is essential in DnB because repeated 8-bar loops can get stale fast. Macro automation gives you variation without needing a full re-write.
5. Use an Instrument Rack or Audio Effect Rack on the bass bus for multi-parameter movement
Place an Audio Effect Rack on the BASS group and build a clean macro matrix. Good stock-device chain:
- EQ Eight
- Saturator
- Overdrive or Roar if available in your Live 12 edition
- Auto Filter
- Utility
- optional Redux for controlled grit
Map these to macros:
- Macro 1: Drive amount
- Macro 2: Filter cutoff
- Macro 3: Filter resonance
- Macro 4: Width
- Macro 5: Output trim
- Macro 6: Distortion mix or dry/wet
Advanced move: split the rack into Chain A: Sub-safe and Chain B: Harmonic.
- Chain A stays clean and mono
- Chain B gets distortion, filtering, and width
- Crossfade between them using a macro
This gives you a “clean-to-rude” performance control. In a dark roller, you might keep the rack around 30–50% harmonic intensity for most of the track, then push to 70–90% in the drop’s second phrase.
Keep an eye on phase. If the bass feels huge solo but collapses in mono, reduce the width macro range, simplify the stereo processing, or move width only to harmonics above the sub region.
6. Automate the master drop energy with disciplined bus control, not loudness chasing
Because the lesson is about mastering-aware routing, use your macros to manage perceived energy before you ever touch the master. Put a Utility and a gentle Glue Compressor on the drum and bass groups, then route both to a drop bus if needed.
Smart macro targets:
- Drum group gain: small moves, around ±1 to 2 dB
- Bass group gain: keep changes subtle, especially under the snare
- Parallel comp blend: 0–30% for control, not squashing
- High shelf on a mix bus EQ: a gentle lift only when the arrangement opens
Avoid automating the master to “make it bigger.” Instead, create the illusion of expansion through:
- filter opening
- added harmonics
- drum density
- stereo movement in the mids only
- short FX tails at phrase ends
If you want a heavier second half of the drop, increase midrange presence and transient sharpness, not just volume. That’s why DnB drops feel bigger when they open up while staying punchy.
7. Design a macro-based transition system for fills, stops, and resets
Drop movement lives in transitions. Build one or two dedicated transition chains:
- reverse cymbal into bar 1
- snare fill into bar 4 or 8
- impact with sub dropout
- short noise downlifter
Route these to the FX group, then map:
- Macro 1: FX level
- Macro 2: Reverb tail length
- Macro 3: Delay feedback
- Macro 4: High-pass filter on FX
- Macro 5: Impact brightness
- Macro 6: Downlifter decay
On a return track, try Hybrid Reverb or Reverb with:
- pre-delay: 10–25 ms
- decay: 0.6–1.8 s depending on space
- low-cut: 200–400 Hz
- high-cut: 5–8 kHz for darker atmosphere
A useful arrangement trick: automate a micro drop-out before the main snare of bar 5 or 9. Pull the bass down for a moment, then let the drums slam back in. This is classic jungle tension and still works in modern neuro-leaning DnB because the ear resets and the impact lands harder.
8. Finish the routing with mix-safe checks so the macros stay usable in mastering
Once the rack is built, test it in context. Play the drop with the intro and breakdown, not just the loop. Then check:
- Mono compatibility: collapse bass and kick with Utility on the master or monitor chain
- Low-end separation: sub should own the 40–80 Hz region; kick fundamental should not fight it
- Harshness: sweep around 2–5 kHz for brittle bass or break top
- Headroom: leave room before mastering; don’t chase clip-level loudness in the arrangement stage
A good practice is to keep the main drop bus peaking with space left for mastering, not pinned constantly. If the rack sounds exciting only when heavily clipped, the arrangement is doing too much heavy lifting.
Save the rack as a template. In Ableton Live 12, label macros clearly:
- “Sub Weight”
- “Bass Bite”
- “Break Crunch”
- “Width Safe”
- “FX Lift”
- “Drop Open”
That way, your future jungle or roller drops can be built faster and more consistently.
Common Mistakes
- Fix: narrow the range so each movement is musical, not chaotic.
- Fix: keep sub mono or nearly mono; put width only on harmonics above the fundamental.
- Fix: distort mids, preserve the clean sub layer.
- Fix: if the break loses swing and bite, back off Drum Buss drive or compression.
- Fix: change density, filter, and harmonic content before reaching for gain.
- Fix: regularly collapse the mix and confirm the drop still hits.
- Fix: create 2-bar or 4-bar phrasing with clear energy shifts.
Pro Tips for Darker / Heavier DnB
Mini Practice Exercise
Spend 15 minutes building a two-bar jungle drop macro system:
1. Load a break into Simpler or a Drum Rack and make one clean 2-bar loop.
2. Add a sub on a separate track with a simple sine patch.
3. Add a mid bass with Wavetable and a low-pass filter.
4. Group the bass tracks and map 4 macros:
- Sub level
- Mid drive
- Filter cutoff
- Width safe
5. Add Drum Buss to the break and map crunch or transients to one macro.
6. Automate the macros across 8 bars:
- bars 1–2: restrained
- bars 3–4: slightly brighter
- bars 5–6: more crunch
- bars 7–8: open and then reset
7. Check in mono and adjust the width macro range until the sub stays solid.
Goal: make the drop feel like it evolves without adding new sounds.
Recap
The key idea is to route your jungle drop like a controlled performance system, not a stack of unrelated tracks. Build separate sub, mid bass, drums, and FX paths, then use Ableton Live 12 macros to shape tone, density, width, and impact across the whole drop.
Most important takeaways:

