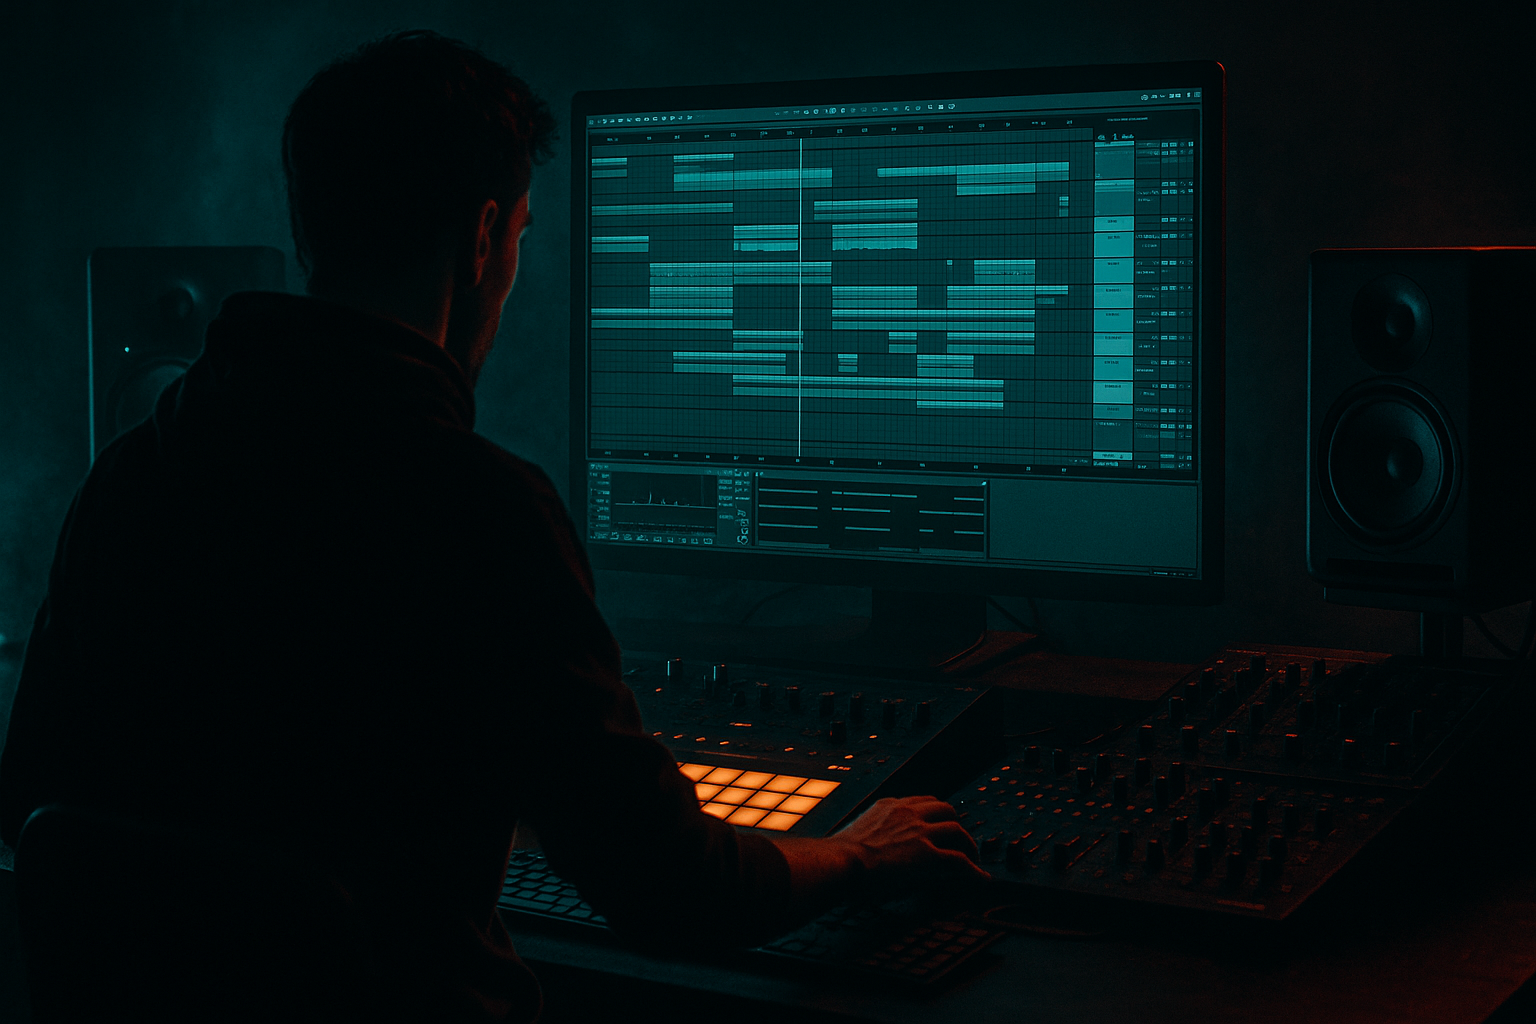
Main tutorial
Lesson Overview
In oldskool jungle and DnB, a ride groove is more than “extra high-end percussion” — it’s part of the lift that carries a section forward. A well-routed ride can create urgency before a drop, add propulsion in the second half of an 8- or 16-bar phrase, and help a roller feel alive without cluttering the break or bass. The key is keeping the groove energetic while using very little CPU, so you can stay creative and move fast inside Ableton Live 12.
This lesson focuses on building a ride-based riser groove that feels authentic to jungle and darker DnB: tight, syncopated, slightly raw, and arranged like a real transition tool rather than a generic EDM sweep. You’ll use Ableton stock devices and routing choices to keep the process efficient — think one audio track, one send-return, and a few smart automation moves instead of stacking heavy effects everywhere.
Why this matters in DnB: the ride often sits in the same “excite the top end” role as crash layers, filtered noise, or reverse cymbals, but in jungle and oldskool it can also act like a rhythmic riser. That means you’re not just making a whoosh — you’re building motion that locks to the drums and makes the drop feel inevitable.
What You Will Build
You’ll create a CPU-light ride groove that can function as a riser layer in an intro, build, or pre-drop section. The finished sound will be:
- A crisp, slightly gritty ride pattern with oldskool jungle attitude
- Routed through a low-CPU effects chain for movement and tension
- Able to evolve over 4, 8, or 16 bars with automation
- Tight enough to sit above breakbeats, subs, and reese bass without masking them
- Ready for arrangement use as a transition lift, not just a static loop
- Making the ride too loud
- Using a super bright ride with no EQ control
- Stacking too many effects on one track
- Programming straight, machine-like 8ths with no groove
- Letting the riser continue into the drop
- Ignoring mono compatibility
- Resample your ride chain
- Add controlled distortion before filtering
- Use subtle pitch automation for tension
- Pair the ride with a filtered break edit
- Control the top end, don’t overpolish it
- Use call-and-response with the bass
- A ride groove can work as a CPU-light riser in jungle and DnB when it’s arranged with phrase awareness.
- Keep the source tight, groove-aligned, and slightly gritty.
- Use stock Ableton tools: Simpler, Groove Pool, EQ Eight, Saturator, Auto Filter, Utility, and shared returns.
- Automate motion instead of piling on effects.
- Keep the ride supporting the drums, bass, and drop — not fighting them.
Musically, this could sit in a 174 BPM tune between a chopped break intro and a first drop, or in a roller where the ride grows from sparse accents into a louder 2- or 4-bar build before the drums return hard. It should feel DJ-friendly and functional, not overproduced.
Step-by-Step Walkthrough
1. Choose or build a ride source that already feels “DnB usable”
Start with a clean ride sample or a single cymbal hit from your drum library. In Ableton Live, drag it into an Audio Track and open Simpler if you want to trim, loop, or gate it more precisely. For this style, avoid huge cinematic rides; pick something with a defined stick or bell attack and a medium decay.
Good starting points:
- A bright ride with a slightly dry body
- A darker ride if your break is already bright
- A sampled cymbal hit from an old break or drum machine pack for more jungle character
In Simpler, set:
- Start: trim so the transient is clean
- Fade: 2–10 ms to avoid clicks
- Volume envelope: short decay if you want a chopped, pulsing feel
If you want oldskool authenticity, layer in a tiny bit of break cymbal tone under the main ride, but keep it subtle. The goal is “ride groove as motion,” not “cymbal wash taking over the mix.”
2. Program the groove with restraint and syncopation
Put the ride pattern in an 8-bar MIDI clip if you’re using Simpler, or in an audio clip if you’re triggering a sample directly. For jungle and rollers, the pattern often works best when it’s not straight 8ths the whole way. Try a few classic rhythmic shapes:
- Offbeat hits on the “and” of each beat
- 16th-note pickups before phrase endings
- A last-bar push with denser hits before the drop
- Call-and-response spacing between ride and snare fill
A practical pattern idea at 174 BPM:
- Bars 1–2: sparse offbeats only
- Bars 3–4: add a 16th pickup before bar 4’s downbeat
- Bars 5–6: repeat with slightly stronger velocity
- Bars 7–8: densify into a 2-bar lift with one extra hit per bar
Velocity is a big part of the feel. Keep most hits around 65–90, then emphasize the final few hits of a phrase up to 100–110. This creates the feeling of a real drummer leaning into the transition.
3. Lock the ride into the drum groove with Groove Pool
One of the easiest ways to make the ride feel like it belongs in a jungle track is to give it the same push and pocket as the break. In Ableton Live, drag a groove from the drum break into the Groove Pool, then apply a small amount of that groove to the ride clip.
Start with:
- Timing: 10–30%
- Random: 0–8%
- Velocity: 0–10% if you want extra human variation
You don’t want the ride to become sloppy. You want it to sit just behind or ahead of the grid in a way that echoes the breakbeat. This is especially effective if your break has swing or a slightly lopsided oldskool feel. In DnB, shared groove makes layered percussion feel like one performance instead of separate samples.
4. Route the ride to a dedicated group or audio track for efficient processing
To keep CPU low, avoid loading multiple instances of the same effects chain across different build layers. Route the ride to a dedicated group called something like “Ride Rise” or “Top FX.” Inside that group, use one audio effect chain that handles shaping, movement, and space.
A lean stock chain could be:
- EQ Eight
- Saturator
- Auto Filter
- Simple Delay or Echo
- Utility
Suggested settings:
- EQ Eight: high-pass around 180–350 Hz to remove low-mid clutter; gentle dip around 4–7 kHz if the ride gets harsh
- Saturator: Drive 1–4 dB, Soft Clip on if needed
- Auto Filter: low-pass automation from 18–20 kHz down to 7–12 kHz for build motion
- Utility: width control and gain staging
Why this works in DnB: the ride usually lives in the upper mids and highs, where harshness can build quickly. By filtering, saturating, and leveling one routed track, you control tension without stacking lots of heavy processors. That keeps the mix cleaner for the kick, snare, sub, and reese.
5. Add CPU-light motion with automation instead of extra layers
The riser effect comes from movement, not just volume. Automate a few simple parameters over 4 or 8 bars:
- Auto Filter cutoff: slowly open from 7–10 kHz up to 18–20 kHz, or do the reverse if you want a “closing tension” effect before a hit
- Reverb send: increase slightly in the last 1–2 bars
- Saturator Drive: nudge up 1–2 dB near the drop
- Utility Gain: automate a subtle rise of 1–3 dB for impact
- Echo Dry/Wet: raise from 0% to 8–18% only in the final bar
If you use Reverb, keep it simple and efficient:
- Decay: 0.8–1.8 s
- Pre-delay: 10–25 ms
- High cut: around 7–10 kHz
- Low cut: around 250–500 Hz
Use sends instead of multiple insert reverbs. One shared return track can support the ride, snare fills, and FX hits. That’s a classic DnB workflow: one atmosphere bus for several elements.
6. Shape the transient so the ride cuts without getting sharp
In older jungle and heavier DnB, the ride often needs to punch through dense break programming. But if the transient is too spiky, it competes with the snare top and becomes fatiguing. Use Ableton’s stock tools to shape this carefully.
Options:
- Transient shaping through Clip Gain or volume envelope on the sample
- Glue Compressor with very light control: Attack 10–30 ms, Release Auto or 0.1–0.3 s, only 1–2 dB gain reduction
- EQ Eight to tame an aggressive peak in the 6–10 kHz region
If your ride is too long, shorten the sample tail rather than forcing it with heavy effects. A tighter source almost always sounds more “pro” in DnB because it leaves room for the break and bassline.
7. Make the ride feel like a riser by arranging it against the phrase
The arrangement is where this technique becomes useful. Think in 4-, 8-, or 16-bar DnB phrases:
- Bars 1–4: ride enters sparsely
- Bars 5–8: more hits, more brightness, more send reverb
- Final 1–2 bars before drop: denser rhythm, stronger automation, more width or delay
A strong oldskool move is to let the ride act as the last “top-line motion” before the drop, right after a snare fill or break edit. For example:
- 8 bars of filtered break and sub tease
- 4 bars of rising ride groove
- 1 bar drum fill with ride accent
- Drop hits with ride removed or reduced so the impact feels bigger
That contrast matters. If the riser keeps going into the drop, the drop loses punch. In DnB, tension is strongest when you let the top-end motion clear out right before the snare lands.
8. Use one return track for space and one for grit
To stay CPU-efficient, build two shared return tracks rather than loading effects on the ride directly in multiple places.
Return A: “Ride Space”
- Reverb or Echo
- EQ Eight after the effect to remove lows and harshness
- Optional Auto Pan very subtly for movement
Return B: “Ride Dirt”
- Saturator or Drum Buss
- EQ Eight to focus the grit
- Keep it low in the mix, just enough to add attitude
In Drum Buss, try:
- Drive: 5–15%
- Crunch: 0–10%
- Boom: off or very low for ride use
- Damp: adjust to keep top end controlled
Blend the return subtly. The trick is to make the ride sound more like it belongs to a dusty sampler or an old rack effect chain, without turning it into fuzzy noise.
Common Mistakes
- Fix: pull it down 3–6 dB and let automation do the work. A riser should feel bigger, not necessarily be louder all the way through.
- Fix: high-pass the low end and tame harshness around 5–9 kHz if it clashes with the snare top or hats.
- Fix: move reverb and delay to returns, and keep the core chain lean.
- Fix: add swing from the break, or vary velocity and note spacing so it feels like jungle rather than trance.
- Fix: automate a quick cutoff, mute, or dry drop-out in the last beat before impact.
- Fix: keep the ride mostly centered. Use Utility or width control carefully; the low-mid content of a ride should not feel stereo-wobbly.
Pro Tips for Darker / Heavier DnB
- Once the groove feels right, resample 4 bars of it to audio. Then you can cut, reverse, or re-chop the best moments without keeping the whole live chain running. This is especially useful in neuro-leaning or dark rollers where precision matters.
- A touch of Saturator or Drum Buss before Auto Filter can create a more aggressive rise. Then automate the filter to reveal the grit gradually.
- If the ride source is musical enough, a tiny pitch rise of 1–3 semitones over the build can add urgency. Keep it subtle so it doesn’t sound like a cheesy EDM riser.
- Oldskool jungle often feels strongest when the ride sits on top of a chopped break turnaround. A ride rise plus a snare fill or break stutter creates that “the next section is coming hard” feeling.
- Dark DnB often benefits from a slightly rough high end. Let the ride have texture, but prevent pain. A gentle dip around 7–8 kHz can preserve edge while avoiding fatigue.
- If your bassline has a gap before the drop, let the ride fill that space. If the bass is busy, keep the ride sparse so the arrangement breathes.
Mini Practice Exercise
Spend 15 minutes building a two-part ride riser for a 174 BPM jungle/DnB loop.
1. Load a ride sample into Simpler on an Audio or MIDI track.
2. Program an 8-bar MIDI clip with a sparse offbeat pattern for bars 1–4 and a denser pattern for bars 5–8.
3. Apply a Groove Pool swing from your break at about 20% timing.
4. Add EQ Eight, Saturator, and Auto Filter.
5. Automate the filter cutoff to open over the final 4 bars.
6. Send the ride to a shared Reverb return with a short decay.
7. Duplicate the clip and make one version darker and one version brighter.
8. Compare both in the context of your drums and bass, then pick the one that creates the strongest pre-drop lift.
Goal: in under 15 minutes, create a ride that genuinely improves the phrase transition without adding clutter. If it doesn’t make the drop feel bigger, simplify it.

