Main tutorial
Lesson Overview
This lesson shows you how to build a breakdown by resampling your own DnB material inside Ableton Live 12, then turning that audio into a jungle-flavoured, oldskool-style transition that feels intentional rather than “just a breakdown.” The core move is simple: take a short phrase from your drums, bass, or atmospheres, print it to audio, then chop, reverse, filter, and re-place it so the energy collapses and rebuilds with character.
This technique lives in the middle of a DnB arrangement: the end of the first drop, a 16-bar or 8-bar breakdown, a fake-out before the second drop, or a tension section that bridges two heavier parts. In jungle and oldskool DnB especially, resampling gives you that classic sense of the track “eating itself” and mutating into the next section. It matters musically because it creates recognisable movement from your own material, and technically because it lets you control density, low-end clearance, and impact without stacking too many new sounds.
By the end, you should be able to hear a breakdown that feels:
- chopped and alive, not empty
- rooted in the same identity as the drop
- clearly separated from the sub so the low end stays clean
- ready to lead back into a heavier section with tension and payoff
- a dusty, chopped, slightly haunted character
- a broken rhythmic feel that still respects the original groove
- a supporting role in the track, not a new main drop
- enough polish to sit in a real arrangement without sounding unfinished
- Print your reverb tail into audio, then chop that too.
- Use saturation on the resample before filtering, not after.
- Keep the first half of the breakdown less processed than the second half.
- Try a “drums-only resurrection” before the drop.
- If the resampled material feels too polite, distort the midrange but protect the lows.
- Use negative space as a tool, not an accident.
- Check the breakdown at lower volume.
- Use only material already in your project.
- Use no more than 3 resampled audio tracks.
- Keep the actual sub bass off or heavily simplified during the breakdown.
- Use only Ableton stock devices.
- one 16-bar arrangement section with:
- a clean transition into the next drop
- Can you still hear the main rhythmic identity after processing?
- Does the breakdown sound thinner by design, not accidentally broken?
- Does the drop feel bigger after the breakdown than it did before?
- Resample your own DnB material so the breakdown stays connected to the tune.
- Keep sub bass separate; let the resample live in the drums and midrange.
- Shape the section in layers: phrase, chop, reverse, automate, then test in context.
- Use Ableton stock tools like EQ Eight, Saturator, Drum Buss, Auto Filter, and Utility to control weight, grit, and clarity.
- In jungle and oldskool DnB, the best breakdowns don’t just remove energy — they reframe it.
This is best for jungle, oldskool DnB, rollers with atmosphere, darker breakbeat music, and breakdowns that need grit without losing DJ usability.
What You Will Build
You will build a 16-bar breakdown made from resampled audio: a filtered break fragment, a chopped bass texture, and a reversed transition tail that moves the track from a full-energy drop into a tense, oldskool-flavoured reset.
The result should have:
A successful result should feel like the track is breathing: the drums and bass get pulled apart, the low end thins out on purpose, and the listener still recognises the tune’s identity while anticipating the next impact.
Step-by-Step Walkthrough
1. Choose one short phrase from your track that already works in context
Start with a section that has a strong identity: a 1-bar drum loop, a bass call-and-response, or a small combo of break + stab + bass hit. For jungle/oldskool DnB, the best source is usually something with movement already in it, not a flat pad. In Ableton Live, loop 1 or 2 bars from your arrangement and listen for a phrase that has a clear end point.
Good candidates:
- a break with ghost notes and a snare backbeat
- a bass stab that leaves space between notes
- a short atmospheric hit plus drum fill
What to listen for: the phrase should have a recognisable rhythm and a clear tail you can later reverse or filter. If it is too busy, the breakdown will turn to mush when you resample it.
Why this matters in DnB: the breakdown should sound like it came from the same tune. Using your own existing material keeps the energy and tonal identity consistent, which is especially important in jungle where chopped-up familiarity is part of the style.
2. Route that phrase to a new audio track and commit it to audio
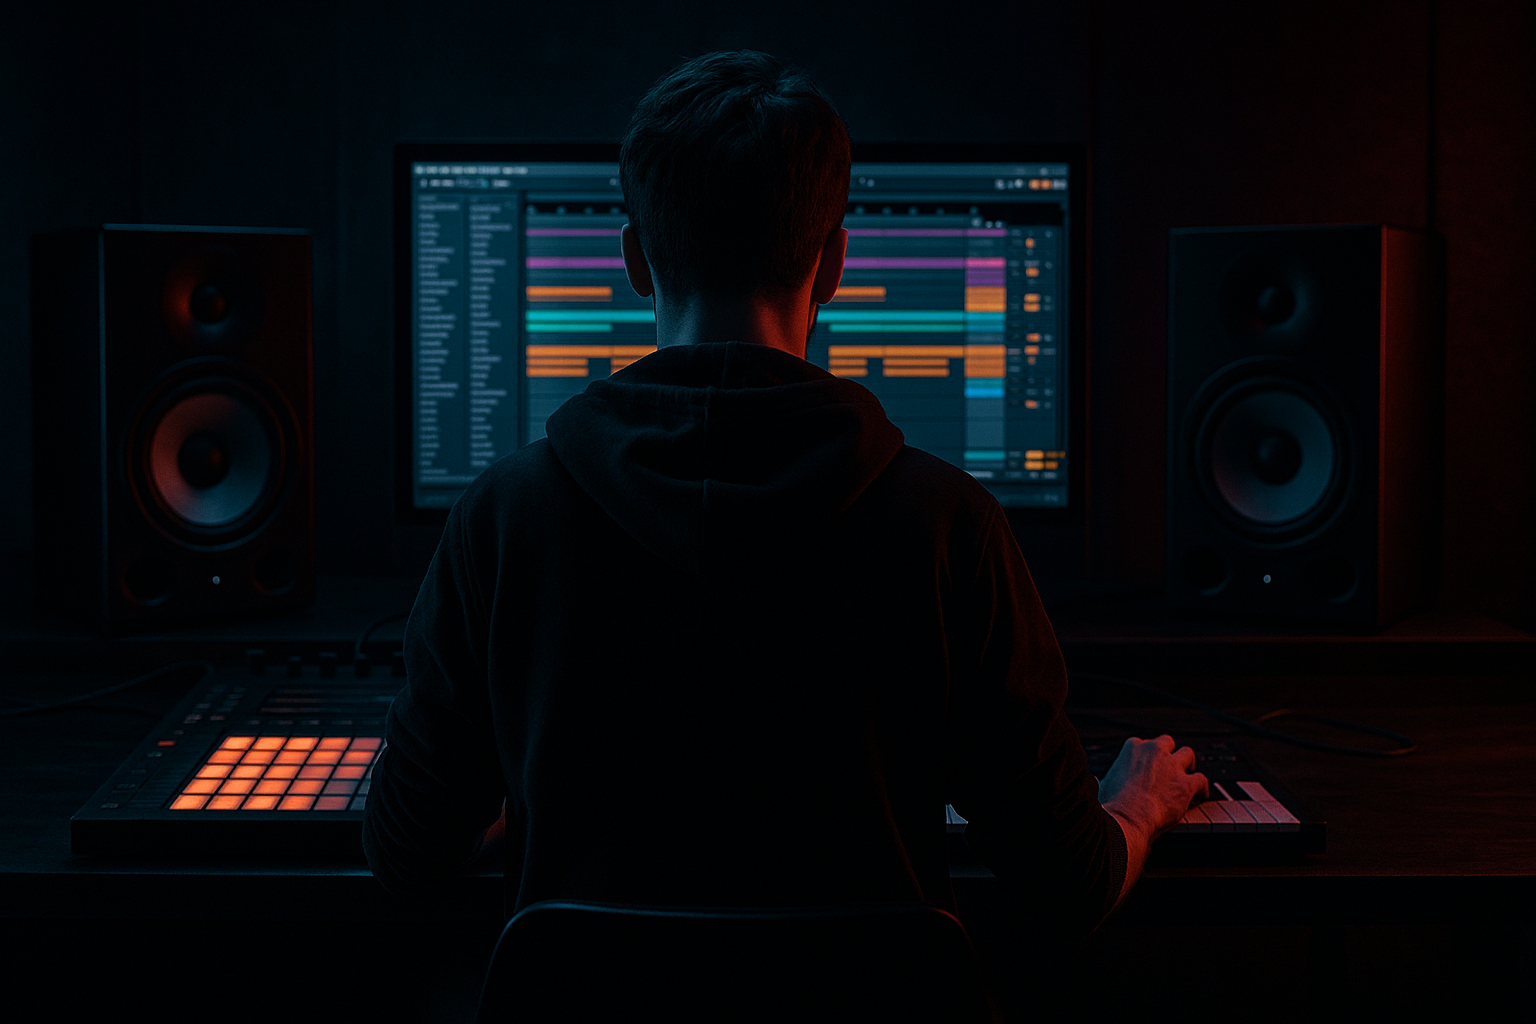
Create a new audio track and set its input to receive from the track holding your source phrase. Then arm the audio track and record 1 to 2 bars of the source phrase. You are not just copying it—you are printing it as audio so you can chop it freely.
If you want speed, record the section directly into Arrangement View. If you want a cleaner workflow, first consolidate the source clip so the phrase starts exactly on the bar line, then record.
Useful starting points:
- record at unity level or slightly below
- keep the printed audio peaking around -12 to -6 dB
- leave headroom so later processing doesn’t crush the transients
Workflow efficiency tip: once you have a useful printed phrase, rename it immediately with something like `Break_Print_01` or `Bass_Resample_A`. That sounds basic, but it saves you from losing the right take later when you make three versions.
What to listen for: the printed audio should sound almost identical to the source, just captured cleanly. If it is already distorting unintentionally, reduce the source track level before printing.
3. Split the resample into three roles: drums, mid texture, and transition tail
Open the printed audio clip in the Clip View and slice it into useful chunks. You do not need surgical micro-editing yet. Begin with three broad groups:
- a drum-led piece with a kick/snare or break hit
- a midrange texture piece with movement or bass character
- a tail piece for reverses, fills, or washouts
This is the first place where the arrangement starts to become musical. You are not just chopping for novelty; you are assigning jobs.
A simple 16-bar breakdown structure could be:
- Bars 1–4: full-ish loop with filter movement
- Bars 5–8: thinner chopped drums and mid texture
- Bars 9–12: low-energy tail and reverse swell
- Bars 13–16: rising tension into the return
Why this works in DnB: the listener needs time to feel the subtraction. If you remove everything instantly, the section feels like a mistake. If you reduce it in stages, the breakdown feels deliberate and club-ready.
4. Process the drum fragment with a classic break-bite chain
Take the drum-led chunk and place it on its own audio track. Start with a stock device chain like this:
- EQ Eight: high-pass around 90–140 Hz to clear the sub space
- Saturator: Drive around 2–6 dB, Soft Clip on if needed
- Drum Buss: keep Drive modest, around 5–15%, and use Crunch carefully
- Auto Filter: low-pass around 300–2,000 Hz depending on how dusty you want it
This chain gives you a jungle-friendly “broke-up but still punchy” character. The high-pass is crucial. You do not want a random printed break fragment fighting your real sub bass.
What to listen for:
- the kick and snare should still read clearly, even after filtering
- the break should sound rougher, not smaller
- the groove should survive the processing
If the break loses snap, reduce Drum Buss Drive before reaching for more EQ. If the break gets too fizzy, lower Saturator Drive and let the filter do more of the vibe work.
5. Build the bass texture from the resample, but keep the actual sub separate
Duplicate or extract a bassy moment from the printed audio, then process it into a midrange-only texture. The goal is movement without low-end collapse. Use:
- EQ Eight with a high-pass around 120–200 Hz
- Saturator or Overdrive lightly to create audible harmonics
- Auto Filter with cutoff automation to create motion
- optional Utility to reduce width if the texture feels too wide
This is the key DnB rule: your sub should not live inside the broken breakdown texture. Keep the actual sub bass muted or simplified here. Let the resampled texture suggest the bassline without carrying the low end itself.
A versus B decision point:
- Option A: Filtered reese texture
Better if you want a darker, more modern, slightly neuro-leaning breakdown. Use a band-limited reese-like layer and automate the filter slowly.
- Option B: Chopped bass notes / oldskool stab feel
Better if you want a more jungle, ragged, sampler-style breakdown. Slice the bass audio into separate notes and leave more space between them.
Choose A if the section should feel ominous and continuous. Choose B if you want it to feel like the track is being re-edited live.
6. Use reverse and gap placement to create the breakdown’s inhale/exhale
Take the tail pieces you saved and reverse them. Place reversed hits before the main chops, not just on the bar line. In jungle-style arrangement, the breakdown often feels better when the reverse sound pulls the ear into the next event by half a beat or a full beat.
Try this:
- reverse a snare tail and place it 1/2 bar before the next chopped phrase
- reverse a small atmospheric slice into the start of a new 4-bar unit
- automate a low-pass filter opening over 4 or 8 bars
If the reversed audio is too obvious, shorten the clip or reduce its high end with EQ Eight. A reverse that is too bright can sound generic; a darker reverse usually fits oldskool DnB better.
What to listen for: the reverse should feel like a pull, not a gimmick. It should make the next hit feel more inevitable.
7. Edit the rhythm so it still talks to the drums
Now line the resampled chops up against the kick and snare grid. In DnB, even a breakdown usually needs some relationship to the backbeat. You might:
- place a chop just before the snare hit
- let a bass fragment answer the snare
- leave a one-beat gap after a phrase so the next chop lands harder
Use small timing nudges in the clip, but do not destroy the pocket. A few milliseconds early or late can create that human jungle swing, especially if the source was a break.
Check this in context with drums:
- solo is not enough here
- listen with the kick/snare and your sub-muted, then with the sub reintroduced lightly
- the resampled material should not blur the snare transient
If the groove feels stiff, try moving one chopped event slightly behind the beat rather than quantising harder. If it feels messy, simplify the rhythm rather than adding more processing.
8. Automate the breakdown so it develops across bars, not just seconds
Build a 16-bar shape with clear changes every 4 bars. A strong beginner-friendly pattern is:
- Bars 1–4: broader filter, more full break
- Bars 5–8: thinner chops, more space
- Bars 9–12: lower volume, more reverse tails
- Bars 13–16: rising filter and a small drum roll or fill
Use automation on:
- Auto Filter cutoff
- Saturator Drive
- Utility volume
- reverb send if you want more space toward the end
Keep the automation modest. In DnB, a breakdown becomes powerful when the changes are readable, not when every bar is a new sound design thesis. A small rise in saturation near the end can make the return feel bigger without adding another layer.
Stop here if the breakdown already tells the story. If the section feels complete with just the chopped audio, don’t overload it. Commit this to audio if you’re tempted to keep stacking effects instead of making arrangement decisions.
9. Test the whole idea against the drop return
Put the breakdown directly before the next heavy section and check the transition. The real question is not “does the breakdown sound cool solo?” It is: does it make the drop hit harder?
Bring in:
- the kick and snare on the first bar of the return
- the sub bass re-entering cleanly
- the main bass phrase or reese returning with a clear downbeat
The breakdown should create a contrast so obvious that the drop feels larger, even at the same overall loudness. If the return feels weak, the breakdown may be too busy or too bright. If the return feels abrupt, add one more bar of tension or a short riser-like reverse from your own audio.
Successful result: when the drop comes back, the track feels like it has been held under tension and then released with purpose, not just reset.
10. Make one final mix pass so the breakdown stays readable on club systems
Because this is a resampled breakdown, it can easily crowd the midrange. Do a quick mix-cleanup pass:
- high-pass the breakdown layers that do not need low end
- reduce stereo width below about 150 Hz with Utility if any low material sneaks in
- keep the main sub in mono
- tame harsh upper mids around 2–5 kHz if the resampled break gets splattery
Mono-compatibility note: jungle-style chopped audio can sound exciting wide, but if the important rhythmic information disappears in mono, the section will weaken on a club system. Check the breakdown summed to mono and make sure the snare, main chop rhythm, and reverse cues still read.
If the breakdown gets muddy, remove layer count before adding more EQ. In DnB, clarity usually comes from fewer overlapping roles, not more processing.
Common Mistakes
1. Leaving the full sub inside the resampled breakdown
- Why it hurts: the low end becomes blurry, and the drop return loses impact because the breakdown already used too much weight.
- Fix in Ableton: high-pass the resampled breakdown layers with EQ Eight, usually somewhere between 90 and 200 Hz, and keep the real sub on its own track.
2. Chopping the audio too tightly so the groove dies
- Why it hurts: jungle and oldskool energy comes from motion and swing, not surgical fragmentation.
- Fix in Ableton: loosen a few slices, leave small gaps, and let one or two chops land slightly before or after the grid instead of forcing everything quantised.
3. Making the breakdown too bright
- Why it hurts: the section starts sounding like a generic FX bridge instead of a dusty DnB transition.
- Fix in Ableton: use Auto Filter low-pass automation, or trim highs with EQ Eight. A darker breakdown usually feels more authentic in this style.
4. Printing a phrase that has no clear rhythmic identity
- Why it hurts: once resampled, a weak phrase turns into abstract noise instead of a usable breakdown hook.
- Fix in Ableton: choose a source with a strong snare placement, a memorable bass rhythm, or a break with ghost notes and repetition.
5. Stacking too many new elements after resampling
- Why it hurts: the whole point of resampling is to transform existing material. If you add too many new sounds, the breakdown loses cohesion.
- Fix in Ableton: limit yourself to one resampled drum layer, one resampled texture layer, and one transition tail. Build tension through automation first.
6. Not checking the breakdown with the drums and return
- Why it hurts: soloed breakdowns can sound exciting but fail in arrangement.
- Fix in Ableton: audition the breakdown in full context with kick, snare, sub, and the first bar of the drop return.
7. Overusing stereo width on the wrong material
- Why it hurts: wide low-mid resampled audio can smear the mix and weaken mono playback.
- Fix in Ableton: use Utility to narrow lower-frequency content, and keep the actual sub mono.
Pro Tips for Darker / Heavier DnB
A reversed, filtered reverb tail from the source phrase can sound more sinister than a clean riser. Bounce it, reverse it, and tuck it under the last 2 bars of the breakdown.
Light Saturator or Overdrive before Auto Filter creates harmonics that survive the low-pass better. That means your breakdown still has presence even when it gets darker.
This creates contrast without needing new sounds. The second 8 bars can feel more damaged, more filtered, and more unstable.
Let the chopped break reappear for one bar with no bass, then slam the full drop back in. This is a classic tension move that works especially well in jungle and dark rollers.
High-pass the resample first, then increase Saturator Drive in moderation. You get grit without wrecking the sub.
A half-bar of almost silence before the return can feel heavier than a long riser. In DnB, the void before impact is often the most powerful FX.
If the chopped rhythm and reverse cues still read quietly, the section has enough structure. If it only works loud, it probably relies too much on top-end noise.
Mini Practice Exercise
Goal: Build a 16-bar resampled breakdown that leads cleanly back into your drop.
Time box: 15 minutes.
Constraints:
Deliverable:
- one chopped drum resample
- one filtered bass or midrange texture resample
- one reverse tail or transition element
Quick self-check:

