Main tutorial
Lesson Overview
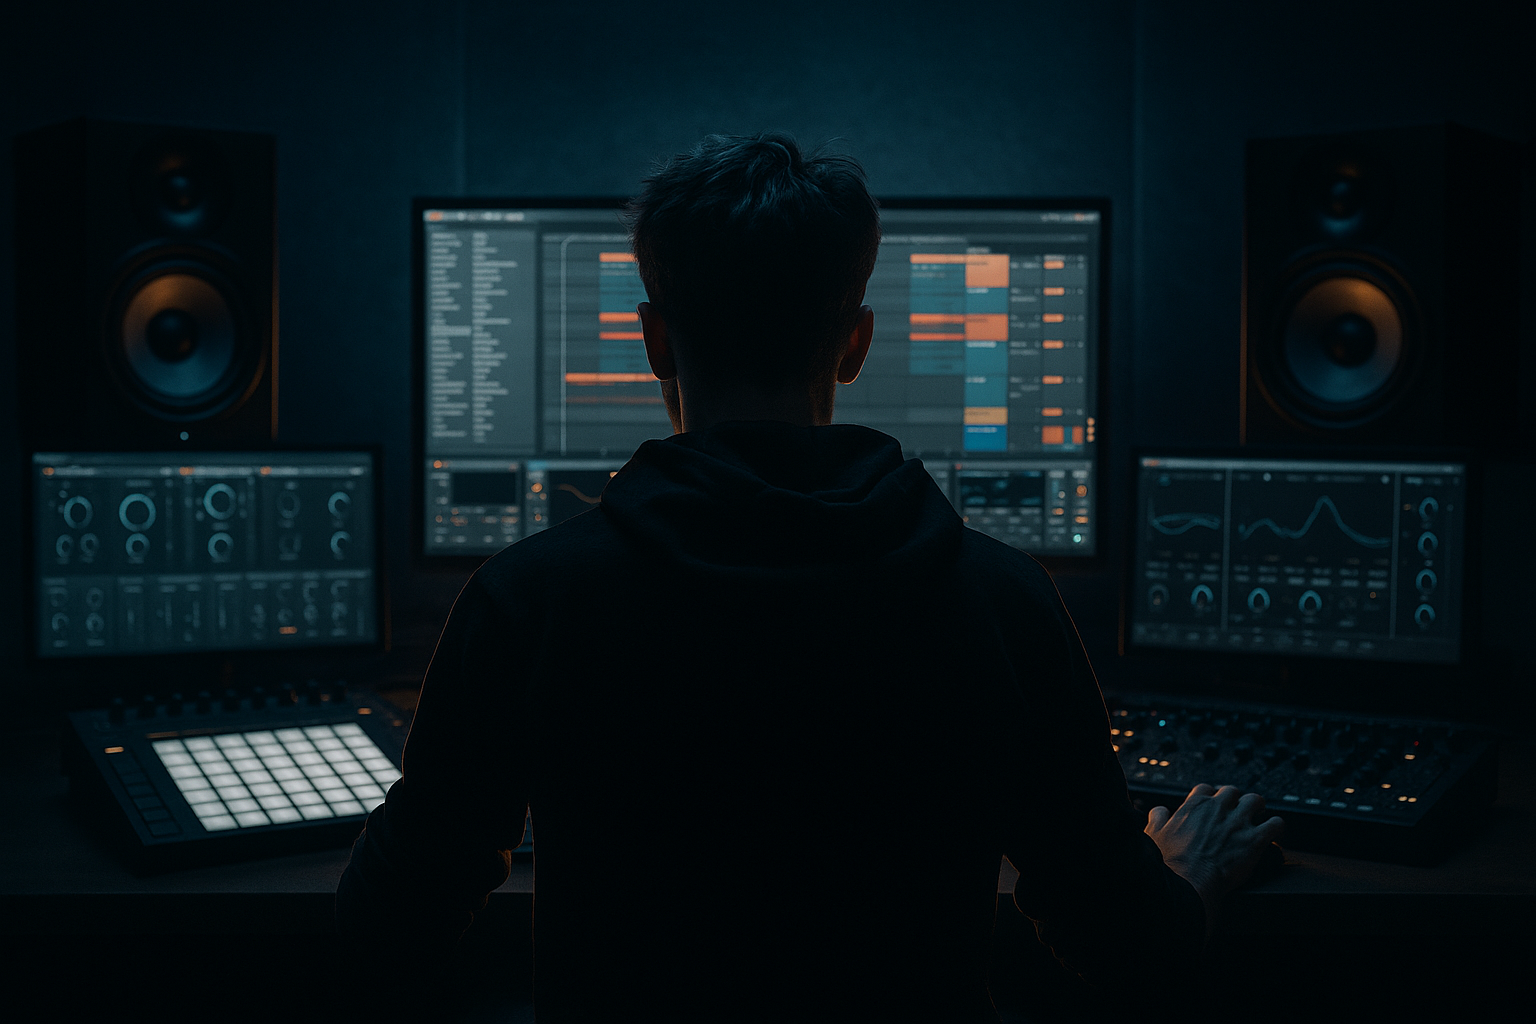
In this lesson, you’ll build a deep jungle atmosphere loop in Ableton Live 12 that can sit behind a roller, intro, or halftime switch-up and make the track feel instantly darker and more alive. The focus is on FX-driven atmosphere design: turning a simple drum loop and a small bass texture into a loop blueprint that feels like it came from an underground DnB set, not a generic EDM session.
This matters because in Drum & Bass, especially jungle, rollers, neuro-leaning dark DnB, and deep atmospheric styles, the space between the drums and bass is just as important as the notes themselves. A strong atmosphere loop gives your track identity: it creates motion, tension, and mood without fighting the kick, snare, and sub. If your drums are the engine, this lesson teaches you how to build the fog, rain, and pressure around them.
We’ll use Ableton Live stock devices to create:
- a chopped jungle break foundation,
- a subtle reese-style bass texture,
- dark ambience with movement,
- FX transitions that make the loop feel like a real section of a track,
- and a simple arrangement approach you can reuse later.
- a chopped break with a slightly loose, human feel
- a low, controlled bass layer that hints at movement without stealing the sub
- a noisy top texture using filtered ambience and resampled FX
- a reverb-drenched atmosphere layer that fills the stereo field
- subtle automation on filters, delay, and reverb for motion
- a clean loop that can be dropped into a full DnB arrangement
- a dark 174 BPM intro loop that could lead into a rolling drop,
- or a jungle-inspired tension bed under sparse drums and dubby bass hits.
- moody, old-school enough to nod to jungle,
- clean enough to sit in a modern mix,
- and flexible enough to reuse in multiple track ideas.
- Drums
- Bass / Reese
- Atmos FX
- Drum Buss
- EQ Eight
- Auto Filter if you want extra tone shaping
- Drum Buss
- EQ Eight
- let the snare land on 2 and 4
- add ghost hits before or after the snare
- keep the pattern busy but not crowded
- bar 1: kick, snare, light ghost hat movement
- bar 2: similar pattern with one extra fill or pickup
- Oscillator 1: saw
- Oscillator 2: saw or slightly detuned saw
- Detune: small amount, around 5–15 cents
- Unison: if used, keep it modest so the low end doesn’t get too wide
- Filter: low-pass
- Filter envelope: subtle
- LFO: slow movement to cutoff or wavetable position
- Filter cutoff: around 150–400 Hz depending on the note range
- Resonance: low to medium
- LFO rate: 1/2 to 1 bar for slow movement
- LFO amount: small, just enough to animate the sound
- Saturator
- EQ Eight
- Utility
- hold one or two notes per bar
- use short rests for call-and-response with the drums
- avoid too many notes at first
- Oscillator: sine
- Mono mode: on if available through your MIDI/Instrument setup
- Notes: follow the root notes of the reese layer
- Keep the pattern simple and centered
- Utility to keep it mono
- EQ Eight to low-pass or shape the sub if needed
- Saturator very lightly if the sub needs a touch of harmonics
- sub should live mostly below 80–100 Hz
- keep it strong, but not huge
- let the kick and sub cooperate, not compete
- vinyl noise
- rain
- room tone
- distant industrial ambience
- filtered break noise
- or a resampled synth wash you make yourself
- add Analog, Wavetable, or Operator
- use a noise source or a very bright patch
- hold a note
- print it to audio by recording/resampling
- then cut and process the best section
- Auto Filter
- Reverb
- Echo
- Utility
- optional Redux or Saturator for grit
- Auto Filter
- Reverb
- Echo
- Return A: Reverb Space
- Return B: Delay Ghost
- Reverb
- EQ Eight after the reverb
- Echo
- Auto Filter or EQ Eight after Echo if needed
- snare ghosts
- break hats
- atmosphere track
- occasional bass texture hits
- Auto Filter cutoff on the atmosphere layer
- Reverb dry/wet on a snare ghost or break slice
- Echo feedback on a transition hit
- Bass filter cutoff for tension and release
- At the start of bar 1, keep the atmosphere filtered darker
- By bar 4, open the filter slightly to create lift
- In the last half-bar, increase reverb or echo briefly for a transition tail
- Drop the bass volume or filter for 1 beat before the loop resets
- reverse a snare hit
- add a short noise riser
- or use a filtered break stutter
- mute the bass and listen to the drums alone
- mute the drums and listen to the bass and atmosphere
- check the low end in mono using Utility
- make sure the atmosphere doesn’t overpower the snare
- Utility for mono checking
- EQ Eight for harshness control
- Limiter only if you need safety, not loudness
- 2–5 kHz on breaks
- overly bright noise in the atmosphere
- muddy low mids from reverb tails
- Too much reverb on the drums
- Atmosphere covering the snare
- Bass too wide
- Overcomplicated notes
- No low-end separation
- Break sounding rigid
- FX fighting the groove
- Use filtered noise as a tension layer
- Resample your own FX
- Keep bass movement subtle
- Let one element be ugly
- Use call-and-response
- Automate darkness
- Check mono often
- remove one element,
- then ask whether the loop still feels full.
- Build the loop around drums, sub, and atmosphere
- Keep the sub mono and controlled
- Use Ableton stock FX like Reverb, Echo, Auto Filter, Saturator, Drum Buss, and Utility
- Automate movement instead of overloading the loop with sounds
- Use atmosphere to create depth, tension, and jungle character
- Keep the loop clean enough to work as an intro, drop bed, or arrangement blueprint
This is a beginner-friendly workflow, but it’s built in a way that actually fits real DnB production. You’ll end up with a loop that works as a top-layer atmospheric blueprint for intros, breakdowns, and early-drop sections 🌫️
What You Will Build
By the end of this lesson, you’ll have a 4- or 8-bar deep jungle atmosphere loop in Ableton Live that includes:
Musically, think of something like:
The end result should feel:
Step-by-Step Walkthrough
1. Set up the project for a DnB-friendly loop
Start by setting the project tempo to 174 BPM. That’s a classic DnB zone and keeps your loop immediately in the right energy range. If you want a slightly heavier, more half-time feel, you can also try 170 BPM later, but 174 is a safe starting point.
Create three audio or MIDI tracks:
On your Master, leave headroom. Aim for your loop peaking around -6 dB to -8 dB before mastering. That gives space for later arrangement and processing.
Why this works in DnB: fast tempos make small timing and tonal choices matter more. If your loop feels good at 174, it usually translates well into a real roller or jungle arrangement.
---
2. Build the drum foundation with a chopped break
For the drum track, use a breakbeat loop or a few sliced break hits. If you have a loop already, drag it into Arrangement View and Warp it so the timing is stable. If it’s a messy old break, don’t worry too much about perfect grid alignment — a bit of looseness helps jungle feel authentic.
Add these stock devices on the drum track:
Suggested starting settings:
- Drive: 5–15%
- Crunch: 0–10%
- Boom: keep low or off for now
- Transients: +10 to +20
- High-pass gently if needed around 30–40 Hz
- Cut muddy low-mid buildup around 200–400 Hz if the break feels boxy
If you’re working with sliced break hits, use Slice to New MIDI Track and trigger the kick/snare/hat pieces in a simple pattern:
Try a basic 2-bar break layout:
Keep the break relatively dry for now. We’ll use FX later to create the atmosphere around it.
---
3. Create a low reese-style layer using stock synths
On the Bass track, load Wavetable or Operator. For beginners, Wavetable is a great choice because it gives you a quick path to a moving bass texture.
Start with a simple patch:
Then add movement:
Good beginner-friendly settings:
Now add FX:
- Drive: 2–6 dB
- Soft Clip: on
- Cut unnecessary sub-rumble if the bass patch is too huge
- If the patch fights the drum low end, reduce around 80–150 Hz
- Width: keep bass mostly mono or narrow
Write a simple note pattern:
This bass layer should not replace your sub. Instead, it gives the loop that reese pressure and dark motion DnB loves.
---
4. Add a true sub layer and keep it disciplined
If your bass patch doesn’t contain a clean sub, make a separate Sub track using Operator or Wavetable with a sine wave.
Settings:
Useful stock devices:
Suggested target:
If you’re unsure whether your sub is too loud, mute the bass and listen only to kick + sub. In DnB, the low end should feel powerful but controlled, not blurry.
Why this works in DnB: dark rollers and jungle tunes depend on a solid low foundation. The atmosphere can be wide and messy, but the sub must stay readable and centered so the groove hits hard on club systems.
---
5. Build the atmosphere layer with noise, field texture, or resampled FX
Now for the “deep jungle atmosphere” part. Create a new audio track and load a texture such as:
If you don’t have a ready-made ambient sample, make one in Ableton:
On this atmosphere track, use:
Suggested atmosphere settings:
- high-pass around 200–600 Hz
- automate cutoff slowly
- Decay: 3–8 seconds
- Dry/Wet: 10–30%
- Low Cut: raise it to keep low-end clean
- Delay time: try 1/8 or 1/8 dotted
- Feedback: 15–35%
- Filter the repeats so they sit behind the drums
Keep this layer subtle. You want it to be felt more than heard. It should add width and tension without masking the break.
A good trick: automate the atmosphere volume so it slightly rises at the end of every 2 bars, then dips back down. That creates a breathing feel and keeps the loop alive.
---
6. Shape the space with Send effects instead of drowning everything
Instead of putting huge reverb on every track, create return tracks for cleaner control.
Make two Returns:
On Return A:
- Decay: 4–7 seconds
- Dry/Wet: 100% on the return
- Low Cut: around 200 Hz or higher
- cut more low end if the reverb clouds the mix
On Return B:
- feedback: moderate
- filter the top and bottom so the repeats feel haunted, not harsh
Send small amounts from:
Don’t send your sub to these returns. In DnB, that’s one of the fastest ways to lose punch and low-end clarity.
This return-based approach lets you create a wide, cinematic jungle space while keeping the core drums and bass focused.
---
7. Add movement with automation and small arrangement tricks
Now make the loop feel like a real section instead of a static jam.
Automate these elements over 4 or 8 bars:
Simple automation ideas:
You can also create one small fill at the end of bar 4:
Musical context example: this kind of loop works well as a 16-bar intro where the atmosphere slowly opens up before the full drop enters. It can also sit under a DJ mix intro because it gives space for blending and cueing.
---
8. Clean the loop for mix clarity and bounce it into a reusable blueprint
Before you call it done, do a quick mix check:
Useful stock finishing tools:
Watch for harsh build-up around:
If everything feels good, group the drums, bass, and atmosphere separately. Save the project as a template or flatten a rough version into audio so you can reuse it later as a blueprint for new tracks.
Common Mistakes
- Fix: use return tracks and keep direct drum hits mostly dry.
- Fix: high-pass the atmosphere and reduce its volume. The snare must stay upfront.
- Fix: keep the sub mono with Utility, and narrow the low end of the reese layer.
- Fix: start with one root note or a two-note pattern. DnB feels stronger when the rhythm is clear.
- Fix: decide who owns the lowest frequencies — kick or sub — and make room with EQ and arrangement.
- Fix: nudge some ghost notes slightly, add velocity variation, and avoid making every hit the same level.
- Fix: if an effect makes the loop cooler but less danceable, lower it or automate it only at transitions.
Pro Tips for Darker / Heavier DnB
- A quiet noise bed under the loop can make the track feel more sinister without obvious melody.
- Print a reverb tail, reverse it, and place it before a snare or bass drop for that classic dark DnB lift.
- A tiny filter wobble can sound more professional than a huge wobble in rollers and jungle atmospheres.
- A little distortion on the atmosphere or reese can add underground character, as long as the sub stays clean.
- Let the drums answer the bass, then let the atmosphere answer the drums. That push-pull keeps the loop alive.
- Close the filter for tension, open it slightly for release. That simple contrast is a huge part of dark DnB arrangement.
- Wide FX are cool, but if the loop collapses in mono, the track won’t hit properly on club systems.
Mini Practice Exercise
Spend 10–20 minutes building a new 4-bar loop using this exact workflow:
1. Set Ableton to 174 BPM.
2. Drag in one breakbeat loop or build a sliced break pattern.
3. Add a simple Wavetable reese with a slow LFO.
4. Create a mono sine sub on a separate track.
5. Add one atmosphere sample or print your own noise wash.
6. Put Reverb and Echo on return tracks only.
7. Automate the atmosphere filter over 4 bars.
8. Make one tiny fill at the end of bar 4.
9. Export the loop or save the project as a template.
Goal: your loop should feel like it could sit under the first 16 bars of a dark jungle tune without needing extra notes or flashy design.
If you finish early, do one extra pass:
That’s a great test for professional DnB arrangement.
Recap
If you can make a simple loop feel dark, spacious, and mobile at 174 BPM, you’re already thinking like a DnB producer.

