Main tutorial
Lesson Overview
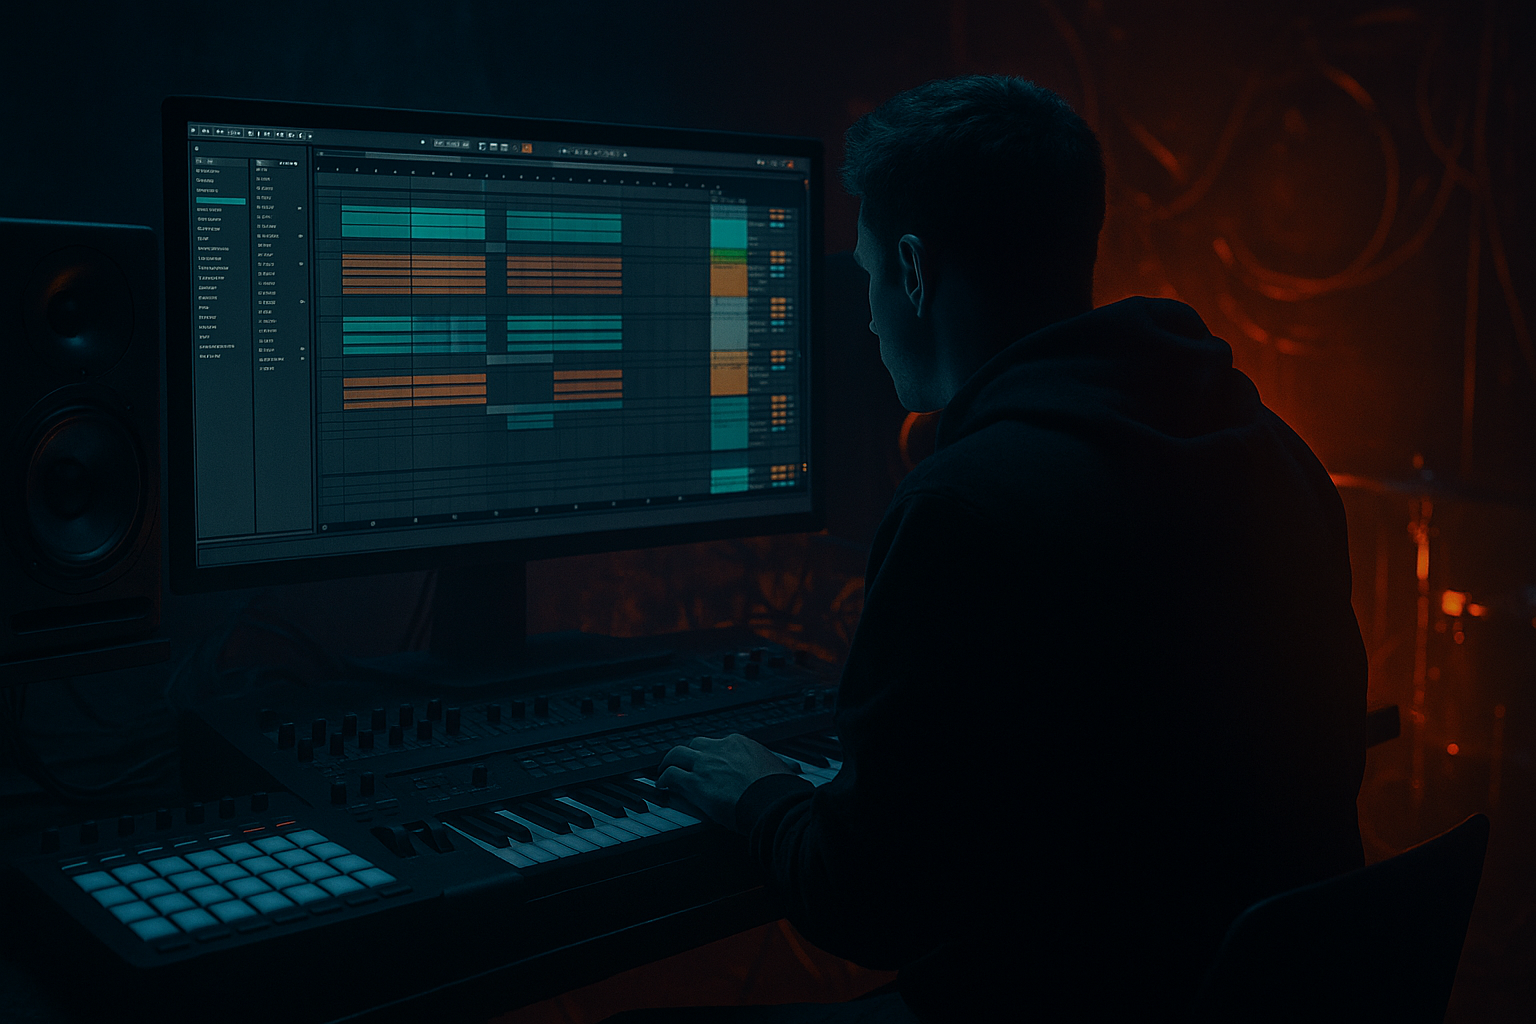
A warehouse intro in Drum & Bass is all about controlled tension: enough motion to pull the listener in, but not so much that you reveal the drop too early. In this lesson, you’ll build a roller-style intro in Ableton Live 12 using resampling, arrangement editing, and stock devices to create that dark, mechanical, DJ-friendly energy that fits underground DnB sets.
This technique matters because a great intro does three jobs at once:
1. It establishes the mood and sonic identity of the tune.
2. It gives DJs a clean, usable mix-in point.
3. It creates forward motion without needing full drum/bass impact right away.
For warehouse / rollers / darker bass music, the intro should feel like the track is already in motion. You’re not “starting” the tune so much as revealing it piece by piece. Resampling is the key here: instead of relying on a loop that sounds static, you bounce your own bass fragments, atmospheres, and drum textures into new audio material, then re-edit them into a more intentional arrangement.
Why this works in DnB: rollers often depend on repetition with micro-variation. The listener locks into the groove, but the arrangement keeps shifting with ghost hits, filter movement, fills, and evolving bass tone. Resampling lets you turn one good sound into several arrangement devices: a bass stab, a reverse swell, a noisy tail, a filtered pulse, or a suspense hit. That’s exactly the kind of density and movement a warehouse intro needs.
---
What You Will Build
By the end of this lesson, you’ll have a 16- to 32-bar warehouse intro in Ableton Live 12 that includes:
- a dark ambient bed with low-level texture
- a roller bass motif built from resampled material
- a breakbeat intro with edits, ghost hits, and filtered percussion
- transition FX made from your own audio resamples
- a clear pre-drop tension build that leads naturally into the main drop
- enough space for a DJ to mix in, but enough character to sound like a finished DnB record
- Making the intro too full too early
- Using one loop without variation
- Too much low-end in atmospheres
- Bass resamples that are too wide
- Transitions that are too polite
- No DJ mix-in space
- Resample saturation stages separately
- Use call-and-response even in the intro
- Automate distortion subtly
- Push tension with reduced information
- Use break edits as glue
- Check the intro in mono
- Make the last 2 bars before the drop feel unstable
- Build your warehouse intro around tension, spacing, and controlled reveal.
- Use resampling to turn one bass idea into multiple arrangement tools.
- Keep the first part sparse, dark, and DJ-friendly, then increase density in stages.
- Use Ableton stock devices like Operator, Wavetable, Auto Filter, Saturator, Drum Buss, Echo, Reverb, Hybrid Reverb, EQ Eight, and Utility to shape the whole intro.
- In DnB, the best intros don’t just “play sounds” — they set up impact through groove, texture, and precise automation.
Musically, think of it as a track that opens with a cold industrial atmosphere, introduces a restrained sub/reese idea, then gradually reveals the full groove. A classic context example: a warehouse intro before a halftime-feeling breakdown into a full 174 BPM roller drop. The intro should hint at the energy without giving away the payoff too soon.
---
Step-by-Step Walkthrough
1. Set up a clean intro section and reference the groove direction
Open a new Ableton Live set at your track tempo, typically 172–174 BPM for modern roller DnB. Create a 16-bar intro region before the drop, or 32 bars if you want a longer DJ-friendly opening.
Start by placing markers for:
- bars 1–8: atmosphere and light percussion
- bars 9–16: bass hints and rising tension
- bars 17–32: fuller intro, pre-drop build, or mix-in extensions
Load a reference roller into a separate audio track and keep its level low. You’re not copying the tune—you’re checking density, drum entrance timing, and bass reveal timing. A warehouse intro usually delays the full drum impact until the ear has settled into the atmosphere.
Keep your session organized from the start:
- Audio track 1: atmospheres
- Audio track 2: resampled bass
- Audio track 3: break edits
- Audio track 4: FX
- Return tracks: reverb and delay
2. Design a raw bass source that can be resampled
On a MIDI track, build a simple bass patch using stock Ableton devices. A strong option is:
- Operator or Wavetable for the core tone
- Auto Filter
- Saturator
- Drum Buss or Glue Compressor for character
For a darker reese-style source:
- Use two oscillators detuned slightly
- Keep the patch mostly mono
- Add subtle phase motion or a slow LFO to cutoff or wavetable position
Good starting settings:
- Filter cutoff: around 120–300 Hz depending on how much low-mid you want
- Saturator drive: 2–6 dB
- Drum Buss drive: 5–15% if you want grit without flattening the sound
Write a short 1- or 2-note phrase that sits in the intro range, not the full drop. For example, if the main drop bass is aggressive and busy, make the intro motif more restrained: a long note, a syncopated stab, or a call-and-response pair. The goal is to create material that can be chopped later.
Why this works in DnB: a roller intro doesn’t need a full bassline yet. It needs a signature bass attitude. A small phrase resampled into multiple shapes can sound much more intentional than a busy MIDI clip.
3. Resample your bass into audio and slice the best moments
Create a new Audio Track and set its input to Resampling. Arm it, play your bass MIDI track, and record 1–2 minutes of output while automating filter movement, note length, or effect bypasses.
Then:
- Consolidate the best 4–8 bar section
- Drag it into Simpler on Slice mode or keep it as audio
- Chop the strongest hits into separate clips
Useful resampling targets:
- a clean bass hit with tail
- a distorted midrange burst
- a filtered low pulse
- a reverse-like noise tail
- a short “answer” stab for call-and-response
If you’re slicing:
- Use Transient or Beat slicing when the audio has clear hits
- If the material is more atmospheric, keep it as audio and manually warp/edit
This is one of the biggest intermediate-level moves: you’re turning “sound design” into “arrangement material.” Now the bass is no longer just a sound—it’s a playable intro element.
4. Build the drum intro with break edits and controlled groove
For a warehouse roller intro, avoid dropping the full drum pattern immediately. Start with filtered breaks, top loops, or edited ghost percussion.
A practical Ableton workflow:
- Use a break sample in Simpler or an audio clip
- High-pass it around 120–180 Hz to leave space for sub later
- Layer light hats or shakers from the Drum Rack
- Add ghost snares or quiet rim hits on offbeats
Drums to consider:
- a chopped break with swung hats
- a soft kick pattern with reduced low-end
- a delayed snare pickup before key phrase changes
In the Drum Buss, try:
- Drive: 5–10%
- Crunch: very lightly, just enough to thicken
- Boom: keep minimal in the intro, or disable it if the low-end is already busy
Arrangement idea:
- Bars 1–4: break texture only
- Bars 5–8: add hats and a sparse snare
- Bars 9–12: introduce the bass phrase fragments
- Bars 13–16: add more transient energy before the transition
This keeps the intro DJ-friendly while still sounding alive. A full roller groove doesn’t need to appear all at once—teasing it is often stronger.
5. Create atmosphere and movement with stock FX chains
The warehouse mood comes from the space around the drums and bass as much as the elements themselves. Build at least one atmospheric layer from a resampled texture or field-noise source.
Good Ableton stock chain for atmosphere:
- Auto Filter with slow cutoff movement
- Echo for depth and rhythm
- Hybrid Reverb or Reverb
- Utility for mono control if needed
Suggested settings:
- Reverb decay: 2.5–6 seconds
- Pre-delay: 10–25 ms
- Echo time: 1/8D or 1/4, low feedback
- Auto Filter cutoff automation: slow movement over 8–16 bars
Make sure the atmosphere sits behind the drums, not on top of them. If the reverb clouds the kick or bass, put a EQ Eight after the reverb and cut:
- below 150–250 Hz
- some harshness around 2.5–5 kHz if needed
For darker DnB, the atmosphere should feel like concrete, metal, air, and distance—not lush cinematic wallpaper. Think of it as the sonic equivalent of entering a cold warehouse before the system fully powers up.
6. Shape the intro with automation so it evolves every 4 bars
The biggest difference between a loop and a real arrangement is automation. In a roller intro, make sure something changes every 4 bars.
Good automation targets in Ableton Live:
- filter cutoff on bass resamples
- reverb send amount on snare ghosts or FX
- delay feedback on transition hits
- volume of noise sweeps
- drum loop high-pass amount
- utility width on atmosphere layers
A strong pattern:
- Bars 1–4: narrow, filtered, minimal
- Bars 5–8: slightly brighter and more rhythmic
- Bars 9–12: bass phrase opens up
- Bars 13–16: tension rises with extra FX and drum density
If the intro feels flat, automate the device on/off for one element every few bars. For example, let a bass tail appear only on the last beat of bar 8, or bring in a reverse hit just before a phrase change.
Why this works in DnB: fast tempos expose repetition quickly. Micro-changes in filter, density, and texture keep the groove hypnotic instead of boring.
7. Arrange the pre-drop with a clear reveal and DJ logic
Once the intro material is working, shape it like a proper mix-intro into drop. In DnB, the pre-drop should prepare the low-end and drums without exhausting the listener.
A practical arrangement path:
- Bars 1–8: intro atmosphere + break texture
- Bars 9–16: bass stabs + more defined percussion
- Bars 17–24: fuller rhythm, rising energy
- Bars 25–32: short tension build into drop
For a DJ-friendly intro, keep the opening clean enough to beatmatch. That means:
- steady kick or hat references
- limited low-end clutter at the start
- no huge all-frequency impacts too early
Use a 1-bar or 2-bar fill right before the drop:
- snare roll
- reversed bass tail
- filtered impact
- short silence or drop-out before the downbeat
That tiny gap can make the drop hit harder than adding more and more layers. In darker rollers, the release is often stronger when it’s slightly restrained.
8. Final balance: mono low end, controlled mids, and headroom
Before calling the intro done, check the mix logic. In Ableton, use Utility on bass and sub layers to keep the low-end centered. The sub should be mono or effectively mono.
Practical mix checks:
- Keep sub under about 120 Hz mono
- Use EQ Eight to carve competing low mids
- Don’t let atmosphere mask the snare transient
- Leave headroom so the drop has room to land
If your bass resamples sound too wide or blurry:
- reduce stereo width with Utility
- high-pass any stereo FX layer
- avoid heavy reverb on sub-heavy fragments
For a clean intro arrangement, the listener should clearly understand:
- where the groove lives
- where the bass is coming from
- when the drop is about to happen
This is the difference between a cool loop and a release-ready intro.
---
Common Mistakes
- Fix: keep the first 8 bars sparse. Save the strongest drum and bass elements for later in the phrase.
- Fix: resample your own bass and percussion, then edit 4-bar changes with automation, fills, and drops in density.
- Fix: high-pass all ambient layers and reverb returns. Let the sub remain the only true low-end anchor.
- Fix: use Utility to narrow the stereo image, especially below the midrange. Keep the bass focused.
- Fix: add short silence, reverse tails, snare pick-ups, or a distorted hit before the drop. DnB benefits from sharper contrast.
- Fix: make the intro clean enough in the first 4–8 bars that another track can blend over it.
---
Pro Tips for Darker / Heavier DnB
- Bounce one version clean, one version saturated, one version filtered. Then layer the best parts. This gives you more controlled aggression.
- Let a bass stab answer a drum fill, or a noise hit answer a snare. That conversational structure keeps the arrangement alive.
- A tiny lift in Saturator drive or Drum Buss crunch before a phrase change can feel huge without sounding overcooked.
- The darker the track, the more effective the intro becomes when you withhold the obvious parts. Don’t reveal the full low-end too early.
- A chopped break between bass hits can make the whole intro feel more “alive” and less programmed, which is essential for jungle-influenced rollers.
- If the atmosphere collapses too much, simplify it. The intro should survive club playback, not just headphones.
- Remove one drum layer, shorten a bass tail, or automate a filter sweep so the ear senses the drop about to hit.
---
Mini Practice Exercise
Set a 15-minute timer and build a warehouse intro from scratch in Ableton Live:
1. Create a 16-bar intro at 174 BPM.
2. Make one bass sound with Operator or Wavetable, then resample it to audio.
3. Slice the audio into 3–5 usable fragments.
4. Add a chopped break, hats, or ghost snares.
5. Create one atmosphere layer with Auto Filter + Echo + Reverb.
6. Automate at least three parameters across the intro:
- filter cutoff
- effect send
- bass volume or width
7. Add a short fill or reverse hit in the last 2 bars.
8. Export a quick bounce and listen for:
- enough tension?
- clear low-end?
- DJ-friendly opening?
- strong drop reveal?
If you want to make it harder, do a second pass and remove one element so the intro feels more confident and spacious.
---

