DNB COLLEGE

Drum & Bass Ableton Live 12 Tutorials

LESSON DETAIL

Roller: shuffle design with automation-first workflow in Ableton Live 12 for jungle oldskool DnB vibes (Beginner)

An AI-generated beginner Ableton lesson focused on Roller: shuffle design with automation-first workflow in Ableton Live 12 for jungle oldskool DnB vibes in the Resampling area of drum and bass production.

Back to lessons
Roller: shuffle design with automation-first workflow in Ableton Live 12 for jungle oldskool DnB vibes (Beginner) cover image

Narrated lesson audio

The voice track includes the tutorial plus extra teacher commentary.

Open audio file

Main tutorial

Lesson Overview

In this lesson, you’ll build a roller-style shuffle bass groove for oldskool jungle / dark DnB vibes using an automation-first workflow in Ableton Live 12, then resample it to make it feel more like a finished record and less like a loop. The goal is not to create a giant lead sound or a heavily polished neuro bass. Instead, you’ll make a moving, ghostly, syncopated roller that sits under breakbeats and keeps the track pushing forward.

This technique matters because a lot of classic jungle and rollers energy comes from motion inside repetition. The bassline often doesn’t do “big” things every bar; it changes through filter movement, note length, tiny pitch shifts, distortion changes, and resampled texture. That kind of movement makes the groove feel alive while still leaving space for the drums to breathe.

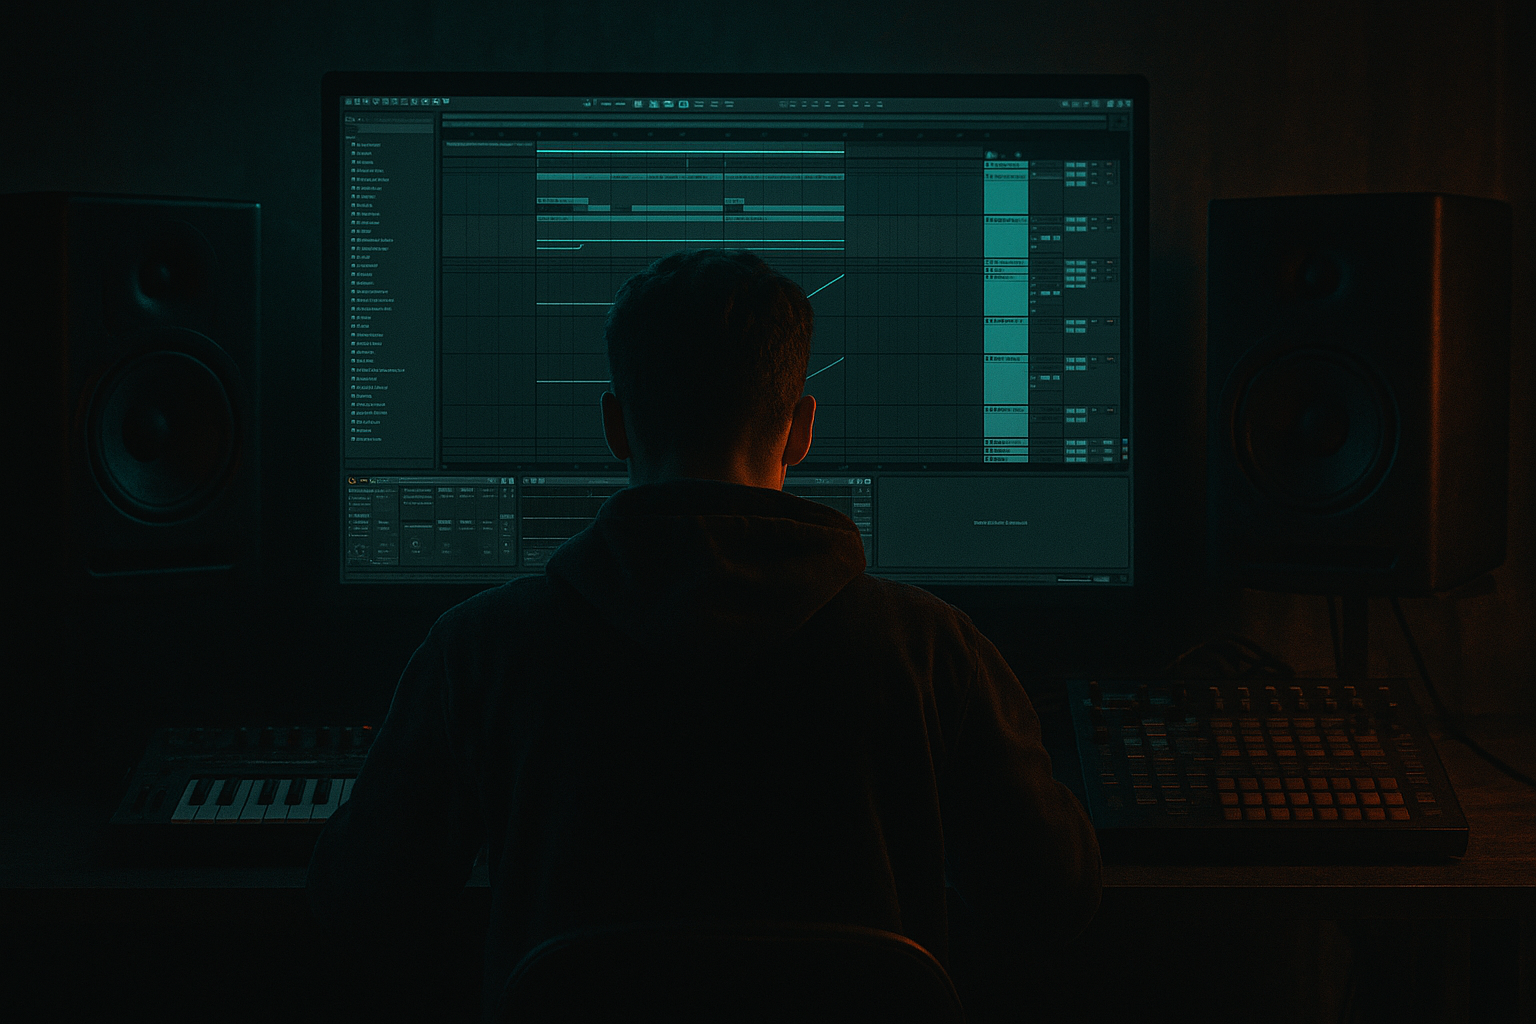
In Ableton Live, this is ideal for automation lanes, resampling to audio, and fast arrangement decisions. Instead of endlessly tweaking MIDI notes, you’ll shape the bass in real time, record the result, and then chop or print it into a more musical, rugged part. That is a very DnB way of working: build the vibe first, then commit to sound. 🥁

What You Will Build

By the end, you’ll have:

  • A 1–2 bar shuffled bass pattern with a roller feel
  • A sub-supported bass layer that stays strong in mono
  • A mid bass / reese texture with controlled movement
  • Automation on filter, distortion, and envelope settings
  • A resampled audio phrase you can slice, repeat, and arrange
  • A simple call-and-response loop that works under jungle breaks or half-time switch-ups
  • Musically, the result will feel like a dark, hypnotic bass loop that could sit in the first drop of a jungle-informed DnB tune, or act as a tense support line before a switch. Think: rolling drums, murky bass, small shuffled pushes, and little bursts of grit rather than a huge screaming sound.

    Step-by-Step Walkthrough

    1. Set up a simple DnB starting point

    Open a new Live set and set the tempo to 170–174 BPM. For a beginner-friendly oldskool roller feel, start at 172 BPM.

    Add:

    - One Drum Rack or audio drum loop with a breakbeat

    - One MIDI track for bass

    - Optional: one track for atmospheres or a simple stab

    Use an oldskool-friendly drum foundation:

    - Kick on strong downbeats

    - Snare on 2 and 4

    - Light hats or break edits for movement

    If you already have a break, great. If not, use a simple kick/snare pattern and add a shuffled hat loop later. The bass should work with the drums, not fight them.

    Why this works in DnB: the bass line needs a clear rhythmic pocket. At high tempos, small timing choices matter a lot more than big chord changes.

    2. Build a basic bass patch with stock Ableton devices

    On the bass MIDI track, start with Wavetable, Analog, or Operator. For beginners, Wavetable is easiest because you can quickly shape a thick bass.

    Start with:

    - Oscillator 1: saw or square

    - Oscillator 2: a second saw slightly detuned, or turn it off if the sound gets too wide

    - Filter: low-pass

    - Amp envelope: short decay, little or no sustain if you want a plucky shape

    Add Saturator after the instrument:

    - Drive: around 2–6 dB

    - Soft Clip: On

    Add EQ Eight after that:

    - Cut unnecessary mud below around 25–35 Hz

    - If the bass gets boxy, reduce around 180–350 Hz gently

    Keep the patch simple. You’re not trying to create the final identity yet. You’re building a sound that can be moved by automation.

    3. Write a minimal MIDI phrase with shuffle in mind

    Create a 1-bar or 2-bar MIDI clip. For rollers, less is often more. Start with a pattern that repeats but has a small twist.

    Example idea in 1 bar:

    - Note 1 on beat 1

    - Another note slightly later on the offbeat

    - A short answer note near the end of the bar

    Keep notes in a low register:

    - Often around C1 to G1 for sub-focused parts

    - If your synth sounds too muddy that low, transpose up a little and keep a dedicated sub layer

    Use short note lengths for movement. For a shuffle feel, don’t quantize everything too hard. Try:

    - Some notes exactly on grid

    - Some notes nudged slightly late

    - Some notes shorter than the others

    In Live 12, you can also use MIDI note velocity as part of the feel. Make the offbeat notes slightly softer or slightly louder depending on the groove you want.

    Keep it repetitive enough to feel like a roller, but not so static that it becomes a straight loop.

    4. Add groove with timing, not by over-writing notes

    Open the Groove Pool and try a subtle swing groove, or use a light swing from a drum loop if you have one. For jungle and oldskool DnB, the shuffle should feel natural, not exaggerated.

    Try:

    - Groove amount: 10–30%

    - Timing variation: subtle

    - Velocity variation: light

    Apply groove to the bass clip, but keep the kick and snare stable. If the whole track is too loose, the roller loses impact.

    Another good beginner move: manually shift only a few bass notes later by a tiny amount, around 5–15 ms feel-wise. This can make the bass sit behind the drums and feel more laid-back and grimy.

    Why this works in DnB: the groove comes from contrast. The drums can stay precise while the bass leans and shuffles around them.

    5. Switch to automation-first thinking

    Instead of making the bass “interesting” by adding more notes, automate the sound itself. This is the core technique.

    Create automation lanes for:

    - Filter cutoff

    - Filter resonance

    - Saturator drive

    - Instrument wavetable position if using Wavetable

    - Reverb send very lightly, if used at all

    - Delay send for occasional tails only

    Start with simple moves:

    - Open the filter slightly on the last note of the bar

    - Close it again on the downbeat

    - Add a small rise in drive leading into a drum fill

    - Push resonance only a little, maybe enough to create a vocal-ish edge without whistling

    Good starter ranges:

    - Filter cutoff movement: from around 150–400 Hz up to 800 Hz–2 kHz, depending on the patch

    - Saturator drive automation: changes of 1–4 dB

    - Reverb send: keep very small, often dry-dominant for rollers

    Draw automation in the Arrangement View if you want clear structure, or in Clip View if you’re building the loop first. Automation-first means you are deciding the emotional movement before you commit to audio.

    6. Layer or separate sub and mid for cleaner low end

    For a beginner, the easiest way to keep the bass strong is to split roles:

    - Sub track: pure low end, simple sine from Operator

    - Mid bass track: movement, distortion, character

    On the sub:

    - Use Operator with a sine wave

    - Keep it mono

    - Low-pass it if needed

    - Avoid heavy distortion

    On the mid bass:

    - Use Wavetable, Analog, or a resampled texture

    - High-pass it around 80–120 Hz so it doesn’t fight the sub

    If you want to keep it simpler, one bass track can work, but the sub should remain controlled. In DnB, especially around 170+ BPM, the low end needs discipline so the kick and bass don’t blur into one cloudy mass.

    Check your bass in mono. If the sound collapses badly, reduce stereo widening or remove wide effects from the low frequencies.

    7. Resample the bass movement into audio

    This is where the sound starts feeling like a real record.

    Create a new audio track and set its input to Resampling. Arm the track and record your MIDI bass performance with automation playing.

    Record at least:

    - 4 bars for a loop

    - 8 bars if you want more variation

    Once recorded, listen to the audio and notice the happy accidents:

    - Tiny pitch-like changes from automation

    - Distortion spikes

    - Breath between notes

    - Places where the bass and drums lock together

    Then:

    - Duplicate the best 1–2 bar moments

    - Trim silence

    - Consolidate useful phrases

    - Reverse a small tail if it adds tension

    - Slice one or two hits if you want a fill

    This is a huge DnB workflow advantage: when you resample, you turn a controllable synth part into a performance object. That makes it easier to arrange and gives the bass a more “printed” character, similar to classic sampled jungle processes.

    8. Add drum interaction and call-and-response

    Now place the resampled bass against the drums. A roller becomes powerful when the bass and drums answer each other.

    Try this structure:

    - Bars 1–2: main bass loop

    - Bar 3: slightly stripped-down version

    - Bar 4: fill or bass variation

    - Then repeat with small changes

    Use break edits or hats to fill gaps in the bass rhythm. Good jungle-style call-and-response might look like:

    - Bass notes on the offbeats

    - Snare accents leading into the next phrase

    - A break fill where the bass ducks out for half a beat

    If you have a chopped break, let certain bass notes land just after snare hits. That “behind the beat” feeling helps the roller groove hard without sounding rushed.

    For arrangement context: imagine this playing under a classic Amen-style break or a tight two-step break at the start of a drop. The bass shouldn’t crowd every moment. It should leave space for the drum energy to read clearly.

    9. Shape the resampled audio with simple audio editing

    Once the bass is audio, use Ableton’s basic editing tools to refine it.

    Try:

    - Cutting the front of notes slightly tighter

    - Fading in any noisy edges

    - Using Clip Gain to level overly loud hits

    - Looping the strongest 1-bar phrase

    - Creating a variation by muting one note every 4 bars

    Add EQ Eight on the resampled track if needed:

    - High-pass only if the sub is elsewhere

    - Tame harshness around 2–5 kHz if the drive made it edgy

    - Keep the body intact in the 100–300 Hz region if that’s where the groove lives

    This step is very practical. Resampling is not just for sound design; it’s also for committing to decisions so you can move faster and build an arrangement instead of endlessly tweaking.

    10. Arrange it like a real DnB drop

    Build a simple arrangement:

    - Intro: drums, atmosphere, maybe filtered bass hints

    - Build: automation rises, bass hints, small percussion fills

    - Drop: full roller bass loop with breaks

    - Switch-up: remove one bass note or mute the sub for half a bar

    - Second drop: reintroduce with a stronger resampled variation

    A beginner-friendly structure:

    - 8 or 16 bars intro

    - 16 bars drop

    - 8 bar switch or breakdown

    - 16 bars second drop

    The bass should not stay identical throughout. Use automation and resampling to create:

    - Phrase A: filtered, restrained

    - Phrase B: more open, more distorted

    - Phrase C: chopped or missing one hit for tension

    That kind of structure keeps the tune DJ-friendly and gives the drop a clear identity.

    Common Mistakes

  • Making the bass too wide
  • - Fix: keep sub frequencies mono and avoid stereo widening on the low end.

  • Over-automating everything
  • - Fix: choose 1–3 important parameters, like cutoff and drive, and make them count.

  • Using too much sub on the same track as the distorted mid
  • - Fix: split sub and mid, or high-pass the character layer.

  • Quantizing the groove too hard
  • - Fix: let some notes sit slightly late or apply only light swing.

  • Leaving the bass too busy
  • - Fix: remove notes before adding new ones. Rollers often feel stronger when they are simpler.

  • Resampling too early
  • - Fix: first get a musical loop that works with the drums, then print it. Don’t commit before the groove feels right.

  • Ignoring harshness after distortion
  • - Fix: use EQ Eight to soften painful highs and keep the bass powerful but listenable.

    Pro Tips for Darker / Heavier DnB

  • Automate filter movement in small amounts
  • - Dark bass often sounds stronger when the filter barely opens, not when it sweeps massively.

  • Use Saturator or Overdrive carefully
  • - A little drive can make the bass feel louder and more aggressive without raising the level too much.

  • Push notes into the drum pocket
  • - For a grimier feel, let some bass hits arrive slightly after the snare or just behind the kick.

  • Add tiny fills with resampled audio
  • - A one-beat reverse or a muted bass hit before the drop can create strong tension.

  • Keep the sub clean, dirty the mids
  • - This is one of the most important darker DnB balance rules: clean foundation, ugly character layer.

  • Use short automation ramps before snare accents
  • - A slight cutoff rise before a snare can make the hit feel heavier and more intentional.

  • Reference oldskool jungle rollers
  • - Listen for how often the bass actually changes. It’s usually less than you think, but the movement is very deliberate.

    Mini Practice Exercise

    Spend 10–20 minutes making a tiny roller loop using only stock Ableton devices.

    1. Set the tempo to 172 BPM.

    2. Make a 1-bar bass MIDI clip with 3–5 notes.

    3. Add Wavetable or Analog, plus Saturator and EQ Eight.

    4. Automate filter cutoff and drive over the 1 bar.

    5. Duplicate the clip to 4 bars and vary one note each bar.

    6. Resample the result onto an audio track.

    7. Chop out the best 1-bar phrase and loop it under a breakbeat.

    8. Check mono compatibility and lower the bass if the drums lose power.

    Goal: by the end, you should have one rolling, dark bass phrase that already feels like it belongs in a drop.

    Recap

  • Build the roller around groove, not complexity
  • Use automation-first thinking for cutoff, drive, and movement
  • Keep the sub clean and mono
  • Resample your bass to commit to the sound and speed up arrangement
  • Make the bass interact with the drums through space, timing, and call-and-response
  • For oldskool jungle DnB, the magic is in small changes with strong intention

Ask GPT about this lesson

Chat with the lesson tutor, get follow-up help, or use quick actions.

Bigup 👽 Ask me anything about this lesson and I’ll answer in context.

Narration script

Show spoken script
Welcome to this beginner lesson on building a roller-style shuffle bass groove in Ableton Live 12 for oldskool jungle and dark DnB vibes.

In this lesson, we’re not trying to make a huge modern sound design monster. We’re going for something more musical, more hypnotic, and more classic: a bassline that rolls under the breaks, feels a little ghostly, and keeps the track moving without stealing the whole show.

The big idea here is motion inside repetition. That is such a classic jungle and roller thing. The bass does not need to be constantly changing notes every bar. Instead, the movement comes from timing, filter automation, distortion changes, note length, and then resampling that performance into audio so it starts to feel like part of a finished record.

So let’s build it from the ground up.

Start by opening a new Live set and setting the tempo to around 172 BPM. That sits right in that beginner-friendly DnB zone and gives you enough speed for the groove to feel urgent without becoming messy.

Now set up your basic track layout. You want one drum track, either a Drum Rack or an audio breakbeat loop. You want one MIDI track for bass. And if you want, you can add one extra track for atmosphere or a small stab, but keep it simple for now. The bass should work with the drums, not compete with them.

For the drums, think oldskool style. A kick with a strong downbeat, a snare on 2 and 4, and then some light hats or break edits for movement. If you already have a chopped break, great. If not, just start with a simple kick and snare pattern and build from there.

Next, build a basic bass patch using stock Ableton devices. For beginners, Wavetable is a really nice starting point because it gives you a lot of tone-shaping power without getting too complicated. Analog or Operator can also work, but let’s keep this first patch easy to control.

Start with a saw or square wave. If you use two oscillators, detune them slightly, but don’t go too wide yet. Then use a low-pass filter so we can shape the brightness. Keep the envelope fairly short, especially if you want that plucky roller feel. We want the bass to hit, move, and get out of the way.

After the instrument, add Saturator. Give it a little drive, maybe somewhere around 2 to 6 dB, and turn Soft Clip on if needed. This is a great way to add grit and weight without blowing up the level.

Then add EQ Eight. Cut unnecessary sub-mud below about 25 to 35 Hz, and if the bass gets boxy, gently reduce some energy around 180 to 350 Hz. Keep the patch simple. You are not trying to make it perfect yet. You’re building something that can be animated.

Now write a very simple MIDI phrase. For roller bass, less is often more. Make a 1-bar or 2-bar clip with just a few notes. Think in phrases, not loops. Even if the loop repeats, it should feel like it has a question and an answer.

A good starting idea is one note on beat 1, another note on an offbeat, and a short answer note near the end of the bar. Keep the notes low, usually somewhere in the C1 to G1 area, unless the patch gets too muddy there. If it does, transpose up a little and let a separate sub handle the lowest frequencies.

Now pay attention to note length. Shorter notes create movement. Longer notes can make the line feel more legato and heavy. For this kind of shuffle bass, a mix of both can work well. And don’t quantize everything too hard. A little human timing is your friend here. Some notes can be right on the grid, some a little late, and some slightly shorter than others.

You can also use velocity to help shape the feel. Maybe make the offbeat notes a touch softer, or a touch stronger if you want more push. The exact choice depends on the groove you want, but the important thing is that velocity should support the rhythm.

Now let’s add groove. Open the Groove Pool and try a subtle swing setting. You don’t want anything exaggerated. For jungle and oldskool DnB, the shuffle should feel natural, not cartoonish. You can also manually push a few bass notes a tiny bit late, maybe around 5 to 15 milliseconds in feel. That can help the bass sit behind the drums and feel a little grittier and more laid-back.

This is important: the drums should stay fairly stable. If everything is swinging too much, the groove gets blurry. The contrast between tight drums and slightly loose bass is what gives this style its bounce.

Now we get into the main technique: automation-first thinking.

Instead of making the bass interesting by writing more notes, we’ll make it interesting by moving the sound itself. This is where Ableton Live really shines.

Create automation lanes for things like filter cutoff, filter resonance, Saturator drive, and if you are using Wavetable, maybe wavetable position too. You can also use a tiny bit of reverb or delay, but be careful. For this style, less is usually better. The bass should stay dry and direct most of the time.

Try simple automation moves first. Open the filter slightly on the last note of the bar. Close it again on the downbeat. Add a little extra drive before a fill. Push resonance just enough to give the sound a more vocal, gnarly edge without making it whistle. These are small moves, but in DnB, small moves can feel huge because the tempo is so fast.

A really useful beginner range is to move the cutoff from somewhere around 150 to 400 Hz up toward 800 Hz or even 2 kHz, depending on the patch. Keep drive changes modest, maybe 1 to 4 dB. The goal is not to transform the patch into a different sound every beat. The goal is to make the phrase breathe.

If you are working in Arrangement View, automation is easy to see across the whole tune. If you are still building the loop, Clip View works fine too. The main idea is that you are deciding the emotional movement before you print anything to audio.

At this stage, it can help to split the bass into two roles. Keep the sub separate from the mid bass if you can.

For the sub, use Operator with a sine wave. Keep it mono. Keep it clean. Do not overdrive it. That sub is the foundation.

For the mid bass, use your Wavetable patch, or later, a resampled texture. High-pass it around 80 to 120 Hz so it doesn’t fight the sub. This split makes the low end much cleaner, especially at 172 BPM where kick and bass can easily get muddy if they’re all living on the same track.

Always check your bass in mono. If the sound falls apart, that is a sign that the low end is too wide or too dependent on stereo effects. Keep the sub narrow and the character in the mids.

Now for one of the most important steps: resampling.

Create a new audio track and set its input to Resampling. Arm it, then play back your MIDI bass with the automation moving. Record at least 4 bars. If you want more variation, record 8 bars.

This is where the sound starts feeling like a real performance instead of a loop. When you listen back, pay attention to the little accidents. Maybe a distortion spike sounds cool. Maybe a cutoff move creates a great shape. Maybe one note lands perfectly against the snare. These are the moments you want to keep.

Once the audio is printed, start editing it like a real phrase. Duplicate the best 1-bar or 2-bar moments. Trim silence. Consolidate useful sections. Maybe reverse a tiny tail if it adds tension. Maybe slice one hit if you want a fill. This is where a lot of the classic jungle process comes in, because you are turning a controllable synth part into a printed, arranged object.

Now place that resampled bass against the drums.

This is where the roller really comes alive. A strong bassline in this style usually feels like call and response with the break. Try making bars 1 and 2 your main loop, then give bar 3 a slightly stripped-down version, and bar 4 a small fill or variation. Then repeat with tiny changes.

You can use break edits or hats to fill the gaps in the bass rhythm. Maybe the bass lands just after the snare. Maybe there is a little half-beat drop-out before the next phrase. That behind-the-beat feeling is part of what makes this style feel heavy without sounding rushed.

If you have a chopped break, let the bass and drums breathe around each other. The bass should not occupy every moment. Sometimes the strongest move is to leave space.

Now edit the audio a little more. Tighten the front of notes if needed. Use fades if there are noisy edges. Use clip gain to level any hits that jump out too much. If one bar is clearly stronger than the others, loop that. If one note is getting in the way, mute it every few bars. Small edits like this can make the whole loop feel more intentional.

If the resampled sound got harsh, use EQ Eight to tame the upper edge. Cut a little around 2 to 5 kHz if needed. Keep the body of the bass intact if that is where the groove lives. If the sub is handled elsewhere, you can high-pass the resampled track more aggressively. The point is to keep it powerful but listenable.

Then arrange it like an actual DnB drop.

A simple beginner arrangement could be an intro with drums and atmosphere, then a build with filtered bass hints, then a drop with the full roller bass and breaks, then a switch-up where you remove one bass note or mute the sub for half a bar, then a second drop with a stronger variation.

Think in sections. Think in energy. For example, the first drop can be filtered and restrained. The second drop can be more open and more distorted. Or you can use a chopped resampled version for the later section to make it feel like the tune is evolving.

A really good rule for this style is to use small changes with strong intention. Don’t overcomplicate the bassline. Let the rhythm and automation do the work.

Here are a few common mistakes to watch for.

First, don’t make the bass too wide. The low end needs to stay focused and mono.

Second, don’t automate everything. Choose a few important parameters and make them count. Cutoff and drive are often enough to start.

Third, don’t keep too much sub on the same track as the distorted mid. If you can, split them.

Fourth, don’t quantize the groove too hard. Some looseness is part of the vibe.

Fifth, don’t make the bassline too busy. Rollers often feel stronger when they are simpler.

And finally, don’t resample too early. Get the groove working first, then print it.

A few pro-style tips for darker DnB: small filter moves often sound heavier than big sweeps, a little saturation can make the bass feel louder without adding volume, and tiny note shifts behind the beat can make the whole thing feel grimier and more human. Also, dirty the mids, keep the sub clean. That balance is crucial.

If you want a quick practice challenge, set the tempo to 172 BPM, make a 1-bar bass clip with just 3 to 5 notes, add Wavetable or Analog plus Saturator and EQ Eight, automate the filter and drive, duplicate it to 4 bars with one tiny variation each bar, resample it, then chop out the best 1-bar phrase and test it under a breakbeat. If it still feels strong in mono and at low volume, you’re in a really good place.

So to recap: build the roller around groove, not complexity. Use automation-first thinking. Keep the sub clean and mono. Resample to commit to the sound and speed up your arrangement. And remember that in oldskool jungle and dark DnB, the magic is usually in small changes done with real intention.

That’s the vibe. Build the pocket, move the sound, print the performance, and let the bass roll.

mickeybeam

Go to drumbasscd.com for +100 drum and bass YouTube channels all in one place - tune in!

Generating PDF preview…