Main tutorial
Lesson Overview
In this lesson, you’ll learn how to make a riser that swings with the groove in Ableton Live 12, then move it from Session View into Arrangement View so it lands like a proper oldskool jungle / DnB transition instead of a generic EDM build-up. The goal is not just “make it go up.” The goal is to make a riser that feels like it belongs in a breakbeat-heavy DnB track: gritty, syncopated, slightly unstable, and pushing the energy forward without sounding polished to death.
This matters in DnB because the genre lives and dies on movement between sections. A strong riser can:
- set up a drop after 8 or 16 bars,
- pull tension around a breakbeat switch-up,
- help a DJ-friendly intro breathe,
- or create a quick lift before a bass reload.
- a 2-bar or 4-bar build with rhythmic movement,
- a pitched-up synth/noise layer for rising energy,
- a syncopated swing feel that locks into the drum groove,
- a little breakbeat-style shuffle so it feels jungle-adjacent,
- and a clean Arrangement View version with automation for filter, delay, and volume.
- how to keep the riser out of the sub range,
- how to use swing so it feels natural with breaks,
- how to shape the tension so the drop hits harder,
- and how to avoid washing out your drums.
- a ragga jungle drop,
- a rollers section,
- a darker half-time switch,
- or a neuro-influenced bass entry.
- Making the riser too wide or too bright
- Using a plain long noise sweep with no groove
- Letting the reverb wash over the whole drop
- Overdoing pitch rise
- Clashing with the snare or break fill
- Forgetting the bass context
- High-pass aggressively if needed
- Add saturation before the filter
- Use a ghost break under the riser
- Automate subtle width changes
- Resample your own tension
- Pair the riser with a bass call-and-response
- Keep drums punchy
- In DnB, a riser should support the drum groove, not just rise in pitch.
- Use Session View to experiment quickly, then shape the final build in Arrangement View.
- Add swing, filter automation, and a bit of rhythmic spacing for oldskool jungle character.
- Keep the low end clean and the effects controlled so the drop stays powerful.
- For heavier DnB, use saturation, resampling, and subtle movement to add grit and tension.
- The best risers in breakbeat-driven DnB feel like they belong to the track’s rhythm, not pasted on top of it.
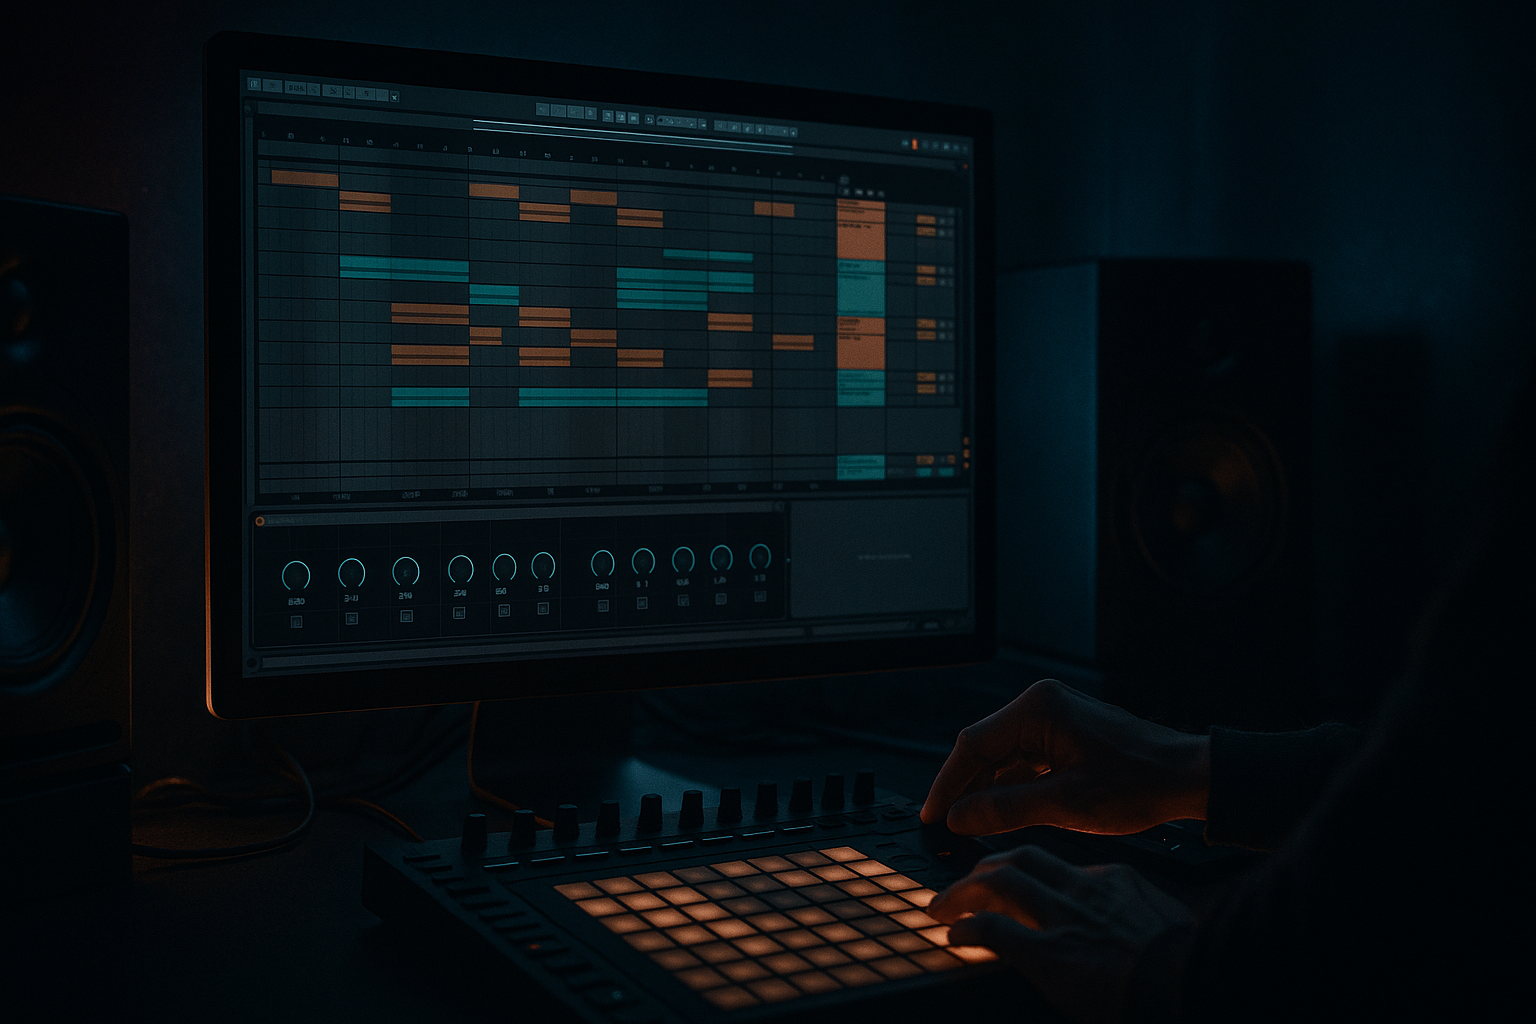
For jungle and oldskool DnB especially, the best risers often feel like they’re riding the pocket rather than floating above it. That means the riser should interact with the drums, not fight them. In Ableton Live, Session View is perfect for experimenting with clip-based motion and swing, and Arrangement View is where you shape that idea into a proper track structure.
We’ll keep it beginner-friendly, but still very usable in a real DnB project. You’ll use stock Ableton devices, simple automation, and a few smart rhythm choices to make a riser that sounds more like classic tension from a rave mix than a generic “white noise whoosh.”
What You Will Build
By the end of this lesson, you’ll have a short swinging riser phrase that you can use before a drop, breakdown, or breakbeat switch-up.
Musically, it will sound like this:
You’ll also understand how to make it work in a DnB context:
Think of the end result as a riser that could sit before:
Step-by-Step Walkthrough
1. Set up a simple Session View riser track
Start in Session View and create one new MIDI track named Riser. This keeps the idea separate from your drums and bass so you can experiment fast.
Add Wavetable if you want a modern synth riser, or Analog if you want a rougher, more classic tone. For a beginner, Wavetable is easier because it gives you a clean starting point.
Use a basic sound:
- Oscillator: saw or a bright wavetable
- Filter: low-pass
- Start with a modest sustain, no huge release yet
- Keep it thin at first; you’ll make it bigger with automation
If you want a more jungle-flavoured texture, layer a second track with Simpler loaded with noise, vinyl crackle, or a chopped break hit. That texture helps the riser feel less polished and more “rave tape” 😈
2. Write a short MIDI pattern with swing-friendly rhythm
Don’t start with a long sustained note only. For oldskool DnB, a little rhythm makes the riser feel more alive.
Create a 1-bar or 2-bar MIDI clip. Try one of these approaches:
- Option A: held note + offbeat stabs
- Hold a note across the bar
- Add short repeated notes on the “&” of beats 2 and 4
- Option B: broken pattern
- Place short notes on 1, the “a” of 1, 2&, and 4&
- Leave space so it breathes like a break edit
- Option C: simple climb
- Use 3–5 notes that step upward every half bar
For beginner DnB, keep it simple: one note length and a few rhythmic repeats is enough.
The reason this works in DnB is that the genre already has strong drum syncopation. A riser with rhythmic gaps and pushes feels like it’s “dancing” with the break rather than smearing over it.
3. Turn on groove and make it swing
In the Groove Pool, choose a swing groove that nudges the riser toward a breakbeat feel. A light groove from one of Ableton’s swing presets can help, but keep it subtle.
Good starting points:
- Swing amount: around 54%–58%
- Timing amount: low to medium, around 10%–35%
- Velocity amount: optional, around 5%–20% if you want some movement
Apply the groove to your MIDI clip and listen with your breakbeat loop. If the riser feels late or lazy, reduce the swing amount. If it feels too rigid, increase it slightly.
In jungle and oldskool DnB, swing matters because the energy often comes from humanized timing. The riser doesn’t need to be perfectly on the grid. A little push and pull makes the transition feel more authentic and less sterile.
4. Shape the tone with a filter rise
Add an Auto Filter after your synth. This is the core of the build.
Suggested settings:
- Filter type: Low-pass 12 or Low-pass 24
- Resonance: 10%–25%
- Drive: gentle, around 0–6 dB
- Start cutoff low enough to feel muffled, then automate it upward
Draw automation in Session View or automate in Arrangement View later. For a 2-bar build, try:
- start cutoff around 200–500 Hz
- rise to 6–12 kHz by the end of the phrase
If you are using a noise layer, you can automate its filter a little faster than the synth layer. That gives the riser texture without making it harsh.
Why this works in DnB: the ear hears rising brightness as rising tension, and in fast music like DnB, that change needs to happen quickly. A filter rise is one of the cleanest ways to move energy without cluttering the low end.
5. Add motion with pitch, envelope, or resampling
For a more oldskool jungle feel, add slight pitch movement or layer a resampled texture.
If using Wavetable or Analog:
- automate oscillator pitch up by a few semitones over 1–2 bars, or
- use the instrument’s pitch envelope very lightly if available
Keep it subtle:
- 2–7 semitones is usually enough for a beginner riser
- too much pitch can sound cartoonish in DnB
Another great beginner move is to resample a short break hit or noise burst:
- record or render a few bars of your riser motion
- drag it into Simpler
- use the sample start/end controls to make a little texture loop
- then reverse it or pitch it slightly upward
This is especially useful in jungle because resampled textures feel more like classic studio manipulation than clean synth design.
6. Use delay and reverb carefully for space, not wash
Add Echo or Delay for movement, and use Reverb sparingly. The aim is to create lift without blurring your drums.
Good starting settings:
- Echo
- Time: synced to 1/8 or 1/4
- Feedback: 10%–25%
- Filter: cut some lows, cut some harsh highs
- Reverb
- Decay: 1.0–2.5s
- Low Cut: 200–500 Hz
- Dry/Wet: 5%–15%
If your riser is rhythmic, delay can make it feel like it’s echoing through a warehouse space. If it’s more synthetic, reverb can add width and lift.
In DnB, too much reverb can smear the break and weaken the drop. So keep the wet effects under control and think “accent,” not “cloud.”
7. Move the idea from Session View into Arrangement View
Once the basic riser feels good, record or drag the clip into Arrangement View. This is where you make it part of the song.
A practical jungle/DnB arrangement example:
- 8 bars of drums and bass groove
- 4 bars of stripped-back tension
- 2-bar riser leading into the drop
- first half of the riser is subtle
- second half opens up more aggressively
In Arrangement View, automate:
- filter cutoff
- track volume
- delay feedback
- optional reverb dry/wet
- perhaps a high-pass filter on the whole riser near the end
A useful approach is to have the riser start quietly under the drums, then become more present in the final bar. That way it feels like it’s rising out of the mix rather than sitting on top of it.
If your track has a breakbeat edit or drum fill before the drop, let the riser support that moment instead of stealing attention. The drums are still the hero.
8. Shape the ending so the drop lands hard
The last part of the riser is where beginner producers often overdo it. In DnB, the final beat before the drop should usually create a little vacuum.
Try one of these endings:
- Hard stop: cut the riser just before the drop
- Short tail: leave a tiny echo or reverb tail
- Reverse lift: reverse a tiny portion of the riser into the drop
- Snare fill pairing: end the riser with a break fill or snare roll
For oldskool jungle vibes, pairing the riser with a breakbeat fill is especially effective. That makes the transition feel like part of the drum arrangement, not just an FX event.
If you want a more modern darker DnB feel, cut the riser sharply and let the bass return with impact. That contrast can hit harder than a long fancy tail.
Common Mistakes
- Fix: keep the low end out with a high-pass or low-cut, and check the sound in mono. Riser width should support the mix, not dominate it.
- Fix: add a few MIDI hits, swing, or break-inspired rhythm. DnB needs motion that relates to the drums.
- Fix: automate the wet amount down before the drop or cut the riser sharply at the transition.
- Fix: smaller pitch moves often sound more professional in DnB. Try 2–7 semitones instead of a huge climb.
- Fix: carve space with automation, shorten the riser’s last note, or move it slightly earlier in the phrase.
- Fix: always check the riser against the sub and reese. If the riser masks the bass entry, reduce low mids or volume.
Pro Tips for Darker / Heavier DnB
- Put Auto Filter or EQ Eight on the riser and remove low-end clutter. A cutoff around 150–300 Hz is often enough for darker DnB builds.
- Try Saturator with a gentle drive, or Overdrive at low amounts, to give the riser grit before it opens up. This works great for neuro and dark rollers.
- A very quiet chopped break loop underneath the build can make the transition feel like a classic jungle edit. Keep it low in the mix and let it add rhythm, not noise.
- Start the riser slightly narrower and open it up toward the drop. That makes the build feel bigger without adding more volume.
- Print a few bars of the riser with effects, then chop or reverse it. Resampling is a classic DnB workflow and often gives a more authentic result than endless tweaking.
- If the bassline pauses or answers in the final bar, the riser feels more musical. This is especially useful in rollers and darker tunes where the bass is part of the tension design.
- If your riser is eating the mix, lower it and let the break do the talking. In DnB, impact often comes from contrast, not sheer volume.
Mini Practice Exercise
Spend 10–20 minutes making three versions of the same riser in Ableton Live.
1. Make a 2-bar riser using Wavetable and Auto Filter.
2. Add swing in the Groove Pool at around 55%.
3. Create one version with a held note, one with offbeat rhythmic notes, and one with a reverse resampled texture using Simpler.
4. Automate the filter cutoff from low to high over the 2 bars.
5. Add a tiny amount of Echo to one version and no delay to another.
6. Move all three into Arrangement View and test them before a breakbeat drop.
7. Compare which one feels most like:
- classic jungle
- dark roller
- modern neuro build
Choose the best one and keep it in your template for future tracks.

