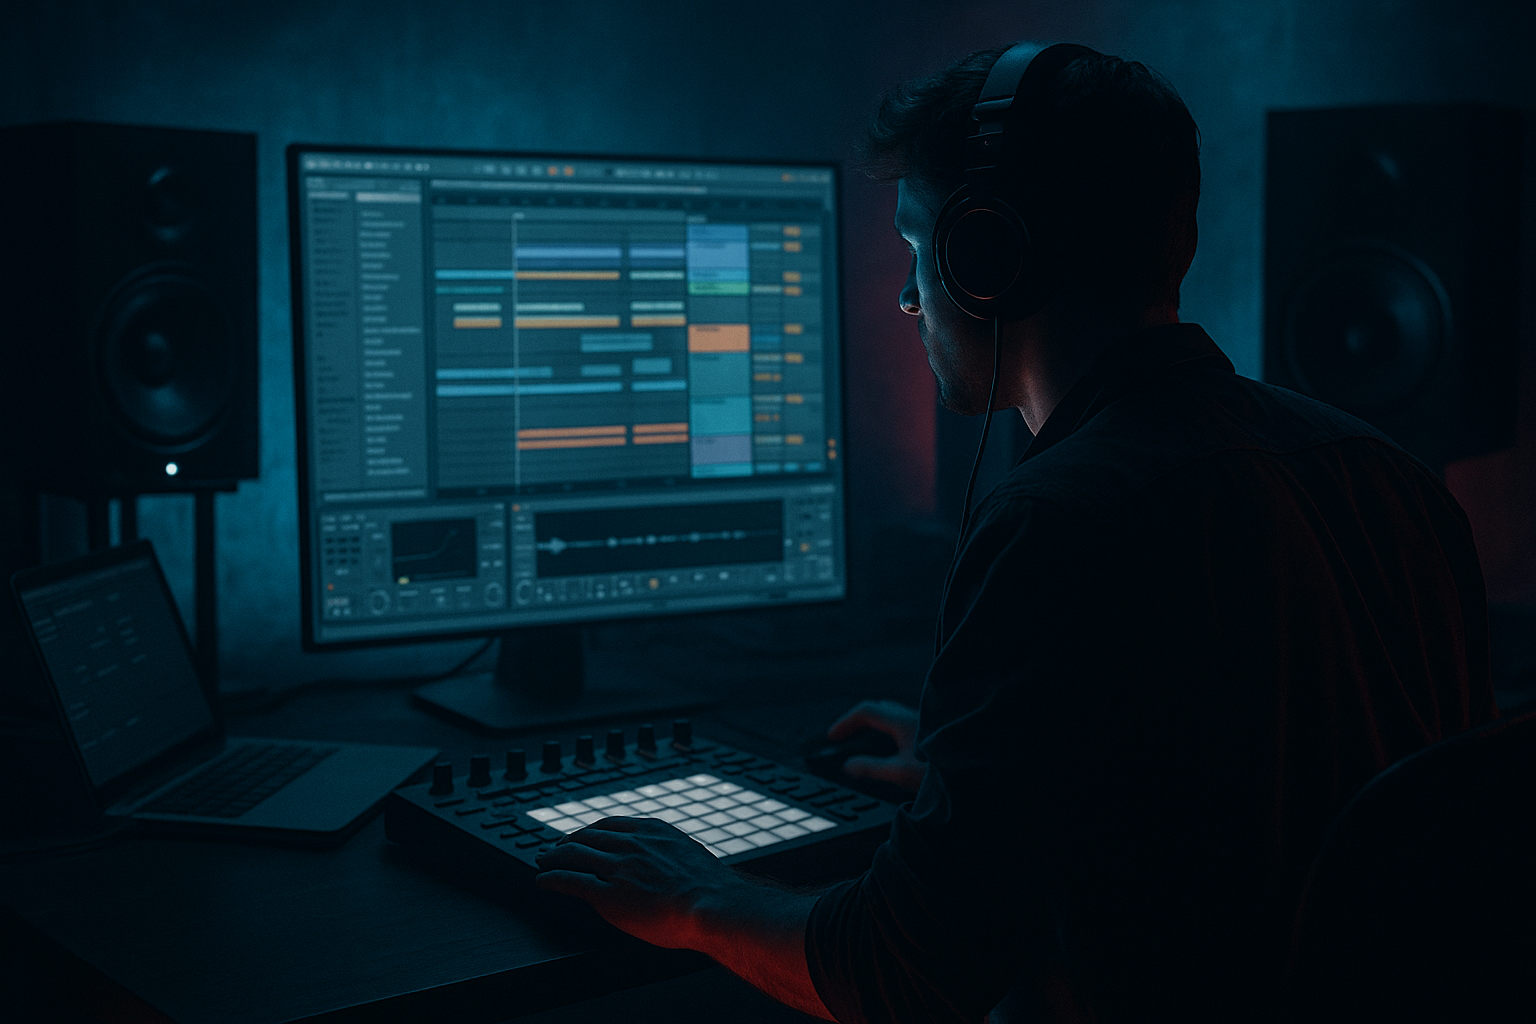
Main tutorial
Ride Groove in Ableton Live 12: Crunchy Sampler Texture for Jungle / Oldskool DnB
1. Lesson overview
In jungle and oldskool drum and bass, the ride cymbal is more than just a shiny top-loop detail — it can be a driving rhythmic layer that adds motion, urgency, and attitude. When you combine a tight ride pattern with a crunchy sampler texture, you get that rough, energetic, slightly dirty vibe that sits perfectly over chopped breaks and rolling basslines. 🥁
In this lesson, you’ll learn how to build a ride groove in Ableton Live 12 using:
- Drum Rack or Simpler
- Stock Ableton effects for grit, width, and movement
- A practical jungle-friendly programming approach
- Easy arrangement tricks for intro, drop, and breakdown sections
- locks into a 160–175 BPM drum and bass track
- has a crunchy sampled texture
- feels more like oldskool jungle than a polished pop ride
- works as a top-layer groove over breaks, bass, and atmospheres
- can be reused and varied across your arrangement
- a ride sample instrument
- a processing chain for crunch and character
- a pattern with DnB swing and syncopation
- a few variations for energy changes
- a clear bell or ping
- some metallic sustain
- enough body to cut through a break
- ideally a slightly dirty or sampled character
- a ride from an old break kit
- a sampled ride from a drum machine pack
- a live ride with slight room tone
- a sample with a bit of natural noise or tape hiss
- Warp: Off for one-shots
- Start: adjust so the transient hits cleanly
- Voices: 1
- Trigger mode: Trigger
- Volume: leave a little headroom for processing
- 1
- 1.3
- 2
- 2.3
- 3
- 3.3
- 4
- 4.3
- Strong hits on 1, 2, 3, 4
- Lighter hits on the offbeats: 1.3, 2.3, 3.3, 4.3
- Leave a gap occasionally, for example:
- make the main downbeats a bit louder
- make offbeats slightly softer
- avoid identical velocity values
- Main hits: 90–110
- Lighter hits: 65–85
- Start around 10–25% groove amount
- Too much swing will make the ride feel lazy instead of urgent
- nudge some offbeat hits slightly late
- keep the main accents tight
- listen against the break
- High-pass around 150–250 Hz
- If it’s harsh, dip 7–10 kHz slightly
- If it sounds boxy, cut around 400–700 Hz
- Drive: +3 to +8 dB
- Soft Clip: On
- Output: adjust to match level
- Drive: 10–30%
- Transient: slightly up if you want more attack
- Boom: usually low or off for rides
- Crunch: use carefully, maybe around 5–20%
- Bit Reduction: mild to moderate
- Downsample: just enough to roughen the top end
- Keep it subtle first — you want texture, not total destruction
- Ratio: 2:1 to 4:1
- Attack: 10–30 ms
- Release: 50–120 ms
- Gain reduction: just a few dB
- slice it
- reverse sections
- chop the tail
- add tape-style processing
- Set Amount very low: around 5–15%
- Phase can stay wide if you want stereo movement
- Set Rate to 1/2 or 1/4 synced, or even slower
- Keep the low end centered if any exists
- Widen only the high-frequency texture if needed
- a bit more volume in the drop
- less during busy fills
- occasional filter sweeps if you’re using Auto Filter
- Use a filtered or heavily degraded version
- High-pass it more aggressively
- Let it hint at the groove before the full drop
- Bring in the full crunchy ride
- Use your strongest pattern here
- Combine with breakbeats and bassline energy
- Remove every other hit for a bar
- Or switch to a simpler pattern with fewer accents
- Add a fill using a reversed ride tail or resampled version
- Use a washed-out version with reverb or delay
- Filter it down
- Let the ride become atmospheric instead of driving
- lower the track volume
- use EQ to tame harsh frequencies
- keep it supportive, not overpowering
- cut some 7–12 kHz
- try gentle saturation instead of harsh boosting
- use a darker sample if needed
- start with one or two effects
- check each device by bypassing it
- if the sound gets smaller or ugly in a bad way, simplify
- vary velocity
- drop a hit every 2 or 4 bars
- use short fills
- automate level or filtering
- carve space with EQ
- place the ride on a different rhythmic lane
- keep it cleaner when the break is busy
- use a ride with less shimmer and more metallic body
- sample from older drum machines or dusty breakkits
- try layering with a muted cymbal or tambourine for texture
- vinyl noise
- room noise
- tape hiss
- resample the ride groove to audio
- slice it in Simpler
- rearrange a few hits
- reverse the tail on transitions
- just enough to create space
- don’t make the ride pump too obviously unless that’s the style
- Version A: clean and tight
- Version B: crunchy and degraded
- Does the groove drive the beat?
- Is the ride too bright?
- Does the crunch improve the vibe or just add noise?
- Which version feels more jungle?
- Start with a simple 1-bar DnB ride pattern
- Use velocity and swing for human feel
- Shape the tone with EQ Eight, Saturator, Drum Buss, and Redux
- Resample or flatten for more authentic sample-based workflow
- Arrange the ride so it evolves across the track
- Keep it gritty, but not harsh enough to ruin the mix
- a follow-along Ableton project checklist
- a MIDI pattern example
- or a full drum bus chain for oldskool jungle.
This is designed for beginners, so we’ll keep the workflow simple and very usable in real DnB productions.
---
2. What you will build
By the end of this tutorial, you’ll have a short but effective ride groove that:
We’ll create:
---
3. Step-by-step walkthrough
Step 1: Set the project tempo and create a drum track
1. Open Ableton Live 12.
2. Set the tempo to 170 BPM as a classic jungle/DnB starting point.
- If you prefer slightly slower rolling DnB, use 172–174 BPM
- For deeper oldskool feels, 166–170 BPM also works well
3. Create a new MIDI Track.
4. Load Drum Rack onto the track.
Why Drum Rack?
It’s the fastest way to build a layered ride groove while keeping everything easy to trigger and edit.
---
Step 2: Find or import a ride sample
You want a ride that has:
Good options:
#### How to load it
1. Drag the ride sample into an empty pad in Drum Rack.
2. Click the pad and make sure the sample is in Simpler mode.
3. Set Simpler to Classic mode if you want traditional sample playback.
#### Suggested sample settings
In Simpler:
If the ride is too bright or too long, that’s okay — we’ll shape it later.
---
Step 3: Build the groove with a simple DnB rhythm
Now program a pattern that feels like a supporting top groove, not a full lead percussion part.
#### Start with this basic 1-bar idea:
Place ride hits on:
This gives you a driving offbeat pulse that fits classic jungle energy.
#### Slightly more musical variation
Try this instead:
- remove the ride at 3.3 every second bar
- or remove 4.3 to create a little lift into the next bar
This makes the groove feel less robotic.
#### Velocity shaping
In Ableton’s MIDI editor:
Suggested velocity range:
This gives the ride a human, rolling feel.
---
Step 4: Add swing and oldskool feel
Jungle and oldskool DnB often feel better when the top percussion is not perfectly rigid.
#### Option A: Groove Pool
1. Open the Groove Pool.
2. Drag in a swing groove, such as:
- MPC 16 Swing
- a light 16th swing preset
3. Apply it lightly to the MIDI clip.
Keep it subtle:
#### Option B: Manual nudging
If you want more control:
This is especially useful when the ride is layered over Amen-style chops.
---
Step 5: Crunch the ride using stock Ableton devices
Now for the fun part: making it sound like it came from a dusty sampler or a battered old machine.
A great stock chain is:
EQ Eight → Saturator → Drum Buss → Redux → Compressor
You can add Echo or Hybrid Reverb later for space if needed.
#### 5A: EQ Eight
Use EQ to clean before adding dirt.
Suggested moves:
The ride should be present, not muddy.
#### 5B: Saturator
Add Saturator for harmonics.
Suggested settings:
This adds bite and makes the ride feel more “sampled.”
#### 5C: Drum Buss
This is excellent for DnB texture.
Suggested starting points:
Drum Buss can make the ride feel aggressive and glued into the beat. ⚡
#### 5D: Redux
Redux gives you that crunchy digital sampler flavor.
Try:
If it starts sounding too aliased, back off.
#### 5E: Compressor
Use light compression to tame peaks.
Suggested:
This helps the ride sit consistently over a busy break.
---
Step 6: Make it feel like a sampled loop
To get more jungle authenticity, make the ride feel less like a pristine one-shot and more like a looped or resampled part.
#### Method 1: Freeze and flatten
1. Right-click the MIDI track.
2. Choose Freeze Track.
3. Then Flatten to turn it into audio.
This is great if you want to process the ride like a sample and commit to the sound.
#### Method 2: Resample internally
1. Create a new audio track.
2. Set its input to Resampling.
3. Record your ride pattern to audio.
Now you can:
This workflow is very DnB-friendly because it encourages experimentation.
---
Step 7: Add movement with Auto Pan or subtle modulation
A ride can become static if it stays exactly the same for too long. Add movement, but keep it controlled.
#### Option A: Auto Pan
This works best if the ride is just a supportive layer.
#### Option B: Utility
Use Utility to control width:
#### Option C: Envelopes
In the clip, automate:
---
Step 8: Arrange the ride so it supports the track
A ride groove should evolve with the arrangement.
#### Intro
#### Drop
#### Mid-drop variation
#### Breakdown
This kind of arrangement keeps the tune moving like classic jungle records.
---
4. Common mistakes
1. Making the ride too loud
A ride can easily dominate the top end and make your mix tiring.
Fix:
2. Too much high end
If the ride is fizzy or painful, it will fight with hats, breaks, and synths.
Fix:
3. Over-processing
It’s easy to stack too many crunchy devices and end up with mush.
Fix:
4. No rhythmic variation
A repetitive ride with no changes can sound flat.
Fix:
5. Clashing with the break
The ride may fight the break’s cymbals and hats.
Fix:
---
5. Pro tips for darker/heavier DnB
Use darker sample sources
For heavier jungle/DnB:
Saturate, then filter
A great trick:
1. add saturation or Drum Buss
2. then use Auto Filter
3. roll off the harsh top end a little
This keeps the tone gritty but controlled.
Layer with a tiny noise bed
Add a very quiet layer of:
This can help the ride feel embedded in the atmosphere of the tune.
Resample and chop
For serious jungle flavor:
That gets you closer to oldskool sample-based workflow.
Use sidechain lightly
If the ride is masking the kick or bass, use a little sidechain compression from the kick or drum bus.
Keep it subtle:
---
6. Mini practice exercise
Try this 10-minute exercise in Ableton Live:
Exercise goal
Create two versions of the same ride groove:
Steps
1. Load one ride sample into Drum Rack.
2. Program a 1-bar DnB ride pattern at 170 BPM.
3. Add velocity variation.
4. Duplicate the MIDI clip.
5. On the duplicate, add:
- Saturator
- Drum Buss
- Redux
6. Compare both versions.
7. Make the crunchy version darker and dirtier without losing the rhythm.
8. Resample both versions to audio and listen in context with a breakbeat.
What to listen for
---
7. Recap
A strong ride groove in Ableton Live 12 can add a lot of energy to jungle and oldskool drum and bass, especially when you treat it like a sampled rhythmic texture rather than a clean cymbal part. 🎛️
Key points to remember:
If you want, I can also turn this into:

