Main tutorial
Lesson Overview
This lesson is about building a retro rave / ragga-style cut-distort bass treatment in Ableton Live 12 and automating it so it feels like a proper DnB weapon, not just a random FX moment. Think of those chopped-up jungle vocals, ragga shouts, rave stabs, and dirty bass edits that slam into a drop, create tension before a switch-up, or give a roller some old-school attitude.
In Drum & Bass, this technique matters because it lets you do three things at once:
1. Keep the track moving with rhythmic phrase changes.
2. Add character and aggression without rewriting the whole bassline.
3. Create arrangement moments that feel classic, energetic, and DJ-friendly.
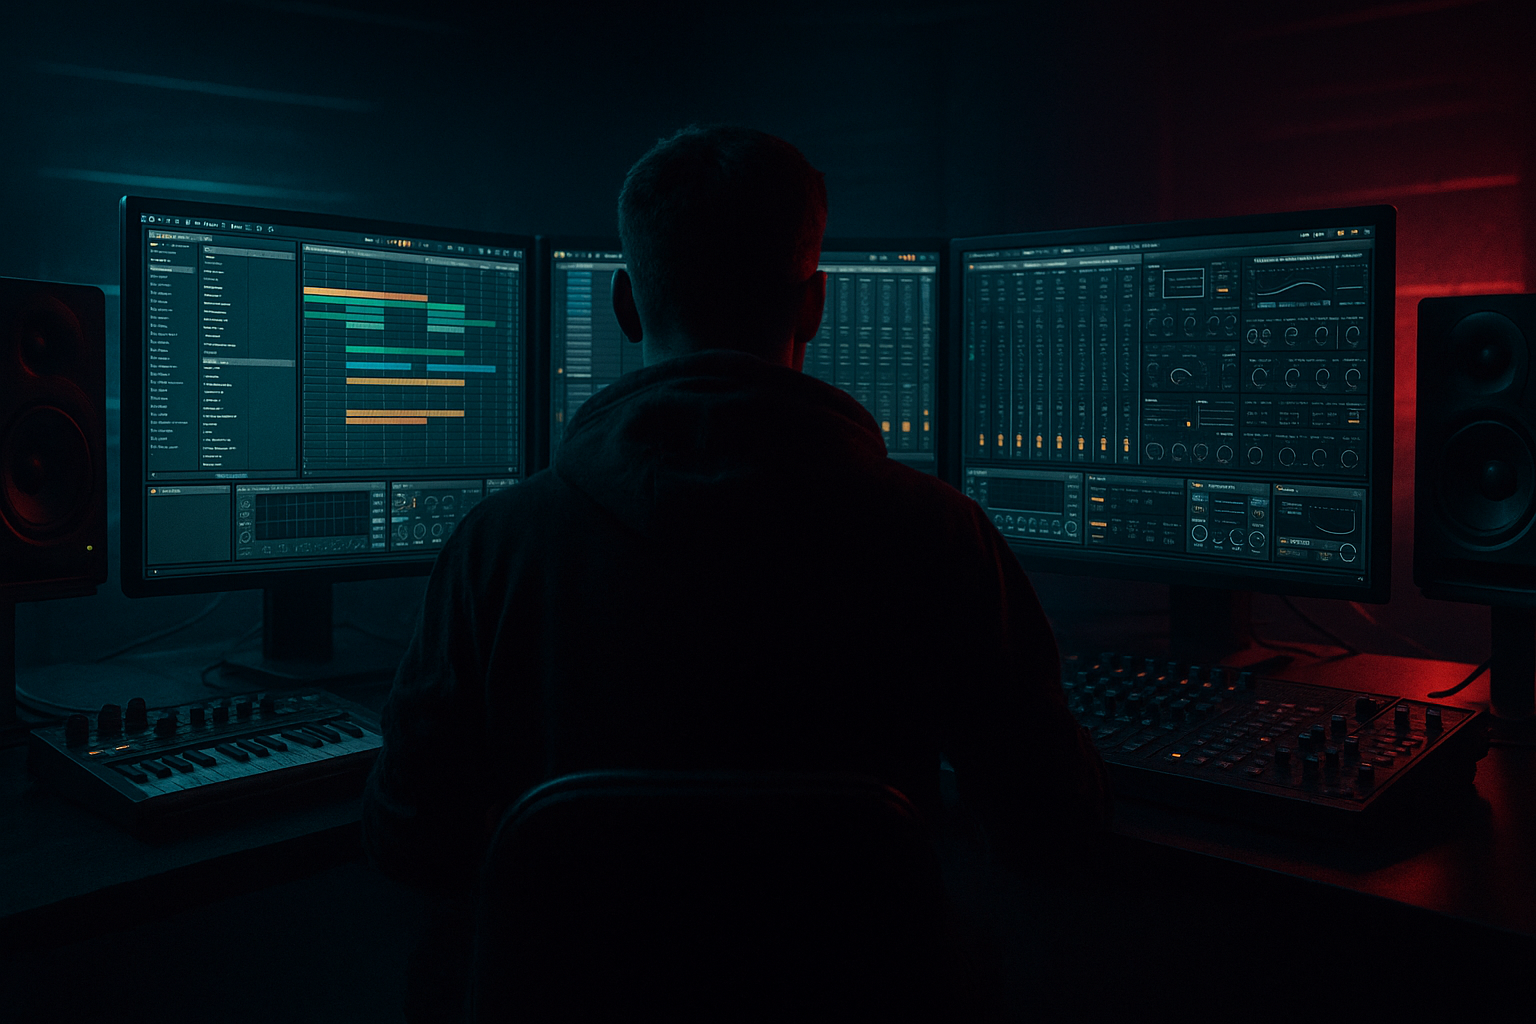
The key idea here is to take a bass or ragga vocal phrase, then use automation to “cut” it into fragments, distort it, and re-open it in a controlled way. In Live 12, that can be done beautifully with stock tools like Auto Filter, Saturator, Roar, Frequency Shifter, Redux, Utility, Delay, Gate, and resampling through an Audio track. 🎛️
This is especially useful in darker DnB, jungle-influenced rollers, neuro-adjacent drop sections, and retro-rave hybrids where you want that old-school pressure with modern mix discipline.
What You Will Build
By the end of this lesson, you’ll have a ragga cut-distort bass/vocal treatment that can sit in a drop or pre-drop and evolve over 8 bars.
Musically, it will sound like:
- A bass phrase or ragga vocal that starts relatively clean
- A hard-cut, gated, chopped section with rhythmic on/off movement
- A distorted and filtered burst that builds tension into the drop
- A heavier “release” moment where the full bass hits again
- Optional stereo-to-mono tension and call-and-response edits for classic DnB phrasing
- Reese basses
- Growls
- Ragga vocal chops
- Synth stabs
- Reece + vocal hybrid layers
- Resampled drop fills
- Over-distorting the whole signal
- Cutting the low end along with the midrange
- Making the gate too extreme
- Letting the automation feel random
- Using too much stereo width on the main bass cut
- Ignoring the drums
- Failing to resample
- Layer a clean sub under a dirty mid cut
- Use break edits to answer the ragga cut
- Automate a narrow filter sweep into the drop
- Add micro-delay only on the last chopped hit
- Use clip gain for fast edits, automation for bigger shapes
- Try subtle frequency shifting
- Check mono on the main cut layer
- Turn one good automation pass into multiple song moments
- Build the effect from a clean source first, then automate toward chaos.
- Use volume, filter, gate, and distortion automation together for the ragga cut-distort feel.
- Keep the sub clean and mono, and let the midrange carry the attitude.
- Resample the best pass so you can edit it like a drum element.
- Phrase it like DnB: 2-bar, 4-bar, and 8-bar structure makes the effect feel intentional and powerful.
You’ll end up with a chain and automation workflow that can be reused on:
The result should feel like something you’d hear in a jungle reload or a retro-rave DnB switch-up, but mixed cleanly enough to survive in a modern arrangement.
Step-by-Step Walkthrough
1. Choose the source and keep it phrase-friendly
Start with either:
- a simple 1–2 bar ragga vocal phrase
- a midrange bass stab
- a reese note pattern with space between hits
For the cleanest results, pick something with clear rhythmic gaps or a phrase that naturally repeats. If you’re using a bassline, keep it in a register where the midrange has character but the sub can still remain separate.
In Ableton Live, place the source on an Audio Track or MIDI track and keep the clip looped over 4 or 8 bars. If it’s a vocal sample, make sure Warp is on and set a warp mode that keeps transients reasonably sharp. For bass MIDI, keep the notes short enough that the distortion and gate movement read clearly.
Practical advice:
- For a ragga cut, use a source around 90–175 BPM source feel, then warp to your project tempo.
- For a bass line, leave at least 1–2 beats of space every bar so automation has room to speak.
- If the source is too busy, duplicate it and create a simplified “automation version.”
2. Build a clean bass-vocal processing chain first
Before doing any cutting, make the source sound solid and controlled.
A reliable stock chain is:
- EQ Eight
- Saturator
- Roar or Overdrive
- Auto Filter
- Utility
Suggested starting settings:
- EQ Eight: HP around 30–40 Hz if needed, tame any harsh peak around 2.5–5 kHz by a few dB
- Saturator: Drive +2 to +6 dB, Soft Clip on if the source is spiky
- Roar: use a moderate drive mode and keep the mix subtle at first; aim for audible harmonics, not full destruction
- Auto Filter: low-pass around 8–14 kHz to keep the top controlled
- Utility: keep width at 0% for the core mono-compatible layer if this is the main bass or vocal cut layer
Why this works in DnB: the distortion and filtering create harmonic density, which helps the cut moments cut through dense drums. In fast bass music, a sound doesn’t have time to bloom naturally, so harmonics and automation are what make it feel alive.
3. Set up the “cut” with automation on volume and filter
The core trick is to automate short mute-like gaps and filter motions so the source feels chopped in a rhythmic way.
Use one or both of these:
- Track Volume automation
- Auto Filter Cutoff automation
In Arrangement View, draw automation so the sound plays:
- full level on beat 1
- drops down or fully cuts out on beat 2 or 3
- returns with a burst on the offbeat or next bar
Good starting points:
- Volume dips of -inf to -12 dB for hard cuts
- Filter cutoff sweeping from around 250–600 Hz up to 3–8 kHz
- Resonance around 0.20–0.45 for a bit of edge without whistle
Try a 2-bar pattern:
- Bar 1: mostly open, but cut the end of beat 4
- Bar 2: filter closed down for the first half, then snap open into the downbeat
This creates the ragga-cut feel: not just distortion, but rhythmic interruption. In DnB, that interruption is often what makes a phrase feel like a reload moment or a pre-drop teaser.
4. Add rhythmic gating for a more authentic chop feel
For a tighter old-school style, add Gate after the saturation chain. This gives you a controlled stutter without having to slice everything manually.
Suggested Gate settings:
- Threshold: set so the gate opens on the stronger hits only
- Return: around 3–15 ms for snappier behavior
- Release: 40–120 ms for a choppy but musical tail
- Floor: around -inf to -12 dB depending on whether you want total cut or softened ducking
Then automate the gate’s Threshold or Return during the section:
- In the intro to the chop, make it more open
- In the bar before the drop, tighten it so only the strongest transients poke through
- On the drop, automate it looser again to let the phrase breathe
If the Gate becomes too mechanical, combine it with clip volume automation so the phrase still has a human-feeling phrase shape.
Extra move: duplicate the track and use one version for the core phrase, another for tiny gated fragments. Blend them low for texture.
5. Introduce distortion bursts with automation, not constant overload
The “cut distort” part should usually be a moment, not a permanent state. Use automation to bring distortion in only where it helps the arrangement.
Good stock devices:
- Saturator
- Roar
- Redux
- Overdrive
- Pedal if you want an exaggerated tone-shaping effect
Useful automation ideas:
- Automate Saturator Drive from +3 dB in the clean part to +8 or +10 dB on the cut
- Push Roar Mix upward only for the last half-bar before the drop
- Use Redux sparingly: bit depth reduction can sound very retro-rave, but too much will trash the mix fast
- Automate a high-pass before heavy distortion to keep the sub from getting mangled
A strong DnB workflow is to split your sound into:
- Sub layer: clean, mono, minimal processing
- Mid cut layer: distorted, filtered, automated, gritty
This keeps your low end stable while the character layer goes wild.
6. Resample the best moments and edit them like a break
Once you’ve found a good distorted cut, resample it. This is where the sound starts to feel like a real DnB arrangement tool instead of just an effect.
Create a new Audio Track and set Audio From to your source track or group. Record the most exciting automation pass:
- the build
- the drop-in
- the fill
- the reload hit
Then chop the recorded audio into smaller clips:
- short vocal stabs
- reverse tails
- half-beat fragments
- one-hit punctuation accents
This is very DnB/jungle-friendly because it lets you treat the source like a mini break edit. A good ragga cut often works best when it becomes part of the drum language, not just a continuous melodic line.
Musical context example:
- Use the first 4 bars of a breakdown for a filtered ragga tease
- At bar 5, introduce a cut-distort version with a snare fill underneath
- At bar 9, bring the full bass back with the vocal chopped into call-and-response hits
7. Shape the movement with returns and stereo discipline
To make the cut feel deeper without washing out the mix, use return tracks strategically.
Try one or two returns:
- Return A: Echo with short feedback and filtered repeats
- Return B: Hybrid Reverb or Reverb with a short room or gated style
- Optional Return C: Frequency Shifter very subtly for metallic tension
Suggested settings:
- Echo delay time around 1/8 or 1/16 dotted
- Filter the return heavily so it doesn’t muddy the low mids
- Reverb decay short: around 0.4–1.2 s
- Keep return levels low and automate sends only on phrase endings or cut hits
Use Utility on the main cut layer to keep the core center-focused:
- Width 0–30% for the main impact layer
- Wider ambience only on the return tracks
Why this works in DnB: the kick and sub need a stable center, especially in fast rhythms. Let the movement live in the midrange and effects, not the low end. That’s how you keep the track loud and clean.
8. Automate the arrangement like a DJ would phrase it
The biggest mistake with this kind of sound is letting it happen randomly. Make it serve the arrangement.
Use it in one of these classic DnB shapes:
- 8-bar intro tease with filtered ragga cuts
- 4-bar pre-drop tension builder with increasing gate and distortion
- 2-bar switch-up after a heavy 16-bar drop phrase
- reload-style turnaround before the second drop
- outro variation with stripped-down chopped fragments for DJs
Automation ideas for arrangement:
- Open the filter over 8 bars
- Increase distortion and gate intensity in the final 2 bars
- Mute the sub for the last half bar before the drop to make the return hit harder
- Automate a quick frequency shift or resonant filter dip on the last hit for a classic “whoa” moment
If the track is a roller, keep the effect more restrained and use shorter cut phrases. If it’s neuro-influenced or darker halftime-leaning DnB, you can push the automation more aggressively and let the cut moment be more dramatic.
Common Mistakes
- Fix: automate distortion only on selected phrases. Keep the sub clean and use parallel layering if needed.
- Fix: high-pass the distorted layer before heavy drive, or separate sub and mid layers entirely.
- Fix: loosen release or lower the threshold so it reads as rhythmic chop, not total dropout.
- Fix: align filter, volume, and distortion changes to 2-bar or 4-bar phrasing.
- Fix: keep the main impact layer centered; use width only for returns and atmospheres.
- Fix: check the cut against kick/snare and break edits. If the chop masks the snare, move the automation slightly earlier or later.
- Fix: print the best automation pass so you can edit it like audio and make tighter arrangement decisions.
Pro Tips for Darker / Heavier DnB
- This is the fastest way to keep impact while still sounding nasty. Let the sub play simple roots; let the cut layer do the talking.
- A chopped Amen-style fill or restrained break slice can call-and-response against the vocal/bass phrase. That makes the section feel more like DnB and less like a generic FX edit.
- A band-pass or low-pass closing just before the drop creates pressure. Re-open on the downbeat for a bigger hit.
- One short Echo throw on the final cut before the drop can create a proper transition without cluttering the groove.
- Clip gain is great for tiny fixes; automation is best for the emotional arc of the phrase.
- A light touch with Frequency Shifter can make the midrange feel unstable and more underground. Keep it low in the mix so it adds texture, not obvious pitch wobble.
- DnB clubs punish sloppy low-end width. If the riff collapses badly in mono, tighten it before final bounce.
- Resample the same chop and reuse it in the intro, drop, and outro with different filter states. That creates coherence and saves time.
Mini Practice Exercise
Spend 10–20 minutes building a two-bar ragga cut-distort phrase.
1. Pick a short ragga vocal, rave stab, or bass phrase.
2. Add EQ Eight, Saturator, Auto Filter, Gate, and Utility.
3. Make one automation pass where the sound is mostly clean for bar 1.
4. In bar 2, automate:
- filter cutoff down and back up
- saturator drive higher
- gate threshold tighter
- volume cuts on the last half-beat
5. Resample the result to audio.
6. Chop the resampled audio into 4–6 tiny hits.
7. Place those hits against a kick/snare loop and check whether the phrase feels like a drop fill or a reload moment.
8. Make one version that feels subtle and gritty, then a second version that feels more aggressive and ravey.
Goal: by the end, you should have one reusable automation technique that can become a pre-drop, switch-up, or intro tool in a real DnB track.
Recap
If you treat the cut-distort move as part of the arrangement—not just a sound design trick—you’ll get that authentic retro rave / ragga pressure that hits hard in modern Drum & Bass.

