Main tutorial
Lesson Overview
This lesson shows you how to build a retro rave, oldskool DnB swing blueprint in Ableton Live 12 by resampling your own drums and bass into a warmer, dirtier, more “played” groove. The goal is not just to make things sound lo-fi — it is to make them feel like a real jungle/DnB record with movement, pressure, and tape-style grit that still works on a system.
This technique lives right at the core of a track: the drums, the bass loop, the fills between phrases, and the little churn of atmosphere that makes a loop feel like a record instead of a demo. It matters musically because oldskool DnB is built on momentum and swing, not perfect grid alignment. It matters technically because resampling lets you bake in saturation, filtering, timing nudges, and texture in a way that makes the groove easier to control and more convincing in the mix.
This is best for jungle, oldskool DnB, retro rave rollers, and darker break-led tracks that need that worn-in “tape loop” character. By the end, you should be able to hear a loop that feels less like separate MIDI parts and more like a chopped, bounced, living groove: warm subs, crunchy breaks, tight syncopation, and a slightly unstable edge that still lands hard on the dancefloor.
What You Will Build
You will build an 8-bar retro rave DnB loop with:
- a chopped breakbeat foundation
- a sub-bass or reese line with controlled motion
- a resampled drum+bass bounce that adds tape-style grit
- a short fill or turnaround that makes the loop feel arranged
- enough headroom and clarity to sit in a real drop
- Use grit as a midrange event, not a low-end effect. If you want menace, distort the 200 Hz to 3 kHz character more than the sub. That keeps the weight solid while the surface gets dangerous.
- Layer a very quiet reverse version of the resampled chop before a snare hit or phrase restart. This adds tension without crowding the main transient. Keep it short and tuck it under the groove.
- For darker rollers, let the bass answer the drums instead of constantly filling space. A two-note call-and-response with one slightly longer note can feel heavier than a 16-step run.
- If the break needs more authority, use Drum Buss lightly rather than crushing it. A small amount of drive and transient shaping can make the loop punch harder while preserving movement.
- Keep stereo width out of the sub and lower bass, but let the midrange dirt live a little wider if needed. That contrast makes the groove feel larger without risking mono collapse.
- When the drop feels too clean, resample the entire 2-bar phrase, then chop back in only the best transient moments. This prints a more unified “record-like” texture and often sounds more expensive than stacking more plugins.
- For extra underground character, filter the resampled loop for the intro and then bring it back full-range on the drop. That contrast makes the drop feel like the room just opened up.
- Use only stock Ableton devices.
- Build only 8 bars.
- Use no more than two bass notes in the first bar.
- Resample the loop once and reuse that audio in the arrangement.
- Keep the sub mono and the grit layer high-passed.
- one 8-bar loop with a clear drum+bass groove
- one chopped or filtered resampled variation for bar 4 or 8
- one automated movement, such as filter cutoff or saturation drive
- Can you still identify the snare instantly in the mix?
- Does the sub stay firm when the resampled layer is playing?
- Does the loop feel like a record phrase, not a random beat?
- Build the groove first, then resample it.
- Keep the sub clean and mono; let the grit live above it.
- Use resampling to create swing, chops, and tape-style character.
- Make one strong 8-bar phrase before adding complexity.
- Check every dirty layer in context with drums and bass.
- In oldskool DnB, movement comes from timing, phrasing, and controlled roughness — not from overprocessing.
The finished result should feel rough in a good way: warm, slightly compressed, a little dusty, and full of swing, but still punchy enough that the snare cracks and the sub remains stable. If it works, you should be able to loop it next to a kick/snare pattern and instantly hear a classic oldskool DnB attitude — not clean EDM polish, but a focused, skanking, DJ-friendly groove that already sounds like part of a record.
Step-by-Step Walkthrough
1. Start with a plain 8-bar drum and bass loop, not a fully finished mix
In Ableton, begin with one drum track and one bass track. Keep the MIDI simple: a kick on the downbeat, a snare on 2 and 4, and a break or ghosted break layer filling the spaces. For the bass, write a short riff with 1–2 notes per bar at first, not a busy line.
Use stock devices only. On the drum track, a basic chain like Drum Buss → Saturator → EQ Eight is enough to start shaping the tone. On the bass track, keep it simple with Operator, Wavetable, or a sampled bass patch, then shape it with EQ Eight and Saturator.
Why this matters: oldskool DnB swing comes from the relationship between the drums and bass, not from a pile of effects. If the core loop already feels good, resampling will enhance it. If the core loop is weak, resampling will just print weakness.
What to listen for:
- The snare should still feel dominant even before processing.
- The bass should leave space for the kick, not sit on top of it all the time.
If your loop feels too tidy, that is actually useful. This lesson depends on printing and then disturbing that tidy loop in controlled ways.
2. Set the groove first, then resample the groove
Oldskool swing is not random. It usually comes from a break that is slightly late in some spots, early in others, and breathing with the hats and ghost notes. In Live, use Clip View to nudge a few drum hits manually rather than quantizing everything hard. Try moving a few ghost notes 5–15 ms late, or pulling a kick slightly ahead if the groove feels sleepy.
If you are using a break sample, keep the transient structure intact. Don’t over-edit the start of every hit. A little unevenness is the point.
A versus B decision:
- A: tighter, more modern pocket — keep the main kick/snare closer to the grid.
- B: more rave/jungle wobble — let the break breathe and nudge ghost notes and hats slightly off-grid.
Choose A if you want a cleaner roller. Choose B if you want that more worn, looser, classic tape-loop feel.
Why this works in DnB: the dancefloor responds to forward motion, but oldskool jungle energy comes from rhythmic instability that still repeats in a predictable phrase. The loop feels alive because the details are slightly asymmetrical.
3. Build your bass as a short, repeatable phrase with room for movement
Keep the bass line intentionally simple. A beginner-friendly oldskool approach is a 1-bar or 2-bar motif with a root note and one or two passing tones. In MIDI, try notes that leave gaps for the drum hits. You want the bass to answer the snare and kick, not mask them.
Good starting values:
- note lengths around 1/8 to 1/4 note for rhythmic phrases
- sub notes that are clean and held, often one note per beat or half-bar
- reese or mid-bass layers with slightly shorter notes so the groove stays articulate
If you want the classic rave/jungle edge, layer a sub and a mid layer:
- Sub layer: a simple sine or triangle in Operator, mono, low-passed around 80–120 Hz if needed
- Mid layer: a detuned saw/reese patch with more character, rolled off below roughly 120–150 Hz
Keep the sub mono and disciplined. The movement should mostly happen in the mid layer, not the deepest low end.
What to listen for:
- Does the bass leave a pocket around the snare?
- Does the low end stay solid when the note changes?
If the bass line feels too static, do not immediately add more notes. First try changing note length, octave, or the timing of the second note. In DnB, note placement often matters more than note quantity.
4. Print the first rough version to audio with resampling
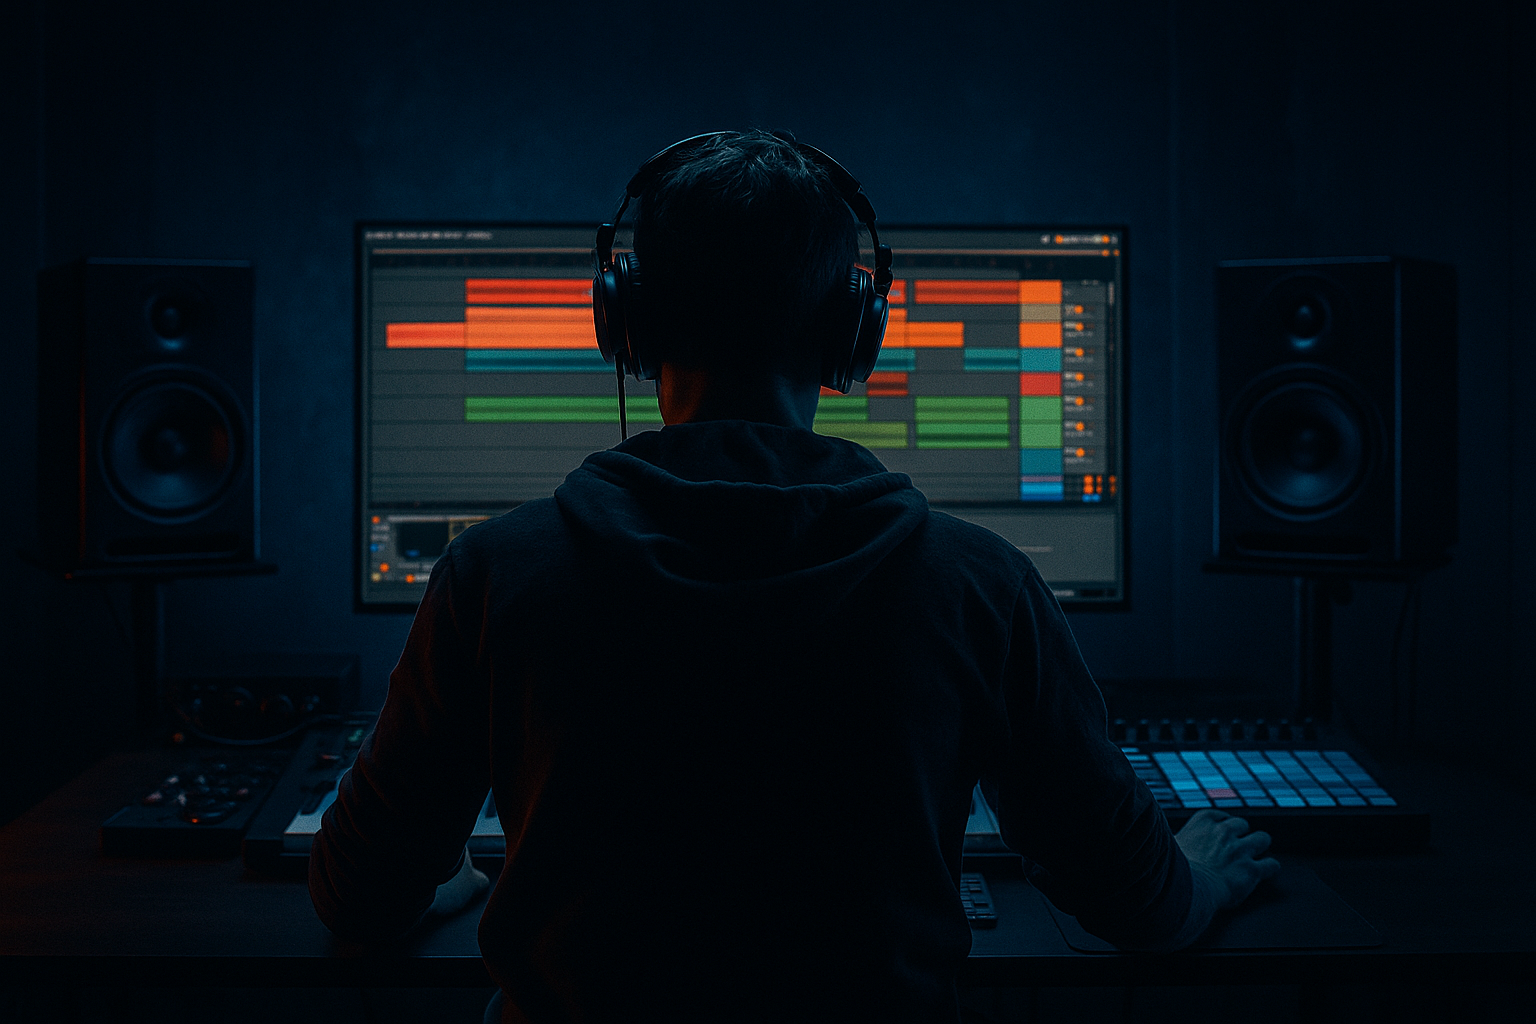
Now make your first bounce. In Ableton, create a new audio track and set its input to resampling. Arm it and record your 8-bar loop as audio. You are not finishing the track yet — you are making a printed version you can manipulate like tape.
Stop here if the loop already grooves well before printing. If it does not, fix the MIDI first. Resampling should preserve a good idea, not rescue a bad one.
Why this matters: resampling commits the groove to audio, which lets you treat the whole loop like a sampler source. That is where the oldskool vibe starts to become real. Audio can be chopped, reversed, re-filtered, and re-saturated in a way that feels more like classic production habits.
Workflow efficiency tip: duplicate the original MIDI tracks and keep one untouched version hidden or muted. That gives you a safety net and speeds up decisions later.
5. Turn the printed loop into a tape-style grit layer
Take the recorded audio and put it on a new track. Now build a stock-device chain that creates warm grit without destroying the groove.
Example chain 1:
- EQ Eight: gentle low cut only if needed below 25–30 Hz
- Saturator: Drive around 2–6 dB, Soft Clip on if the loop needs density
- Drummer or Drum Buss: use very lightly for transient emphasis and a bit of grit
- EQ Eight: tame harshness around 3–6 kHz if the resampled break gets spitty
Example chain 2:
- Auto Filter: low-pass or band-pass movement for transition sections
- Saturator: drive into the filter for a more unstable tape-like edge
- Compressor: light control if the loop jumps too hard after saturation
Do not overcook it. The goal is warm distortion, not crushed noise. If the snare loses its crack or the kick turns flat, back off the drive or soften the low end before the saturator.
Parameter suggestions:
- Saturator Drive: start around 2–4 dB, push higher only if the loop stays readable
- Auto Filter cutoff: around 150–400 Hz for filtered intro versions, depending on source
- EQ Eight high-shelf reduction: small cuts around 8–12 kHz if the tape character feels too fizzy
What to listen for:
- The loop should feel slightly thicker and closer, not just louder.
- The break should still have groove, even after it gets dirtier.
6. Chop the resampled audio to create swing, call-and-response, and a fill
This is where the lesson becomes musical. Slice the resampled loop into a few useful chunks: the main groove, a drum fill, and a little turnaround. In Ableton, use Warp markers and clip editing to isolate a snare hit, a kick+ghost note section, or a hat flurry.
Then rearrange the slices into a classic 8-bar structure:
- Bars 1–2: core groove
- Bar 3: repeat with a small variation
- Bar 4: insert a fill or a reverse chop
- Bars 5–6: core groove again
- Bar 7: bass variation or drum cut
- Bar 8: turnaround to reset the phrase
A simple arrangement move that works well in oldskool DnB is to drop the bass out for half a bar before the next phrase, then re-enter with a resampled drum hit or reverse wash. That tiny gap creates impact without needing huge FX.
Why this works in DnB: DJs and dancers need phrase clarity. A resampled chop creates micro-variation, while the 8-bar structure keeps the track mixable and predictable.
If the chopped audio starts to feel messy, consolidate the best 1-bar phrase and build from there. Sometimes the best move is to make one excellent loop instead of forcing six variations.
7. Decide whether the grit is part of the groove or just a transition tool
This is an important A versus B choice.
- A: permanent grit layer
Keep the resampled tape-like version under the whole drop at low level. This gives the track an older, worn-in identity.
- B: transition-only grit
Use the resampled, filtered, dirty version only before drops, at the ends of phrases, or during call-and-response moments.
Choose A if the track needs constant character and a more humid, swampy texture. Choose B if the clean drum+bass relationship is already strong and you want the grit to function like punctuation.
In practice, many strong oldskool DnB arrangements use both: a subtle always-on layer, plus a more obvious dirty resample for fills and switch-ups.
8. Check the loop in context with kick, snare, and sub before you go further
Soloing is useful for editing, but this style only matters in context. Bring the full drum+bass loop back in and judge it against the kick, snare, and sub together.
Listen for these two things:
- Does the snare still hit forward, or did saturation flatten its impact?
- Does the sub still feel centered and stable, or did the resample smear the low end?
If the low end feels wide or cloudy, keep everything below about 120 Hz effectively mono by making sure the sub stays on a mono source and the resampled layer is high-passed so it does not fight the foundation. A good oldskool vibe depends on clear low-end hierarchy, even when the surface is dirty.
Fix-it moment: if the resampled audio sounds exciting alone but weak in context, cut more low end from the printed layer and keep only the midrange grit. Often the “cool part” is not the whole signal — it is the 200 Hz to 5 kHz character sitting above the real bass.
9. Add one automated movement pass, not a pile of effects
Once the loop works, automate one meaningful change across 8 bars. Keep it simple and purposeful.
Good options:
- Auto Filter cutoff gradually opens during the build, then snaps back for the drop
- Saturator Drive rises slightly in the last bar of the phrase for tension
- Reverb send on a chopped snare or reverse hit increases before the turnaround, then disappears on the drop
Suggested ranges:
- filter opening from roughly 200 Hz to 2–6 kHz depending on source
- short reverb decay around 0.4–1.2 seconds for fills, not washed-out ambience
- small automation moves on drive or mix often work better than dramatic sweeps
What to listen for:
- Does the automation make the next section feel bigger?
- Or does it just make the loop busier?
If the answer is “busier,” reduce the range and automate fewer things. In DnB, tension is stronger when most elements stay disciplined.
10. Finalize the loop as a playable DJ-friendly section
Your final job is to make this usable in a real track. The intro should give DJs room, the drop should hit quickly, and the outro should leave enough space to mix out.
A useful oldskool phrasing example:
- 16-bar intro with filtered drums and a teased bass chop
- 16-bar drop with full groove and one fill every 8 bars
- 8-bar breakdown or tension bar
- second drop with a slightly dirtier resample, denser ghost notes, or a new bass answer phrase
For the second drop, do not reinvent everything. Change one or two things:
- add a higher octave bass answer
- introduce a different resampled snare chop
- open the hats slightly
- swap the fill on bar 8
This gives the track evolution without losing the core identity. A successful result should feel like a dusty, driving, oldschool-informed DnB loop that can sit in a drop, support a DJ mix, and keep moving without collapsing the low end.
Common Mistakes
1. Over-saturating the whole loop
- Why it hurts: the kick loses punch, the snare loses crack, and the bass turns cloudy.
- Fix: reduce Saturator Drive, or saturate only the mid layer while keeping the sub clean and mono.
2. Making the bassline too busy
- Why it hurts: oldskool DnB needs space for groove and drum momentum.
- Fix: simplify the MIDI to fewer notes, then create variation with note length, octave shifts, or one off-beat answer note.
3. Letting the resampled layer contain too much low end
- Why it hurts: the printed audio fights the real sub and causes muddy bass translation.
- Fix: high-pass the resampled grit layer so it only carries character, not foundation.
4. Quantizing every drum hit perfectly
- Why it hurts: the loop loses the swing and human drag that make jungle feel alive.
- Fix: keep the core hits tight, but manually offset ghost notes and hat details by a few milliseconds.
5. Using too much reverb on the chopped break
- Why it hurts: the groove smears and the mix gets washed out fast.
- Fix: use short decay times, keep reverb on fills or transitions, and dry up the main loop.
6. Ignoring the loop in context
- Why it hurts: a loop that sounds exciting solo can disappear once the kick and sub are playing.
- Fix: audition the full drum+bass pocket early and trim the resampled layer until the snare and sub remain obvious.
7. Changing too many things after resampling
- Why it hurts: the track loses its identity and becomes messy.
- Fix: commit to one main resampled idea and make small, intentional arrangement changes around it.
Pro Tips for Darker / Heavier DnB
Mini Practice Exercise
Goal: create a believable oldskool DnB loop with printed grit and one usable phrase variation.
Time box: 15 minutes
Constraints:
Deliverable:
Quick self-check:

