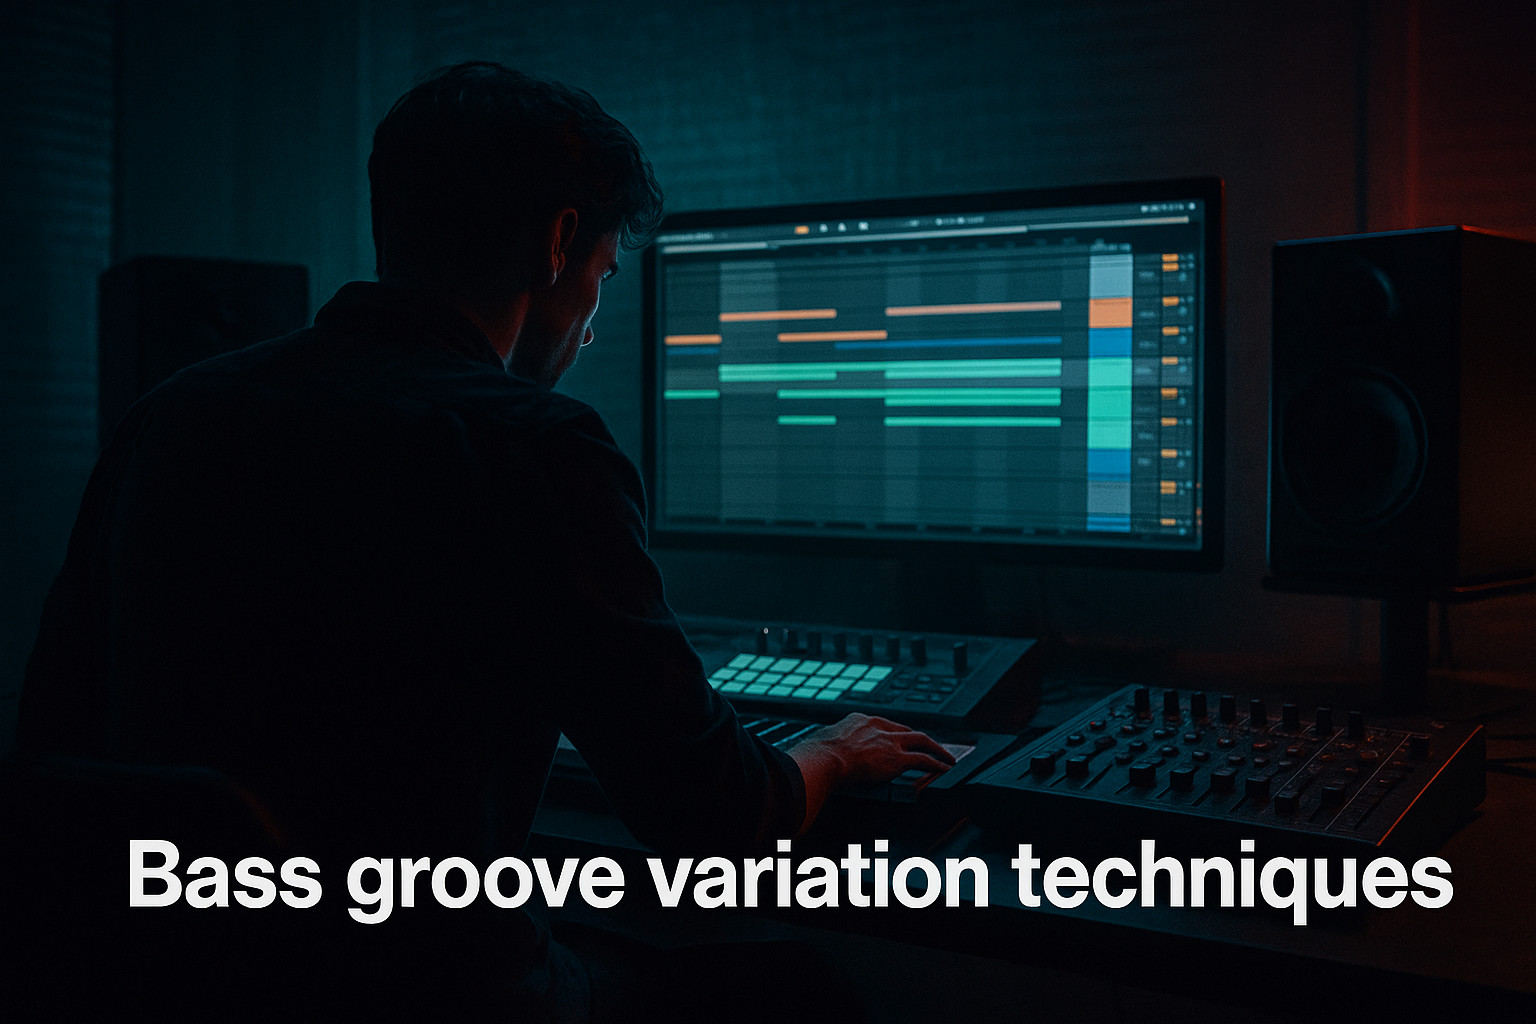
Main tutorial
Retro Rave “Edit System” in Ableton Live 12 (From Scratch)
Oldskool jungle / rave DnB vibes — advanced edits workflow 🔥🧨
---
1. Lesson overview
This lesson builds a repeatable edit system in Ableton Live 12 for classic rave/jungle DnB: think time-stretched breaks, chopped amens, dubby drops, rewind edits, gated stabs, tape stops, and nasty fills—all controlled from a tight set of macros + follow actions + resampling lanes.
You’ll end with a template you can drop into any project to generate authentic oldskool-style edits fast, while keeping modern mix control and arrangement clarity.
---
2. What you will build
A complete “Retro Rave Edit Rack” system consisting of:
- Break Edit Track (Amen/Think/etc) with:
- Rave Stab / Pad Edit Track with:
- Drop/Transition FX Track with:
- Resample + Print Lanes (crucial):
- Arrangement blueprint for jungle edits:
- `EDIT_01_STUTTER`
- `EDIT_02_SNARE_RUSH`
- `EDIT_03_AMEN_ROLL`
- `EDIT_04_STOP_AND_GO`
- Use 32nd note repeats on a slice for stutter
- Use velocity shaping (very important) to avoid machine-gun harshness
- Shift some hits slightly off-grid (Groove Pool can help, but manual nudges work)
- Try Ableton Groove: Swing 16-55 lightly (amount 10–25%) or extract groove from a break and apply subtly.
- Threshold: set so it clamps between hits
- Return: low (snappy close)
- Attack: 0.5–3 ms
- Hold: 10–40 ms
- Release: 30–120 ms
- Phase: 0°
- Shape: Square
- Rate: 1/8 or 1/16
- Amount: 20–60%
- Echo Dry/Wet up briefly at phrase ends
- Reverb Dry/Wet up for single hits only
- Add Vinyl Distortion (stock) lightly:
- Put the section on an audio clip and automate Clip Transpose down quickly (0 to -12 / -24).
- Combine with Auto Filter LP closing during the stop.
- Use Utility mute automation or clip gain dips.
- Bars 1–16: Intro (filtered break + atmos + tease stab)
- Bars 17–33: Drop A (main break + bass, minimal edits)
- Bars 33–49: Variation (more chops + stabs + throws)
- Bars 49–65: Drop B (heavier edits, resampled fills, FX)
- Every 4 or 8 bars, add:
- Parallel smash bus for breaks:
- Make edits “bite” with transient focus:
- Darkness via midrange control, not just distortion:
- Mono discipline:
- Resample at the peak of chaos:
- You built a retro rave edit system: sliced breaks + macro rack + throw FX + resampling workflow.
- You learned how to place edits musically (phrase-based, not constant).
- You created a template that makes oldskool jungle/DnB edits fast, committed, and punchy.
- Warp + slice workflow (Drum Rack / Simpler)
- Macro-controlled: stutter, pitch drops, filter sweeps, transient smack, overdrive, reverb throws
- Gate chops (16ths/32nds), vinyl-ish pitch modulation, space throws
- Rewind, tape stop, riser noise, impact layers
- A dedicated resampling track for printing edits cleanly
- 8–16 bar phrases, call/response, and classic “one bar madness” fills
All using Ableton stock devices (plus your own samples).
---
3. Step-by-step walkthrough
Step 0 — Session setup (tempo, warp, routing)
1. Tempo: set 165–172 BPM (start at 170 for that classic roll).
2. Create groups:
- GROUP A: DRUMS
- GROUP B: MUSIC (STABS/PADS)
- GROUP C: FX / EDITS
3. Add a dedicated RESAMPLE audio track:
- Input: Resampling
- Monitor: Off
- Arm it when printing edits.
4. Master headroom:
- Keep peaks around -6 dB while building (especially with distortion/edit throws).
---
Step 1 — Build the Break Edit Track (authentic jungle control)
#### 1A) Load and warp a classic break
1. Add an Audio Track named: `BREAK SOURCE`.
2. Drop in an Amen/Think/Funky Drummer/etc.
3. In Clip View:
- Warp: ON
- Warp Mode: Beats
- Preserve: Transient
- Envelope: ~20–40 (keeps punch; tweak per sample)
4. Set clip Start at bar 1 and ensure it loops perfectly (trim + loop braces).
Why Beats mode? Classic jungle edits love transient integrity. Complex modes smear the bite.
#### 1B) Convert to a slice instrument (faster edits)
1. Right-click the warped break → Slice to New MIDI Track.
2. Slicing preset:
- Slice By: Transient
- Create one slice per transient ✅
- Use: Drum Rack
Now you have a `BREAK DRUM RACK` track with each hit mapped to pads.
#### 1C) Add a “Break Edit Rack” device chain (macros)
On the Drum Rack track, add this chain after the Drum Rack:
Device chain (in this order):
1. Auto Filter
2. Saturator
3. Drum Buss
4. Redux (optional, for crunchy rave texture)
5. Echo
6. Reverb
7. Utility
Now group them into an Audio Effect Rack and create 8 Macros like this:
Macro suggestions + starting settings
1. LP/HP Sweep (Auto Filter)
- Filter type: MS2 (or Clean)
- Map Frequency
- Map Resonance (small range)
2. Drive (Saturator)
- Mode: Analog Clip
- Drive range: 0 to +10 dB
- Turn on Soft Clip ✅
3. Punch (Drum Buss)
- Drive: 0–20%
- Crunch: 0–30%
- Boom: 0 (often off for breaks)
- Transients: 0 to +30
4. Bit Crush (Redux)
- Downsample: map 1 to 8
- Bit reduction: subtle (don’t destroy unless you mean it)
5. Dub Echo Send (Echo)
- Time: 1/8 or 1/4
- Feedback: 20–65%
- Filter: HP around 200, LP around 6–8k
- Map Dry/Wet or use “ducked throws” (see below)
6. Reverb Throw (Reverb)
- Decay: 1.2–3.5s
- Pre-delay: 10–25ms
- HP: 200–400 Hz
- Map Dry/Wet (keep it throw-style)
7. Width / Mono (Utility)
- Map Width: 0–140%
- Add a “Mono” toggle if you want (Width=0)
8. Output Trim (Utility)
- Map Gain: -12 to +6 dB (saves you when throws spike)
✅ Advanced tip: Put Echo + Reverb on Return tracks instead, and map Send amounts for classic throw automation. But keeping them in-rack makes it portable.
---
Step 2 — Build the MIDI edit workflow (the “jungle grid”)
#### 2A) Create core break patterns + edit lanes
1. In Arrangement, create 16 bars of drums.
2. Program a base pattern using slices:
- Keep kick/snare anchors stable (DnB needs the spine).
- Use ghost notes from slices for shuffle and “lift.”
Classic jungle move: Use 1–2 bars stable, then bar 4 or 8 goes “mad” with chops.
#### 2B) Make “Edit Clips” with variations
Create several 1-bar MIDI clips:
Inside these clips:
Groove suggestion:
---
Step 3 — Add “Retro Rave Stab” edit system (gated + pitched)
#### 3A) Create a stab instrument quickly (stock)
1. New MIDI track: `RAVE STAB`.
2. Load Simpler with a classic stab sample (or any chord stab).
3. In Simpler:
- Mode: Classic
- Filter: ON (LP)
- Envelope: short decay for pluck (or longer for pads)
#### 3B) Gate chops + pumping like old tape edits
Add this chain:
1. Auto Filter (tone)
2. Gate (the key device here)
3. Auto Pan (for rhythmic gating alternative)
4. Echo
5. Reverb
6. Saturator
Gate settings (for choppy rave):
Rhythm control idea:
Instead of sidechain, use Auto Pan:
This creates that on/off chop instantly.
#### 3C) Create a “Throw” automation lane
In arrangement, automate:
Classic rave rule: throws are moments, not a constant wash 🌫️
---
Step 4 — Rewind / tape stop / drop edits (transitions that scream jungle)
Create an audio track: `EDIT FX`.
#### 4A) Rewind effect (simple + effective)
Option A: Manual audio reverse
1. Duplicate a 1-beat or 1-bar drum moment to `EDIT FX`.
2. Consolidate (Cmd/Ctrl+J).
3. Reverse it.
4. Add Reverb before reversing sometimes (print reverb then reverse = classic whoosh).
Option B: Vinyl distortion vibe
- Tracing Model: 1–3
- Pinch: tiny (careful)
- Drive: subtle
This nails that worn-rave texture.
#### 4B) Tape stop
Use Delay + pitch automation trick, or simpler:
#### 4C) One-beat “dropout” edits
Classic: mute the break for 1/8–1/4 beat right before a snare.
This creates impact without extra sounds.
---
Step 5 — Resampling + printing edits (the pro workflow) 🎛️
This is where the system becomes fast and “real.”
1. Arm the RESAMPLE track.
2. Loop a section (say bars 9–17).
3. Perform automation live:
- Macro sweeps
- Echo throws
- Filter dips
- Stutters by swapping MIDI edit clips
4. Record several passes.
5. Take the best moments and:
- Consolidate
- Slice again if needed
- Place them as audio edits in arrangement
Why print? Because oldskool edit energy often comes from committing and moving forward—plus audio gives you tighter control over transitions.
---
Step 6 — Arrangement blueprint (jungle phrasing that works)
Use a simple 64-bar plan:
Edit placement rule:
- 1-bar “madness” fill
- or 1/2-bar stop + throw
- or rewind into the next phrase
---
4. Common mistakes
1. Over-warping breaks
Using Complex/Pro on breaks often kills bite. Start with Beats and only change if necessary.
2. Too many constant edits
If everything is “special,” nothing hits. Keep stable backbone, then punch edits at phrase points.
3. Echo/Reverb washing out the groove
Throws should be HP-filtered and automated, not always on.
4. Ignoring gain staging after distortion
Saturator/Drum Buss can jump levels—use Utility output trim in the rack.
5. Chops with no velocity shape
Jungle needs dynamic feel. Use velocity curves and accent patterns.
---
5. Pro tips for darker/heavier DnB 🖤
Send breaks to a Return with:
- Saturator (Analog Clip, Drive 6–12)
- Drum Buss (transients up)
- EQ Eight (HP to ~120, small 200–400 dip if boxy)
Blend in quietly for aggression.
Add Drum Buss Transients +10 to +30 and keep low-end controlled with Auto Filter HP ~80–120 on breaks (depends on bass arrangement).
Use EQ Eight to shape:
- Tame 3–5 kHz harshness
- Add a touch around 200–300 for “wood”
- Keep 8–12k controlled to avoid modern glossy hats unless desired
Keep break fundamentals and bass mono-ish. Use Utility Width automation for moments (widen throws, not the whole groove).
Print a bar where your edits go crazy, then re-place it strategically every 16 bars as a signature.
---
6. Mini practice exercise (20–30 minutes)
1. Choose one break and slice it to Drum Rack.
2. Create:
- 8 bars “steady”
- 1 bar “madness” edit
- repeat for 16 bars total
3. Build the 8-macro Break Edit Rack and automate:
- Filter sweep into bar 9
- Echo throw on the last snare of bar 16
4. Resample 2 passes of you performing the macros.
5. Pick the best 1-bar edit, consolidate it, and place it as audio at bar 16.
Goal: one clean 16-bar loop that feels DJ-friendly and proper jungle.
---
7. Recap
If you want, tell me what break you’re using (Amen/Think/etc) and whether you prefer more 94 jungle (raw, lo-fi) or 97 techstep (darker, tighter), and I’ll suggest exact macro ranges + a matching bass/edit call-and-response plan.

