Show spoken script
Title: Resonance automation for tension builds (Intermediate)
Alright, let’s build some real drum and bass tension using one of the fastest tools in Ableton: resonance automation. Not just sweeping a filter down like everyone does, but using resonance, that Q peak, to make the sound feel like it’s under pressure… like it’s narrowing, tightening, and getting ready to snap.
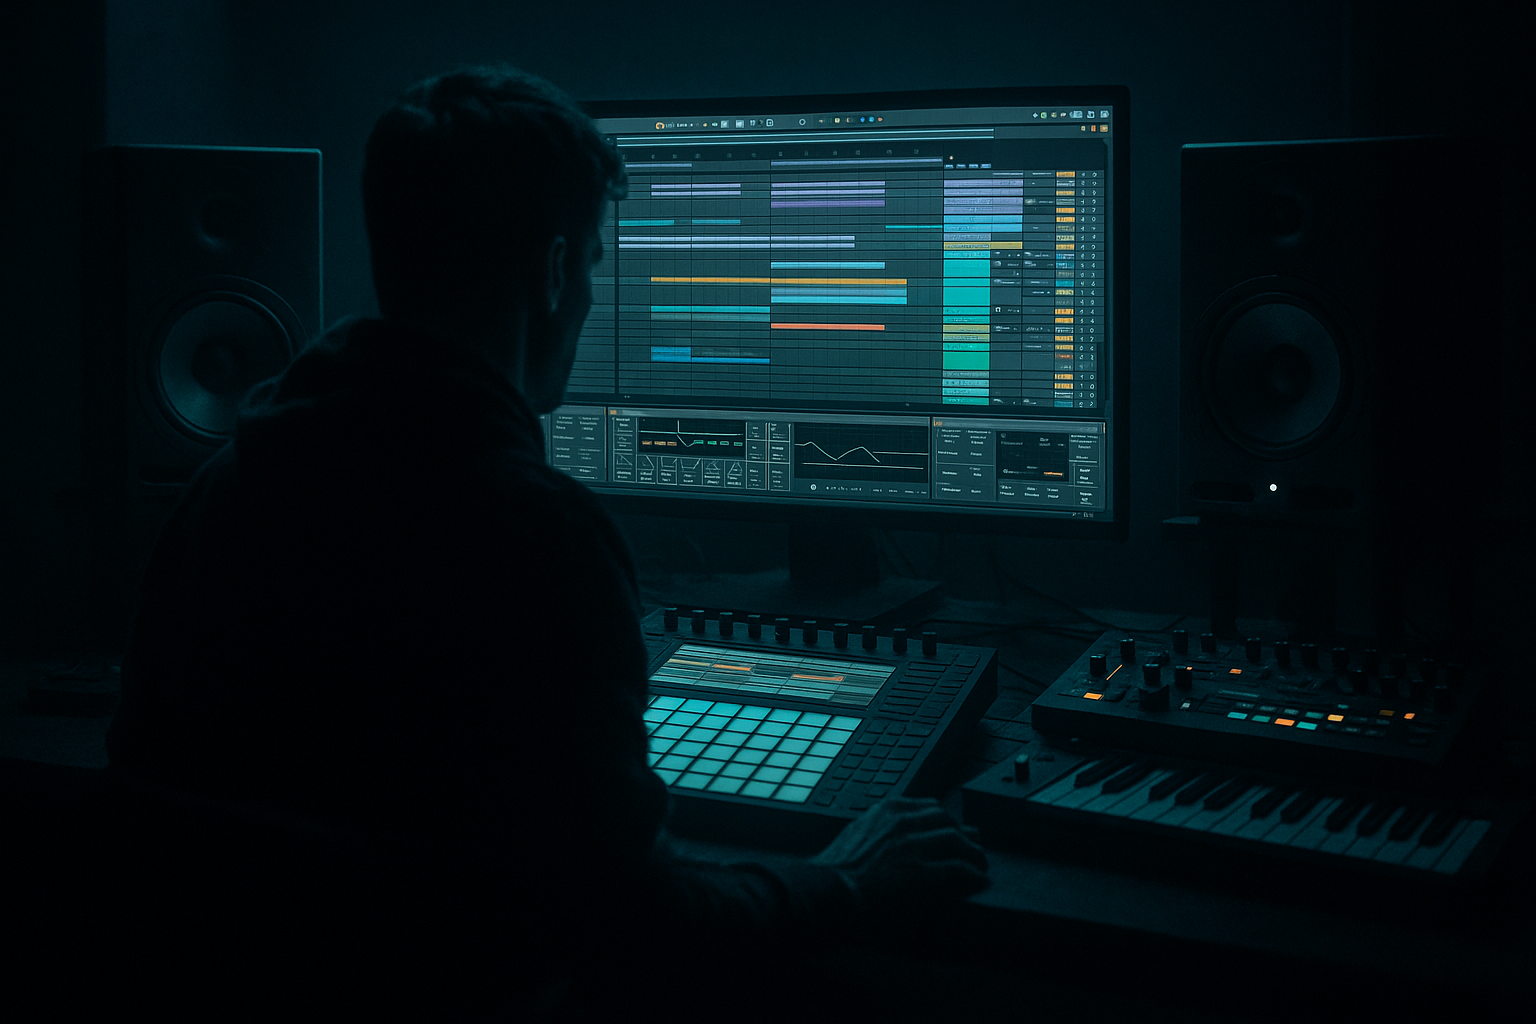
This is an intermediate lesson, so I’m assuming you already know how to drop devices on tracks, switch to Arrangement View, and write automation. What we’re doing here is a repeatable 16-bar pre-drop build you can reuse in basically any roller.
Set your tempo around 172 to 175 BPM. And let’s plan a 16-bar build into a drop on bar 17. If you want it snappier, you can do it in 8 bars, but 16 gives us room to stage energy properly.
First, quick session prep. Make three groups: DRUMS, BASS, and FX. Inside DRUMS you might have kick, snare, hats, and a break. Inside BASS you’ll have sub and a mid or reese layer. FX will be your noise riser, impacts, atmospheres, whatever.
Now go to Arrangement View and mark it mentally: bars 1 through 16 are the build, bar 17 is the drop.
Before we touch anything, one important mindset shift: don’t think “more resonance equals more tension.” Think peak placement. The emotion comes from where that resonant peak sits over time. Early in the build, peaks feel exciting when they’re up in the airy range, like above 6 to 8k. As you move toward the drop, bringing that peak down into the 3 to 6k alert zone feels more intense. And in the final bars, flirting briefly with 1 to 3k can feel super in-your-face… but that’s also where it gets painful fast. The trick is to touch that zone briefly, then release right before the drop so the drop feels wide and calm by comparison.
Cool. Step one: the core tool. Auto Filter on the drums.
Go to your DRUMS group, or if you prefer, just a hats and break bus. Drop an Auto Filter on it.
Choose a filter type based on the vibe. Lowpass 12 or 24 dB is your clean, classic “everything closes in” build. Bandpass is more “telephone,” more narrow, more aggressive. For this walkthrough, start with a lowpass 24 to really hear the narrowing.
Set a baseline. Frequency fairly open, somewhere around 14 to 18k. Resonance around 0.70. And add a bit of Drive, like 2 to 5 dB, because drive makes the filter feel urgent and forward. Make sure Envelope and LFO are off for now. We want clean, readable automation.
Now hit A to enter automation mode.
We’re going to automate two things together: filter frequency and resonance. Frequency is going to move downward to create that “closing walls” sensation. Resonance is going to rise so we get that whistling, focused pressure peak.
For frequency, start around 18k at bar 1, and slowly bring it down to around 3 to 5k by bar 12. Then in bars 13 to 16, push a bit further down toward about 1.5 to 2.5k.
At the same time, automate resonance upward. Start around 0.70 at bar 1, rise to about 1.10 by bar 12, then in the last four bars push it up to maybe 1.35.
And here’s your safety warning: 1.35 on resonance can get sharp fast depending on the source. If your hats are already bright, you might top out at 1.2 and still get plenty of tension. If it starts to feel like an ice pick, you’re not failing the lesson. That’s just resonance doing resonance things.
Teacher tip: the curve matters. If you do a straight linear ramp, it can feel controlled and techy. If you do a slow start and then a steep end, it feels like panic. In Ableton you can right-click automation points and use curve shapes, or just draw a curve that gets more vertical near the end. For DnB, that steep last-bar ramp is often the money.
Now the classic DnB pre-drop move: in the last two beats before bar 17, quickly open the filter back up. So your frequency shoots upward right before the drop, while resonance stays high for a moment. Then, right before the drop, cut everything for a tiny gap. A quarter beat to a half beat is enough. That little vacuum makes the drop hit like a truck.
Okay, step two: the mid-bass “scream,” without wrecking your sub.
Go to your mid or reese bass layer. Not the sub. Keep the sub stable. No resonance automation on sub, because it makes the low end wobbly, unpredictable, and it can distort in a way that’s hard to control.
On the mid-bass track, add Auto Filter. Switch it to Bandpass. This is where you get that narrow, angry honk that reads as tension even on small speakers.
Set frequency somewhere around 300 to 600 Hz to start. Set resonance around 1.00. Add Drive, maybe 3 to 8 dB depending on how aggressive your sound already is.
Now automate across the build. Sweep the bandpass frequency upward slightly. For example, from about 350 Hz at bar 1 to around 650 Hz by bar 12. Then in the last four bars, push it up toward 900 Hz to maybe 1.2k.
At the same time, raise resonance. From 1.00 at the start to about 1.25 by bar 12, then up to around 1.45 near the end.
This is one of those moves where less time at the maximum is more effective. If you sit at 1.45 for eight bars, it stops being exciting and becomes annoying. Save that peak for the last one to four bars.
If you want a more surgical version, you can do it with EQ Eight instead. Put EQ Eight on the mid-bass. Make a bell around 500 Hz up to 1.5k. Set the Q fairly tight, like 6 to 12. Boost gently, maybe plus 3 dB at first. Then automate the bell frequency slowly upward, and in the last bars you can automate the gain up a touch, and even tighten the Q slightly. That gives you an “engine whine” tension, like the sound is being forced through a smaller tube.
Optional extra: if you want the resonance to feel intentional, try the pitched peak trick. Put Spectrum after your filter. Loop a bar of the build, and sweep until the resonant spike sits near a note that works in your track. You don’t need it perfect. But landing near something like 440 Hz, 880 Hz, 523, or around 1k-ish can suddenly make the build feel designed rather than random.
Step three: a stock noise riser that also uses resonance.
Create a new MIDI track called Noise Riser. You can use Operator with noise, or you can just drop Simpler and load any white noise sample. Either is fine.
After your noise source, add Auto Filter. Choose a highpass, 12 or 24 dB.
Set the filter frequency to start around 200 Hz and end around 6k to 10k by the end of the build. Set resonance to start around 0.8 and rise to about 1.4.
Then add Ableton Reverb. Set size around 40 to 70. Decay around 3 to 6 seconds. Dry/Wet around 15 to 30 percent. Automate the reverb Dry/Wet slightly upward in the last four bars so it feels like it’s blooming into the moment.
A nice detail here: you can also automate the reverb pre-delay. Start with a longer pre-delay, like 20 to 40 milliseconds, which keeps the noise clearer and less smeared. Then reduce it toward the end, down toward 0 to 10 milliseconds, and it feels like the sound is rushing toward your face.
Step four: the jungle-style “break in a tube” tension.
If you’re using a break, put Auto Filter on the break track. Set it to Bandpass. Put frequency somewhere in the 2 to 6k range, resonance around 1.0 to 1.3. Then automate frequency and resonance rising toward the end.
After that, add Saturator. Turn soft clip on. Drive 2 to 6 dB. Then Drum Buss if you want extra grit. Drive 5 to 15, Crunch low to moderate, and keep Boom off or very low so you don’t mess the low end.
This combo gives you that crunchy, locked-in, “about to boil over” vibe that works insanely well in DnB builds.
Now step five: safety and polish, because resonance can get painful, especially around 2 to 6k.
Here are three protection options.
Option one: EQ Eight after the filter. Put a gentle dip around 3.5k, maybe minus 2 to minus 4 dB, with a Q around 1.5 to 2.5. This is a simple ear-saver that still keeps energy.
Option two: Multiband Dynamics. Use the high band to catch spikes. Lower the high band threshold slightly, ratio around 2:1 up to 4:1, and aim for just 1 to 3 dB of gain reduction when it gets spicy.
Option three: a Limiter on the bus. Not a “fix,” but a safety net while you’re experimenting so you don’t accidentally blow up your monitoring chain.
And here’s a coach habit that will level up your judgment fast: audit resonance in mono at low volume. If the build still feels tense quietly, and in mono, then the resonance is doing real musical work, not just sounding exciting because it’s loud and wide. Throw a Utility on the master, hit mono for ten seconds, and listen. You’ll instantly hear if the peak is too stabby or if it’s actually adding controlled pressure.
Step six: the last-bar panic ramp. This is where your build stops being “a sweep” and becomes a moment.
In bars 15 and 16, make resonance rise faster. More vertical. Then add a little jitter to the filter frequency: tiny steps, two or three little jumps, like the system is freaking out. For a mechanical vibe, you can even do micro-stepped resonance jumps synced to eighth notes. Like 1.05, then 1.15, then 1.25, then 1.35. It feels like a gear ratcheting up.
You can also automate a tiny gain push with Utility, like plus 1 to plus 2 dB in the last two bars. But remember: resonance changes level. It often adds 1 to 4 dB of perceived loudness. So the pro move is to put a Utility after your resonant filter and pre-write a slight counter-dip. For example, automate Utility down by about 1 dB by the last bar. You keep the energy rise without smashing your limiter or accidentally clipping.
Now, advanced workflow upgrade: one knob tension macro.
On your drums bus or bass bus, create an Audio Effect Rack. Put Auto Filter first, then Utility, and optionally a Saturator. Map key parameters to Macro 1 called Tension. Map filter frequency so it closes as the macro rises. Map resonance so it rises. Map drive so it nudges up late. And map Utility gain inversely so it trims a little as tension goes up. Now you can automate just one macro and keep builds consistent across projects. It’s clean, fast, and honestly this is how you stop rebuilding the same automation from scratch every time.
Another arrangement idea if you want the build to feel composed: call and response. Instead of one long sweep, do two bars where the tops lead the resonance, then two bars where the mid-bass leads. Repeat that pattern. Then in bars 15 and 16, stack both at once. It feels like the track is talking to itself, and then suddenly everything locks in for the final push.
And one more: the mid-build reset. At bar 8, briefly open the filter and drop resonance for half a bar, like taking a breath. Then continue the climb. That fake-out makes the second half feel more dramatic without adding new sounds.
Common mistakes to avoid as you work.
Don’t automate resonance on the sub. Keep sub steady.
Don’t run high resonance for too long. Save the peak for the final bars.
Don’t automate only resonance with no frequency movement. It often just sounds harsh instead of “rising.”
Don’t ignore gain staging. Resonance can trick you into thinking the track is “bigger,” when it’s just louder in one painful band.
And don’t make everything the hero. Pick one leader and one support. Usually tops and mid-bass is enough. If everything is whistling, nothing feels special.
Quick mini exercise you can do in about 15 minutes.
Grab a simple rolling loop: kick, snare, hats, a break, a reese mid, and a clean sub.
Make an 8-bar build into a drop.
On the drums group, Auto Filter lowpass 24. Frequency 18k down to 2k. Resonance 0.7 up to about 1.3.
On the reese mid, Auto Filter bandpass. Frequency 400 up to about 1k. Resonance 1.0 up to about 1.4.
On the noise riser, highpass sweep 200 to 8k, resonance 0.8 to 1.4.
Then do a quarter-beat silence right before the drop by muting drums and bass for that slice.
Bounce it and check three things.
Does the build feel like it’s rising without clipping?
Is there a painful ring, especially around 2 to 6k? If yes, notch it with EQ Eight.
And does the drop feel bigger even when you turn the volume down? That’s the real test.
Let’s recap what you just learned.
Resonance automation creates tension by emphasizing a moving peak. In DnB, that reads as intensity fast.
The real power is combining cutoff movement with rising resonance, and shaping the curve so the last bars feel earned.
Use Auto Filter for fast, musical results, and EQ Eight for surgical, tuned peaks.
Keep sub stable. Put movement in mids and highs.
And protect your ears and your mix with EQ dips, multiband control, and basic gain compensation.
If you tell me what subgenre you’re aiming for, like liquid, neuro, jungle, or minimal rollers, and what you’re using for the mid-bass, like Wavetable, Operator, or resampled audio, I can suggest a specific resonance curve, a tension macro mapping, and even a pitched-peak target range that lands in key for your track.