Main tutorial
Lesson Overview
This lesson is about turning a ragga vocal cut into a pirate-radio-style jungle atmosphere by resampling it inside Ableton Live 12 and reshaping it into something that feels urgent, dusty, and alive. The goal is not just to “add a vocal sample” — it’s to create a signature atmospheric layer that can sit behind your breakbeats, hype the drop, and glue the track together with the feeling of a late-night broadcast cutting through static 📻
In Drum & Bass, especially jungle, rollers, darker half-step, and ragga-leaning neuro, atmospheres do a lot of heavy lifting. They create scene, tension, and identity before the drums even hit. A chopped ragga phrase, resampled through Ableton’s stock devices, can become:
- a call-and-response hook in the intro,
- a rhythmic ghost layer under the break,
- a transition element before the drop,
- or a distorted pirate-radio texture that makes the track feel raw and lived-in.
- a chopped vocal phrase with jungle/ragga attitude
- a lo-fi atmospheric loop with warble, grit, and bandwidth shaping
- a version that works in the intro and pre-drop
- a second version that can act as a drop-top texture or call-and-response phrase
- a chain that includes filter movement, saturation, delay, reverb, and resampling
- enough control to keep the sound underground, mono-safe, and mixable
- Too much low end in the vocal chain
- Over-washing the sample with reverb
- Leaving the vocal too intelligible
- Clashing with the snare
- Stereo width causing low-end blur
- Not committing to resample passes
- Use Redux subtly on one resampled pass for gritty pirate-radio bite. Try a light reduction in bit depth or sample rate, then mix it underneath the clean pass.
- Put Saturator before and after filtering for different flavours: one stage for body, one for edge.
- Create a parallel distortion return and blend it quietly. Keep the main vocal clearer, and let the return add menace.
- If the track leans neuro or rollers, layer the ragga atmosphere under a reese call-and-response so the vocal appears to trigger the bass phrase.
- Automate Auto Filter resonance lightly around the build to create that “tuned radio sweeping” feel. Keep resonance moderate so it doesn’t whistle too hard.
- Use a short delay throw on the last word of a phrase, then cut it off before the snare drop. That abrupt ending is very DnB.
- For extra underground character, bounce one version through a band-pass filter and use it only in the intro. Then switch to a fuller version in the drop.
- If the break is busy, sidechain the atmosphere very gently to the kick or drum bus using Compressor. Just 1–2 dB of movement can help the vocal breathe without obvious pumping.
- choose a rhythmic, attitude-heavy vocal
- resample early to create a new texture
- chop for call-and-response, not just loop repetition
- keep the atmosphere out of the sub region
- automate filter, delay, and reverb for tension
- use a second resample to finish the sound
- make one version for the intro and one for the drop
Why this matters in DnB: fast tempos leave very little space for clutter. If your atmosphere is too clean, it disappears. If it’s too wide or too busy, it fights the drums and bass. The sweet spot is a textural, loopable, low-mid-rich vocal atmosphere that has movement but still leaves room for sub weight and snare impact. This lesson shows you how to build that inside Ableton Live without relying on third-party tools.
What You Will Build
By the end, you’ll have a resampled ragga cut atmosphere that sounds like it came from a pirate radio tape pulled through a sampler and processed back into the tune.
Specifically, you’ll create:
Musically, imagine a 170–174 BPM tune with a tough break, sub-led bassline, and a ragga vocal bubbling in the background. The vocal isn’t meant to be front-and-center like a lead. Instead, it becomes a ghostly atmosphere that suggests pirate radio chatter, alleyway tension, and chaotic energy between the drum hits.
Step-by-Step Walkthrough
1. Choose the right ragga source and set the project context
Start with a vocal phrase that has strong consonants, clear attitude, and enough rhythm to chop. Short commands, hype shouts, or DJ-style ragga lines work best. Avoid overly melodic phrases at this stage — you want something with percussive speech rhythm.
Set your project to a DnB tempo, typically 170–174 BPM. If you’re making a more classic jungle feel, 165–170 can also work, but keep the phrasing sharp enough to survive fast playback.
Drag the vocal into an audio track and warp it if needed. For most ragga cuts, try:
- Warp mode: Complex Pro for fuller phrases
- Warp mode: Beats if the vocal is already chopped into short rhythmic bits
If the sample is long, locate one or two phrases with strong energy and cut them down. You’re looking for a phrase that can be looped or repeated without sounding obvious.
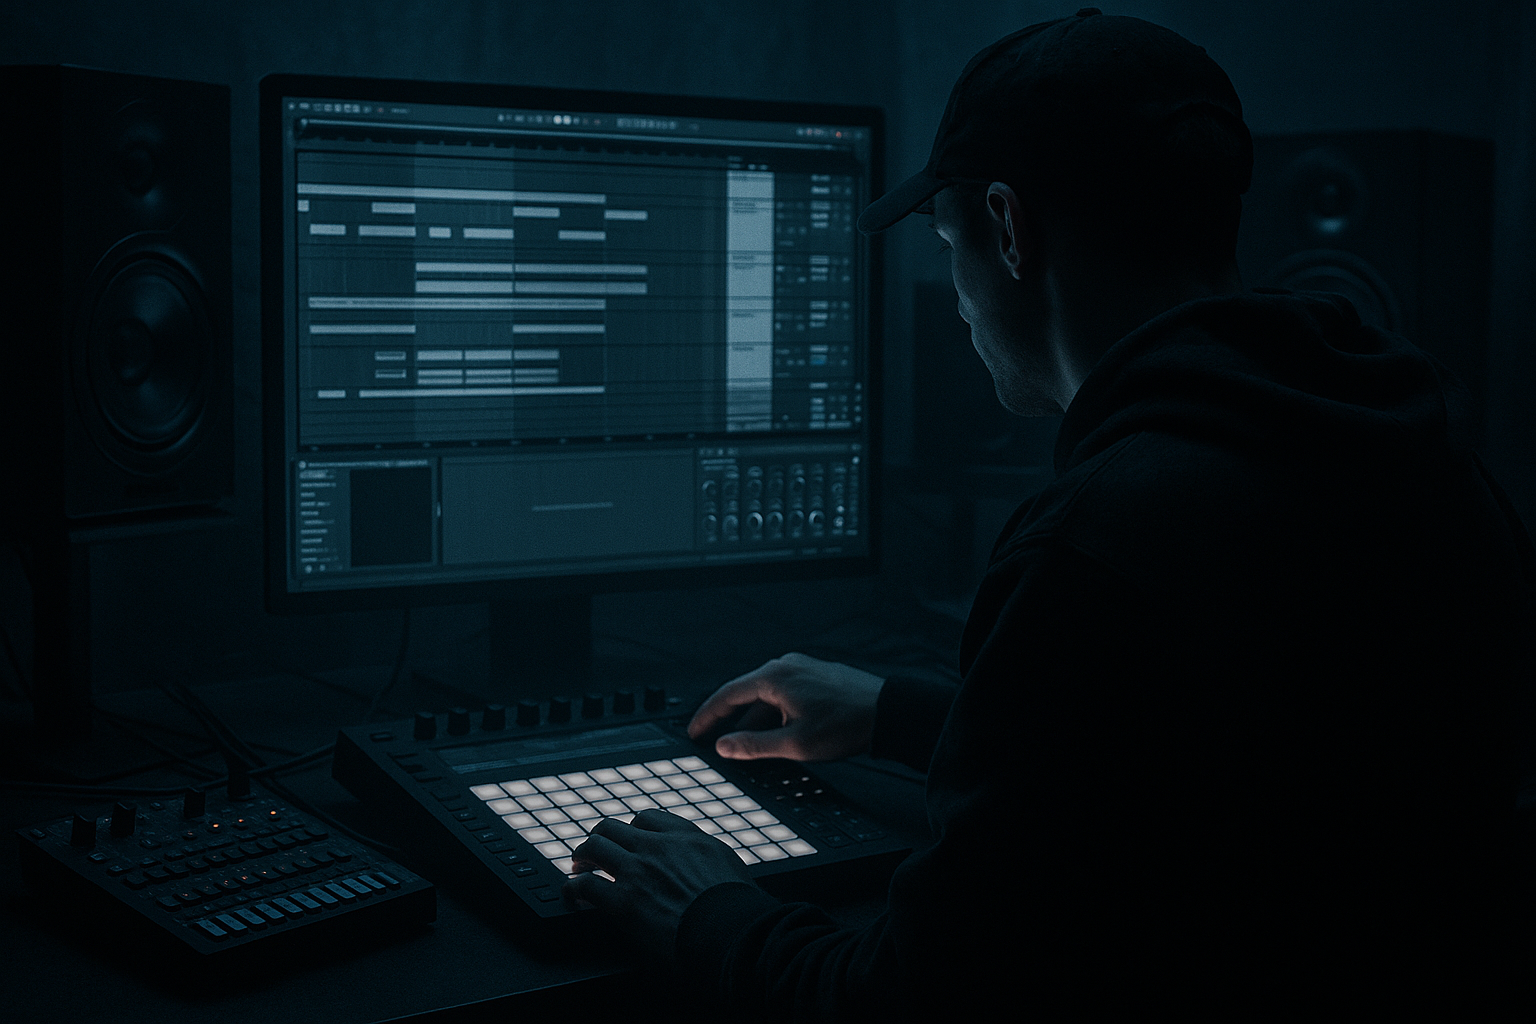
2. Build a clean resampling path inside Ableton
Create a new audio track called something like Ragga Resample. Set its input to receive audio from the vocal track, or simply route the vocal to resample internally if you want to commit the processing chain.
A practical Ableton workflow:
- Put your source vocal on one audio track
- Add a processing chain on that track or on a return track
- Create a second audio track set to Resampling or audio from the source track
- Record a 4- or 8-bar pass of the processed vocal
Why this works in DnB: resampling lets you commit to the texture and turn a simple vocal into a new rhythmic object. At 174 BPM, the groove changes fast, so a bounced version is easier to edit, warp, and place against drums without endless CPU-heavy tweaking.
Before recording, set a basic chain on the source:
- Auto Filter: high-pass around 120–180 Hz to clear space for sub
- Saturator: Drive around 2–6 dB, Soft Clip on
- Echo or Delay: very short feedback, often 10–25%
- Reverb: small to medium size, decay around 1.2–2.5 s, low-cut engaged
Don’t overdo it. The first bounce should be usable but not finished. You’re making raw material.
3. Chop the vocal into performance-ready slices
Once recorded, take the resampled audio and slice it into a new Drum Rack or Simpler instrument. In Ableton Live 12, this is a great way to turn a vocal atmosphere into a playable DnB instrument.
Right-click the audio clip and choose Slice to New MIDI Track. Use:
- slicing by transients for rhythmic cuts
- or 1/8 notes if you want a more grid-locked ragga loop
Inside the Drum Rack / Simpler cells:
- shorten decay so the chops don’t smear into each other
- turn on Snap for tighter edits if needed
- use the Envelope section in Simpler to shape each hit
A useful parameter range:
- Simpler Attack: 0–10 ms
- Simpler Release: 80–250 ms for tight chops
- If the phrase needs more space, push release to 300–500 ms
Now program a rhythm that feels like pirate-radio chatter:
- put a chop on the “and” of beat 2
- answer it on beat 4
- leave holes for the snare
- repeat one fragment with slight variation every 2 bars
Keep it conversational. This is classic DnB call-and-response thinking, but with vocal atmospheres instead of full leads.
4. Shape it into an atmosphere, not a foreground vocal
The trick is to make the vocal feel like it’s in the room, not sitting on top of the mix. For that, build a dedicated atmosphere chain on the resampled track or group.
Use these stock devices in order:
- EQ Eight
- Saturator
- Chorus-Ensemble or Phaser-Flanger for subtle movement
- Echo
- Reverb
- optional Redux for grit
Example settings:
- EQ Eight: low-cut at 150 Hz, slight dip around 300–500 Hz if boxy
- Saturator: Drive 3–8 dB, Dry/Wet 60–100% depending on harshness
- Chorus-Ensemble: Depth low, Dry/Wet around 10–25%
- Echo: Time synced to 1/8 or 1/8 dotted, Feedback 15–30%
- Reverb: Dry/Wet 8–20%, High Cut around 6–8 kHz
The goal is to blur the edges just enough that the phrase becomes a textural bed. If the vocal is too intelligible, it becomes the focal point and steals attention from the drums and bass. If it’s too washed out, the pirate-radio energy disappears. Stay somewhere in the middle.
5. Resample again for grime and control
After building the atmosphere chain, bounce it again. This second resample is where the sound starts to feel authentic and finished. It also gives you a single audio file you can warp, reverse, and edit more aggressively.
Record 4, 8, or 16 bars of the processed atmosphere. Then:
- reverse a few clips
- create tiny gaps before key snare hits
- stretch one phrase across a full bar for a foggy tail
- cut out low-energy sections so the loop breathes
Try a musical arrangement pattern like this:
- Bars 1–2: sparse vocal fragments with space
- Bars 3–4: add delay throws and a reverse swell
- Bars 5–8: let the atmosphere become busier right before the drop
- Drop: pull back the longest tails so drums and bass can breathe
In a pirate-radio-style intro, this kind of resampled vocal can sit over vinyl crackle, distant sirens, or a filtered break. If your track has a DJ intro, keep the atmosphere narrower and more rhythmic. If it’s a full song intro, let the reverb tails open up more.
6. Lock the atmosphere to the drums with groove, not clutter
DnB atmospheres work best when they respect the break. Place the chopped vocal so it answers the snare rather than masking it.
In practice:
- make sure vocal hits don’t land on the snare transient unless intentional
- use Groove Pool if needed to give the chops a loose swing
- try a light MPC-style groove or subtle shuffle around 54–58% if the vocal feels too rigid
If the break is busy, simplify the vocal rhythm. If the break is minimal, the vocal can be more active.
A good rule: the atmosphere should enhance the drum loop’s forward motion. For example, in a 2-bar jungle phrase:
- bar 1: vocal fragment after the first snare
- bar 2: longer tail before the turnaround
- bar 3: short answer phrase
- bar 4: filtered repeat leading into the drop
This kind of phrasing helps the vocal feel like part of the arrangement, not pasted on top.
7. Automate movement for tension and release
This is where the atmosphere becomes track-ready. Use automation to make the ragga cut evolve across sections.
Great automation targets in Ableton Live:
- Auto Filter cutoff: open from around 300 Hz to 3–8 kHz
- Reverb dry/wet: increase in build-ups, reduce in drops
- Echo feedback: quick throws at the end of phrases
- Saturator drive: increase slightly before a drop for added urgency
- Utility width: keep narrow in the intro, widen slightly pre-drop
A strong arrangement move:
- intro: band-pass or high-pass the vocal so it sounds like it’s coming through a radio
- pre-drop: open the filter and increase delay feedback
- drop: cut the reverb tail sharply or automate a low-pass to make the drums hit harder
Why this works in DnB: fast tracks need contrast. Automation gives you tension without changing the core musical idea, which is ideal when you want a repeatable atmospheric hook that doesn’t overcomplicate the arrangement.
8. Mix it like an atmospheric layer, not a lead
Keep the vocal supported by the drums and bass, not competing with them. Use EQ Eight and Utility to keep the layer disciplined.
Useful mix moves:
- high-pass between 120–220 Hz
- if it clashes with snare body, dip 180–250 Hz
- if it fights cymbals or reese harmonics, soften 2.5–5 kHz
- use Utility to reduce width if the low mids get messy
- check in mono frequently
For atmosphere layers in DnB, mono discipline matters. Even if the vocal sounds exciting wide, the low-mid smear can blur the break and weaken the bassline. Keep the core element mono-ish, then let only the upper ambience spread slightly.
If needed, route the vocal to a return with a filtered reverb:
- return A: reverb with high-pass at 300–500 Hz
- return B: short delay for throws
- return C: subtle distortion/Redux for a lo-fi tail
This keeps your dry atmosphere readable while giving you flexible send control.
9. Design a drop-ready variation
Make a second version specifically for the drop or turnaround. This keeps your arrangement dynamic and gives you that “radio cut evolves into weaponized texture” feeling.
Create one of these variations:
- a more chopped, percussive version with tighter release
- a degraded version with Redux and more filtering
- a reverse swell version leading into a snare fill
- a call-and-response pair with one phrase answering the bassline
Try this contrast:
- Intro version: filtered, roomy, more mysterious
- Drop version: drier, more rhythmic, slightly distorted, less reverb
A practical arrangement example for a 16-bar section:
- bars 1–4: filtered atmospheric vocal loop
- bars 5–8: extra chop on bar 7 to signal build
- bars 9–12: reverse tail into the drop fill
- bars 13–16: drop version with tighter, more aggressive cuts
This makes the vocal feel like a designed part of the tune rather than a static loop.
Common Mistakes
Fix: high-pass earlier than you think, usually somewhere around 120–180 Hz.
Fix: use reverb as a send or keep Dry/Wet modest. In DnB, too much wash kills snare impact.
Fix: chop more aggressively, filter more, or resample with lighter bandwidth. Atmosphere should suggest, not explain.
Fix: move the chop slightly off the snare transient or reduce release so it doesn’t smear into the hit.
Fix: narrow the atmosphere with Utility, and keep anything below roughly 200 Hz out of the wide field.
Fix: bounce intermediate versions. Resampling is part of the sound design, not just a technical step.
Pro Tips for Darker / Heavier DnB
Mini Practice Exercise
Spend 10–20 minutes making two versions of the same ragga atmosphere:
1. Find a 1–2 bar ragga vocal phrase.
2. Route it through a simple chain: EQ Eight → Saturator → Echo → Reverb.
3. Resample 4 bars of the processed audio.
4. Slice the resample into a Drum Rack or edit it as audio clips.
5. Make one version:
- filtered
- roomy
- sparse
- intro-friendly
6. Make a second version:
- tighter
- dirtier
- more rhythmic
- drop-friendly
7. Place both against a basic DnB loop at 172 BPM.
8. Automate the filter and delay throw over 8 bars.
9. Check mono, then trim anything that masks the snare or sub.
10. Export both versions and compare which one feels more “pirate radio” versus “drop weapon.”
Bonus challenge: make the vocal answer the snare on every second bar without repeating the same chop twice.
Recap
The core idea is simple: resample a ragga vocal cut, chop it, process it, and commit it into a DnB atmosphere that feels like pirate radio energy.
Remember the big wins:
If you get this right, your ragga cut stops being a sample and becomes part of the track’s identity — dusty, urgent, and unmistakably DnB 🔥

