Main tutorial
Lesson Overview
Resampling a breakdown is one of the fastest ways to turn a simple vocal moment into a proper jungle/DnB texture. In this lesson, you’ll take a breakdown section in Ableton Live 12, record it into audio, and chop it into a gritty, musical vocal tool you can use for intros, transitions, fills, and oldskool-style drop hype.
This technique matters because DnB arrangement is all about energy control. A breakdown gives you space, emotion, and tension; resampling lets you freeze that moment and reshape it into something more rhythmic and more personal. Instead of leaving a vocal as a clean “lead-in,” you’ll transform it into a chopped-up, atmospheric, re-playable asset that feels like it belongs in a jungle track, rollers tune, or darker halftime/DnB switch-up.
Why this works in DnB: the genre thrives on contrast. Big drums and sub-heavy drops hit harder when they’re preceded by a breakdown that has movement, texture, and vocal identity. Resampling lets you turn a vocal phrase into a hook, a fill, a ghostly response, or even a percussive element that sits between the drums and bass. It’s a classic underground workflow with modern Ableton speed ⚡
What You Will Build
By the end, you’ll have:
- A short vocal breakdown section bounced into audio
- A chopped resample loop with 4 to 8 useful vocal slices
- A version with oldskool jungle character: lo-fi, roomy, slightly rough around the edges
- A flexible breakdown tool you can trigger before a drop or use as a call-and-response layer
- Optional extra layers: reverse swells, delay tails, and a distorted texture version for darker DnB
- A moody vocal phrase floating over filtered drums
- A few chopped stabs that answer the kick and snare
- A short tension build into the drop
- Something that could sit in a 16-bar intro, an 8-bar breakdown, or the last 2 bars before the first drop
- Making the resampled vocal too wet
- Leaving too much low end in the vocal
- Chopping too many slices
- Ignoring timing
- Resampling the full mix by accident
- Letting the vocal fight the snare
- Add mild saturation before resampling
- Use Auto Filter automation for dread
- Print delay throws, not constant delay
- Make one vocal chop feel like a snare accent
- Keep the lowest frequencies mono and clean
- Try a slightly degraded texture
- Use a call-and-response structure
- Resampling a breakdown turns a vocal into a reusable DnB texture.
- Record the vocal with space, delay, and reverb if you want character.
- Slice it into playable chops and treat it like part of the rhythm section.
- Use filtering, saturation, and automation to build tension toward the drop.
- Keep the low end clean and the arrangement spacious so the vocal supports the drums and bass.
- In jungle and oldskool DnB, a chopped resampled vocal can become a hook, a fill, or a transition weapon 🎛️
Musically, the result should feel like:
Think of it as turning a vocal into a mini instrument. In jungle and oldskool DnB, that might mean eerie phrases, chopped phrases, and atmosphere that locks into the rhythm rather than just sitting on top of it.
Step-by-Step Walkthrough
1. Choose a vocal breakdown section that already has emotion
Start with a vocal phrase, acapella line, spoken sample, or sung breakdown that gives the track some identity. For beginner workflow, keep it simple: one clean vocal section between 1 and 8 bars.
In Ableton Live, place that vocal on its own audio track and make sure it plays in a breakdown area of the arrangement. Good places:
- 8 bars before the first drop
- 4 bars before a switch-up
- the middle 8 bars of a second breakdown
If the vocal is too clean or too dry, that’s okay. You’ll shape it later. For oldskool vibes, phrases with a slightly raw tone often work better than polished pop vocals.
Tip: if the vocal is long, find one memorable phrase rather than trying to resample the whole section. DnB works best when you create focus and repetition.
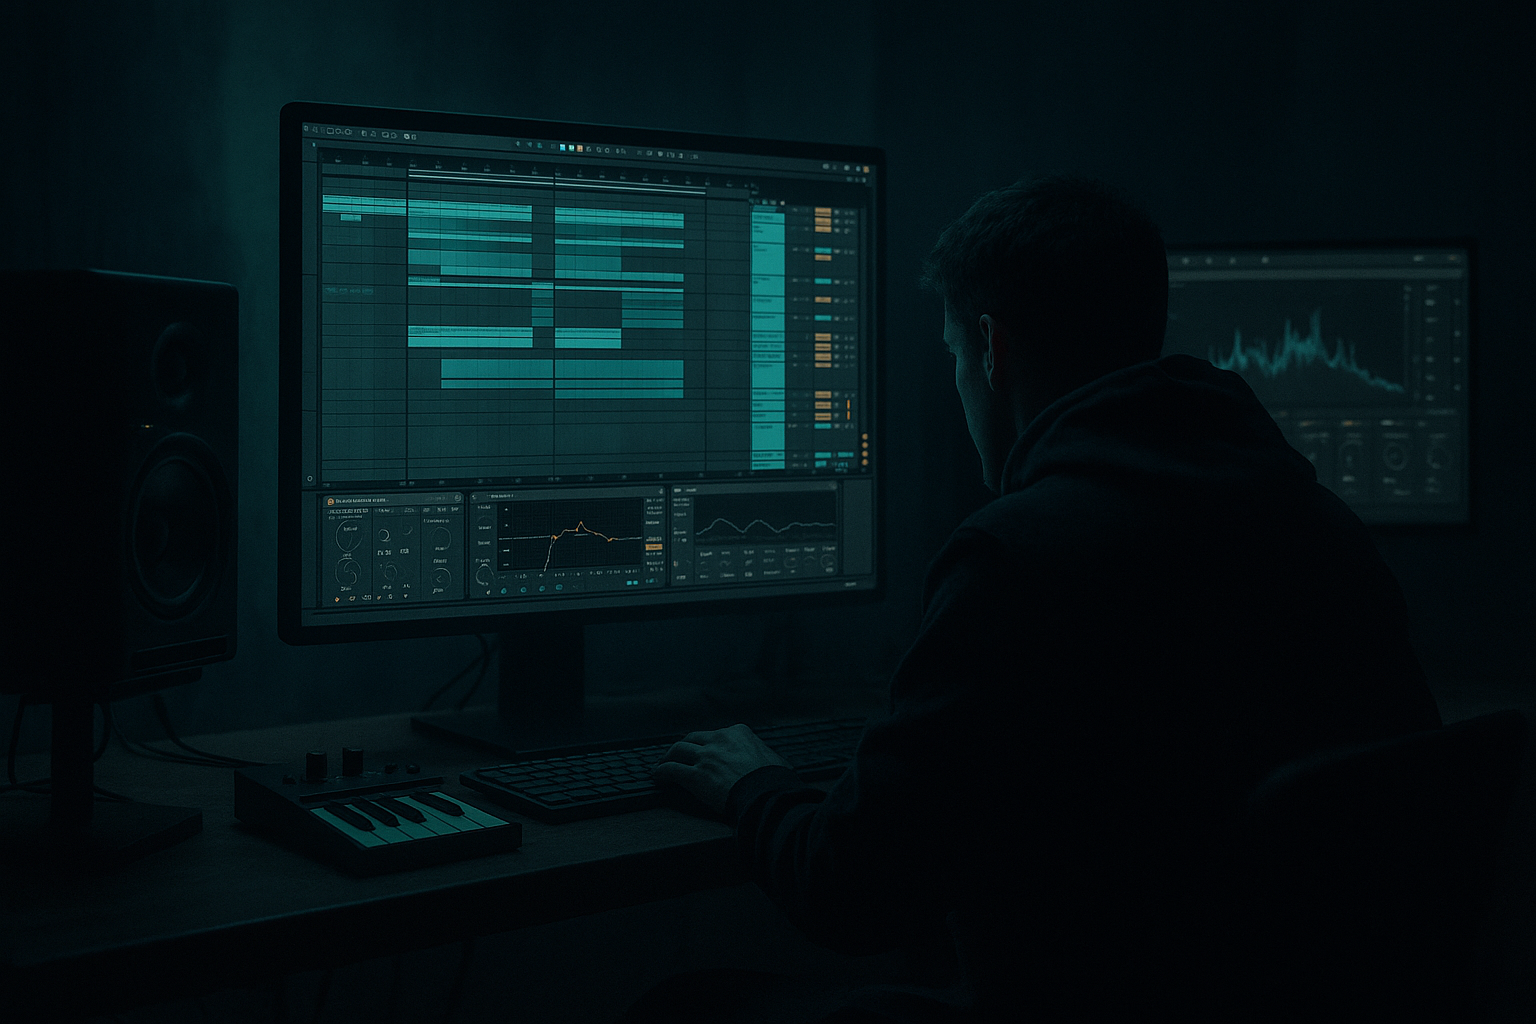
2. Set up a resample track in Ableton Live 12
Create a new audio track and set its input to Resampling. This records the full master output of what you hear, including your vocal plus any effects on the track or return tracks.
For a beginner-friendly setup:
- Keep the original vocal track playing
- Put the breakdown ambience, delay, or reverb you want to capture on the vocal track or return track
- Arm the resample track and record the section in real time
Useful workflow choice: if you want to capture only the vocal without the whole mix, instead route the vocal track to “Sends Only” and record the resample track carefully. But for this lesson, full resampling is fine because the texture is part of the vibe.
Why this works in DnB: resampling helps you commit to a specific energy. Jungle and DnB often sound better when the audio has been printed into one moving texture instead of staying overly separate and polished.
3. Shape the vocal with stock Ableton devices before you resample
Add a simple device chain on the vocal track before recording. Keep it light and musical, not overcomplicated.
A practical beginner chain:
- EQ Eight
- Auto Filter
- Reverb or Echo
- Utility
Suggested starting settings:
- EQ Eight: high-pass at around 120–180 Hz to remove low rumble
- Auto Filter: low-pass around 8–12 kHz if the vocal is too bright
- Reverb: decay around 2.5–5 seconds, dry/wet 10–25%
- Echo: time synced to 1/4 or 1/8, feedback 15–35%, dry/wet 8–20%
- Utility: reduce gain slightly if the chain gets too loud
For oldskool jungle flavor, a bit of space and filtering goes a long way. Don’t make it huge and washy unless that’s the exact vibe you want. The goal is texture, not washing out the groove.
4. Record the breakdown into audio in one pass
Arm the resample track, enable metronome if needed, and record the breakdown section while it plays. Capture at least 4 bars, ideally 8 bars, so you have enough material to chop.
During recording, let the vocal effects breathe:
- Allow reverb tails to ring out
- Let delays bounce into empty space
- Don’t stop too early; the tail is often where the magic lives
If your vocal phrase has a strong ending, record a bar or two after it so you can capture the tail cleanly. This extra space gives you reverse material and transition options later.
Arrangement idea: record your breakdown immediately before the first drop. That way, your resampled vocal can become the pre-drop tension layer that leads naturally into the drum and bass impact.
5. Consolidate and warp the resampled audio cleanly
Once recorded, duplicate the resampled clip to a new track or keep it on the same one. Consolidate the best section so it starts cleanly on the grid.
Turn Warp on if needed, then choose a warp mode that suits the audio:
- Complex or Complex Pro for full vocal phrases
- Beats only if you want chopped rhythmic slices and the recording is very percussive
Beginner-friendly move: use the clip’s transients and warp markers to align the key phrase starts to the grid. Don’t over-edit every syllable. The groove should still feel human.
If the vocal feels too “perfect,” slightly push some slices ahead or behind the beat later when chopping. DnB often feels better when small timing imperfections create tension.
6. Slice the vocal into playable chops
This is the fun part. Right-click the resampled clip and choose Slice to New MIDI Track. Use a slicing preset based on transients or 1/4 notes, depending on how rhythmic the vocal is.
Good beginner choices:
- Slice by Transients: best if the vocal has clear words or breaths
- Slice by 1/8 or 1/16: best if you want uniform chop spacing
- Slice to a new Drum Rack so each slice can be triggered like a drum hit
Once sliced, play the clips or MIDI notes to find a short pattern that works. Build a 1-bar or 2-bar phrase with:
- one longer vocal hit on beat 1 or 3
- a couple of quick response chops
- a gap for drums to breathe
This is where DnB thinking helps: treat the vocal like a snare fill or cymbal phrase, not only like a melody. A chopped vocal can answer the breakbeat and create that oldskool call-and-response feel.
7. Process the chopped vocal like a DnB instrument
Put a simple effect chain on the sliced Drum Rack or audio track to make the chops sit in the tune.
Strong beginner-friendly options:
- EQ Eight: cut low end below 120 Hz
- Saturator: Drive around 2–6 dB for grit
- Compressor: light glue, 1.5:1 to 2:1 ratio, a few dB of gain reduction
- Auto Filter: automate cutoff for movement
- Simple Delay or Echo: short throws on selected chops
If the chops are too loud or distracting, use the track volume first before reaching for heavy processing. DnB arrangements depend on balance. The vocal should lift the groove, not fight the bassline.
A useful mix rule: keep resampled vocal chops wide in character, but not wide in low end. If a chop has any rumble or body, cut it. Let the sub and kick own the bottom.
8. Create a tension section with automation
Now make the resampled vocal move. Automation is what turns a chopped audio loop into an arrangement moment.
Automate one or two of these:
- Auto Filter cutoff sweeping from around 500 Hz up to 8–10 kHz
- Reverb dry/wet rising from 10% to 30% in the last 2 bars
- Echo feedback increasing slightly before the drop
- Utility gain lowering for a “falling away” effect right before the drop
A useful arrangement example:
- Bars 1–4: filtered vocal breakdown, sparse chops
- Bars 5–6: add more delay throws and a reverse swell
- Bars 7–8: reduce the vocal to a final chopped phrase
- Last 1 bar: remove most elements and let the drum pickup or impact lead into the drop
This gives the classic DnB tension/release arc. The listener feels the room open up before the low-end returns.
9. Build a reverse and tail layer for transition energy
Duplicate the best vocal chop or tail, then reverse it. In Ableton, reverse the audio clip and place it so it leads into a phrase or drop.
Add a small amount of reverb or delay before reversing if you want a more ghostly swell. This is a great oldskool trick:
- Reverse vocal tail
- High-pass it around 200 Hz
- Fade it in before the drop or snare fill
You can also place a simple crash, noise riser, or snare roll underneath it, but keep it controlled. In jungle and rollers, too many transitions can make the groove feel busy. One strong vocal reverse often does more than three random FX layers.
10. Lock the vocal to the drums and bass context
Once the vocal resample feels good on its own, test it against your drum break and bassline. Solo is useful, but DnB is about the relationship between layers.
Check:
- Does the vocal leave space for the snare on 2 and 4?
- Does it clash with the kick or sub?
- Does it support the phrasing of the bassline call-and-response?
If your bassline is dense, keep the vocal chops shorter and more rhythmic. If the bassline is sparse, you can let the vocal tail breathe more.
One strong workflow: place the resampled vocal in the intro and breakdown, then remove it from the drop so the drop feels bigger. Or, keep one tiny vocal stab in the drop as a recurring hook. That’s a very effective underground DnB arrangement move.
Common Mistakes
- Fix: reduce reverb and delay before printing, or high-pass the return with EQ Eight.
- Fix: cut below 120–180 Hz so the sub stays clean.
- Fix: use fewer chops and make them more intentional. DnB often hits harder with space.
- Fix: nudge chops to the grid, but keep a little human feel. Don’t quantize everything to death.
- Fix: check routing carefully. If you only want the vocal, isolate the source track or use Sends Only.
- Fix: leave space on beats 2 and 4, especially in oldskool jungle arrangements where the break is the hero.
Pro Tips for Darker / Heavier DnB
- Use Saturator with Drive around 2–5 dB to make the vocal sound more worn-in and aggressive.
- A slowly closing low-pass into the breakdown creates that claustrophobic darker DnB feeling.
- One or two Echo throws on the last word sounds more pro than a delay smeared across the whole phrase.
- Layer it with the break so the vocal becomes part of the rhythm section, not just an extra melody.
- Use Utility if needed, and always keep your vocal resample out of sub territory.
- A touch of bit reduction-like harshness is not the goal, but a rougher tone through Saturator, filtering, and resampling can give authentic tape-ish jungle energy without needing anything fancy.
- Let the vocal answer the breakbeat or bassline on the off-beats. That’s a classic DnB arrangement move and it instantly sounds more musical.
Mini Practice Exercise
Spend 10–20 minutes doing this:
1. Find a 4-bar breakdown with a vocal phrase in one of your projects.
2. Add EQ Eight and Auto Filter to shape it before resampling.
3. Resample the section into a new audio track.
4. Slice the audio to a Drum Rack using transients.
5. Build a 1-bar pattern with 4 to 6 vocal hits.
6. Add one delay throw and one reverse chop.
7. Automate a filter sweep into the end of the phrase.
8. Test it against your drums and bassline.
9. Export a quick loop and listen back in mono.
Goal: create one usable DnB vocal breakdown tool, not a full song. Keep it fast and focused.

