Main tutorial
Lesson Overview
In this lesson, you’ll build a Reese patch carve system for ragga-infused chaos in Ableton Live 12 — a beginner-friendly way to make a bassline that feels gritty, animated, and controlled at the same time.
In Drum & Bass, a Reese is usually the wide, moving mid-bass layer that sits above the sub and carries the character of the drop. The “carve system” part means we’re not just making a static patch — we’re creating a bass sound that gets shaped, cut, and moved over time with filters, EQ, envelopes, and automation so it can answer the drums and leave space for the kick and snare. That matters a lot in DnB because the music is fast: if your bassline is always full-on, it turns into mush. But if you carve it with intention, it hits harder, feels more musical, and leaves room for ragga-style vocal chops, break edits, and tension builds. 🔥
This technique fits especially well in:
- Drop sections where you want a nasty but readable bass riff
- Call-and-response phrases with vocal hits or drum fills
- Edits and switch-ups where the bass gets re-shaped every 4 or 8 bars
- Dark rollers where movement matters more than flashy melodies
- Jungle-influenced DnB where chopped breaks and bass stabs need space to breathe
- a sub layer for weight
- a Reese layer for grit and stereo motion
- a carving chain to make the bass duck, shift, and evolve
- an edit-friendly arrangement you can reuse across tracks
- a steady sub foundation
- a swarming, slightly angry mid-bass
- filter cutaways that create rhythmic movement
- short bass stabs and drop answers that work under chopped breaks and vocal chops
- hold a 1-bar or 2-bar groove
- leave holes for snare hits and vocal throws
- slam harder on the first hit of a phrase
- switch from wide chaos to focused punch during transitions
- Making the Reese too wide in the low end
- Using too much distortion too early
- Letting the bass fight the snare
- Automating everything at once
- Writing bass notes that are too long
- Ignoring the sub/reese split
- Use short filter openings on the first hit of a phrase
- Add movement, not just loudness
- Keep the Reese slightly unstable, but controlled
- Resample your best 4-bar bass phrase
- Use a break edit under the bass
- Darken the intro, brighten the drop
- Check the track in mono
- Let ragga samples breathe
- Sub = mono, clean, stable
- Reese = wide, gritty, animated
- Carving = filter, EQ, note spacing, and automation
- Edits = use resampling and clip automation to create drop variation
- DnB works best when bass and drums leave each other space
By the end, you’ll have a reusable Ableton Live 12 system that gives you:
---
What You Will Build
You’ll create a 3-part bass rack in Ableton Live:
1. Sub layer: a clean mono sine/triangle-style low end
2. Reese layer: a detuned, wide, midrange bass with controlled distortion
3. Carve chain: EQ, filter, utility, and automation that make the bass “breathe” around drums and ragga-style edits
Musically, the result will sound like:
Think of it as a bassline that can do this job:
---
Step-by-Step Walkthrough
1. Start with a clean MIDI bass track
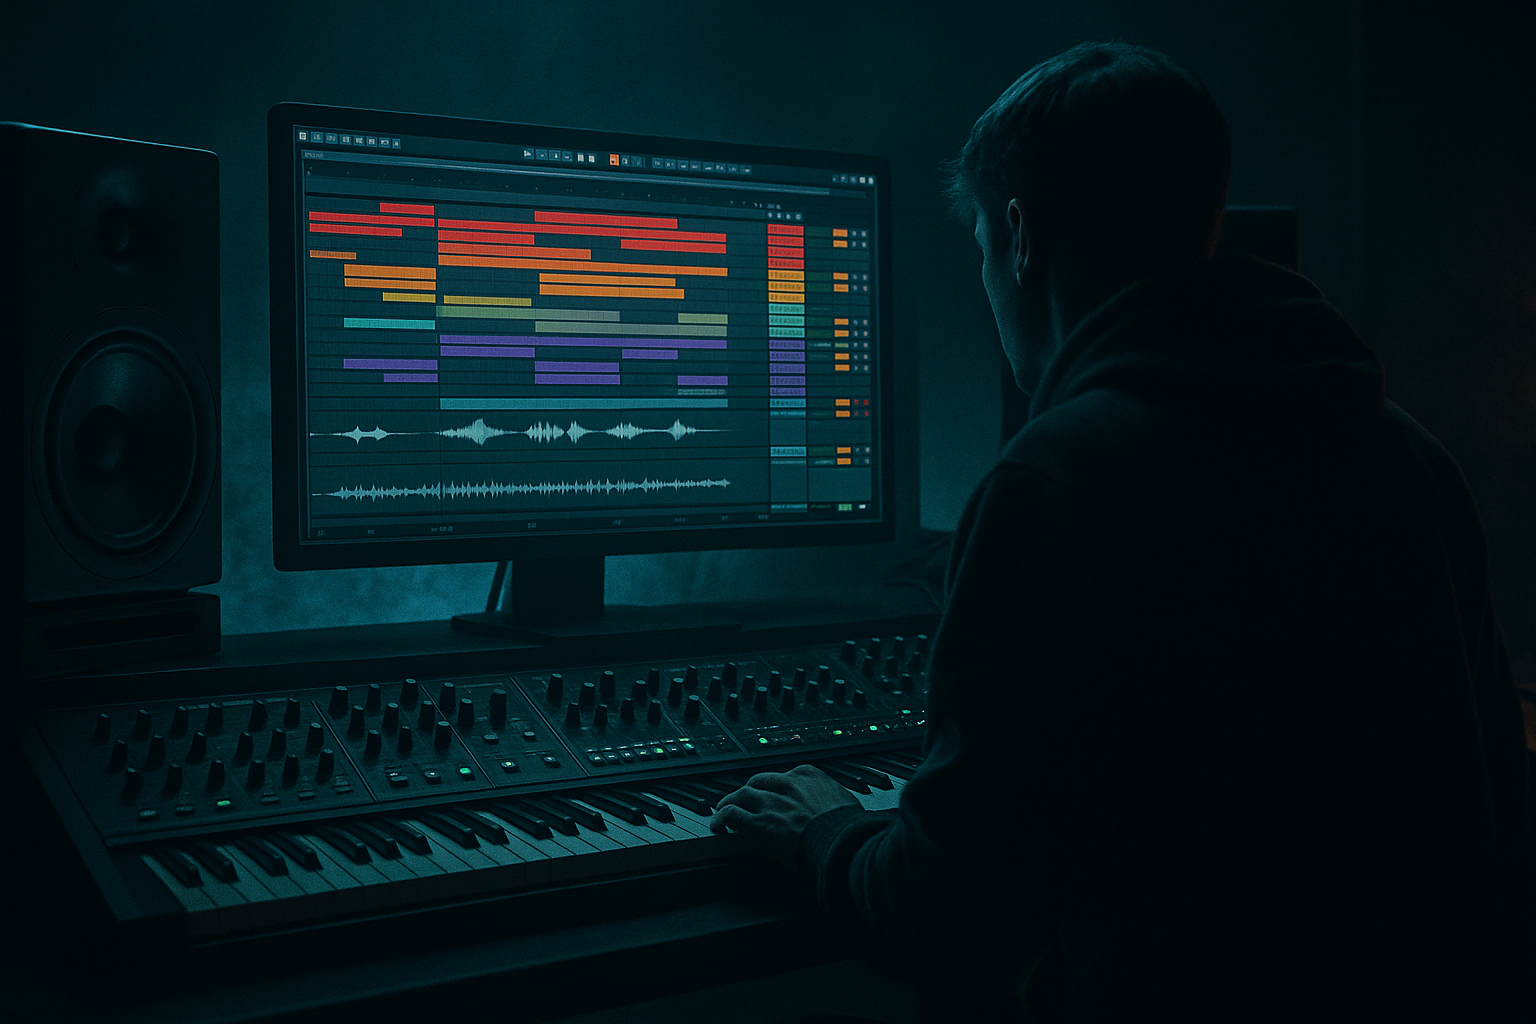
In Ableton Live, create a new MIDI track and name it BASS Reese Carve. Put this under a group later if you want, but for now keep it simple.
Add Instrument Rack so you can stack layers cleanly. Inside the rack, create two chains:
- Sub
- Reese
Why this matters: in DnB, separating sub and mids keeps your low end solid. The sub stays mono and stable, while the Reese carries the movement.
For your MIDI, start with a simple 1-bar pattern:
- use 2 to 4 notes
- keep notes short at first
- try roots or fifths in the key of your track
- leave gaps so the rhythm can breathe
Beginner rule: if you’re unsure, use one note per half bar and let the drums do the talking.
2. Build the sub layer first
In the Sub chain, load Operator or Analog. For the simplest setup, use Operator:
- Oscillator A: sine wave
- turn off extra oscillators
- set the amp envelope with a short attack, no sustain changes needed
Suggested settings:
- Attack: 0–5 ms
- Decay: optional, or keep long if you want sustained notes
- Release: 60–120 ms for smooth note ends
- keep it mono
- turn off any chorus or unneeded modulation
Add EQ Eight after Operator:
- cut a little around 200–400 Hz if the sub feels boxy
- do not boost the sub heavily; let the sound be clean
Add Utility:
- set Width = 0% to force mono
- use Gain to level-match
Why this works in DnB: fast tempos mean low-end timing has to be exact. A clean mono sub locks with the kick and makes the track feel heavier without clutter.
3. Create the Reese layer with width and tension
In the Reese chain, load Wavetable or Analog. For beginners, Analog is easy and effective:
- Oscillator 1: saw wave
- Oscillator 2: saw wave, slightly detuned
- detune one oscillator just a little for motion
Suggested starting points:
- Detune: small amount, around 5–15 cents feeling
- Filter: low-pass with moderate resonance
- Amp envelope attack: 0–10 ms
- Decay: short to medium if you want punchy stabs
- Sustain: medium if you want a rolling bassline
Add Chorus-Ensemble if you want a broader Reese:
- keep it subtle
- use low mix, around 10–25%
- avoid huge stereo spread on everything; the sub must stay separate
Add Saturator after the synth:
- use Soft Clip on
- push Drive gently, around 2–6 dB
- don’t overdo it; you want harmonics, not fizz
This gives you the classic mid-bass tension you hear in dark rollers and jungle-informed drops: enough grit to cut through breaks, but not so much that it fights the drums.
4. Set up the “carve system” with filter movement
This is the core idea. You want the Reese to open and close in a rhythmic way, like it’s reacting to the drums and vocal chops.
Add Auto Filter after the Reese synth and Saturator:
- choose Low-Pass
- start cutoff around 200–500 Hz if you want a filtered intro
- set resonance low to moderate
- map the filter frequency to automation later
Now create movement using one of these beginner-friendly methods:
- MIDI automation on the filter cutoff
- Clip envelopes for individual bass loops
- Automation lanes in Arrangement View for the whole section
Simple 2-bar carve idea:
- bar 1: filter slightly closed
- bar 2: filter opens on the first half, then closes before the snare
Try this range:
- Closed: 200–800 Hz depending on how dark you want it
- Open: 1.5–5 kHz for aggressive mid bite
Why this works in DnB: the bass feels like it’s “phrasing” with the drums instead of just droning underneath them. That creates tension and release, which is essential in fast music.
5. Add an EQ carve for kick and snare space
Insert EQ Eight after the Reese chain. This is your practical carve tool.
Start with:
- a gentle low cut on the Reese if the sub layer already owns the bottom
- a dip around 80–150 Hz if the kick and bass are colliding
- a small dip around 200–350 Hz if the bass gets muddy
- if the sound is harsh, reduce a little around 2–5 kHz
Two useful beginner moves:
- use a high-pass filter on the Reese so it doesn’t step on the sub
- use small cuts, not giant boosts
For DnB, it’s usually better to carve the bass around the drums than to force everything to be loud. This keeps the drop punchy, especially with break edits where snares already carry a lot of energy.
6. Make the bass answer the drums
Now program your MIDI so the bass works like call-and-response with the break or programmed drums.
In a standard 174 BPM DnB loop:
- let the kick/snare pattern lead
- place bass notes after the snare for bounce
- leave space before the snare to increase impact
- use short notes for stabs and longer notes for rolling sections
Example arrangement idea:
- Bars 1–2: bass plays a simple rhythm with one open note
- Bars 3–4: add a short fill or extra note before the snare
- Bar 5: strip the bass down for a switch-up
- Bar 6: bring it back with more filter opening
If you want ragga-infused chaos, leave room for vocal chops or a toasting-style sample to hit on top. The bass should support the vocal rhythm, not crowd it.
A good beginner rule: if the vocal chop lands, duck the bass slightly or move the bass note away from that moment.
7. Use clip automation for easy edits
Since this lesson is focused on Edits, use Arrangement View or clip envelopes to make the bass change over time without rewriting the whole part.
Good automation targets:
- Auto Filter cutoff
- Saturator Drive
- Reverb send for short transition moments only
- Delay send for one-shot fills
- Utility width on the Reese layer, not the sub
Practical edit ideas:
- close the filter for the first 2 bars of a breakdown
- open it suddenly on the drop
- automate Drive up slightly before a fill
- reduce the bass volume by 1–2 dB right before the snare impact, then slam it back
Keep these moves small. In DnB, tiny automation changes often create the biggest perceived energy shift.
8. Add a resampling layer for extra chaos
Once your Reese sounds good, resample a few bars of it to audio. In Ableton Live, set an audio track to Resampling or route the bass track to a new audio track.
Then:
- record 4 or 8 bars
- chop the audio into short edits
- reverse one hit
- add a tiny fade to avoid clicks
- re-place a chopped stab before a drop
This is where the “ragga-infused chaos” starts to come alive. You can take a bass hit and turn it into a fill, a switch-up, or a transition chop.
Use Warp carefully if needed, but keep edits tight and musical. The goal is not random noise — it’s controlled disorder.
9. Shape the whole rack for mix balance
Put a Utility at the end of the Reese chain and check stereo width:
- keep the sub mono
- keep the Reese wide, but not extreme
- if the mix feels cloudy, reduce the width a little
Then compare your bass with the drums:
- kick should punch through
- snare should stay crisp
- bass should fill the spaces between hits
- the track should still feel powerful at lower volume
If you have a drum bus, try a subtle Glue Compressor on the drum group only, not the bass, so the drums stay cohesive. That helps the bass sit on top instead of fighting the whole kit.
10. Build a drop-ready version and an edit version
Make two versions of the bass idea:
- Main Drop Bass: fuller Reese, more open filter, stronger saturation
- Edit Bass: more stripped back, more gaps, more filter motion
In the main drop, keep the sound full and aggressive.
In the edit version, use:
- shorter notes
- more rests
- filter automation
- chopped resampled fills
This gives you the kind of structure you hear in real DnB arrangements:
- intro
- build
- drop
- switch-up
- second drop variation
- DJ-friendly outro
That variation is what keeps the track moving instead of looping endlessly.
---
Common Mistakes
Fix: keep the sub mono with Utility at 0% width, and high-pass the Reese if needed.
Fix: start with mild Saturator drive and only add more if the bass still feels too clean.
Fix: carve a little space around 100–250 Hz and use note placement to leave room on snare hits.
Fix: choose one or two main movements, like filter cutoff and drive. Small changes are easier to control.
Fix: shorten notes in faster sections so the groove stays crisp and the break can breathe.
Fix: treat them as separate jobs: sub for weight, Reese for character.
---
Pro Tips for Darker / Heavier DnB
That one moment of brightness makes the rest feel darker by comparison.
A 2 dB filter lift or a little saturation automation can feel heavier than a raw volume boost.
Tiny detune and gentle chorus create the “alive” feel common in neuro and modern rollers.
Audio edits often sound more ruthless than MIDI because you can chop them into custom impacts and fills.
Even a simple chopped break or ghost snare layer makes the Reese feel more aggressive and more like proper DnB.
A filtered intro into a fully open drop is one of the easiest ways to get impact without overcomplicating the arrangement.
If the bass disappears or changes shape too much, reduce width or simplify the processing.
If you’re using a vocal throw or toaster-style phrase, carve a small hole in the bass or move the bass note rhythm to answer it.
---
Mini Practice Exercise
Spend 10–20 minutes making a 2-bar DnB bass loop using this system.
1. Create a new MIDI track with Instrument Rack.
2. Build a Sub chain with Operator sine wave and Utility mono.
3. Build a Reese chain with Analog saws, mild detune, Saturator, Auto Filter, and EQ Eight.
4. Write a 2-bar MIDI pattern with only 3–5 notes.
5. Automate the Auto Filter cutoff so bar 1 is darker and bar 2 opens up.
6. Add one small EQ dip where the kick feels crowded.
7. Duplicate the clip and make a second version with one extra note or a short rest before the snare.
8. Resample 2 bars and chop one bass hit into a fill.
Goal: by the end, you should have one loop that feels like a real DnB drop phrase, not just a synth sound.
---
Recap
The key idea is simple: split the bass into sub and Reese layers, then carve movement into the Reese so it supports the drums instead of fighting them.
Remember:
If you keep the bass rhythmic, controlled, and responsive to the break, you’ll get that ragga-infused chaos without losing mix clarity.

