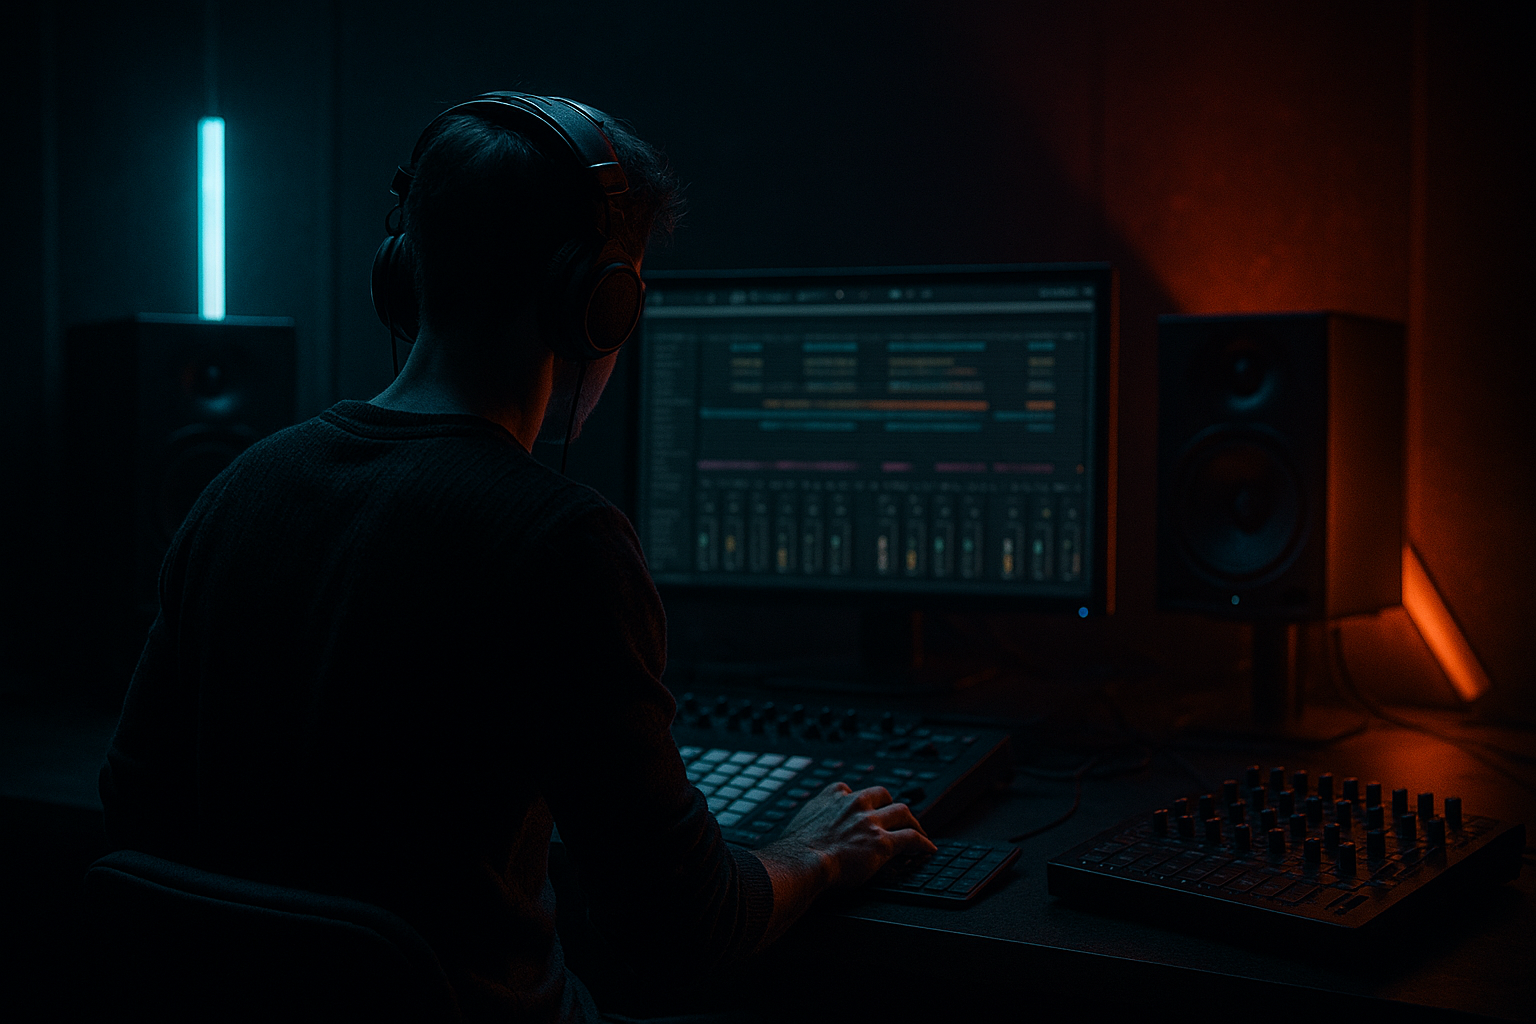
Main tutorial
Lesson Overview
This lesson is about building a Reese bassline from a resampling workflow in Ableton Live 12 and shaping it into something that feels right for oldskool jungle, rollers, and darker DnB. The goal is not just “make a wide bass.” It’s to create a bassline that has movement, grit, and phraseable energy so it can sit under breakbeats, answer drum fills, and drive a drop without overpowering the low end.
In Drum & Bass, Reese bass often works best when it behaves like a supporting lead instrument: it can hold tension during the groove, then open up for switch-ups, fills, and call-and-response moments with the drums. In jungle especially, the bass needs to feel alive and slightly unstable — like it’s breathing with the breaks. Resampling is perfect for this because it lets you print sound design decisions into audio, then slice, process, and re-edit them until the bass feels musical rather than static.
Why this technique matters:
- It gives you faster results than endlessly tweaking synth presets.
- It creates authentic texture by passing sound through saturation, filtering, and resampling stages.
- It makes it easier to build arrangement-ready bass phrases that interact with break edits.
- It helps you control the bass in a DnB context where sub clarity and drum impact are everything.
- a clean mono sub foundation
- a midrange Reese layer created from a resampled synth tone
- movement through automation, filtering, and resampling
- edited bass phrases that answer the breakbeat rather than loop endlessly
- a finished loop that can become part of a DJ-friendly 16- or 32-bar DnB arrangement
- a dark, rolling bass riff in the style of oldskool jungle or modern rollers
- slightly detuned and animated in the mids
- tight and punchy under a breakbeat
- strong enough for a drop, but flexible enough to create half-bar and one-bar call-and-response
- designed to leave room for ghost snares, kick edits, and atmosphere
- Making the Reese too wide in the low end
- Using too much detune
- Letting the bass fight the snare
- Overprocessing before resampling
- Ignoring drum phrasing
- Too much sub and mid overlap
- No arrangement variation
- Use Resampling twice: once for the synth tone, once again after saturation/filter moves. The second bounce often has more character and a more “finished” jungle feel.
- Add tiny pitch movement or occasional note variation in the Reese phrase to avoid loop fatigue.
- Try shorter note lengths on busy drum sections and longer notes when the break opens up. This gives the bass a human, arranged feel.
- Use Drum Buss carefully on the mid layer for extra smack and density, but don’t crush the transient completely.
- For a darker sound, automate Auto Filter around the 300–700 Hz zone and keep the opening moments slightly muted before the drop opens up.
- Use call-and-response: a bass stab on beat 1, then leave beat 2 or the snare space open, then answer with a different resampled hit.
- If your track wants more underground weight, add a very subtle Return track delay on selected high-mid bass hits only — not on the sub.
- Check the bass in mono and at low volume. If the riff still feels strong, it’s usually in good shape.
- keep the sub clean and mono
- build the Reese in the mids
- resample early to gain control
- slice the audio to create bass phrasing
- automate for movement, but protect drum clarity
- arrange the bass like a conversation with the breakbeat
If you want that oldskool but modern jungle DnB energy — deep low end, animated mids, dirty edges, and enough stereo interest to feel huge without wrecking mono compatibility — this workflow is a staple. 🔥
What You Will Build
You’ll build a two-layer Reese bassline in Ableton Live 12 with:
Musically, the result should feel like:
By the end, you’ll have a bass sound that can live in a track where the drums are doing the heavy lifting: chopped breaks, rimshots, ghost notes, and impact transitions.
Step-by-Step Walkthrough
1. Set up a drum-first project and a loopable bass space
Start by building your session around the drums, not the bass. In a DnB track, the bassline should lock to the break, so your groove foundation comes first.
In Ableton Live:
- Set the tempo between 160–172 BPM for jungle/rollers territory.
- Load a breakbeat loop or build a drum pattern using:
- Drum Rack
- Simpler for break slices
- EQ Eight
- Glue Compressor
- Keep the drum bus clean but energetic. Aim for kick/snare peaks around -6 dB before bass enters.
Make a 4-bar drum loop that includes:
- a strong backbeat snare on 2 and 4, or broken-break equivalents
- ghost notes or light percussion chatter
- a small fill at the end of bar 4
Why start here? Because the bassline should be phrased to the drums. In DnB, the most effective Reese lines are rarely “just notes” — they answer the break, leave space for snare accents, and create tension between drum hits.
2. Create a mono sub layer first
Before designing the Reese, make sure the sub is solid. Use Wavetable, Operator, or even Analog if you want a simpler starting point. Operator is especially good for a clean sine sub.
Suggested setup in Operator:
- Oscillator A: sine wave
- Envelope: short attack, medium release
- Keep it mono
- Low-pass everything above the fundamental if needed
Useful parameter ranges:
- Attack: 0–5 ms
- Release: 80–200 ms depending on note length
- Sustain: full or near-full
- Mono mode: on
- Legato: on if you want smoother glide between notes
Write a simple bass pattern first:
- 1-bar or 2-bar loop
- notes mostly on the root, fifth, and minor third
- use short rests to let the snare and kick breathe
- avoid busy low-end movement at this stage
Keep the sub centered and clean. This is the anchor. If the sub works, the whole Reese will feel more expensive later.
3. Build the initial Reese source with detuned layers
Now make the midrange Reese that will be resampled. Use Wavetable or Analog with two detuned oscillators.
A strong starter patch:
- Oscillator 1: saw
- Oscillator 2: saw, detuned slightly
- Unison: 2–4 voices
- Detune amount: small to moderate, around 5–15%
- Low-pass filter: on, with cutoff around 200–800 Hz initially
- Slight drive or saturation inside the instrument if needed
For movement:
- assign a slow LFO to wavetable position or filter cutoff
- keep the modulation subtle
- use a slightly different phase or detune amount on the second oscillator to create that classic Reese beating
Good starting parameter range:
- Filter resonance: low to medium
- LFO rate: very slow, around 0.05–0.25 Hz
- Oscillator detune: enough to create movement, not chorus soup
You’re not trying to make it glossy. You want a raw mid bass tone that can be distorted, filtered, and resampled into something more characterful.
4. Print the bass tone to audio with resampling
This is where the workflow gets useful. Instead of keeping the synth live forever, resample the bassline so you can sculpt it like audio.
In Ableton Live:
- Create a new audio track
- Set its input to Resampling or route from the bass MIDI track
- Record 4 bars of the Reese pattern
- Do one pass with the bass dry
- Do another pass with automation moves on cutoff, drive, and filter envelope amount
Use arrangement thinking while recording:
- print one version that is more open
- print one version that is darker and more muted
- print one version with a stronger attack for the drop entrance
Why this works in DnB: resampling forces commitment and gives you audio phrases you can cut around the breakbeat. Oldskool jungle and modern darker rollers often sound better when the bassline has been “performed into” audio instead of left as a static MIDI loop.
Aim for a few different printed takes:
- Take A: open and wide midrange
- Take B: filtered and tense
- Take C: more distorted and aggressive
5. Process the resampled bass with an audio effects chain
Now treat the audio like a bass record you’ve sampled from vinyl and re-synthesized through your DAW.
A useful Ableton chain:
- EQ Eight
- Saturator
- Drum Buss or Glue Compressor
- Auto Filter
- Utility
- optional Roar if you want more modern harmonic aggression
Suggested settings:
- EQ Eight: cut unnecessary lows below the sub region if this is only the mid layer; use a gentle high-pass around 80–140 Hz
- Saturator: drive around 2–6 dB
- Drum Buss: low drive amount, use carefully to add density
- Auto Filter: automate cutoff between 300 Hz and 2 kHz for movement
- Utility: reduce width or keep the layer mono below the crossover region if needed
If the tone feels too clean, resample after adding saturation. If it feels too harsh, filter and resample again. The whole point is to create a layered sound history: synth -> audio -> processing -> audio again.
Keep in mind:
- the sub should stay separate and mono
- this resampled layer is the character layer
- don’t let the mid Reese dominate the kick/snare transient zone
6. Slice the resampled audio into phraseable bass hits and edits
Once you have a good recorded bass take, make it musical.
In Ableton Live:
- duplicate the audio clip
- use Slice to New MIDI Track if you want to turn sections into playable hits
- or manually cut the clip into 1/4, 1/2, and 1-beat phrases
- use Warp carefully so the bass stays locked to the grid
This is where the oldskool vibe starts showing up. Instead of one continuous bass drone, you create:
- short answered notes
- stabs before snare hits
- held notes that extend across a break fill
- little reverb-drenched tail pieces for transitions
Arrange your slices like this:
- bar 1: a simple root note hit
- bar 2: call-and-response with a gap for the snare
- bar 3: slightly higher pitch or altered filter state
- bar 4: a fill or stop-start edit into the next section
This makes the bassline feel like it’s talking to the breakbeat. That conversation is a big part of jungle and darker DnB.
7. Use automation to create movement without losing low-end focus
Movement is essential, but too much motion kills clarity. Keep the sub steady and automate the character layer instead.
Automate:
- Auto Filter cutoff
- filter resonance
- Saturator drive
- Utility width
- reverb send amount on specific note tails only
Good automation ideas:
- open the filter slightly into the drop, then close it after 2 bars
- increase saturation during the final bar of a 16-bar phrase
- reduce width before the drop to make the return feel bigger
- use a short reverb hit on the last bass note before a drum fill
For oldskool jungle phrasing, try this:
- 8 bars of groove
- 2-bar tension lift with cutoff automation
- 1-bar drum fill
- 1-bar bass stop or filtered tail
- drop back in with a more aggressive resampled take
That tension/release pattern keeps the track moving like a DJ tool, not a static loop.
8. Lock the bass and drums together with bus shaping
Once the bassline is sitting roughly right, shape the relationship between the drums and bass as a unit.
On your drum bus or group:
- use Glue Compressor with mild settings
- aim for 1–2 dB of gain reduction
- attack slightly slower if you want more punch
- release set to breathe with the groove
On the bass group:
- use Utility to check mono
- use EQ Eight to carve the mid bass away from the snare body if they clash
- consider sidechain compression from the kick or break kick accents if the low end feels crowded
Keep these checks:
- bass in mono below roughly 120 Hz
- drum transients should still punch through
- the Reese should feel wide-ish in the mids but never blurry
In DnB, the groove comes from the balance between a rigid low end and a restless mid layer. If they’re glued too hard, the track feels flat. If they’re too separate, the tune loses power.
Common Mistakes
- Fix: keep the sub mono and remove stereo information below the crossover area with Utility or careful EQ decisions.
- Fix: back off the oscillator detune until the movement feels tense, not washed out.
- Fix: edit bass note lengths so they leave room for the backbeat and ghost snare details.
- Fix: print a cleaner source first, then add character in audio stages. You’ll get more control.
- Fix: reshape bass notes around break fills and snare accents. The bass should converse with the drum edits.
- Fix: split the layers clearly. The sub carries weight; the resampled Reese carries attitude.
- Fix: create at least two bass states: an open version for the main drop and a filtered/dirty version for the second phrase or switch-up.
Pro Tips for Darker / Heavier DnB
Mini Practice Exercise
Spend 10–20 minutes making a 4-bar Reese bass drop sketch.
1. Build a drum loop with breakbeat energy at 170 BPM.
2. Program a mono sub using Operator or Wavetable.
3. Build a detuned saw Reese with mild filter movement.
4. Resample 4 bars of the bass while automating the filter cutoff.
5. Slice the recorded audio into at least 4 usable hits or phrases.
6. Rearrange those slices so one bar answers the break, one bar holds tension, and one bar leaves space for a fill.
7. Add basic EQ and saturation, then compare the loop in mono and stereo.
Goal: by the end of the exercise, you should have a bassline that feels like it was played into the drums, not pasted underneath them.
Recap
The key idea is simple: design a Reese, print it to audio, and shape it like a phraseable drum-and-bass instrument. In Ableton Live, resampling lets you turn synth motion into useful audio edits, which is ideal for jungle and darker DnB.
Remember the essentials:
If the drums and bass feel like they’re dancing around each other with tension, space, and impact, you’re in the right zone.

