Main tutorial
Lesson Overview
An Amen-style percussion layer is one of the fastest ways to inject oldskool rave pressure into a Drum & Bass track without turning the whole mix into breakbeat soup. In this lesson, you’ll rebuild a tight, editable percussion stack in Ableton Live 12 that sits under a modern DnB drum kit and gives you that jungle-derived swing, urgency, and rawness.
This matters because a lot of contemporary DnB drums can sound too clean, too looped, or too rigid. An Amen layer solves that by adding human-feeling micro-movement, ghosted hits, and chopped energy that works across jungle, rollers, darker halftime, and neuro-leaning tracks. Used well, it helps the drop feel alive while still leaving room for sub weight, reese movement, and bass call-and-response.
The goal is not to fully replace your main drum kit. It’s to build a supporting percussion layer that:
- adds rhythmic grit
- creates tension between kick and snare
- gives the groove forward motion
- can be automated, filtered, and arranged like a proper production element
- a chopped Amen-style break lane for ghost notes and oldskool swing
- a parallel drum processing bus for punch, saturation, and controlled dirt
- a filtered top-percussion layer for extra roll energy
- a resampled variation lane for fills, switch-ups, and drop transitions
- a simple arrangement approach that makes the layer work in intros, drops, and breakdowns
- a crisp main snare on 2 and 4
- a moving break texture under the main kit
- small syncopated hits between the grid lines
- controlled dirt and crunch, not washed-out lo-fi
- enough space for a deep sub and a reese to hit hard
- one audio track for the main Amen chop
- one return or parallel track for dirt
- one utility track for filtered top percussion or extra hats
- main snare in your track should still be the dominant backbeat
- the Amen layer should be about 6–12 dB quieter than the main drum bus at first
- if the layer alone sounds “busy,” you’re probably already in the danger zone
- Warp mode: Beats if you’re using a loop in arrangement view
- Transient envelope: sharpen the attack if the break is dull
- Slice to: Transients
- Trigger mode: Gate or Trigger depending on how tight you want retriggers
- kick-ish low transient
- snare hits
- ghost snare or rim-like hits
- open hat or shuffly tail
- small fill fragments
- place the strongest snare slices on the backbeat or slightly before it
- use ghost snare hits just before 2 and 4
- place a few hat slices between kick/snare gaps to create momentum
- leave at least 30–40% of the original break out of the final pattern
- use 1/16 and 1/32 placements sparingly
- avoid more than 2–3 rapid hits in a row unless it’s a transition
- main snare still lands on 2 and 4 in your main kit
- Amen layer places ghost snare hits slightly before 2 and 4
- use a light kick ghost or low break thump on offbeats to imply forward motion
- add a small hat burst at the end of every second bar to create lift
- ghost snare at 1.4.3 or 1.4.4 leading into beat 2
- another ghost at 3.4.3 or 3.4.4 leading into beat 4
- short hat hits around 1.2, 1.3.2, 2.2, 2.3.2 for skitter and shuffle
- occasional one-beat fill on bar 4 or 8 to mark phrase ends
- swing amount around 54–58% is often enough
- avoid over-swinging if your bassline is already syncopated
- nudge some hits manually if the break starts feeling too quantized
- Drive: 3–8%
- Crunch: very light, around 5–15% if needed
- Boom: usually off for this layer, unless you want a tiny low-end reinforcement
- Damp: adjust until the hats stop spitting too hard
- Soft Clip: on
- Drive: +2 to +6 dB
- Output: compensate so the level stays controlled
- attack around 10–20 ms if you want some snap through
- release around 40–100 ms depending on groove
- ratio 2:1 to 4:1 for mild control
- high-pass gently around 120–180 Hz to keep it out of the sub zone
- cut any brittle region around 3–6 kHz if the hats get spiky
- if it sounds thin, add a broad small lift around 200–400 Hz, but keep it subtle
- chain 1: clean
- chain 2: dirty
- chain 3: filtered top
- Auto Filter before distortion to focus the mids/highs
- Saturator with Drive +6 to +10 dB
- Redux very lightly if you want digital crunch, but keep it subtle
- Overdrive or Pedal for more aggressive character if the track wants it
- EQ Eight after to remove excessive fizz and low mud
- filter the dirty chain high-pass around 200 Hz
- low-pass around 8–10 kHz if the top becomes too sharp
- blend this chain under the clean layer at about 10–30%
- a 1-bar fill
- a 2-bar switch-up
- a short stabby transition hit
- a tail of break noise for breakdowns
- reverse sections for pre-drop tension
- use Warp markers to tighten fill timing
- slice the resampled audio in Simpler for new patterns
- automate filter sweeps without touching the original MIDI
- bars 1–8: basic groove, restrained
- bars 9–16: add the resampled fill on bar 16
- bars 17–24: strip back the dirty chain and leave only the clean break texture
- bars 25–32: bring back both layers for the second drop
- Auto Filter cutoff on the dirty chain
- Drum Buss Drive on fills or risers
- reverb send on select snare ghosts
- Utility gain to drop the layer out before bass drop moments
- slight delay throw on a single ghost hit for a dubwise transition
- close the filter gradually during a breakdown to create tension
- open it 8 bars before the drop so the break energy returns
- automate 1–2 dB of extra Drive on the last bar of a phrase
- mute the layer for the first kick of a drop to make the re-entry harder
- intro: filtered Amen texture under atmos and edited FX
- first drop: full layer, but lower in mix
- mid-track variation: remove every other ghost hit to leave space for bass call-and-response
- final drop: thicker dirty chain and a short fill every 8 bars
- Bass Mono: on for anything below the layer’s useful range if you’re using a split rack
- Width: reduce if the hats are too wide and distract from the center
- Gain: trim the group so it sits comfortably under the main drums
- high-pass around 120–180 Hz
- if needed, small dip around 250–350 Hz to avoid cardboard buildup
- notch any harshness around 5–7 kHz if the break gets brittle
- Using the Amen loop as a full drum replacement
- Leaving too much low end in the break
- Over-quantizing every slice
- Making the break louder than the main snare
- Overusing distortion on the full signal
- Forgetting arrangement variation
- Ignoring mono compatibility
- Use a band-passed dirt chain: high-pass around 180–250 Hz and low-pass around 9 kHz for gritty midrange pressure without low-end mess.
- Layer a very short room reverb on ghost snares only, not the whole break. Keep decay under 0.5 s for tightness.
- Try Drum Buss on a parallel return rather than the main layer if you want extra smack without flattening transients.
- In a neuro or dark rollers context, pair the Amen layer with a bassline that leaves space on the snare: call-and-response is more powerful than constant activity.
- For extra oldskool energy, automate a brief pitch drop on a resampled fill or use a reversed break tail into the snare phrase.
- If the drop feels too modern and clean, reduce perfect repetition: mute one ghost hit every 4 or 8 bars so the pattern feels lived-in.
- Use small, deliberate saturation stages instead of one huge distortion push. Multiple light stages often sound more record-like and less harsh.
- If your reese is wide, keep the Amen layer centered and tighter. That separation helps the track feel bigger without crowding the stereo field.
- keep the layer separate from your main kick/snare
- chop and rephrase the break rather than looping it raw
- use clean and dirty parallel processing for control
- high-pass aggressively enough to protect the sub
- automate filters and fills so the track evolves
- check mono and balance against the bass
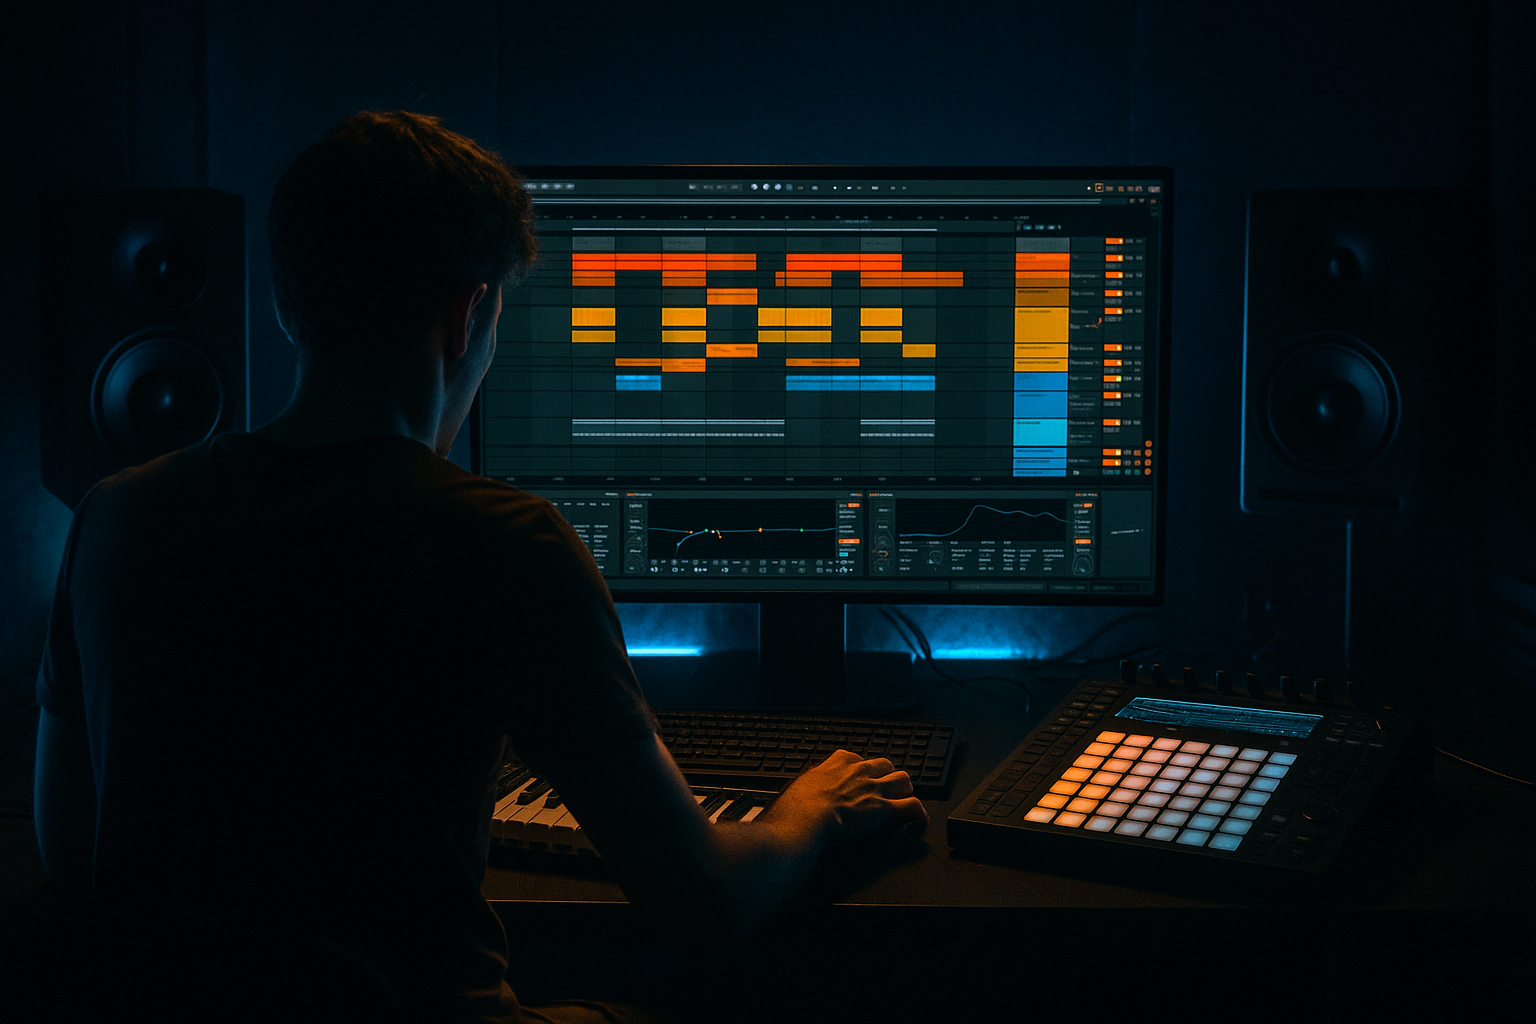
We’ll do this using Ableton stock tools only, with a workflow that’s fast enough for real session work and detailed enough to survive arrangement and mixdown. 🎛️
What You Will Build
By the end, you’ll have a layered Amen percussion system in Ableton Live 12 made of:
Musically, the result should feel like:
Think of it as the percussion equivalent of a well-phrased bassline: not everything needs to fire all the time, but every hit should feel intentional.
Step-by-Step Walkthrough
1. Create a dedicated Amen layer group and reference your drum role
Start by making a separate Drum Group in Ableton Live called something like Amen Layer. Keep it distinct from your main kick/snare room. This is workflow-critical: if the layer is separate, you can process, mute, automate, and resample it without wrecking the core drum impact.
Inside the group, create:
Load a clean Amen-style break sample into a Simpler on the main track. If you already have a break sample, great. If not, pick a classic break with obvious snare transients and a strong hat bed. The point is to extract energy, not just paste a loop.
Set your reference quickly:
Why this works in DnB: the Amen isn’t the whole groove here; it’s a pressure layer. In a roller or jungle-influenced drop, the listener feels the break movement subconsciously while the kick/sub combination still carries the track.
2. Warp and slice the break for control, not nostalgia
Drag the break into Simpler or directly into an audio track. For an intermediate workflow, the easiest approach is to use Simpler in Slice mode so you can trigger individual hits and edit them like a drum rack.
Suggested setup:
Now map or audition the slices and identify the core hits:
Don’t preserve the whole loop intact. Chop it into a playable mini-pattern:
Concrete starting point:
The aim is a pattern that feels “edited by a drummer-minded producer,” not just looped.
3. Build a groove that complements your main DnB drums
Program your Amen layer in MIDI with your main drum groove playing underneath. This is where the layer becomes musical instead of decorative.
A strong intermediate pattern idea:
Suggested note placement ideas:
Use Groove Pool if needed, but keep it subtle:
Workflow tip: duplicate the MIDI clip and make one version for the main 8 bars and one for a variation. In DnB arrangement, small changes every 8 or 16 bars keep the floor moving without exhausting the listener.
4. Shape the break with stock drum processing
Now process the layer so it works inside a modern mix.
Start with Drum Buss on the Amen group:
Then add Saturator after Drum Buss:
For transient clarity, add Transient Shaper if you prefer Live 12’s stock tools available in your setup, or use Compressor with a fast attack/release:
If the break feels too harsh, add EQ Eight:
Important workflow decision: don’t overprocess the original break on the main lane. Instead, make a parallel dirty lane if you want more aggression. That gives you control over blend amount in arrangement and mixdown.
5. Create a parallel dirt lane for oldskool pressure
Duplicate the Amen layer or route it to a parallel chain in an Audio Effect Rack. This is where the real grime lives.
Parallel chain ideas:
On the dirty chain, try:
A useful approach:
This is especially effective in darker DnB because it adds perceived aggression without cluttering the low end. The listener hears attitude, not mess.
Why this works in DnB: the bass region has to stay disciplined. A parallel dirt chain lets you add texture and transient grit while keeping the sub and kick zone clear. That means your roller can stay deep, and your neuro bass can still punch through.
6. Use resampling to capture fills, edits, and one-shot variations
Once your Amen layer feels right, resample it. This is one of the best intermediate workflow moves in Ableton because it turns a flexible MIDI idea into audio you can manipulate fast.
Route the Amen group to a new audio track set to Resampling or to internal routing from the group output. Record 8 or 16 bars of the groove, then cut out:
Now you can:
Good use case in arrangement:
This keeps the track feeling arranged, not copy-pasted.
7. Automate movement so the layer evolves across the track
Amen layers die quickly if they stay static. In DnB, automation is often the difference between “cool loop” and “finished record.”
Useful automation targets:
Concrete automation ideas:
Arrangement example:
This gives the track phrase logic, which is essential in club-focused DnB.
8. Balance the layer against sub, kick, and snare in mono
The layer should support the groove, not fight your core low-end elements. Put Utility on the Amen group and keep the low end mono-safe.
Practical settings:
Use EQ Eight on the group:
Check the track in mono regularly. If the Amen layer disappears or turns phasey, your stereo processing is too wide or too complex. In darker DnB, mono integrity is non-negotiable because the kick/sub relationship must stay physically solid.
Common Mistakes
Fix: keep it as a layer under a dedicated kick/snare core.
Fix: high-pass the layer and let the sub own the bottom.
Fix: preserve a few micro-timings so it breathes like a break.
Fix: the layer should add urgency, not replace impact.
Fix: split clean and dirty chains, then blend.
Fix: automate filters, mute sections, and resample fills.
Fix: check Utility and EQ in mono, especially after widening or chorus-like processing.
Pro Tips for Darker / Heavier DnB
Mini Practice Exercise
Spend 10–20 minutes building one 8-bar Amen layer variation over a simple DnB drum loop.
1. Load one Amen-style break into Simpler and slice it.
2. Create a MIDI pattern with 6–10 hits total, focusing on ghost snare placement.
3. Add Drum Buss and Saturator on the group.
4. High-pass the layer around 140–170 Hz.
5. Duplicate the clip and make a second version with one fill on bar 8.
6. Automate the filter cutoff on the second clip so it opens into the fill.
7. Resample both clips into audio and compare which one feels more like a real record.
8. Check the loop in mono and make one adjustment to improve clarity.
Goal: end with one clean version and one dirtier variation that could sit under a drop or intro.
Recap
The key idea is simple: an Amen-style percussion layer should add movement, grit, and rave pressure without taking over the core DnB drums.
Remember the essentials:
If you get the workflow right, this kind of layer can make a track feel instantly more alive, more underground, and more DnB.

