Main tutorial
1. Lesson Overview
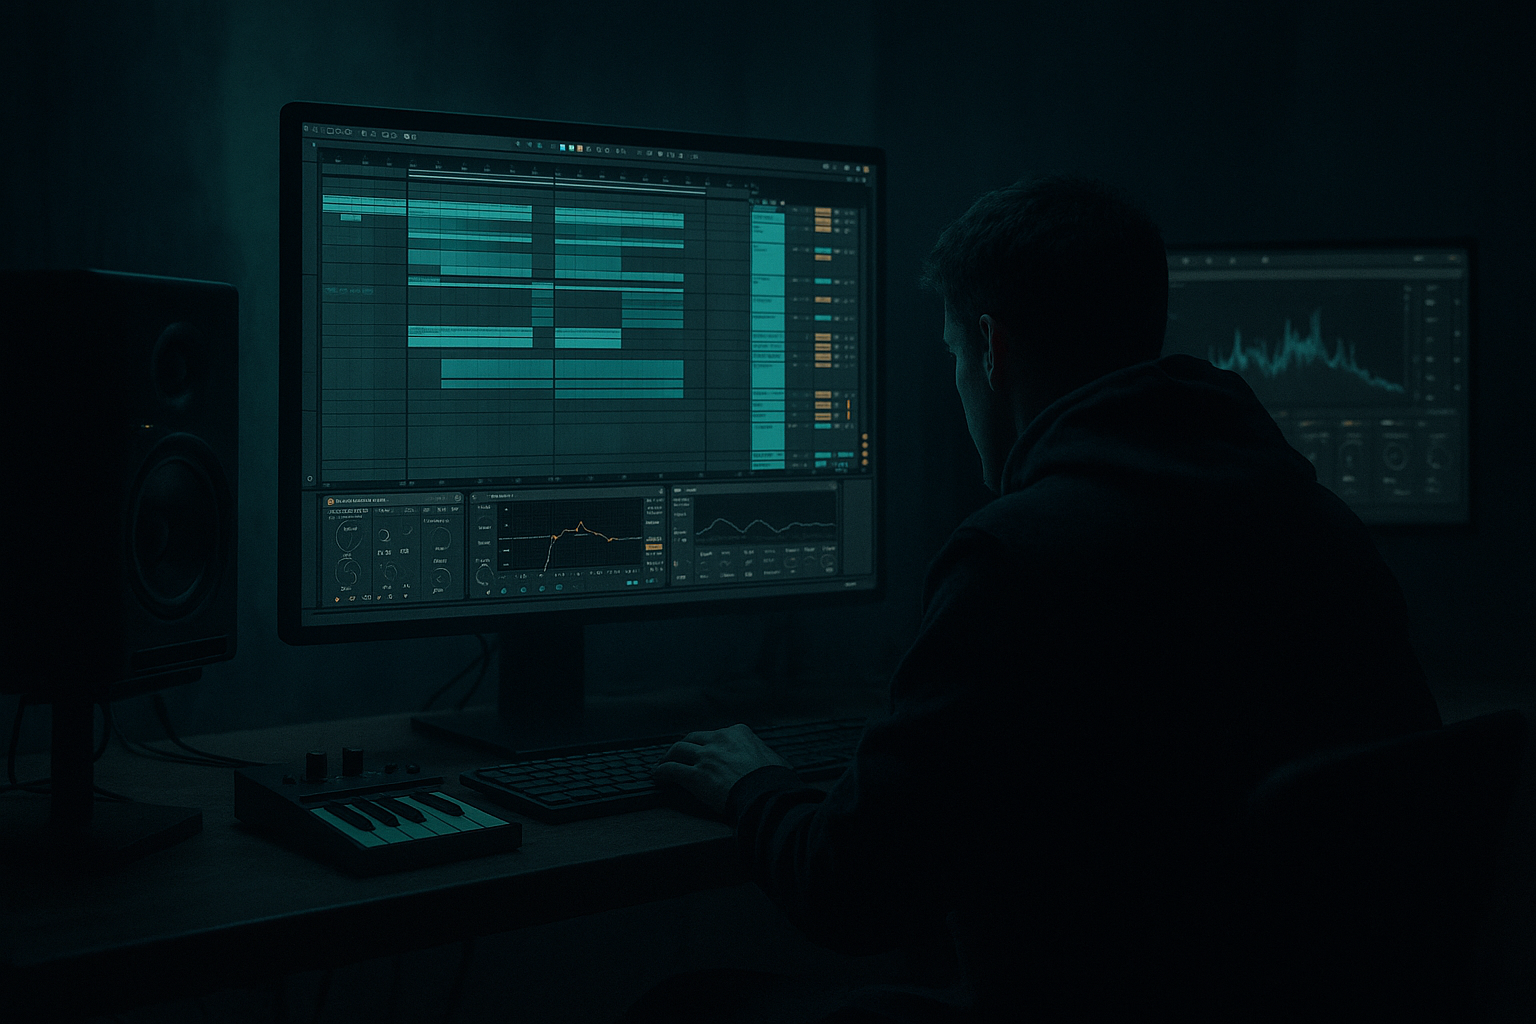
This intermediate Sampling lesson shows how to create a Ray Keith comb-filter bass: design and arrange in Ableton Live 12 for 90s-inspired darkness. You’ll sample or resample a Reese-style source, route it through an Ableton-based comb-filter effect chain (using stock devices), tune resonances, animate movement, and arrange the bass across a drop so it drives that sinister, late‑90s Drum & Bass vibe.
2. What You Will Build
- A layered, sampled bass patch (sub + mid/texture) in Simpler.
- A comb-filter effect implemented with Ableton’s Simple Delay (short‑ms delay + feedback) on a Return track to produce metallic resonances and notches like Ray Keith’s dark basses.
- A processing/automation scheme (Saturator, EQ Eight, Compressor/Sidechain, Utility) and mapped Macros to morph the comb for arrangement and transitions.
- A 16–32 bar loop demonstrating arrangement techniques that push the comb-filter into the mix for "dark" sections and pull it back for clarity.
- Option A (sample): Find a short Reese/dirty saw bass sample (1–2 seconds). Drag it into a MIDI track’s Simpler (Classic mode), enable Loop, trim start, set Transpose to match your key.
- Option B (resample): Create a bass in Operator or Wavetable (sine sub + detuned saw), record 1–2 bars to an audio track (arm + record), crop one cycle or a looped phrase, then drag that audio into Simpler. Sampling your own sound gives more control.
- Loop on, Loop Mode: Forward.
- Filter: lowpass ~ 8–12 kHz for taming top end (we’ll add dirt later).
- Amp ADSR: short attack, sustain 0.8–1, release ~100–200 ms for body.
- Insert Saturator (Drive 2–5 dB, Soft Clip), choose "Analog Clip" or medium curve.
- Place EQ Eight after Saturator: Low cut at ~30 Hz (safety), gentle dip at 200–400 Hz if muddy, slight boost around 80–120 Hz for sub presence.
- Add Compressor (optional) for glue or use Glue Compressor on group. Keep minimal attack to preserve transients.
- Create a Return Track (R1) named "Comb".
- On R1 insert Simple Delay (disable Sync — use ms). Key starting values:
- After Simple Delay add EQ Eight on the return:
- Add Saturator after EQ on return to add grit to the resonances (Drive minimal — 1–3 dB).
- Optional: add Utility on the return and reduce Width to 60–80% or mono the low end with the main bass.
- On the bass track, raise Send A (to R1) to taste (start ~ -6 to -3 dB). The dry bass plays on the track; the delayed return mixes back in. The interference between dry and delayed copies produces comb filtering (notches & peaks).
- Keep the return volume under the bass to avoid over-saturation of the mix. Use the channel fader on R1 to control the prominence.
- Macro 1: Map Simple Delay Time (ms) on R1. Automate/Map to change resonance pitch. Small changes (0.1–1 ms) move the spectral comb.
- Macro 2: Map Simple Delay Feedback. Increasing feedback makes the comb harsher and longer.
- Macro 3: Map EQ Eight narrow boost frequency on return to sweep a formant.
- Macro 4: Map Send from bass to R1 (so a single turn brings the comb in).
- For movement: automate delay time slowly over a section (16–32 bars) or create short clip automation for quick stabs (e.g., boost Send for 1/4 bar hits). Use clip envelopes for per‑bar stutter.
- Keep a pure sub (sine) underneath if your sampled source lacks low-end consistency. Create a second Simpler with a sine one‑shot, low pass to 150 Hz, and route through Utility > Mono below 120–150 Hz. Sidechain this sub to the kick for clarity.
- The comb-return should be more audible in the mid/upper bass region; on R1, use EQ Eight to notch sub frequencies (<100 Hz) so the comb doesn’t cancel the sub.
- Intro (bars 1–8): sub-only or muted comb (Send low) to build tension.
- Pre-drop (bars 9–12): slowly open Macro 1 (delay time sweep) and increase Send to introduce metallic movement.
- Drop/Heavy section (bars 13–20): send up, feedback high, narrow EQ boost to emphasize the “growl.” Use stuttered MIDI bass hits (shortened Simpler Release) with the comb engaged on offbeat hits to create ghosting and menace — Ray Keith often used sparse but heavily textured bass hits.
- Breakdowns: automate the comb time to move slowly, or map the comb feedback to kick stabs to create rhythmic modulation.
- Use resampling: freeze & flatten the section with comb engaged, then chop the resample to create aggressive stabs or looped dark textures.
- Use a compressor (sidechain) on the comb return keyed to kick to keep low-end clear.
- Apply Utility on bass to mono below 150 Hz.
- Use EQ Eight to clean overlapping resonances—if comb creates a peak around 500 Hz clash with vocals or hats, notch it narrowly.
- Limiter on master is fine; avoid pushing feedback so much that the bus overloads.
- Feedback runaway: setting Simple Delay feedback too high (>95%) can self-oscillate. Keep an emergency limiter or lower feedback.
- Too much wet return: making the return louder than the dry source removes punch and can collapse sub. Balance subtlety vs effect.
- Ignoring phase/sub cancellation: combing can cancel sub frequencies if delay times create phase inversion. Always check mono and use a pure sub layer if needed.
- Over-automating delay time dramatically: big jumps in ms cause clicks or pitch artifacts. Use small ms sweeps or resample and edit when big changes are needed.
- Forgetting to filter the return: the comb builds harsh harmonics; without EQ or high-cut, the mix will be muddy or shrill.
- Multi-return trick: create two Comb returns with slightly different delay times (e.g., 3.4 ms and 4.7 ms) and different EQ boosts to build a multi-formant Ray Keith style bass bank.
- Resample your best comb riffs into one-shots and map them in Sampler for precise per-note control and easier arrangement.
- Use short clip automation for the Send knob to create rhythmic bursts — much more CPU-friendly than automating device parameters all the time.
- For live morphing, map Macros to an external controller and assign smoothing (in Macro Map) so delay changes feel organic.
- To find resonant pitches quickly: switch Simple Delay to ms and, while playing a sustained note, nudge the ms value and listen for strong harmonic peaks; match those ms settings to musical notes by ear.
- Save CPU: Freeze/Flatten the comb-heavy track, then re-import as audio to continue processing.
3. Step-by-Step Walkthrough
Note: keep Ableton Live 12’s stock devices in use (Simpler, EQ Eight, Simple Delay, Saturator, Compressor, Utility, Glue/Compressor, Send/Return workflow).
A. Prepare or create your sampled bass source
Simpler settings:
B. Basic bass processing chain (on the bass track)
C. Create the comb-filter return (this is the core)
- Left/Right Delay: 3.5 ms — 7.5 ms (try 3.2, 4.1, 6.8 ms; small adjustments change resonance pitches).
- Feedback: 70% — 92% (higher feedback = stronger, more metallic resonances).
- Dry/Wet: 100% — this return will be the delayed signal you sum with the dry bass.
- Ping‑Pong off (keep mono stereo consistent to avoid phase weirdness), unless you want stereo movement (use slightly different L/R ms).
- High cut around 6–8 kHz to avoid shrillness.
- A narrow band boost (Q high) to emphasize a particular resonance if you want formant-like peaks (e.g., 300–800 Hz for vocal-ish metallic tone or 1–2 kHz for mid bite).
D. Routing and sound: summing dry + comb
E. Sculpting the character (automation & macros)
F. Layer sub + comb
G. Arranging for 90s-inspired darkness
H. Mixing touches
4. Common Mistakes
5. Pro Tips
6. Mini Practice Exercise
Goal: Make a 16-bar loop where the comb-filtered bass rises into the drop.
Steps:
1. Create a 4-bar sampled bass loop in Simpler (looped sustain).
2. Add Saturator + EQ on the track, then create Return R1 with Simple Delay set to 4.1 ms, Feedback 82%, Dry/Wet 100%.
3. Send bass to R1 at -6 dB. Add a narrow boost at ~700 Hz on R1 EQ Eight.
4. Map Macro A to R1 Delay Time, Macro B to Feedback, Macro C to Send amount.
5. Arrangement:
- Bars 1–4: Macro C = 0 (comb off).
- Bars 5–8: slowly raise Macro A by +0.4 ms.
- Bars 9–12 (pre-drop): Macro C to -3 dB (comb present).
- Bars 13–16 (drop): Macro C to 0 dB, Macro B +6% (more feedback). Add staccato cuts on bars 14 & 15 (clip envelope shortening).
6. Export 16 bars and compare with a reference Ray Keith-era drop — focus on darkness (resonant mid-bass) and sub clarity.
7. Recap
This lesson taught how to create a Ray Keith comb-filter bass: design and arrange in Ableton Live 12 for 90s-inspired darkness using stock devices. Core ideas: sample or resample a Reese-like source in Simpler, build a comb using Simple Delay on a Return (short ms + high feedback), shape the resonances with EQ and Saturation, automate delay time/feedback/send for movement, and arrange the comb to come in during pre-drops/drops while preserving sub. Practice the small loop exercise, watch for phase & feedback pitfalls, and resample your best comb patches for aggressive 90s-style stabs.

