Main tutorial
Lesson Overview
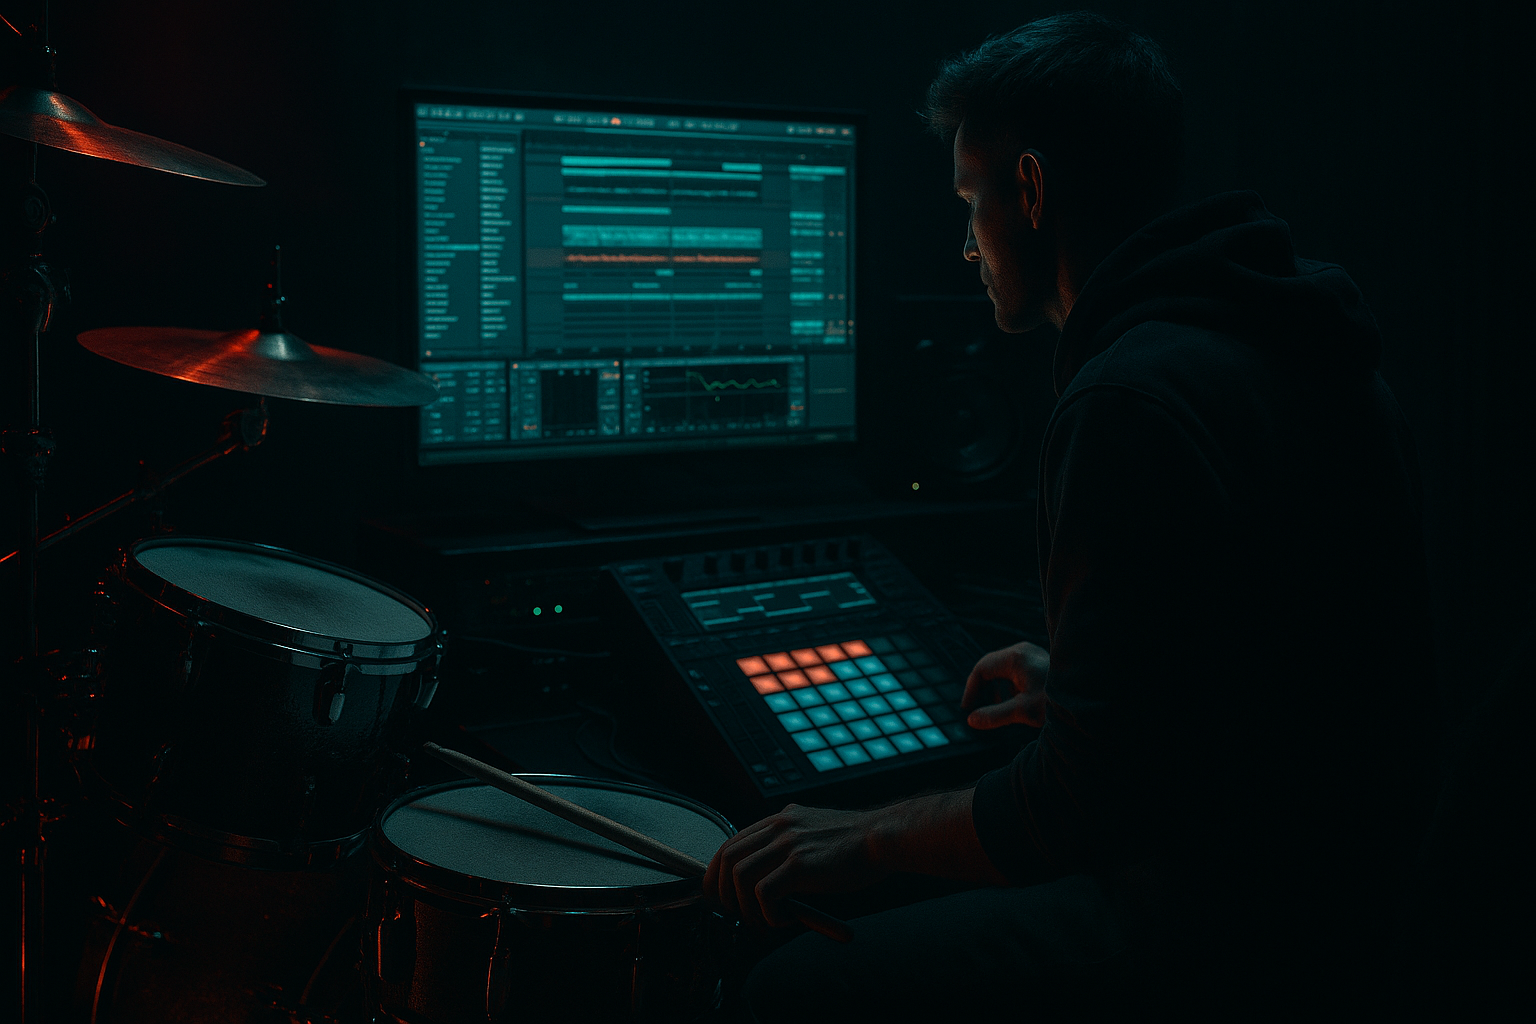
This lesson is about building a Rave Pressure-style jungle bass wobble in Ableton Live 12 from the ground up, then shaping it so it works in a real DnB arrangement. The goal is not just to make a nasty bass sound — it’s to create a controllable, musical wobble bass that feels at home in jungle, rollers, darkstep, or neuro-leaning DnB.
In this style, the bass isn’t just a sustained note. It has movement, pressure, and phrasing. Think of the bass as a conversation with the drums: it can answer the break, leave space for the snare, or slam in with a call-and-response pattern that locks into the groove. That’s why this technique matters — a well-built wobble can carry an entire drop if it has the right sub weight, midrange character, stereo discipline, and automation.
We’ll use Ableton stock devices only, and build the sound in a way that’s practical for production:
- a solid sub foundation
- a moving mid-bass layer
- distortion and filter motion
- resampling for control
- arrangement-friendly automation for drop energy
- a clean mono sub holding the bottom end
- a gritty mid-bass wobble with animated filter and wavetable movement
- a slightly distorted, speaker-rattling edge for character
- a call-and-response rhythm that fits a DnB drop
- a version you can resample into audio and chop for extra grime
- a 2-step break with ghost notes
- a jungle amen chop
- a rollers groove where the bass changes shape every 2 or 4 bars
- a dark halftime switch-up before the main drop returns
- Making the sub too complex
- Over-widening the bass
- Too much distortion on the entire bass
- Wobble rate that fights the drum groove
- No space for the snare
- Low-end mud from stacked layers
- Use parallel distortion: duplicate the mid bass, crush one copy with Saturator or Drum Buss, then blend it under the clean layer.
- Try frequency-conscious arrangement: let the bass open up in the higher mids during fills, then pull it darker in the main groove.
- Add a tiny amount of Chorus-Ensemble to only the upper bass chain for width, but keep it subtle.
- Use Auto Filter resonance carefully to create a vocal-ish scream at the peak of the wobble.
- Bounce a version and use Warp markers or slicing to create tiny rhythmic stutters between notes.
- For extra underground weight, layer a very quiet noise or texture layer and high-pass it aggressively so it adds air and urgency without clutter.
- If you want more neuro tension, automate Wavetable position very slowly while the LFO handles the faster wobble. That gives you macro motion plus micro motion.
- Use Utility to compare mono regularly. If the bass disappears in mono, simplify the stereo processing.
- For darker rollers, reduce note density and make each bass phrase more intentional. Space can feel heavier than constant movement.
- separate sub and mid layers
- use Wavetable for motion and character
- saturate the midrange, not the whole low end
- leave space for snare and break energy
- resample for tighter control and better jungle-style edits
- automate movement so the bass evolves across the drop
This is the kind of workflow you can reuse across a whole track, especially if you want that raw jungle pressure with modern mix control ⚡
What You Will Build
By the end of this lesson, you’ll have a multi-layer jungle bass wobble built in Ableton Live 12 that sounds like:
Musically, this is the kind of bass that works under:
You’ll finish with a bass sound that can sit in a track at around 172–174 BPM, with enough control to shape the arrangement around it.
Step-by-Step Walkthrough
1. Set up the bass rack with clear layer separation
Create a new MIDI track and load Instrument Rack. Inside it, make two chains:
- Sub Chain
- Mid Wobble Chain
This separation matters in DnB because the sub needs to stay stable and mono, while the wobble layer can move, distort, and widen without wrecking the low end.
On the Sub Chain:
- Load Operator
- Use a sine wave oscillator only
- Set the amp envelope with:
- Attack: 0 ms
- Decay: 0 ms
- Sustain: 0 dB
- Release: 50–120 ms
- Keep it clean and dry for now
On the Mid Wobble Chain:
- Load Wavetable
- Start with a saw or square-based wavetable
- Set oscillator 1 to a bright, harmonically rich source
- Add Saturator, Auto Filter, and Chorus-Ensemble after it
Why this works in DnB: the sub handles the fundamental energy, while the mid layer carries the aggressive motion. That means your bass can hit hard without becoming muddy or phasey in the club.
2. Program a short bass phrase that breathes like a DnB drop
In your MIDI clip, write a 2-bar loop at first. Keep it simple and functional. Use notes that support the groove rather than constant movement.
Try a phrase like this:
- Bar 1: a held root note for 1 beat, then a short offbeat stab
- Bar 2: a repeated note pattern with one small octave jump
- Leave space on the snare hits
For example, if your track is in F minor:
- F1 on beat 1
- rest on beat 2
- F1 or C2 on the offbeat
- small answer phrase in bar 2
Keep the MIDI velocity varied if you’re triggering movement later. DnB basses feel better when they’re phrased like drum hits, not like a synth pad.
Arrangement context example: in a roller-style drop, let the bass hit hard on bar 1, then reduce density in bar 2 so the break and snare can breathe. That “pressure and release” is a big part of the Rave Pressure vibe.
3. Shape the sub so it stays powerful and invisible
On the Operator sub chain, keep the sound simple. If the sub is too clever, it will fight the drums.
Suggested settings:
- Oscillator: sine
- Filter: off or very mild low-pass if needed
- Mono mode: on
- Glide/Portamento: 20–60 ms if you want smoother note movement
- Utility after Operator: set Width to 0%
Use EQ Eight only if needed:
- High-pass below 20 Hz if the sub is too rumbling
- Avoid boosting the sub heavily unless you’ve checked the kick relationship
A useful workflow move: keep the sub chain separate but route it with the mid layer into a Bass Bus. Then process the bus lightly instead of over-processing each chain. That keeps your low end more stable.
4. Build the wobble movement with Wavetable modulation
On the Wavetable mid chain, this is where the character lives.
Start with:
- Oscillator 1: saw/square hybrid
- Unison: 2 voices max, or keep it off if the sound gets too wide
- Filter type: low-pass or morph/filter with a bit of resonance
- Filter envelope amount: moderate
Now create the wobble with modulation:
- Assign an LFO to the filter cutoff
- Set LFO rate to sync at 1/8, 1/16, or 1/4 depending on how busy you want it
- Use a moderate depth first, then automate the amount for drop variation
- Try a slightly asymmetrical waveform for a less robotic wobble
Good starting ranges:
- Filter cutoff: around 120 Hz to 1.2 kHz depending on note range and grit
- Resonance: 10–25%
- LFO depth: 20–45% for the first pass
If you want a more jungle-leaning character, make the wobble pattern less constant and more phrase-based. For example, use 1/8 wobble for two hits, then open up for a longer note. That gives the bass a human, DJ-friendly swing.
5. Add grit, harmonics, and edge without killing the low end
After Wavetable, add Saturator. This is one of the most important devices for DnB bass sound design because it adds harmonics that translate on small speakers and in loud systems.
Suggested Saturator settings:
- Drive: 3–8 dB
- Soft Clip: on
- Output: trim back so you keep headroom
- Color: use carefully if it helps the tone, but don’t overdo it
Then add Drum Buss if you want more pressure:
- Drive: 5–20%
- Crunch: subtle to moderate
- Boom: usually off or very low on the mid chain
- Transients: slightly positive if you want the attack to pop
If the tone needs extra character, insert Redux lightly:
- Downsample: subtle
- Bit reduction: very small amounts only
- Use it like seasoning, not the main ingredient
Why this works in DnB: jungle bass often needs to feel aggressive at low playback volumes, and harmonic distortion helps the bass speak above breakbeats, hi-hats, and snare transients.
6. Control the wobble with envelope and gate-like phrasing
DnB basses often sound better when they behave rhythmically, not just harmonically.
Use Auto Filter or Amp Envelope shaping to make the wobble pump with the groove:
- Shorten the amp release if notes are too blurred
- Use filter envelope attack at 0 ms and decay around 150–400 ms
- Add a small amount of resonance for a vocal-like peak
You can also automate:
- Filter cutoff
- LFO rate
- Saturator drive
- Wavetable position
- Macro for overall “Pressure” amount
Practical move: map Macro 1 to filter cutoff and LFO depth. Then automate that macro across the 8-bar drop so the bass evolves instead of repeating identically.
A strong DnB arrangement trick is to create a 2-bar question and answer:
- Bar 1: dark, filtered, restrained
- Bar 2: brighter, more distorted, more open
That gives the drop forward motion without needing a new sound every bar.
7. Resample the sound to audio for real jungle-style control
Once the bass sound is playing well in MIDI, resample it to audio. This is a classic DnB workflow because it gives you control over the exact wave shape and allows chopping.
In Ableton:
- Create a new audio track
- Set input to Resampling or route from the bass bus
- Record a few bars of the bass phrase
- Consolidate the best section
Then edit the audio:
- Cut out the cleanest hits
- Reverse short bits for tension
- Add fades to avoid clicks
- Duplicate and rearrange tiny hits to create variation
This is especially useful in jungle because audio chops can lock into breaks in a more organic way than MIDI. You can even bounce separate versions:
- one with more filter open
- one with heavier drive
- one with more rhythmic wobble
Then use them as drop layers or switch-up elements.
8. Glue the bass with the drums in a way that feels proper for DnB
Put the bass into the context of the drum groove early.
Example groove context:
- classic break loop with ghost snares and hats
- kick following a loose 2-step feel
- bass answering between snare hits
On the Bass Bus, use:
- EQ Eight to carve unnecessary low-mid mud around 200–400 Hz if needed
- Compressor or Glue Compressor very lightly if the layers feel disconnected
- Utility to keep the lowest end mono
If the kick and sub are fighting, use sidechain compression on the bass bus:
- Fast attack
- Short release
- Just enough gain reduction to make room for the kick, not a pumping EDM effect
Keep an eye on headroom. In DnB, too much bass saturation before the drum bus can flatten the break transients. Leave the drum snap alive.
9. Use automation and arrangement to turn the sound into a drop moment
The bass sound only becomes “Rave Pressure” when the arrangement gives it tension.
In your 16-bar drop, try this shape:
- Bars 1–4: filtered, restrained version
- Bars 5–8: open the wobble, add more drive
- Bars 9–12: switch to a different rhythm or octave
- Bars 13–16: strip it back and tease the next section
Add automation to:
- Filter cutoff
- Wavetable position
- Saturator drive
- Reverb send for short atmospheric throws
- Delay throws on select bass hits
If you want a more classic jungle feel, let the bass disappear for half a bar before the snare fill, then bring it back hard on the drop. That contrast makes the return hit harder.
Common Mistakes
Fix: keep the sub as a sine or near-sine. No stereo widening, no heavy effects.
Fix: keep the bottom end mono and let only the upper-mid layer spread slightly.
Fix: distort the mid chain more than the sub. Use saturation in stages instead of one extreme effect.
Fix: sync the LFO to the grid and test 1/8 vs 1/16 against the break.
Fix: leave rhythmic gaps around the snare hits so the drum energy punches through.
Fix: high-pass the mid chain gently and keep the bass bus clean. Check around 120–200 Hz for unnecessary overlap.
Pro Tips for Darker / Heavier DnB
Mini Practice Exercise
Spend 10–20 minutes making a two-bar bass drop starter:
1. Build the Sub Chain with Operator and the Mid Wobble Chain with Wavetable.
2. Program a 2-bar MIDI phrase in F minor or G minor.
3. Set wobble LFO rates to 1/8 and 1/16, then compare which locks better with your break.
4. Add Saturator and push Drive until the bass becomes audible on small speakers, then trim back slightly.
5. Route the result to an audio track and resample 4 bars.
6. Chop 2–4 useful hits from the resample and place them back into the drop as fills.
7. Check the whole thing in mono and adjust the width or saturation until the low end stays firm.
Goal: end with one bass phrase that feels tight, dark, and ready for a jungle/DnB drop.
Recap
The core idea is simple: keep the sub clean, make the mid-bass move, and arrange the wobble like part of the drum performance.
Remember these essentials:
If you get the balance right, this approach delivers that heavy, rave-pressure jungle bass wobble that feels powerful, modern, and very much at home in Ableton Live 12.

