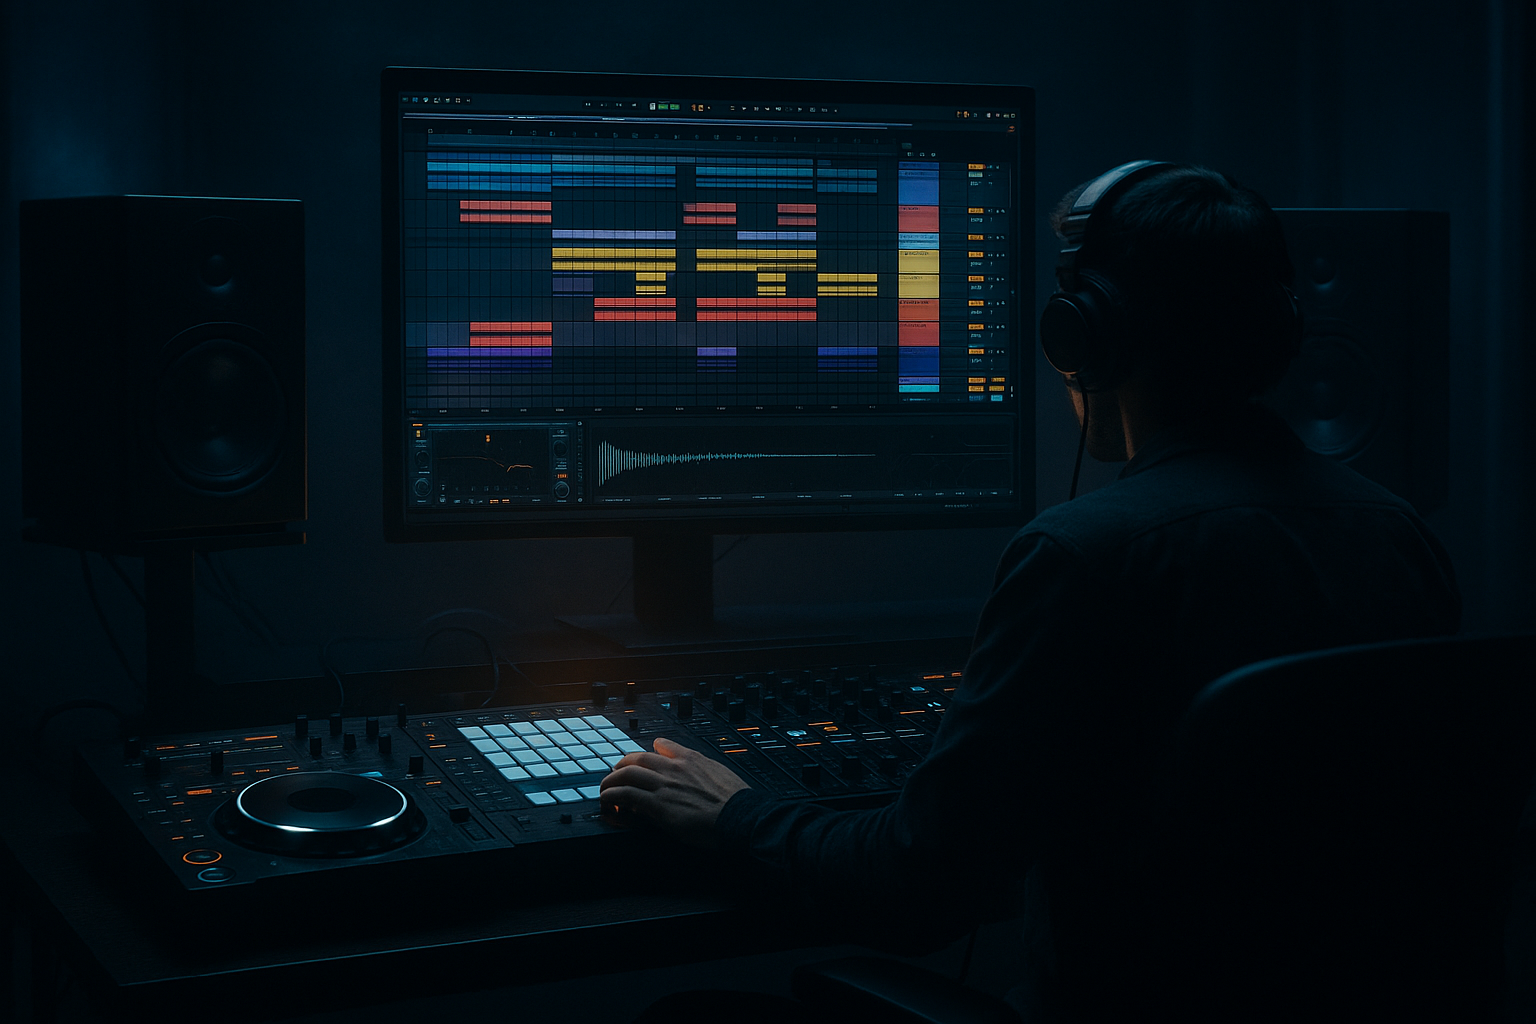
Main tutorial
Lesson Overview
In this lesson you’ll build a VHS-rave stab FX system in Ableton Live 12 that feels at home in oldskool jungle, roller DnB, and darker dancefloor pressure. The goal is not just to make a stab sound “ravey” — it’s to make it behave like a controllable arrangement element: something you can punch in for tension, phrase endings, drop lifts, call-and-response with the drums, and gritty transition moments without cluttering the mix.
This matters because in DnB, especially jungle-leaning or vintage-inspired material, short rave stabs do a lot of heavy lifting. They can:
- mark 4/8/16-bar phrases,
- create contrast against rolling drums and sub,
- add nostalgic “warehouse” energy,
- and give the track a recognizable hook without turning it into a melody-first tune.
- tight MIDI phrasing for syncopated stab placement,
- rack-based control for brightness, grit, width, and tape-like instability,
- filtered automation for tension and release,
- scene-based arrangement ideas for intro, drop, and switch-up sections,
- and mix-safe behavior so it sits above bass, not inside it.
- a bright oldskool piano/chord hit for 90s jungle energy,
- a darker, detuned rave chord for pressure,
- or a degraded tape-warp stab for transition moments and drop punctuation.
- Making the stab too long
- Leaving too much low end in the stab
- Over-widening the whole sound
- Using too much reverb
- Letting distortion ruin the transient
- Programming stabs like a pad
- Ignoring arrangement
- Layer a sub-hit only for transition moments
- Use the stab to answer the snare
- Add controlled instability with automation
- Resample your best stab pass
- Use sidechain-like space, even without heavy pumping
- Make the texture dark, not muddy
- Filter the top when the hats get busy
- intro tension,
- drop punctuation,
- or switch-up material.
- keep the low end out,
- use Ableton stock devices for grit, width, and movement,
- automate filter, echo, and tail for section changes,
- and place the stab in a way that supports the breakbeat and bassline conversation.
The “VHS-rave” angle comes from making the stab feel slightly worn, noisy, smeared, and unstable — like it was sampled off a tape pack or old rave video, then tightened up for modern mix discipline. The key is balance: messy character on top, precise arrangement underneath. That’s where Ableton’s stock devices shine.
Why this works in DnB: the genre lives on contrast between movement and impact. A tight sub and rolling break need an event to react to. A stab gives the ear a fixed reference point, and when you process and automate it with intent, it becomes an arrangement tool rather than just a loop decoration 🎛️
What You Will Build
You’ll create a layered rave stab instrument made from a short chord hit, shaped into a VHS-style texture, then arranged into a DnB-friendly pattern with:
By the end, you’ll have a stab that can sound like:
You’ll also have a reusable Ableton workflow for building more FX-style musical elements from the same idea.
Step-by-Step Walkthrough
1. Start with a clean, short source sound
Open a new MIDI track and load Instrument Rack or a simple instrument chain using Wavetable, Analog, or a sampled chord hit if you already have one in your library. For a classic rave stab feel, the source should be short and harmonic, not a long pad.
If using Wavetable:
- Choose a saw-heavy or square-ish wavetable.
- Keep oscillator unison moderate: around 2–4 voices.
- Detune gently: about 5–12% depending on how wide you want it.
- Set amp envelope with a fast attack, medium-short decay, low sustain, and short release:
- Attack: 0–5 ms
- Decay: 200–500 ms
- Sustain: 0–20%
- Release: 60–180 ms
If using Analog:
- Use two oscillators with saws or saw + square.
- Slight detune between oscillators: 5–15 cents.
- Keep it mono if you want a tighter, more authentic chop.
The source should feel like a chord stab before FX, not a finished lead. Think “raw rave material” first.
2. Shape the stab into a tight, punchy hit
Add EQ Eight, Drum Buss, and Saturator after the synth/sample. This is where the stab becomes usable in a dense DnB mix.
Suggested starting chain:
- EQ Eight
- High-pass around 120–200 Hz to keep it away from sub.
- If it’s boxy, dip 250–450 Hz by 2–4 dB.
- If it’s harsh, lightly tame 2.5–5 kHz.
- Saturator
- Drive: 2–6 dB
- Turn on Soft Clip for safer peaks.
- Drum Buss
- Drive: 5–20%
- Boom: usually low or off for this sound
- Transients: slightly up if you want more smack, or slightly down if it’s too clicky.
Why this works in DnB: you want the stab to have front-edge energy that reads over fast breakbeats, but you don’t want it stealing low-end from kick/sub. EQ removes weight, saturation adds density, and Drum Buss helps the hit feel more like a record-friendly sample than a pristine synth.
3. Build the VHS texture with movement, not just distortion
Now add character devices that imply tape degradation and old playback instability. A VHS-rave stab should feel a little unstable, but still musical.
Add a second effects chain:
- Chorus-Ensemble
- Amount: low to medium, around 10–25%
- Rate: slow, around 0.10–0.35 Hz
- Keep it subtle so the stab doesn’t smear into pads.
- Redux
- Downsample lightly: 1.5x to 4x
- Bit reduction: very light, especially if the track is already gritty
- Echo
- Time: try 1/8, 1/8 dotted, or 1/16 depending on groove
- Feedback: 10–25%
- Filter the repeats so they don’t fight the drums
- Auto Filter
- Use a low-pass or band-pass for automation later
Add utility control too:
- Use Utility at the end to manage width.
- Keep the core stab fairly centered; widen the top if needed, but avoid random low-mid stereo spread.
For VHS character, try a very slight pitch instability with:
- Frequency Shifter in fine mode, with tiny amounts only
- or automate a subtle detune macro if you grouped the source and added macro controls
Keep it degraded, not destroyed. The ear should hear “worn rave memory,” not lo-fi mush.
4. Map key parameters into an Instrument Rack
Select the whole stab chain and create an Instrument Rack. Map the most useful controls to macros so you can perform the sound in the arrangement.
Recommended macro assignments:
- Macro 1: Tone
- controls EQ high-pass / low-pass balance or filter cutoff
- Macro 2: Grit
- controls Saturator drive and maybe Redux amount
- Macro 3: Width
- controls Chorus depth or Utility width
- Macro 4: Tape Wobble
- controls subtle pitch instability, filter movement, or Echo feedback
- Macro 5: Tail
- controls release or Echo amount
- Macro 6: Bite
- controls high-mid emphasis around 2–5 kHz
This gives you performance control. In DnB, that matters because the same stab may need to be:
- dry and short in a stripped intro,
- wider and dirtier in the drop,
- or more filtered and smeared in a breakdown.
Save the rack as something like:
- `VHS Rave Stab - Jungle FX`
- `Oldskool Stab - Pressure Rack`
That way it becomes a reusable palette element.
5. Program the MIDI like a drum element, not a chord pad
Put the stab on a MIDI clip and write it in the context of the drums. Don’t just hold a chord — place the stab like a percussion event.
Try patterns such as:
- hits on the “and” of 2 and 4
- short pickup stab before the snare
- call-and-response with a break fill
- a 1-bar answer phrase at the end of a 4-bar loop
Example arrangement context:
- Bars 1–4: sparse stab hits, maybe just one hit per bar
- Bars 5–8: more frequent syncopation
- Bar 9: a fill or reverse echo lead-in
- Bar 10: full drop return with stab on offbeats and phrase end
Use short note lengths:
- 1/16 to 1/8 for tight punch
- 1/4 only if you want a more anthem-like break moment
Velocity matters too:
- vary between 70–110
- hit the phrase end harder for emphasis
- leave some notes softer to avoid flattening the groove
This is the DnB way: the stab should support the drum conversation, not dominate it.
6. Automate for tension, release, and “tape memory”
Now make the stab feel alive across arrangement sections. The most useful automation lanes are:
- filter cutoff
- reverb/delay send
- grit amount
- stereo width
- tail length
In an intro or breakdown:
- lower the cutoff so the stab feels hidden and distant
- increase reverb send slightly for space
- reduce width to keep it ghost-like and less assertive
In the drop:
- open the filter for full brightness
- reduce reverb so it punches
- increase grit a little for impact
Good automation ranges:
- filter cutoff sweep from around 300 Hz up to 5–8 kHz
- delay send from 0% to 10–20%
- width from 70% to 120% depending on mix
For a VHS-rave moment, automate a brief “memory smear”:
- one bar before the drop, raise echo feedback slightly
- then cut it abruptly on the first kick of the drop
- this creates an oldskool-style transition without overdoing risers
7. Place it in a real DnB arrangement
In a jungle/oldskool DnB structure, the stab works best as a phrase marker.
Practical arrangement example:
- Intro (1–16 bars): filtered stab fragments, low energy, DJ-friendly space
- Build (17–24 bars): more frequent stabs, rising cutoff, a little echo
- Drop 1 (25–40 bars): full stab hits locked with break accents
- Switch-up (41–48 bars): half-time or stripped stab variation with deeper filtering
- Drop 2 (49–64 bars): brighter version, wider, more aggressive automation
A good oldskool-inspired trick is to use the stab as a bar-8 or bar-16 punctuation point. For example, if your break loop is rolling hard, drop the stab only on the final beat of the phrase. That creates anticipation and keeps the listener locked to the structure.
Keep intros and outros DJ-friendly:
- filter the stab
- leave room for drums and sub
- don’t let the FX become a constant pad wall
8. Make it mix-safe with returns and mono discipline
Route the stab to a dedicated Return Track or keep its wet effects controlled inside the rack. For DnB, it’s often safer to use returns for larger spaces, while keeping the dry stab focused.
Use:
- Reverb on a send, filtered with EQ Eight
- Echo on a send if you want repeat throws only on specific notes
- Utility to check mono and stereo width
Mixing checks:
- hit Utility Mono briefly and make sure the stab still reads
- if the stab disappears in mono, reduce chorus width or stereo delay on the source
- high-pass the reverb return around 200–400 Hz
- low-pass the reverb return around 6–10 kHz if it’s too bright
In a DnB mix, stabs should sit above the sub but below the snare in importance. If the stab is too wide or too bright, it will fight hats and ride energy, especially in fast sections.
Common Mistakes
- Fix: shorten decay/release and use shorter MIDI notes. DnB needs space for drums and bass movement.
- Fix: high-pass it aggressively. Usually 120–200 Hz, sometimes even higher if the bassline is busy.
- Fix: keep the core centered. Add width only to the upper layer or effect return.
- Fix: use short, filtered reverb and automate it instead of leaving it on full time.
- Fix: use soft clip, lighter drive, or place saturation before/after EQ more carefully. You want bite, not a flattened spike.
- Fix: phrase them rhythmically against the break. Think percussion plus harmony.
- Fix: use the stab differently across sections. Filtered in intro, bright in drop, smeared in transition.
Pro Tips for Darker / Heavier DnB
- If you want extra weight, add a very short low layer an octave below, but only for specific hits. Keep it mono and low in level.
- Place it right after a snare or break accent for a classic call-and-response feel. This works especially well in rollers and jungle edits.
- Very small automation moves on filter cutoff, width, or pitch instability make the sound feel alive. Don’t randomize everything at once.
- Record the processed stab to audio, then chop it again in a Simpler. This lets you create one-shot variations and dirty fills fast.
- If the stab and kick clash, reduce stab tail and automate dips around kick hits rather than smashing it with a huge compressor.
- Use Saturator and Redux before you reach for more reverb. Grit usually reads more “underground” than space.
- In dense drop sections, slightly lower the stab brightness so it doesn’t compete with fast cymbals and shuffles.
Mini Practice Exercise
Spend 10–20 minutes building two versions of the same stab:
1. Make a basic rave stab chain with:
- Wavetable or Analog source
- EQ Eight
- Saturator
- Chorus-Ensemble
- Auto Filter
- Utility
2. Duplicate it and create:
- Version A: Clean Pressure
- brighter
- shorter
- minimal widening
- Version B: VHS Degraded
- darker
- more chorus
- slight Redux
- more echo tail
3. Write a 4-bar MIDI phrase using:
- one hit per bar in bar 1
- syncopated hits in bar 2
- a pickup in bar 3
- a stronger phrase-ending hit in bar 4
4. Automate:
- filter cutoff opening across the 4 bars
- echo send only on the final hit
- width reduction in the last two hits for contrast
5. Export or resample both versions and compare them in a loop with drums and bass.
Goal: decide which version works better as:
Recap
The core idea is simple: build a short, rave-inspired stab, process it into a tape-worn FX character, then arrange it like a rhythmic DnB element instead of a sustained harmony.
Remember the main priorities:
If it sounds nostalgic, punchy, and controlled at the same time, you’re doing it right.

