Main tutorial
1. Lesson Overview
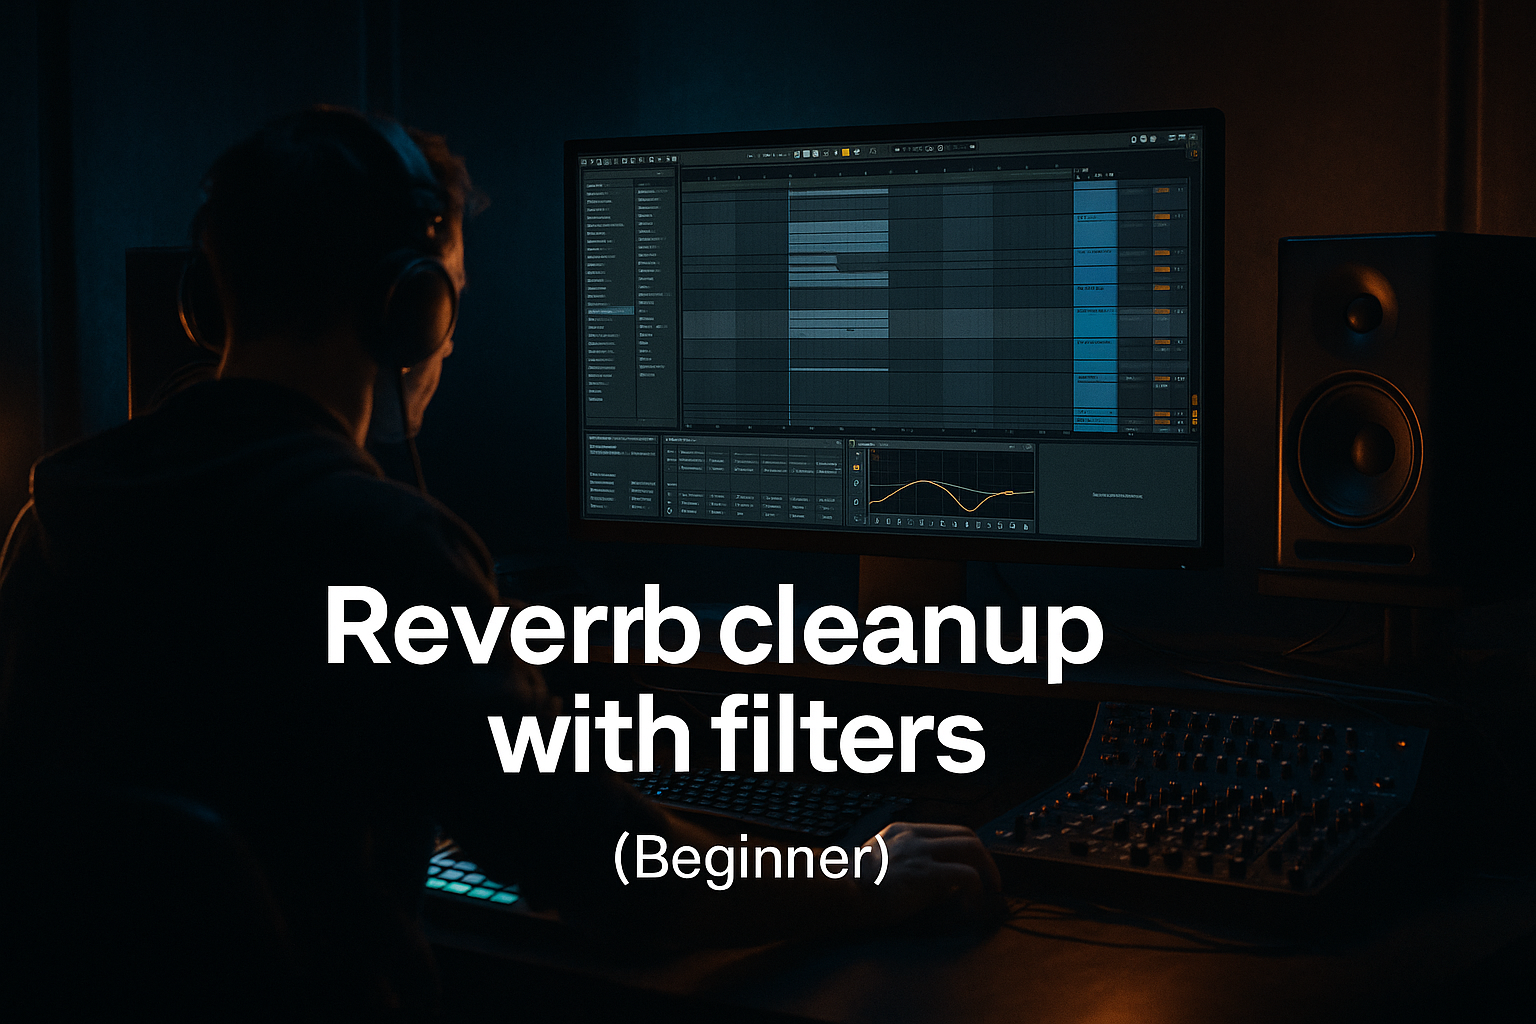
This advanced lesson teaches the Randall Ableton Live 12 top loop blueprint for modern punch and vintage soul: a reproducible Ableton Live 12 device-and-edit chain that turns a raw break/top-loop into a hard-hitting, modern Drum & Bass top loop while preserving warm, vintage-soul character. You’ll use only Ableton Live 12 stock devices, resampling, transient shaping, multiband processing and tasteful vintage coloration to create a two-layer result — “modern punch” for attack and impact, and “vintage soul” for body, tape warmth and motion — then glue them into a cohesive top loop ready for sub-mixing.
2. What You Will Build
- A single Ableton audio track (the source loop) transformed into a two-layer top loop:
- A reusable Live 12 rack and resampled audio clip (consolidated) you can drop into sessions.
- Stock-device chains and return routing for parallel reverb and delay tailored to Drum & Bass tempos.
- Over-compressing the top loop: Too much bus compression kills transient life. Aim for 1–4 dB of gain reduction on glue; retain dynamic peaks.
- High-pass too aggressively: Cutting above 250–300 Hz can make the loop thin. Adjust HPF to balance with your kick/sub.
- Putting saturation before the transient processor: Always establish attack shaping (Drum Buss Transient) before heavy saturation that can smear transients.
- Using wide stereo width on the Punch Layer: Keeps important percussive snap in the center; over-widening reduces presence in club systems.
- Excessive reverb on the top loop: Heavy reverb makes DnB mixes cluttered. Use short reverb with an EQed return and low send levels.
- Forgetting to resample: Leaving many layered chains live can complicate session recall and CPU — resample the final blueprint for reuse.
- Use Drum Buss’s Transient and Crunch together: Transient to lift attack, Crunch to add harmonic sheen—tweak in tiny increments.
- Multiband Dynamics is your friend: Isolate the mid band to compress or expand character without affecting the airy highs or low punch.
- For maximum punch, automate transient emphasis: e.g., transient knob jumps +10–20% on the first bar of loops to accentuate downbeats.
- Use short pre-delay on reverb for vintage plate feel without drowning transients (10–30 ms).
- For “vintage” randomness, add tiny sample-offset micro-edits (1–12 ms) to the Soul Layer to simulate human timing shifts.
- Save your chain as an Ableton Rack Macro with mapped key controls: Transient amount, Saturator Drive, Reverb Send, Group Width.
- When balancing, use soloing + mix context: soloing can lie—always A/B with the full drum bus and bass.
- The Randall Ableton Live 12 top loop blueprint for modern punch and vintage soul is a two-layer approach: a tight, transient-focused Punch Layer and a body-rich Soul Layer, processed with EQ Eight, Drum Buss, Saturator, Multiband Dynamics, Glue Compressor, and tasteful send reverbs/delays — all stock Live 12 devices.
- Key steps: warp correctly, high-pass to clear subspace, shape transients (Drum Buss + compressor), add harmonics (Saturator/Drive), control frequency-specific dynamics (Multiband Dynamics), add subtle modulation for soul, and resample a consolidated clip for recall.
- Save this chain as a template/rack and you’ll have a repeatable way to convert raw breaks into modern DnB top loops that punch on club systems while retaining vintage soul warmth.
- Punch Layer: tight transients, click, controlled highs, stereo width for snap.
- Soul Layer: low-mid warmth, tape/analog saturation, slow modulation (chorus/auto-pan), plate-style ambience.
3. Step-by-Step Walkthrough
Note: This walkthrough keeps to Ableton Live 12 stock devices. Use a clean project at 174–176 BPM as typical DnB tempo.
A. Prep: Import and Warp
1. Drag your chosen top loop into an audio track named “Top Loop - Source”.
2. Set Warp mode = Beats. Select 1/16 or 1/32 preserve transients to keep attack definition (Preserve = 16th is a good starting point). Turn off warp quantize - you want natural micro-timing.
3. Trim the clip to the musically useful bar range (e.g., 2–4 bars) and consolidate (Cmd/Ctrl-J) after edits. Duplicate the track twice; label copies “Punch Layer” and “Soul Layer”.
B. Global low-end control
4. On both layers, insert EQ Eight first.
- High-pass with a 24 dB/oct slope around 140–220 Hz (adjust by ear; 180 Hz is a reliable starting point). This removes low-frequency clash with kick/sub and makes top loop sit on top.
- On Punch Layer, also gently boost around 2–4 kHz (+2 to +4 dB, Q ~1.2) for snap. On Soul Layer, keep 2–4 kHz flat or slightly cut to avoid phase-smearing with the punch layer.
C. Punch Layer Chain (tight transients & presence)
5. After EQ Eight, insert Drum Buss.
- Drive 4–7 (a little grit), Boom: 0–1 (don’t muddy), Transient: +15 to +35 (push attack), Crunch 2–4 for subtle harmonic edge. Watch meters—avoid gross clipping.
6. Add Saturator (Soft Sine or Analog Clip) after Drum Buss for controlled harmonic saturation.
- Drive 2–4 dB, Dry/Wet around 30–50% if you want to preserve transient clarity.
7. Insert Glue Compressor (on the chain or as a send for parallel) to tighten dynamics.
- Attack 10–30 ms, Release auto or 100–240 ms, Ratio 2:1–4:1, Threshold to gain 2–4 dB of gain reduction; Makeup as needed. Short attack preserves transients; play with attack to let enough transient through.
8. Use Utility for final stereo image.
- Width 80–95% (slightly narrower than full mix); offset phase if you later blend mid/side processing.
D. Soul Layer Chain (vintage body & motion)
9. After its EQ Eight, insert Saturator set to “Analog Clip” or “Soft Sine”.
- Drive 3–6 dB, Dry/Wet 40–60% — aim for rounded, harmonic low-mids.
10. Add Multiband Dynamics to shape different frequency bands:
- Split bands at ~250 Hz and ~2.8–3.5 kHz (so low/mid/high).
- Compress low band gently (1.5:1, slow attack 30–50 ms) to glue the warmth.
- Mid band gentle gain reduction 2–4 dB; high band can be lightly expanded (negative ratio) or compressed minimally to keep air.
11. Add Chorus-Ensemble effect for subtle wow (Auto Pan + Chorus if you prefer stock):
- Auto Pan: Rate very low (0.05–0.25 Hz), Amount small (10–20%), Shape = Sine. Set Width to stereo movement only; keep mix at 30–40% so it doesn’t smear transients.
- Alternatively add Chorus if Suite, Depth small.
12. Place Reverb (Hybrid Reverb or Reverb) on a return send for vintage plate feel:
- Pre-delay 15–30 ms, size small–medium, high damping, predominate early reflections, Dry/Wet using send ~10–20%. Use an EQ on return to low-cut below 300 Hz and low-pass above 6–8 kHz so reverb doesn’t muddy.
13. Add slight tape-like flutter using Redux (bit reduction) conservatively or use Saturator + small random LFO modulation:
- Redux: Bit reduction minimal (bit depth at 14–16 bits) and downsample off. Use the Wet knob subtly.
E. Stereo and Mid/Side Glue
14. Create a Group Rack called “Top Loop Randall Rack”. Put both layer tracks into the group (or use resampling technique below).
15. On the group output, insert EQ Eight (in Mid/Side mode):
- Slightly cut muddiness on the Mid around 300–450 Hz (-1.5 to -3 dB), and a subtle Mid boost around 800–1.2k for body if needed.
- On Side, gentle high-shelf at 6–12 kHz +1.5 to +3 dB for air and wideness.
16. Add Compressor set in Sidechain mode if you want the top loop to duck slightly under kick hits (optional):
- Detector from Kick track, Ratio 2.5:1, Attack 1–10 ms, Release short (40–100 ms), Threshold to get 1–3 dB of gain reduction on kick hits. This preserves punch while making space for kicks.
F. Parallel Punch Bus (optional advanced)
17. Create a send from the Punch Layer to a Return track “Parallel Punch”.
- On Return: Saturator, Drum Buss with Transient +40, and Glue Compressor hard (ratio 4:1) to exaggerate attack.
- Blend return to taste (5–20%) to add transient pop without compromising tone.
G. Resampling and Consolidation (make it a single clip)
18. Arm a blank audio track, set Input to “Top Loop Group” (or the group resampling source), monitor In.
19. Record several bars of the playing loop, including automation for sends (reverb/delay) and any clip automation you used. Consolidate the new recorded clip (Cmd/Ctrl-J).
20. Optionally run the resampled clip through a final processing chain:
- EQ Eight: tighten any resonances.
- Drum Buss: small transient and drive.
- Glue Compressor: gentle glue (1–2 dB gain reduction).
- Utility: set final width and normalize gain.
H. Final Taste: Vintage Noise & Motion
21. For extra soul, add a subtle vinyl/noise bed on a return:
- Use a noise sample or internal Operator/Analog with filtered noise: low level -30 to -18 dB, low-pass 6–8 kHz, wide auto-pan.
22. Automate a slow low-frequency movement (Auto Filter LFO on Soul Layer) to breathe the loop across bars — rate synced to long note values (1/4–1/2 bar).
4. Common Mistakes
5. Pro Tips
6. Mini Practice Exercise
Time: 20–30 minutes
1. Take a 2-bar funk break (your source).
2. Duplicate it into Punch and Soul layers.
3. On Punch: HPF at 180 Hz, Drum Buss Transient +25, Saturator Drive 3 dB, Glue comp Attack 20 ms Release 120 ms, Width 90%.
4. On Soul: HPF 140 Hz, Saturator Drive 5 dB, Multiband Dynamics split 250/3k with mid-band compress -3 dB, Auto Pan slow LFO 0.1 Hz depth 15%.
5. Create a return with Reverb (small plate) + EQ remove <300 Hz, send both layers 10–15% to it.
6. Resample the grouped output and compare A/B with the original. Adjust HPF and transient until the resampled version sits clearer on top of kick/sub.
7. Recap

