DNB COLLEGE

Drum & Bass Ableton Live 12 Tutorials

LESSON DETAIL

Randall Ableton Live 12 phase bass blueprint with automation-first workflow (Advanced · Atmospheres · tutorial)

An AI-generated advanced Ableton lesson focused on Randall Ableton Live 12 phase bass blueprint with automation-first workflow in the Atmospheres area of drum and bass production.

Back to lessons
Randall Ableton Live 12 phase bass blueprint with automation-first workflow (Advanced · Atmospheres · tutorial) cover image

Narrated lesson audio

The voice track includes the tutorial plus extra teacher commentary.

Open audio file

Main tutorial

1. Lesson Overview

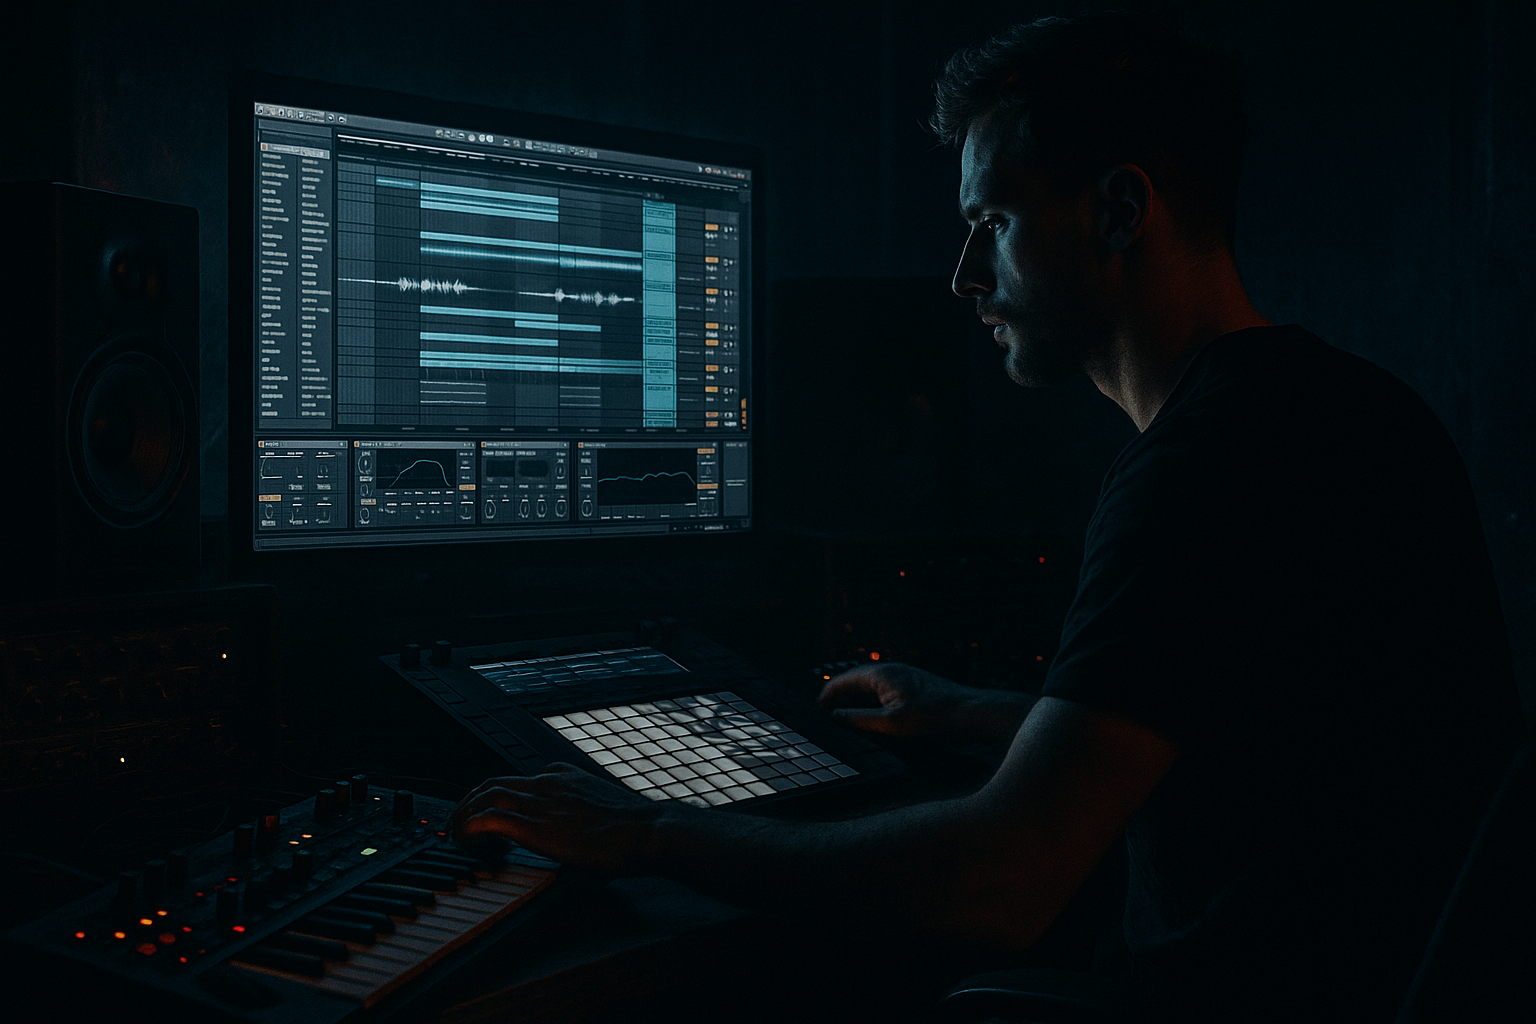
This advanced Atmospheres lesson walks you through the "Randall Ableton Live 12 phase bass blueprint with automation-first workflow". You will learn a production blueprint for creating a rich, moving phase bass suitable for Drum & Bass — built in Ableton Live 12 using stock devices — where automation is the primary modulation engine. The goal is a full, club-ready phase bass patch with tight mono sub, a complex midrange phase body, and textured upper harmonics whose movement is driven mostly by arrangement automation and macro automation rather than deep nested modulators. This workflow makes the movement predictable, mix-safe, and easy to edit in arrangement.

2. What You Will Build

  • A 1–2 bar playable phase bass instrument rack (MIDI track) with three parallel chains:
  • - Chain A: clean mono sub (operator-style sine)

    - Chain B: phase body (wavetable-based, frequency-shifted + phaser)

    - Chain C: textured top (grain delay + spectral texture)

  • An Audio Effect Rack controlling chain levels, phase inversion, and macro-driven, automation-first movement across wavetable position, filter cutoff, frequency shift, phaser feedback, and send amount to reverb.
  • Arrangement automation lanes that perform the primary modulation (movement) over an 8-bar loop so you can fine-tune phrasing for Drum & Bass.
  • Final processing chain: EQ Eight (mid/side), Saturator, Glue Compressor, Multiband Dynamics for glue and tonal control.
  • 3. Step-by-Step Walkthrough

    Preparation

  • Set project BPM to 174 (typical DnB).
  • Create a MIDI track named "Randall Phase Bass".
  • Create an Audio Effect Rack on a return track for reverb (optional): Plate or Convolution Reverb, but the main blueprint works dry with sends controlled by automation.
  • Chain Setup (Audio Effect Rack on the bass track)

  • Create an Instrument Rack (Instrument Rack > show chains). We’ll use a single patch (Wavetable) but split into 3 parallel chains inside an Audio Effect Rack for post-synthesis processing and phase tricks.
  • Instead, easier: Use one Instrument (Wavetable or Operator) and place an Audio Effect Rack after it with three chains (Sub, Body, Top). We'll instruct with Wavetable as the source.
  • A) Source synth: Wavetable

  • Drop Wavetable on the MIDI track.
  • Oscillator A: Select a rounded saw-to-sine-ish wavetable (e.g., “Basic Shapes” > “Sine-ish” or “Bld SineSaw”). Set Unison to 0 for sub clarity.
  • Oscillator B: Use a more harmonic table (e.g., “Supersaw” or “FM-ish”), route B to both osc mix to taste; reduce level for sub.
  • Filter: Low-pass (24 dB) initially set very low for sub control; we’ll open with automation.
  • Global: Set polyphony to 1 (monophonic) and enable glide if desired. Keep Wavetable’s sub content simple — most character comes from post-processing.
  • B) Audio Effect Rack with 3 Chains

  • After the Wavetable, add an Audio Effect Rack and create three chains: "Sub", "Phase Body", "Top Texture".
  • Set the Key zones for all chains to full; we want these parallel.
  • Chain A — Sub (mono)

  • Devices (in order):
  • 1. EQ Eight: High-pass to remove > 60–80 Hz content? Actually set a low-pass at ~180 Hz to keep only sub. Alternatively, use Utility + low-cut on other chains. Use EQ Eight band 1 as low-pass slope if desired.

    2. Saturator: Drive 1–3 dB for warmth, Soft Clip.

    3. Compressor/Glue (optional): light gain reduction 1–2 dB.

    4. Utility: set Width to 0% (mono). IMPORTANT: Keep sub mono to avoid cancellations. Map this chain’s volume to Rack Macro 1 (Sub Level).

    Chain B — Phase Body (main movement)

  • Devices (in order):
  • 1. EQ Eight: cut sub below 120 Hz (band 1 HP) so it doesn’t clash with Chain A.

    2. Auto Filter: Band-pass or notch automation can add moving notches; start with Low-pass (24 dB) with cutoff around 700 Hz.

    3. Frequency Shifter: Add subtle +/- shift (start 2–12 Hz). This creates beating and phase movement. Set Mix to 50% initially.

    4. Phaser: set Feedback 20–45%, Frequency low (0.3–1.2 Hz) for slow sweeps, Stereo set medium. Keep Phaser Mix ~40–60%.

    5. Utility: this is key for phase tricks — the Phase Invert (L or R) buttons can be automated. Keep Width >60% for character.

  • Map Frequency Shifter Amount, Phaser Feedback, Auto Filter Cutoff, and Utility Phase L to Rack Macros 2–5. These macros will be the main targets of arrangement automation.
  • Chain C — Top Texture (air + grit)

  • Devices:
  • 1. EQ Eight: high-shelf boost 4–12 kHz for presence.

    2. Grain Delay: set small grain size 10–50 ms, Spray 0–20, Pitch slightly detuned +1–6 semitones or use random, Dry/Wet around 30–50% to taste.

    3. Spectral Resonator or Corpus: (If you have Suite) set to taste for resonant metallic motion; otherwise use Echo with modulation for texture.

    4. Saturator/Redux: add character; light settings (Drive ~2–6 dB; Redux 4–8 bit if you want lo-fi).

  • Map Grain Delay Wet and Echo/Resonator Mix to Rack Macro 6.
  • Routing & Chain Select Automation

  • For subtle structural changes, enable Chain List (left side of the rack) and lower/raise chain volumes or use Chain Select. Map chain volumes to individual Macros (Sub Level, Body Level, Top Level) and automate those macros in Arrangement mode to make parts fall away or swell.
  • Optional: automate chain Key zones to drop the top chain on low notes if you want tonal control.
  • Macro Setup and Macro Mapping (automation-first)

  • Map these macros (example mapping):
  • Macro 1 — Sub Level (gain)

    Macro 2 — Body Wavetable Position / Auto Filter Cutoff (you can map multiple parameters to one macro)

    Macro 3 — Frequency Shifter Amount

    Macro 4 — Phaser Feedback/Mix

    Macro 5 — Utility Phase L (this is automatable as a binary; map to toggle)

    Macro 6 — Top Texture Wet

  • Use macro min/max to define extreme values so one automation lane can sweep many devices simultaneously.
  • Automation-First Movement (Arrangement)

  • Draw automation in Arrangement view rather than relying on internal LFOs:
  • - Open the clip or track automation lanes for the macros you created. Use Draw Mode (B) to paint curves.

    - Example automation recipe across an 8-bar loop:

    - Bars 1–2: Sub Level = 100%; Body Macro = 30% (closed); Top Wet = 10%

    - Bars 3–4: Ramp Body Macro to 70% (opening wavetable/Auto Filter), increase Frequency Shifter from 2 to 10 Hz, increase Phaser Feedback +10%

    - Bars 5–6: Rapid micro-automation: create 1/16th rhythmic stutters on Macro 3 (Frequency Shifter) for a broken-phase effect.

    - Bar 7: Flip Utility Phase L button (automate Macro 5) for a short cancellation moment — this creates a transient phase dip that feels like a ghost note.

    - Bar 8: Drop Sub Level to 60% and push Top Wet to 60% for a tail that blends into the next bar.

  • Use cubic automation curves for smooth motion and sharp quantized nodes for rhythmic gating. Ableton allows you to adjust breakpoints and curve shapes; prefer S-curve for musical sweeps and linear for precise ramps.
  • Device-level Automation (fine detail)

  • If you need micro-control, automate specific device parameters directly:
  • - Wavetable Position (Oscillator A pos): automate slowly across a bar or sync to 1/4–1/8 notes for rhythmic motion.

    - Auto Filter Cutoff: small, repeated notch sweeps synchronized to the beat give the classic Randall-style wobble.

    - Frequency Shifter Mix/Shift: small value oscillations produce beating; automate for movement.

    - Phaser Rate and Feedback: increase feedback for climactic sections.

    Mix & Glue

  • After the Rack, add:
  • - EQ Eight (mid/side): narrow-peak sweep to remove unpleasant resonances in the mid; boost side high where top texture exists.

    - Saturator: gentle drive, set Soft Clip.

    - Glue Compressor: slow attack, medium release, 1–3 dB gain reduction to glue.

    - Multiband Dynamics: tame the top band during heavy movement; automate threshold if needed.

  • Check mono compatibility: toggle Utility Width to 0% to test. If the phase cancels the sub when mono, reduce stereo content or stabilize the sub chain.
  • Printing Automation (optional)

  • If CPU or plugin stability matters, you can "Commit" movement by resampling or freezing & flattening the track. This will print automation movements as audio so you can further process or chop.
  • 4. Common Mistakes

  • Automating core sub-phase parameters without a dedicated mono sub chain: leads to cancellations and weak bass. Always keep a mono sub chain.
  • Excessive Frequency Shifter/Phaser settings: overdoing these creates phase cancellation and undefined low-end; start subtle and increase.
  • Mapping too many unrelated parameters to a single macro with wide ranges: you lose control. Group parameters that musically belong together (e.g., opening filter + wavetable position).
  • Forgetting to use smoothing/curves: linear jumps cause clicks. Use S-curve or add a tiny clip fade or Utility Ramp to smooth transitions.
  • Automating device bypass/state instead of parameter values that can be interpolated — toggling on/off causes audible pops. Instead automate Dry/Wet or Mix where possible.
  • Not checking for mono compatibility: always test with Utility width 0% to ensure the sub remains present.
  • 5. Pro Tips

  • Utility Phase Buttons are automatable: using brief L/R phase flips can create dramatic ghosting and transient dips — great for fills. Automate them in Arrangement for precise placement.
  • Use small Frequency Shifter amounts (single-digit Hz) to create beating that reads as movement but stays musical.
  • Use macro min/max ranges to normalize multi-parameter mappings: set extremes where one position equals “closed” and the other “wide open” so you can draw simple automation shapes.
  • For tempo-synced rhythmic phase motion, automate parameters in subdivision multiples (1/8, 1/16) with sharp corners; for ambient sweeps use long curves over 2–4 bars.
  • When printing to audio, leave some headroom (-6 dB) so further processing (compression/distortion) has room.
  • Duplicate the Instrument Rack and create “variation lanes” (different automation) in Arrangement for easy A/B or drop sections.
  • Use Track Delay (ms) with tiny positive/negative adjustments to fine-tune phase relationships between the Sub and Phase Body chains.

6. Mini Practice Exercise

Goal: Create an 8-bar phase bass loop that automates the main movement across macros, playable with one MIDI clip.

Steps:

1. Load Wavetable on a MIDI track, set single oscillator sine-based for the sub and oscillator B for harmonics.

2. Insert an Audio Effect Rack after Wavetable and create three chains: Sub, Body, Top. Put Utility on Sub chain with Width = 0%. Put Frequency Shifter + Phaser on Body chain. Put Grain Delay on Top.

3. Map:

- Macro 1: Sub Level (gain)

- Macro 2: Body Filter / Wavetable Pos (map both)

- Macro 3: FreqShifter Amount

- Macro 4: Phaser Feedback

- Macro 5: Top Wet

4. Create an 8-bar MIDI clip with a simple two-note pattern (root on beats 1 and 3).

5. In Arrangement view, draw these automation lanes:

- Bar 1–2: Macro 2 at 20%; Macro 3 at 2 Hz (low)

- Bar 3–4: Ramp Macro 2 to 80%; Macro 3 to 10 Hz; Macro 4 +10%

- Bar 5: Rapid 1/16th stutters on Macro 3 (draw small repeated dips)

- Bar 7: Automate Macro 5 (Top Wet) from 10% → 70%

- Bar 8: Drop Macro 1 (Sub Level) to 60% for a tail

6. Play back and refine: listen for cancellation, adjust Phase invert if needed, smooth curves.

Time yourself: create this loop, print to audio, and compare before/after to hear the solidity of automation-driven movement.

7. Recap

This lesson covered the "Randall Ableton Live 12 phase bass blueprint with automation-first workflow" — a practical, Ableton-stock-device approach for building a phase bass suitable for Drum & Bass. You made a 3-chain parallel bass with a dedicated mono sub, created moving midrange character using Frequency Shifter, Phaser and Wavetable, and made automation the primary tool for movement via mapped macros and Arrangement automation lanes. Key takeaways: protect the mono sub, use macros to centralize complex parameter movement, prefer automation in Arrangement for precise, editable control, and moderate phase devices to avoid cancellation. Practice the mini exercise to lock in the automation-first approach and iterate on the macro mappings to make a signature Randall-style phase bass.

Ask GPT about this lesson

Chat with the lesson tutor, get follow-up help, or use quick actions.

Bigup 👽 Ask me anything about this lesson and I’ll answer in context.

Narration script

Show spoken script
Title: Randall Ableton Live 12 – Phase Bass Blueprint with Automation‑First Workflow

Welcome. In this advanced Atmospheres lesson I’ll walk you through the Randall Ableton Live 12 phase bass blueprint, using an automation‑first workflow. The goal is a club‑ready Drum & Bass phase bass made with Ableton stock devices: a tight mono sub, a moving midrange phase body, and textured upper harmonics. Everything moves mostly from Arrangement and macro automation, not deep nested modulators — so the sound is predictable, mix‑safe, and easy to edit.

What you will build
You’ll make a 1–2 bar playable phase bass instrument rack on a MIDI track with three parallel chains:
- Chain A: a clean mono sub, operator‑style sine
- Chain B: the phase body, built from Wavetable plus frequency shifting and a phaser
- Chain C: textured top with Grain Delay and spectral texture
You’ll control chain levels, phase inversion, and movement through an Audio Effect Rack mapped to macros. Then you’ll drive most modulation from Arrangement automation over an 8‑bar loop. Finally, we’ll add a simple processing chain for glue and tonal control.

Step 1 — Preparation
Set the project BPM to 174. Create a MIDI track and name it “Randall Phase Bass.” Optionally create a return track for reverb — a short Plate or Convolution works — but the blueprint works dry; sends are automated later.

Step 2 — Source synth: Wavetable
Drop Wavetable on the MIDI track.
- Oscillator A: choose a rounded saw‑to‑sineish wavetable, like “Sine‑ish” or “Bld SineSaw.” Set Unison to zero for sub clarity.
- Oscillator B: pick a more harmonic table — “Supersaw” or “FM-ish.” Keep B’s level reduced so the sub stays clean.
- Filter: start with a low‑pass 24 dB, set low for sub control; we’ll open it with automation.
- Global: set polyphony to 1 and enable glide if you want. Keep the synth’s sub simple — most character will come from post‑synthesis processing.

Step 3 — Audio Effect Rack with three parallel chains
After Wavetable, add an Audio Effect Rack and create three chains named Sub, Phase Body, and Top Texture. Keep their key zones full so they run in parallel. We’ll place devices after the synth on each chain to shape frequency, phase, and texture.

Chain A — Sub (mono)
Add these devices in order:
1. EQ Eight: keep the sub band limited — low‑pass around 180 Hz or use the EQ to remove everything above where you want the sub to live.
2. Saturator: 1–3 dB drive, Soft Clip for warmth.
3. Compressor or Glue: light gain reduction, 1–2 dB.
4. Utility: set Width to 0% so the sub is strictly mono.
Map this chain’s volume to Macro 1 — Sub Level. Keeping the sub mono is crucial to avoid cancellations.

Chain B — Phase Body (main movement)
Devices in order:
1. EQ Eight: high‑pass or cut below around 120 Hz so the body won’t clash with the sub.
2. Auto Filter: start with a low‑pass 24 dB at about 700 Hz; we’ll automate cutoff.
3. Frequency Shifter: subtle shift, around 2–12 Hz to create beating. Start with Mix at 50%.
4. Phaser: Feedback between 20–45%, slow frequency 0.3–1.2 Hz for movement, mix around 40–60%.
5. Utility: this is where phase invert and width live; keep Width above 60% for a wide body.
Map Frequency Shifter amount, Phaser feedback, Auto Filter cutoff and Utility phase invert to Macros 2–5. These macros will be your primary movement controls.

Chain C — Top Texture (air + grit)
Devices:
1. EQ Eight: high‑shelf boost between 4–12 kHz for presence.
2. Grain Delay: small grain size 10–50 ms, Spray 0–20, Pitch +1–6 semitones or randomized, Dry/Wet around 30–50%.
3. Spectral Resonator or Corpus if you have Suite, otherwise Echo with modulation for texture.
4. Saturator or Redux: light character, Drive 2–6 dB or light bit reduction.
Map Grain Delay wet and resonator/echo mix to Macro 6 — Top Wet.

Routing and chain-level controls
Map each chain’s output level to its own macro: Sub Level, Body Level, Top Level. You can automate these macros in Arrangement to make chains swell or drop. Optionally use chain key zones to have the top chain drop on low notes.

Macro setup — automation‑first
Set these example macro mappings:
- Macro 1: Sub Level
- Macro 2: Body filter / Wavetable position
- Macro 3: Frequency Shifter amount
- Macro 4: Phaser feedback / mix
- Macro 5: Utility Phase L (phase invert toggle)
- Macro 6: Top Texture Wet
Adjust macro min and max so one end is a “closed” sound and the other is “wide open.” That way a single automation lane performs musical, predictable changes.

Automation‑first movement (Arrangement)
We’ll draw automation in Arrangement, not rely on internal LFOs. Open the track macros and paint automation across an 8‑bar loop. Example recipe:
- Bars 1–2: Sub Level 100%; Body Macro closed at 30%; Top Wet 10%.
- Bars 3–4: Ramp Body Macro to 70% to open the wavetable / filter; increase Frequency Shifter from 2 to 10 Hz; bump Phaser feedback by 10%.
- Bars 5–6: Add rapid micro automation: draw 1/16th stutters on Macro 3 (FreqShifter) for a broken‑phase feel.
- Bar 7: Flip Utility Phase L via Macro 5 for a short cancellation moment — a ghost nodal dip.
- Bar 8: Drop Sub Level to 60% and push Top Wet to 60% to create a tail into the next bar.
Use S‑curves for smooth musical sweeps and linear steps for rhythmic gating. Ableton lets you tweak breakpoints and curve shapes — prefer S‑curves for smooth motion.

Device‑level automation (fine detail)
For micro control, automate device parameters directly:
- Wavetable position over a bar or synced to 1/4–1/8 notes.
- Auto Filter cutoff for notch sweeps timed to the beat.
- Frequency Shifter mix and amount for subtle beating.
- Phaser rate and feedback for climactic sections.
But keep the big gestures on macros for fast editing.

Final processing chain — mix and glue
After the rack add:
- EQ Eight in M/S mode: remove unpleasant mids, boost side high for air.
- Saturator: gentle drive with Soft Clip.
- Glue Compressor: slow attack, medium release, 1–3 dB gain reduction.
- Multiband Dynamics: tame the top band during heavy movement; automate thresholds if needed.
Always check mono compatibility by setting Utility width to 0% — the sub should stay solid.

Printing automation (optional)
If CPU or stability is a concern, resample or freeze and flatten the track to print the automation to audio. That lets you further process and chop without heavy CPU load.

Common mistakes to avoid
- Don’t automate core sub parameters without a dedicated mono sub chain — you’ll get cancellations.
- Avoid extreme Frequency Shifter or Phaser settings — start subtle.
- Don’t map too many unrelated parameters to one macro; group by musical function.
- Smooth automation: linear jumps can click. Use S‑curves or automate mix/dry‑wet instead of device on/off.
- Always test mono compatibility. If the low end collapses when summed, narrow stereo content or adjust phase.

Pro tips
- Automate Utility phase buttons briefly to create ghosting and transient dips — great for fills.
- Small Frequency Shifter amounts create beating that sounds like motion without smearing low end.
- Use macro min/max to normalize multi‑parameter mappings: one position equals “closed,” the other “open.”
- For tempo‑synced rhythmic motion, draw automation in subdivisions like 1/8 or 1/16; for ambient sweeps, use long curves.
- Leave headroom when printing audio, around −6 dB.
- Duplicate the rack and create variation lanes in Arrangement for quick A/B or drop sections.
- Use tiny Track Delay offsets to fix phase relationships between sub and body, starting around ±0.5–4 ms.

Mini practice exercise
Make an 8‑bar phase bass loop:
1. Load Wavetable, set Osc A for a sine sub and Osc B for harmonics.
2. Insert an Audio Effect Rack with three chains: Sub, Body, Top. Put Utility on Sub chain with Width = 0%. Put Frequency Shifter + Phaser on Body. Put Grain Delay on Top.
3. Map macros:
   - Macro 1: Sub Level
   - Macro 2: Body Filter / Wavetable Pos
   - Macro 3: FreqShifter Amount
   - Macro 4: Phaser Feedback
   - Macro 5: Top Wet
4. Create an 8‑bar MIDI clip with a two‑note pattern.
5. In Arrangement draw automation as outlined earlier: open/close Body, ramp FreqShift, add 1/16 stutters, boost Top Wet, drop Sub for a tail.
6. Play, refine, check for cancellation, and smooth curves.

Recap
You built a 3‑chain parallel bass with a dedicated mono sub, a moving midrange using Frequency Shifter, Phaser and Wavetable, and made automation the primary tool for movement. Key takeaways: protect the mono sub, use macros to group parameter movement, prefer Arrangement automation for precise control, and be moderate with phase devices to avoid cancellation. Practice the mini exercise to lock in the workflow and iteratively refine macro mappings for your own signature Randall‑style phase bass.

Extra coach notes — quick summary
- Why automation‑first? It makes movement explicit and editable in time, which is essential for Drum & Bass phrasing. Macros let you treat many device parameters as one musical fader.
- Macro mapping philosophy: group by musical function — “Tight → Wide,” “Beat wobble,” “Air.” Use macro min/max so one position is a musical state.
- Automation techniques: draw in Arrangement for long phrasing, use clip envelopes for live experimentation. Use S‑curves for smooth, linear for rhythmic steps. For binary actions like phase flips, automate tightly to avoid pops or add tiny fades.
- Phase and mono safety: always test in mono. Use a spectrum and correlation meter; aim for +1 in the sub region. Tiny time offsets or Track Delay often fix phase issues.
- Creative variations: hybrid Operator sub + Wavetable body, dual Frequency Shifters at different speeds, replace Grain Delay with short filtered echoes, or resample extremes to make glitch fills.
- Reverb and space: use short predelay on reverb sends, high‑cut above 6–8 kHz and low‑cut around 400–600 Hz so the sub stays dry. Automating send amount keeps tails musical.
- Mixing and tonal control: mid/side EQ keeps the sub mid; multiband dynamics control top peaks; sidechain to the kick for groove. Leave headroom before distortion and glue.
- CPU workflow: lower quality while sketching, freeze when needed, and resample automation sections when committed. Save the rack as a preset with min/max set and color‑code macros.
- Troubleshooting checklist: thin bass = check sub chain; booming = high‑pass body/top; clicks = smooth automation or automate mix; phase issues = reduce width or nudge delay.
- Live performance: use dummy clips in Session to launch macro snapshots, map a footswitch to Sub Level for drops, and use Follow Actions for evolving automation states.
- Final sanity tips: clearly name macros, keep a default stable macro position saved, and periodically bounce sections to compare versions.

That’s the blueprint. Focus on predictable macro mappings, a mono‑safe sub, and deliberate arrangement automation. When you combine those, the Randall‑style phase bass becomes powerful in the club and manageable in the studio. Go build the 8‑bar loop, print it, and listen for the clarity that automation‑first movement gives you.

mickeybeam

Go to drumbasscd.com for +100 drum and bass YouTube channels all in one place - tune in!

Generating PDF preview…