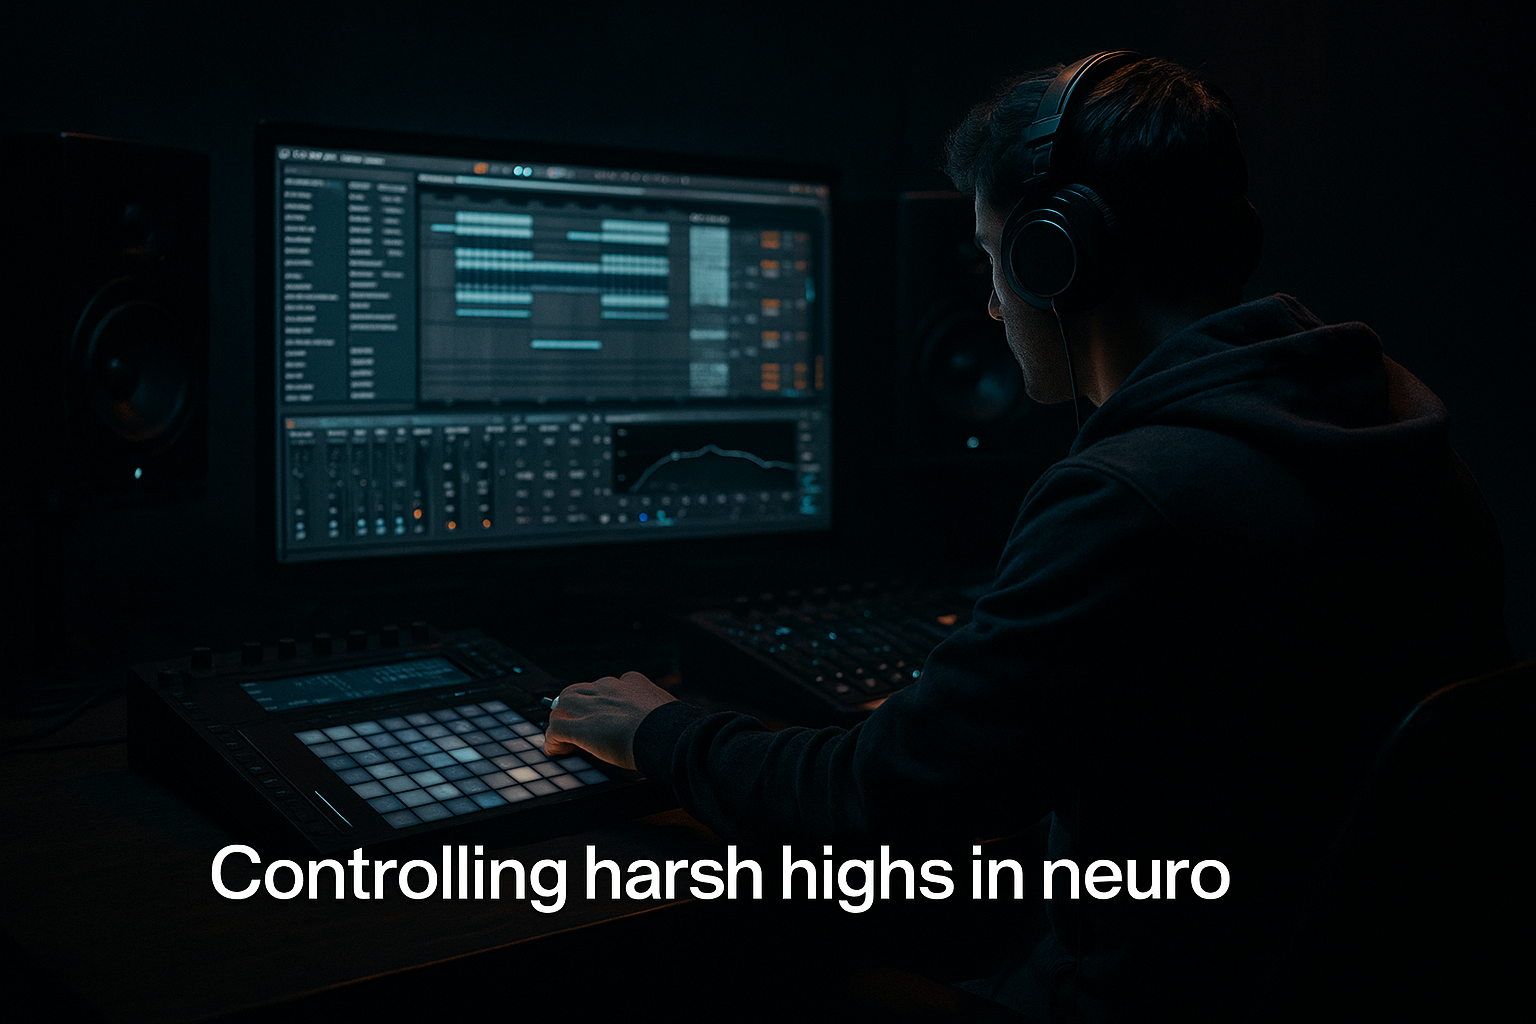
DNB COLLEGE

Drum & Bass Ableton Live 12 Tutorials

LESSON DETAIL

Ragga masterclass: bassline offset in Ableton Live 12 (Advanced)

An AI-generated advanced Ableton lesson focused on Ragga masterclass: bassline offset in Ableton Live 12 in the Edits area of drum and bass production.

Back to lessons
Ragga masterclass: bassline offset in Ableton Live 12 (Advanced) cover image

Narrated lesson audio

The voice track includes the tutorial plus extra teacher commentary.

Open audio file

Main tutorial

Ragga Masterclass: Bassline Offset (Ableton Live 12) 🎛️🔥

Skill level: Advanced

Category: Edits (timing, groove, feel)

Context: Drum & Bass / jungle / ragga-rolling bass music in Ableton Live 12

---

1) Lesson overview

In ragga-influenced DnB, the bassline doesn’t just “follow” the drums—it dances around them. One of the fastest ways to get that authentic rolling, skanky push is bassline offset: micro-shifting bass notes (or specific hits) ahead of or behind the grid to lock into the kick/snare, emphasize swing, and create the illusion of faster motion without adding notes.

In this lesson you’ll learn multiple Ableton-native methods to offset bass timing—at the note, clip, and audio level—while keeping the low end clean and the groove consistent.

---

2) What you will build

A ragga-style rolling 16th-note bass pattern with controlled offsets that:

  • Sits tight with a 2-step or ragga break edit (kick/snare core)
  • Adds skank feel via targeted micro-timing offsets
  • Uses Ableton Live 12 stock devices (Meld / Wavetable, Saturator, EQ Eight, Glue Compressor, Utility)
  • Keeps sub mono and stable while allowing mid-bass movement
  • Gives you an arrangement-ready 8–16 bar groove (drop-ready) 🥁
  • ---

    3) Step-by-step walkthrough

    Step 0 — Set the session like a DnB record

    1. Tempo: 170–175 BPM (try 174 BPM)

    2. Groove Pool: Open it (left side). We’ll use it later.

    3. Drums:

    - Use a punchy kick + snare on 2 and 4, or a break (Amen/Think) layered.

    - Keep a consistent reference: groove decisions are only as good as what you’re locking to.

    DnB tip: If you’re using a break, warp it cleanly first (Complex Pro off; use Beats mode for breaks).

    ---

    Step 1 — Build a solid ragga roller bass (MIDI first)

    Create a MIDI track: Bass MIDI.

    Instrument option A (stock & fast): Meld

  • Load Meld
  • Start with a basic wavetable or saw/square blend (keep it simple)
  • Set Voices = 1 (mono behavior)
  • Add Portamento/Glide if you want slurs (lightly)
  • Instrument option B: Wavetable

  • OSC 1: Basic Shapes (square-ish)
  • OSC 2: off (or a quiet sine for body)
  • Filter: LP24, drive low
  • Mono + Glide: on
  • MIDI pattern (1 bar loop):

  • Write a 16th-note pattern with rests (don’t fill everything).
  • Base note: e.g., F or G (DnB-friendly).
  • Keep the sub note mostly consistent, add occasional jumps an octave up for ragga energy.
  • Example feel (not strict notation):

  • Hits on 1, 1e, rest, 1a, hit on 2&, hit on 3, syncopation near 3a/4e.
  • Why: Ragga rollers thrive on call-and-response gaps.

    ---

    Step 2 — Separate SUB and MID (so offsets don’t wreck the low end) ✅

    Create two layers from your bass:

    #### A) Sub track (tight, minimal movement)

    Duplicate the bass track → name it SUB.

    On SUB chain:

    1. EQ Eight

    - Low-pass around 90–120 Hz (steep slope)

    - Remove any harsh upper junk

    2. Utility

    - Bass Mono: On (or Width 0% below 120 Hz if using Live’s features)

    3. Saturator (optional)

    - Soft Sine-ish sub? Keep it subtle: Drive 1–3 dB

    Important: SUB timing should remain comparatively stable.

    #### B) Mid-bass track (offset playground)

    Name the original (or duplicate) MID.

    On MID chain:

    1. EQ Eight

    - High-pass around 90–120 Hz

    2. Saturator

    - Drive 3–8 dB (taste)

    3. Auto Filter (optional for movement)

    - Gentle LP with envelope or slow LFO

    Now you can offset MID without destabilizing the sub.

    ---

    Step 3 — The core technique: note-level bassline offset (microtiming) 🧠

    Open the MID clip. Turn on:

  • Grid: 1/16
  • Fixed Grid OFF (so you can do micro moves)
  • Use the nudge controls (or drag with zoom)
  • #### What to offset (ragga logic)

    You’re going to shift specific hits, not the whole line:

    1. Push (early) a pickup note into the snare

    - Pick a note right before beat 2 or beat 4

    - Nudge it earlier by ~5–15 ms

    - This creates that “rushing into the snare” bounce.

    2. Lay back (late) a note that answers after the snare

    - Pick a note just after 2 or 4

    - Nudge it later by ~8–20 ms

    - Creates a heavier pocket.

    3. Don’t offset every note

    - Keep anchor notes on-grid (often the downbeat / bar start).

    #### Practical workflow in Live 12

  • Zoom in until you can see transients / MIDI note edges clearly.
  • Use the MIDI Note Length carefully: micro-offsets can cause overlap → clicks or glide weirdness.
  • Starting offset recipe (safe):

  • Pickup notes: -8 ms
  • Answer notes: +12 ms
  • Then adjust by ear while looping with drums.

    ---

    Step 4 — Clip-level offset (for whole phrase feels)

    Sometimes you want the entire bass phrase to sit slightly behind or ahead of the drums.

    1. Select the MID clip

    2. In Clip View, adjust Start position by tiny amounts

    - Or consolidate and Shift clip slightly on the timeline

    Use case:

  • If your drums are aggressively swung or break-heavy, the bass may feel too straight.
  • Try moving MID +5 to +15 ms late globally, then do note-level offsets inside.
  • Rule: If you globally offset, keep SUB closer to grid than MID.

    ---

    Step 5 — Groove Pool: apply swing only where it matters 🕺

    Ragga DnB often has that “triplet-ish” swagger without fully going halftime. Groove Pool is great, but don’t blindly apply it to sub.

    1. Open Groove Pool

    2. Add a groove like:

    - MPC 16 Swing 55–60 (or similar)

    3. Apply groove to MID clip (not SUB)

    4. Set:

    - Timing: 10–30%

    - Random: 0–10% (tiny)

    - Velocity: optional (if you want accent bounce)

    Then Commit once it feels right (advanced workflow):

  • Flatten the groove into the MIDI so your edits are consistent.
  • DnB reality check: If your break already swings, use less groove on bass.

    ---

    Step 6 — Audio method: offset only the mid harmonics (with resampling)

    For nastier ragga basses, you’ll often end up with audio resamples. You can still offset cleanly.

    1. Resample MID to audio (Freeze + Flatten or resample)

    2. Warp mode:

    - For bass: Complex OFF

    - Try Beats mode (Preserve Transients low), or Tones if smoother

    3. Split the audio into bands:

    - Create an Audio Effect Rack

    - Chain A: SUB (LP 120 Hz)

    - Chain B: MID (HP 120 Hz)

    4. Offset ONLY chain B timing using:

    - Duplicate track method (preferred), OR

    - Convert to separate audio clips and move MID clip slightly

    Why this works: Sub stays phase-stable; mid does the skank.

    ---

    Step 7 — Lock it to the drums with sidechain & phase sanity

    Even with offsets, you need clean low end.

    On SUB track:

    1. Glue Compressor

    - Sidechain from Kick

    - Attack: 3–10 ms

    - Release: Auto or 80–150 ms

    - Threshold for 1–3 dB GR

    2. EQ Eight

    - If snare is huge, consider a tiny dip around 180–220 Hz (depends)

    On MID track:

  • Sidechain lighter or not at all—depends on the vibe. Too much pumping can kill the skank.
  • Phase check quick method (stock):

  • Put Utility on SUB and try Phase Invert L/R briefly (or just check mono sum).
  • If low end disappears in mono, your layers/offsets are fighting.
  • ---

    Step 8 — Arrangement ideas (edits category) ✂️

    Bassline offset shines when you edit the phrase across 8–16 bars:

  • Bar 1–4: Classic pattern, subtle offsets
  • Bar 5–8: Increase pickup “push” offsets slightly (more urgency)
  • Bar 9–12: Drop out sub for 1/2 bar and let MID skank answer (ragga call)
  • Bar 13–16: Bring in a variation: one extra syncopated note, but keep the same offset scheme
  • Classic ragga move: After a snare, leave a gap, then hit a late “answer” note (+15–20 ms) for weight.

    ---

    4) Common mistakes

    1. Offsetting the SUB too much

    - Sub should be the anchor. If it wobbles in timing, the whole drop feels weak.

    2. Over-swinging everything

    - If both drums and bass have heavy swing, it can feel drunk instead of rolling.

    3. Ignoring note length overlaps (mono bass)

    - In mono/glide patches, micro-shifts can create unexpected pitch slides or clicks.

    4. Warp artifacts on resampled bass

    - Wrong warp mode = smeared low end.

    5. Not referencing against snare transients

    - In DnB, snare placement is king. Offset decisions should support it.

    ---

    5) Pro tips for darker/heavier DnB 🖤

  • Keep SUB dead simple, make MID nasty and late.
  • Dark rollers often feel heavier when mids sit slightly behind the snare.

  • Use Saturator + EQ Eight for controlled aggression
  • - Saturator: Analog Clip, Drive 5–10 dB (MID only)

    - EQ Eight after: tame 2–5 kHz if it gets spitty

  • Micro-offset “pre-drop tension”
  • In the 1–2 bars before the drop, push pickups a little earlier to increase urgency, then relax offsets at drop for impact.

  • Automate offsets via duplicate clips
  • Create two versions of the same bass clip:

    - Clip A: tighter (less offset)

    - Clip B: looser (more offset)

    Swap them every 4 bars for movement without adding notes.

  • Use Utility width discipline
  • MID can be wider, but don’t let it smear: try Width 110–140% (MID only), keep SUB mono.

    ---

    6) Mini practice exercise (15 minutes) ⏱️

    1. Make a 1-bar rolling bass MIDI clip (MID track).

    2. Duplicate it to 4 bars.

    3. Choose three notes per bar to offset:

    - One pickup before snare: -10 ms

    - One answer after snare: +15 ms

    - One random ghost: +5 ms

    4. Loop with drums and adjust until the bass “talks” with the snare.

    5. Duplicate SUB and MID separation if you haven’t already:

    - SUB stays on-grid

    - MID contains offsets

    Goal: When you mute the MID, the track still feels stable. When you unmute it, it feels alive.

    ---

    7) Recap

  • Bassline offset is a timing edit technique that creates ragga-style skank and roll without adding complexity.
  • Separate SUB and MID so you can offset the groove without ruining low-end stability.
  • Use note-level microtiming (5–20 ms) for targeted push/pull around the snare.
  • Optionally apply Groove Pool to MID only, and resample for audio-based edits.
  • Use sidechain + phase checks to keep the drop heavy and mono-solid.

If you want, tell me whether your drums are 2-step or break-driven, and what bass instrument you’re using (Meld/Wavetable/external), and I’ll suggest exact offset targets for your groove and a matching 8-bar ragga arrangement.

Ask GPT about this lesson

Chat with the lesson tutor, get follow-up help, or use quick actions.

Bigup 👽 Ask me anything about this lesson and I’ll answer in context.

Narration script

Show spoken script
Title: Ragga masterclass: bassline offset in Ableton Live 12 (Advanced)

Alright, welcome in. This is an advanced edits lesson for drum and bass, specifically that ragga-rolling, jungle-influenced vibe where the bassline doesn’t just follow the drums… it dances around them.

Today we’re dialing in bassline offset in Ableton Live 12. That means we’re micro-shifting certain bass hits slightly ahead of or behind the grid, so the groove locks to the kick and snare, the swing feels intentional, and the whole drop seems like it’s moving faster… without you adding extra notes.

And here’s the big idea: we’re going to keep the sub stable, and let the mid-bass be the “dancer.” That’s how you get the skank without wrecking the weight.

Let’s set the session up like a DnB record.

Set your tempo between 170 and 175. I like 174 as a starting point. Then open the Groove Pool on the left side, even if we don’t use it immediately. We want it ready.

Now, drums. You need a solid reference, because your timing decisions are only as good as what you’re locking to. Either build a clean two-step with a punchy kick and a snare on 2 and 4, or use a break like an Amen or Think, maybe layered with a clean snare for clarity.

If you’re using a break: warp it cleanly. Avoid Complex Pro for breaks. Use Beats mode so the transients stay sharp. In this whole lesson, snare placement is king. Everything we do with bass timing is going to “talk to” that snare.

Now build the bass in MIDI first.

Create a MIDI track and name it Bass MIDI. For stock instruments, you’ve got two quick choices: Meld or Wavetable.

If you pick Meld, keep it simple. Start with a basic wavetable or a saw-square blend, and set voices to 1 so it behaves mono. Add a touch of glide if you want those ragga slurs, but keep it controlled.

If you pick Wavetable, go OSC 1 on Basic Shapes, leaning square-ish. OSC 2 can be off, or a very quiet sine if you want a bit of body. Put a low-pass filter on, LP24, a little drive. Turn on Mono, and add glide if the patch needs that speak-y movement.

Now the pattern.

You’re aiming for a rolling 16th-note feel, but do not fill every 16th. Ragga rollers live on gaps. Those gaps are what make the next hit feel like it leans in.

Pick a root note like F or G. Keep the sub note mostly consistent, then sprinkle occasional octave jumps for energy.

And don’t get stuck on exact notation. Think “hits, rests, and replies.” A hit on the downbeat, a couple syncopated nudges, a space to breathe, then a response around the snare areas.

Once you’ve got a one-bar loop that feels like a roller, duplicate it out to at least 4 bars so you can hear the phrase, not just the loop.

Now the most important structural move: separate sub and mid.

Duplicate your bass track. Name one SUB and the other MID. This is non-negotiable if you want to offset timing aggressively without turning the low end into a mess.

On the SUB track, we want tight, minimal movement and phase stability.

Add EQ Eight. Low-pass around 90 to 120 hertz, steep enough that it’s truly sub-focused. Remove any extra junk above. Then add Utility and make the bass mono. If you’re using width controls, keep anything below about 120 hertz centered. Add Saturator if needed, but be subtle, like one to three dB of drive. The sub should feel confident, not crispy.

On the MID track, this is our playground.

Add EQ Eight and high-pass around 90 to 120 hertz, so the mid layer can move without destabilizing the bottom. Then add Saturator with more intent, maybe three to eight dB depending on the patch. If it’s too polite, your timing edits won’t read clearly. The mid is where we make the groove audible.

Optional: add an Auto Filter for movement. A gentle low-pass with a little envelope or a slow LFO can help the mid speak.

Cool. Now we start the core technique: note-level bassline offset.

Open the MID MIDI clip. Set your grid to 1/16, but turn Fixed Grid off so you can do micro moves. Zoom in so you can see note edges clearly.

And here’s a coach note that will level up your decisions: don’t think in milliseconds first. Think in reference points.

Pickup notes aim at the snare transient. They should arrive just before the snare, like they’re throwing the listener into it.

Answer notes aim at the gap after the snare. They should sit deeper, like they’re leaning back into the pocket.

Once that intention is right, the exact number becomes obvious.

Now, what do we actually move?

We are not shifting the whole bassline. We’re choosing specific hits by role.

Anchor notes: usually your downbeat, your “this is bar one” hit. Keep those dead on the grid. That’s your authority.

Pickups: notes just before beat 2 or beat 4. Nudge those earlier. Start with about 5 to 15 milliseconds early. A safe starting point is around minus 8 milliseconds.

Responses: notes just after 2 or just after 4. Nudge those later. Start with about 8 to 20 milliseconds late. A safe starting point is plus 12 milliseconds.

Ghosts: quieter little mid accents. Pick one and move it slightly, maybe plus 5 milliseconds, but keep it consistent per phrase so it becomes a language, not randomness.

Loop with the drums and listen to the snare. If the bass feels like it’s rushing and tripping over the snare, you pushed too hard. If it feels sleepy and late in a bad way, pull those answers closer.

Also, watch your note lengths as much as your note starts. This is the mono bass trap. In mono or glide patches, if a note overlaps another after you offset it, you can create weird slides, clicks, or accidental pitch movement. If the timing is good but the pitch behavior got weird, don’t undo the offset first. Shorten the note length. Fix the note-off.

Now, before you do a hundred tiny nudges, use track delay as a calibration tool.

In Ableton’s mixer view, hit the little D toggle to show track delays. On the MID track, try moving the whole track a few milliseconds late, like plus 5, plus 10, maybe plus 15. Find the sweet spot where the mid suddenly feels like it sits behind the snare in that heavy roller way.

Once the global feel is right, then go inside the clip and do your micro-edits for character. This stops you from chasing your tail.

Next level: A/B your timing properly.

Duplicate your MID clip. Name one MID_TIGHT and the other MID_PUSH_PULL. Keep the notes identical, only change the offsets. Now swap them while the drums loop.

If you can’t reliably pick which one grooves harder, either your offsets are too subtle to matter, or they’re too random. The goal is a clear vibe difference: tight authority versus ragga pocket.

Now let’s talk clip-level offset.

Sometimes your whole bass phrase is too straight compared to your drums, especially if the drums are break-heavy. In that case, select the MID clip and shift it slightly later globally. Think plus 5 to plus 15 milliseconds late as a starting move.

Then keep SUB closer to the grid than MID. That’s the rule. The sub is the anchor. The mid is the dancer.

Now let’s bring in Groove Pool, but we’re going to do it with discipline.

Open Groove Pool. Add something like MPC 16 Swing around 55 to 60. Apply that groove to the MID clip only. Not the sub.

Set Timing low at first, like 10 to 30 percent. Random can be tiny, zero to 10 percent, but honestly keep it restrained unless you’re doing a very loose jungle thing. Velocity can be used if you want accent bounce without over-swinging the timing.

One advanced workflow move: once it feels right, commit the groove. Flatten it into the MIDI so your edits are consistent and you’re not stacking hidden timing on top of manual nudges.

Reality check: if your break already swings, use less groove on the bass. If both drums and bass are heavily swung, you can lose the roll and it starts sounding drunk instead of driven.

Now, if you’re doing nastier ragga basses, you might end up resampling. Good. You can still offset cleanly in audio.

Freeze and flatten the MID track, or resample it to audio.

For warp mode: keep Complex off. For bass, Beats mode can work if you’re careful, with low transient preservation. Tones can be smoother for sustained notes. The goal is: don’t smear the low end with the wrong warp algorithm.

Then split into bands.

Make an Audio Effect Rack. Create two chains: SUB and MID. On the SUB chain, low-pass around 120. On the MID chain, high-pass around 120.

Now you can offset only the mid chain by moving that audio clip slightly, or by duplicating tracks and shifting the mid audio while leaving the sub audio locked. Same philosophy as before: sub stable, mid skanky.

Alright, now we lock it to the drums with sidechain and a quick phase sanity check.

On the SUB track, add Glue Compressor. Turn on sidechain and feed it from the kick. Set attack around 3 to 10 milliseconds so the initial transient stays punchy. Release can be Auto or somewhere around 80 to 150 milliseconds. Dial threshold until you’re getting about one to three dB of gain reduction. Just enough to carve space, not enough to pump the life out of it.

If the snare is huge and your bass is getting boxy, a small EQ dip around 180 to 220 hertz can help, but only if you actually hear a problem.

On the MID track, sidechain is optional. If you do it, keep it gentler, and consider a slower release than the sub. That way the mid “breathes” around the drums and late answers feel even heavier without you exaggerating offsets.

Now, phase check.

Put Utility on the SUB and check mono compatibility. A quick test is putting Utility on the master and setting width to zero temporarily. If your impact disappears in mono, your layering or mid movement is creating a groove illusion that collapses on real systems. Fix it by reducing MID width, or pulling back the most extreme late hits, or checking that your sub isn’t being affected by weird processing.

Also, if you’ve got layered snares, watch out for snare flam risk. Decide which snare is the timing king: the clean snare, or the break snare. Then offset your bass to that one consistently.

Now let’s make it arrangement-ready, because offsets really shine across 8 to 16 bars.

Here’s a solid structure.

Bars 1 to 4: classic pattern, subtle offsets. Establish authority. Let the listener lock in.

Bars 5 to 8: increase the pickup push slightly. A tiny bit more early timing on those notes leading into 2 and 4 creates urgency.

Bars 9 to 12: do a ragga call-and-response trick. Drop the sub for half a bar in one spot, and let the mid do a gritty, slightly late answer after the snare. It feels like a DJ-friendly edit and gives space for the drums to punch.

Bars 13 to 16: add one extra syncopated hit, but keep the same offset scheme. You want variation, not a new language.

Advanced variation: do a microtiming ramp across 4 bars. Bar one nearly straight, bar two tiny pickup push, bar three push plus later responses, bar four tighten back up to reset. That gives you forward motion without writing new notes.

And if you want a really classic jungle swagger, do an intentional stumble on a turnaround, like the end of bar 4 or 8. Pick one note and place it noticeably late, still tasteful. It makes the loop feel like it leans back before it cycles.

Before we wrap, let’s hit the common mistakes so you can avoid them.

Mistake one: offsetting the sub too much. If the sub wobbles in timing, the whole drop loses authority.

Mistake two: over-swinging everything. Groove is seasoning, not soup.

Mistake three: ignoring note overlaps in mono bass patches. Note-offs matter.

Mistake four: warp artifacts on resampled bass. Wrong warp mode equals smeared low end.

Mistake five: not referencing the snare transient. In DnB, snare placement is the ruler.

Now a quick 15-minute practice drill you can do right after this lesson.

Make a one-bar rolling bass clip for MID. Duplicate it to four bars.

In each bar, choose exactly three notes to offset.
One pickup before the snare at minus 10 milliseconds.
One answer after the snare at plus 15 milliseconds.
One ghost at plus 5 milliseconds.

Loop with drums. Adjust until the bass feels like it’s talking to the snare, not fighting it.

Then set up your SUB and MID separation if you haven’t. Keep SUB on-grid. Keep the offsets in MID.

Your success condition is simple: when you mute the MID, the track still feels stable. When you unmute it, it feels alive.

Let’s recap the whole masterclass in one breath.

Bassline offset is a timing edit technique that creates ragga-style skank and roll without adding complexity. Separate sub and mid so you can push and pull groove without ruining low-end stability. Use targeted microtiming around the snare, usually five to twenty milliseconds, with anchor notes on-grid. Use Groove Pool on MID only if you need it, and consider track delay for global calibration. If you resample, split bands and offset the mids, not the sub. Then lock it down with sidechain and quick mono checks so it stays heavy on real systems.

If you tell me whether your drums are mostly two-step or break-led, and whether you’re using Meld, Wavetable, or an external bass, I can suggest a specific offset signature, like exactly which beats to push and pull, and a matching 8-bar ragga arrangement you can drop straight into a tune.

mickeybeam

Go to drumbasscd.com for +100 drum and bass YouTube channels all in one place - tune in!

Generating PDF preview…