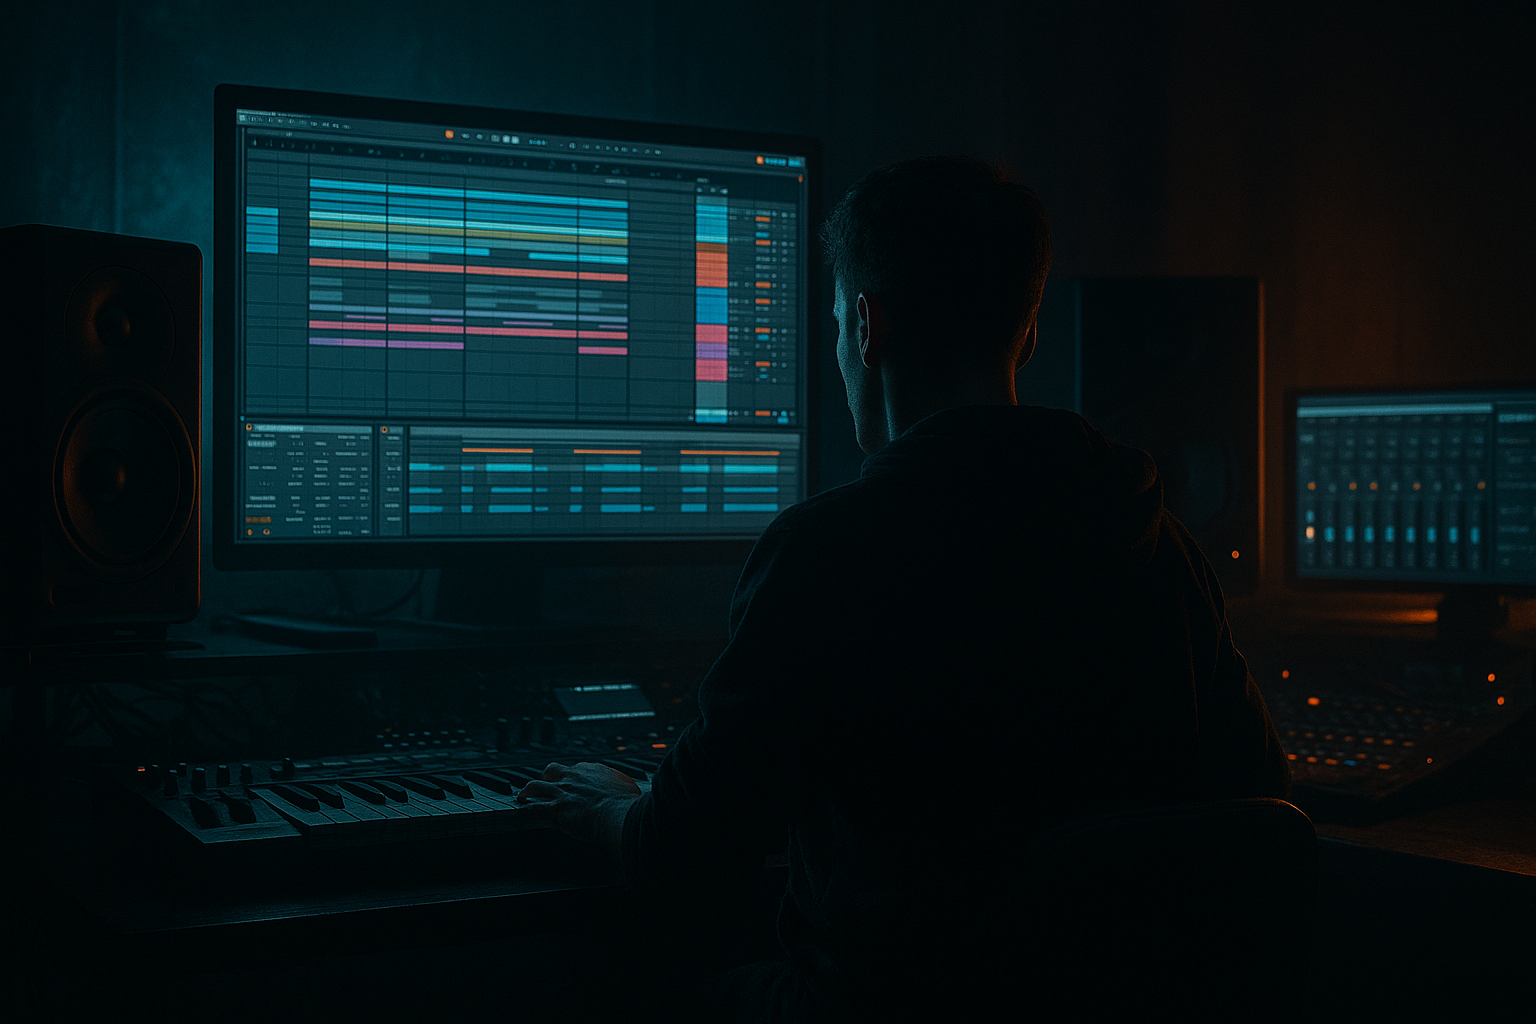
DNB COLLEGE

Drum & Bass Ableton Live 12 Tutorials

LESSON DETAIL

Ragga lab: vocal texture layer in Ableton Live 12 (Beginner)

An AI-generated beginner Ableton lesson focused on Ragga lab: vocal texture layer in Ableton Live 12 in the Sound Design area of drum and bass production.

Back to lessons
Ragga lab: vocal texture layer in Ableton Live 12 (Beginner) cover image

Narrated lesson audio

The voice track includes the tutorial plus extra teacher commentary.

Open audio file

Main tutorial

Ragga Lab: Vocal Texture Layer in Ableton Live 12 (DnB Sound Design) 🔥🎤

1. Lesson overview

In drum & bass (especially ragga/jungle-influenced rollers), vocals aren’t always “lead vocals.” A lot of the vibe comes from vocal texture layers: chopped shouts, whispered doubles, pitchy snippets, gritty formant bits, and wide “air” that sits around the drums and bass.

In this lesson you’ll build a dedicated vocal texture rack in Ableton Live 12 using stock devices—designed to sit in a 170–175 BPM mix without fighting your snare, subs, or reese.

---

2. What you will build

A Ragga Vocal Texture Layer track that can do:

  • Clean chopped vocal (tight, punchy, mostly midrange)
  • Dirty grit layer (saturated, band-limited, aggressive)
  • Wide air layer (stereo sparkle that doesn’t wreck mono)
  • Dub throw FX (delay/reverb moments on selected words)
  • All controlled from one Audio Effect Rack with macro-style workflow (even if you don’t map macros, the structure is super fast).

    ---

    3. Step-by-step walkthrough

    Step 0 — Prep: choose a source that works in DnB

    Good sources:

  • A ragga acapella (“come again!”, “selecta!”, “pull up!”)
  • A spoken phrase / toaster line
  • Your own voice (phone recording is fine—grit helps!)
  • DnB mindset: You’re not aiming for pristine pop clarity. You want character + rhythm + space.

    Session settings

  • Tempo: 172 BPM
  • Warp: ON for samples
  • Create a 1–2 bar drum loop (kick/snare/hat) so you can audition the vocal in context.
  • ---

    Step 1 — Import and Warp the vocal properly (crucial)

    1. Drag your vocal sample into an Audio Track.

    2. In the sample box, enable Warp.

    3. Choose Warp mode:

    - Complex Pro (best for full phrases; keeps tone stable)

    - If it’s more percussive shouts, try Tones.

    4. Set the Seg. BPM to match if it detects wrong, then align the downbeat:

    - Right-click the first clear transient → “Set 1.1.1 Here”

    - Adjust warp markers so the phrase sits on-grid.

    Complex Pro settings (starting point):

  • Formants: On
  • Envelope: 120–160 (higher = smoother, less choppy artifacts)
  • Goal: the vocal lands tight with the snare hits—ragga works best when it’s rhythmically locked.

    ---

    Step 2 — Do the DnB chop: make it rhythmic, not wordy ✂️

    You’ve got two fast beginner-friendly ways:

    #### Option A: Slice to New MIDI Track (super quick)

    1. Right-click the audio clip → Slice to New MIDI Track

    2. Choose:

    - Slice By: Transients

    - Slicing preset: Built-in / Simpler

    3. Now you’ve got a Drum Rack with slices in Simpler.

    In the MIDI clip:

  • Place vocal hits on offbeats (classic DnB swing):
  • - Try hits on 1.2, 1.4, 2.2, 2.4

  • Keep it minimal: 4–8 hits per 2 bars is enough.
  • #### Option B: Manual clip chopping (great control)

  • Duplicate the audio clip, then split (Ctrl/Cmd+E) around key words.
  • Nudge pieces slightly earlier for urgency (1–10 ms).
  • ---

    Step 3 — Build the “Vocal Texture Rack” (stock devices)

    Create an Audio Effect Rack on the vocal track. Inside it, make 3 chains:

  • Chain 1: Core (Mono Mid)
  • Chain 2: Dirt (Grit Band)
  • Chain 3: Air (Wide Top)
  • #### Chain 1 — Core (Mono Mid) 🎯

    This is the intelligibility and “in the mix” layer.

    Device chain (in order):

    1. EQ Eight

    - HPF: 100–150 Hz (24 dB/oct)

    - Small dip: 250–400 Hz if muddy (−2 to −4 dB, Q ~1.2)

    - Presence boost: 2.5–5 kHz (+1 to +3 dB) if needed

    2. Compressor

    - Ratio: 3:1

    - Attack: 10–25 ms

    - Release: 60–120 ms

    - Aim for 3–6 dB gain reduction on peaks

    3. Utility

    - Width: 0% (mono it)

    - Gain: adjust so it’s stable

    Why: In DnB, the center needs to stay solid—this stops the vocal from smearing your drums.

    ---

    #### Chain 2 — Dirt (Grit Band) 🧨

    This is the ragga “speaker box” / pirate radio bite.

    Device chain:

    1. EQ Eight

    - HPF: 200–300 Hz

    - LPF: 6–8 kHz

    - Optional: boost 1–2 kHz for megaphone bark

    2. Saturator

    - Mode: Analog Clip

    - Drive: 4–10 dB

    - Soft Clip: On

    - Output: bring down to match level

    3. Redux (use lightly)

    - Downsample: 2.0–6.0 kHz (start subtle)

    - Bit Reduction: 8–12 bits

    4. Auto Filter (movement)

    - Filter: Band-Pass

    - Freq: around 1.2–2.5 kHz

    - Resonance: 0.7–1.2

    - LFO Amount: small (so it “talks”)

    - LFO Rate: 1/8 or 1/4 synced

    Why: DnB mixes are dense. Band-limited distortion gives you texture without clutter.

    ---

    #### Chain 3 — Air (Wide Top) 🌫️

    This makes the vocal feel large and modern without stealing the center.

    Device chain:

    1. EQ Eight

    - HPF: 500–1000 Hz

    - Gentle shelf: +2 dB at 8–12 kHz if needed

    2. Chorus-Ensemble

    - Mode: Ensemble

    - Amount: 15–30%

    - Rate: 0.20–0.60 Hz (slow)

    - Width: 120–160%

    3. Reverb (tight, not washy)

    - Decay Time: 0.8–1.6 s

    - Pre-Delay: 15–30 ms

    - Low Cut: 700–1k

    - High Cut: 7–10k

    - Dry/Wet: 8–18%

    4. Utility

    - Width: 140–170%

    - Optional: Bass Mono On, set around 200–300 Hz

    Why: You get “halo” and excitement in stereo while keeping the main punch mono-safe.

    ---

    Step 4 — Glue it to the drums with sidechain (DnB essential) 🥁

    To stop the vocal texture from masking the snare:

    On the rack output (after the Audio Effect Rack), add:

  • Compressor
  • - Sidechain: From Snare track (or Drum Buss group)

    - Ratio: 2:1

    - Attack: 1–5 ms

    - Release: 60–140 ms

    - Aim: 1–3 dB duck on snare hits

    Result: vocal swells around the snare instead of clashing with it.

    ---

    Step 5 — Add “Dub Throw” moments (automation tricks) 🎛️

    This is the jungle/ragga spice: delays that appear only on certain words.

    1. Create a Return Track called Vox Throw.

    2. Put:

    - Echo

    - Time: 1/4 or 1/8 dotted

    - Feedback: 25–45%

    - Filter: HP around 300 Hz, LP around 6–8 kHz

    - Reverb

    - Decay: 1.8–3.5 s

    - Pre-delay: 20 ms

    - Low Cut: 700 Hz

    3. On your vocal track, automate the Send to Vox Throw:

    - Only send the last word of a bar (“selecta…”)

    - Or throw into the gap before the drop.

    DnB arrangement idea:

  • Bar 15–16 (pre-drop): big throw on a shout → reverb tail fills the silence → drop hits harder.
  • ---

    Step 6 — Arrange it like a real rolling tune

    A common 32-bar DnB phrasing:

  • Intro (1–16): sparse textures, filtered vocal, wider air layer
  • Build (17–32): more chops, add dirt layer gradually
  • Drop (33–64): keep vocal minimal; use it as punctuation (every 2–4 bars)
  • Breakdown: bring back wider air + longer throws
  • Practical automation:

  • In the drop, reduce the Air chain level by 2–4 dB (keep drums crisp).
  • Increase Dirt chain briefly on callouts (1 bar bursts).
  • ---

    4. Common mistakes

  • Too much low end in the vocal → clashes with sub/reese. HPF aggressively.
  • Over-warping artifacts (especially at 172 BPM) → try Complex Pro with formants on, or use fewer warp markers.
  • Making it too wide in the midrange → keep the “Core” chain mono.
  • Constant delay/reverb → in DnB it smears the groove. Use throws.
  • Over-chopping until it sounds random → DnB likes repetition and rhythm; let motifs loop.
  • ---

    5. Pro tips for darker/heavier DnB 😈

  • Pitch the vocal down for menace:
  • - In clip controls: Transpose −3 to −7 semitones

    - If it gets muddy, compensate with HPF + presence boost.

  • Formant shift vibe (without third-party plugins):
  • - Use Complex Pro and adjust the Envelope; then reshape tone with EQ + saturation.

  • Make grit “hit” like a drum layer:
  • - On Dirt chain, add Drum Buss

    - Drive: 5–15%

    - Crunch: 5–20

    - Boom: 0 (usually off for vocals)

  • Resample to commit + get that old-school finality:
  • - Freeze/Flatten or record the vocal rack to a new audio track

    - Then do micro-edits and reverse tails for jungle spice.

  • Mono check:
  • - Add Utility on the master temporarily → Width 0%

    - If the vocal vanishes, your Air chain is too loud or too phasey.

    ---

    6. Mini practice exercise (15–25 minutes) 🧪

    1. Pick a 1–2 bar ragga phrase (“pull up”, “rewind”, anything).

    2. Slice to MIDI and program 8 chops across 2 bars.

    3. Build the 3-chain rack (Core/Dirt/Air).

    4. Sidechain the rack to your snare (aim 2 dB duck).

    5. Create 2 throw moments using a return track:

    - One pre-drop

    - One end of 4-bar phrase in the drop

    6. Export a quick 8-bar loop and listen on headphones + speakers.

    Target sound: tight and rhythmic in mono, exciting and hazy on the sides, with grit that feels “pirate radio” but doesn’t destroy the mix.

    ---

    7. Recap ✅

  • You warped and chopped a ragga vocal for DnB timing.
  • You built a Vocal Texture Rack with Core (mono mid), Dirt (band-limited saturation), and Air (wide top).
  • You glued it to the groove using snare sidechain.
  • You added dub-style throw FX with return tracks and automation.
  • You arranged it like a real roller: textures support the drop, not dominate it.

If you want, tell me what style you’re aiming for (jungle 94, ragga rollers, jump-up, neuro-ish darkstep) and what your vocal source is, and I’ll suggest exact EQ points and a throw rhythm that fits your drum pattern.

Ask GPT about this lesson

Chat with the lesson tutor, get follow-up help, or use quick actions.

Bigup 👽 Ask me anything about this lesson and I’ll answer in context.

Narration script

Show spoken script
Title: Ragga Lab: Vocal Texture Layer in Ableton Live 12, beginner drum and bass sound design

Alright, welcome in. Today we’re doing a very drum and bass specific move in Ableton Live 12: building a ragga-style vocal texture layer.

And I want to set the expectation right away. In a lot of ragga, jungle, and roller-style DnB, the vocal isn’t a lead singer moment. It’s more like seasoning and rhythm. Little shouts, chopped syllables, gritty snippets, wide airy layers that live around the drums and bass instead of fighting them.

By the end of this lesson, you’ll have one vocal track that can behave like three layers at once: a clean core, a dirty grit layer, and a wide air layer. Plus we’ll add dub throws on certain words so it feels authentic and hype without turning your mix into soup.

Let’s get set up.

First, pick a vocal source that actually works for this. Ragga acapellas are perfect: “selecta,” “pull up,” “rewind,” stuff like that. Spoken phrases work. Even your own voice works, and honestly, a phone recording is fine because the grit can be an advantage here.

Set your tempo to around 172 BPM. Turn Warp on for samples. And super important: make a simple one or two bar drum loop first. Kick, snare, hat, that’s enough. Because you’re not designing this vocal in a vacuum. DnB is dense. If it works with the drums and bass playing, it’ll work in the track.

Now Step 1: import and warp the vocal properly. This part is crucial.

Drag your vocal onto an audio track. Click the clip so you see the sample controls, and make sure Warp is enabled.

For warp mode, choose Complex Pro if it’s a phrase and you want the tone to stay fairly stable. If it’s more like short percussive shouts, you can try Tones. But Complex Pro is the safe beginner default for full lines.

If Ableton guessed the tempo wrong, fix the Seg BPM so it’s closer to reality. Then find the first really obvious transient, like the first clear consonant. Right-click and choose Set 1.1.1 Here. That locks your clip to the grid in a way that actually makes musical sense.

Then, add or adjust warp markers so the phrase lands tight. The goal isn’t “perfectly stretched.” The goal is “it hits with the snare.” Ragga vocals feel best when they’re rhythmically locked.

If you’re in Complex Pro, turn Formants on. And set Envelope somewhere around 120 to 160 as a starting point. Higher envelope usually smooths things out and can reduce some nasty artifacts at fast tempos.

Now Step 2: do the DnB chop. You’re going for rhythmic, not wordy.

You’ve got two easy ways. The fastest is Slice to New MIDI Track.

Right-click your audio clip and choose Slice to New MIDI Track. Slice by transients, and use the built-in Simpler preset. Ableton will chop the vocal into slices and load them into a Drum Rack, each slice in its own Simpler. That’s perfect for DnB because you can “play” the vocal like percussion.

Now create a MIDI clip and place a few hits. Keep it minimal. Think four to eight hits over two bars. Try those classic offbeat placements: like 1.2, 1.4, 2.2, 2.4. If you’re not sure what that means, just place vocal chops between the snare hits so they answer the drums instead of stepping on them.

Here’s a little coaching tip: do “consonant hunting.” In a busy DnB mix, vowels disappear, but consonants read. The “t,” “k,” “s” sounds cut through and still sound like a human voice even when the bass is going crazy. So keep at least one slice that has sharp consonants, and use it as a rhythmic accent.

If you prefer manual chopping, that’s also great. Duplicate the clip, split it around key words using Ctrl or Cmd plus E, and nudge pieces slightly earlier, like one to ten milliseconds, to add urgency. And if you do manual chops, add tiny fades. One to three milliseconds fade-in, five to fifteen milliseconds fade-out. That one move removes clicks and instantly makes your chops feel intentional.

Cool. Now Step 3: build the vocal texture rack. This is where the magic is.

On your vocal track, add an Audio Effect Rack. Inside it, we’re going to create three chains. Name them Core, Dirt, and Air.

Before we even add effects, quick gain staging check. Pull the raw vocal clip gain down so you’re not slamming the rack by accident. A good target is peaks around minus twelve to minus six dB before any effects. Your Saturator and Redux will respond way more predictably when you do this.

Now, Chain 1: Core. This is your mono, midrange, intelligible layer. It’s the part that sits in the center and doesn’t smear your drums.

On the Core chain, add EQ Eight first. High-pass around 100 to 150 Hz, 24 dB slope. We are not letting vocal low end fight the sub or reese, period. If it feels muddy, dip a little around 250 to 400 Hz, maybe two to four dB. And if it needs presence, a gentle boost around 2.5 to 5 kHz.

Next add a Compressor. Ratio around 3 to 1, attack 10 to 25 milliseconds, release 60 to 120 milliseconds. Aim for about 3 to 6 dB of gain reduction on peaks. You’re controlling it, not crushing it.

Then add Utility. Set Width to zero percent. That makes it mono. This is one of the biggest “sounds like DnB” moves: keeping the core centered so the groove stays punchy.

Now Chain 2: Dirt. This is your pirate radio bite, that megaphone bark, that ragga attitude. But we’re going to do it in a controlled, band-limited way so it adds texture without clutter.

Start with EQ Eight. High-pass around 200 to 300 Hz. Low-pass around 6 to 8 kHz. We’re intentionally narrowing it. Optionally, boost around 1 to 2 kHz if you want that speaker-box presence.

Then add Saturator. Set it to Analog Clip. Drive around 4 to 10 dB. Turn Soft Clip on. And then pull the output down so it matches level. Teacher note: match levels as you go. Loud always sounds better, so if you don’t level-match, you’ll think you improved it when you just made it louder.

After Saturator, add Redux, but use it lightly. Try downsample somewhere around 2 to 6 kHz, and bit reduction around 8 to 12 bits. Subtle is usually the win here. You want grit and crunch, not “broken MP3” unless that’s the specific vibe.

Then add Auto Filter for movement. Set it to band-pass. Frequency around 1.2 to 2.5 kHz, resonance around 0.7 to 1.2. Turn on the LFO, keep the amount small, and sync the rate to 1/8 or 1/4. This makes the dirt layer “talk” and adds motion to repeated chops.

And here’s a sound design extra if you want it: instead of relying only on the LFO, try automating that band-pass frequency with small moves, like sweeping between 900 Hz and 2.2 kHz over a bar. It reads like vowel motion, like the mouth shape is changing, and it can make a two-bar loop feel alive.

Now Chain 3: Air. This is the wide stereo halo. It should make the vocal feel exciting and modern without stealing the center.

Start with EQ Eight. High-pass higher, around 500 to 1000 Hz. This is important. The air chain should not contain chunky mids. If you want sparkle, add a gentle shelf around 8 to 12 kHz, maybe plus 2 dB.

Then add Chorus-Ensemble. Set it to Ensemble mode. Amount around 15 to 30 percent, rate slow like 0.2 to 0.6 Hz, and width around 120 to 160 percent.

After that, add Reverb, but keep it tight. Decay around 0.8 to 1.6 seconds, pre-delay 15 to 30 ms. Low cut around 700 Hz to 1k. High cut around 7 to 10k. Dry/wet around 8 to 18 percent. If you hear the reverb as a separate thing, it’s probably too much. You want a halo, not a wash.

Then add Utility. Set width around 140 to 170 percent. And if you want a little extra mono safety, enable Bass Mono around 200 to 300 Hz, especially if your air chain has any lower content sneaking through.

Quick coaching principle here: one job per layer. The Core is for timing and consonants. Dirt is for attitude, and it should come in when you need density. Air is for excitement and space, not readability.

Now Step 4: glue it to the drums with sidechain. This is essential in DnB.

After the Audio Effect Rack on the vocal track, add a Compressor. Turn on sidechain, and choose your snare track, or your drum group, as the input. Set ratio around 2 to 1, attack fast like 1 to 5 milliseconds, release around 60 to 140 milliseconds. Aim for just one to three dB of ducking on snare hits.

What you’re doing is making room for the backbeat. The vocal texture swells around the snare instead of masking it.

Advanced option if your snare pattern changes a lot: you can create a ghost sidechain. Make a MIDI track with a consistent backbeat trigger, keep it muted, and sidechain from that so the ducking is steady. That’s a more controlled “always works” approach.

Now Step 5: dub throw moments. This is the jungle spice.

Create a Return track and name it Vox Throw.

On that return, add Echo. Set time to one quarter or one eighth dotted. Feedback around 25 to 45 percent. Filter it: high-pass around 300 Hz, low-pass around 6 to 8 kHz, so the delay sits behind the mix instead of harshly on top.

After Echo, add Reverb. Longer than your air reverb: decay around 1.8 to 3.5 seconds, pre-delay around 20 ms, low cut around 700 Hz.

Now, on your vocal track, automate the send to Vox Throw. Only on specific words. Like the last word of a bar: “selecta…” and then the delay blooms into the gap. Or a throw right before the drop so the tail fills the silence and the drop feels bigger.

Key mindset: in DnB, constant delay and reverb smears the groove. Throws give you impact without losing punch.

Now Step 6: arrange it like a real rolling tune.

Think in phrases. Intro: sparse textures, maybe filtered vocal, and more air. Build: more chops, slowly introduce dirt. Drop: keep vocal minimal. Use it as punctuation, like every two or four bars. Breakdown: bring back wider air and longer throws.

A super practical automation tip: during the drop, pull the air chain down by two to four dB so your cymbals and top drums stay crisp. Then, bring the dirt chain up briefly for callouts, like one-bar bursts. Little moments, not constant noise.

Try this pre-drop trick too: one bar before the drop, mute the Core chain so the center clears out, keep only the Air chain plus a big throw, then when the drop hits, bring the Core back so the center feels solid again. It’s a simple contrast move, and it works.

Now, common mistakes to avoid as you build this.

If there’s too much low end in the vocal, it will fight your sub and reese and everything will feel smaller. High-pass aggressively.

If you get nasty warping artifacts at 172 BPM, use fewer warp markers, and lean on Complex Pro with formants on.

Don’t make the midrange wide. Keep the Core mono. Wide mids mess with the snare and center punch.

Don’t keep the throws on all the time. Save them for phrase endings.

And don’t over-chop until it sounds random. DnB loves repetition and motif. Let a pattern loop and become a hook.

Before we wrap, here’s a quick mini practice you can do in 15 to 25 minutes.

Pick a one or two bar ragga phrase. Slice it to MIDI and program eight chops across two bars. Build your three-chain rack: Core, Dirt, Air. Add snare sidechain and aim for around two dB of ducking. Make two throw moments using the return: one pre-drop and one at the end of a four-bar phrase in the drop. Then export an eight-bar loop.

And do two checks: listen in mono and see if the rhythm still reads, and listen quietly. If you can still detect the vocal texture at low volume, it’s probably living in the right frequency pocket.

Final recap.

You warped and chopped a ragga vocal so it lands tight at DnB tempo. You built a vocal texture rack with a mono Core, a band-limited Dirt layer, and a wide Air layer. You glued it to the groove with snare sidechain. You added dub throw FX with a return track and automation. And you arranged it like a roller, where vocals support the drop instead of taking it over.

If you tell me what sub-genre you’re aiming for, like 94 jungle, ragga rollers, jump-up, or darker neuro-ish stuff, and what your vocal source is, I can suggest specific EQ points and a throw rhythm that matches your drum pattern.

mickeybeam

Go to drumbasscd.com for +100 drum and bass YouTube channels all in one place - tune in!

Generating PDF preview…