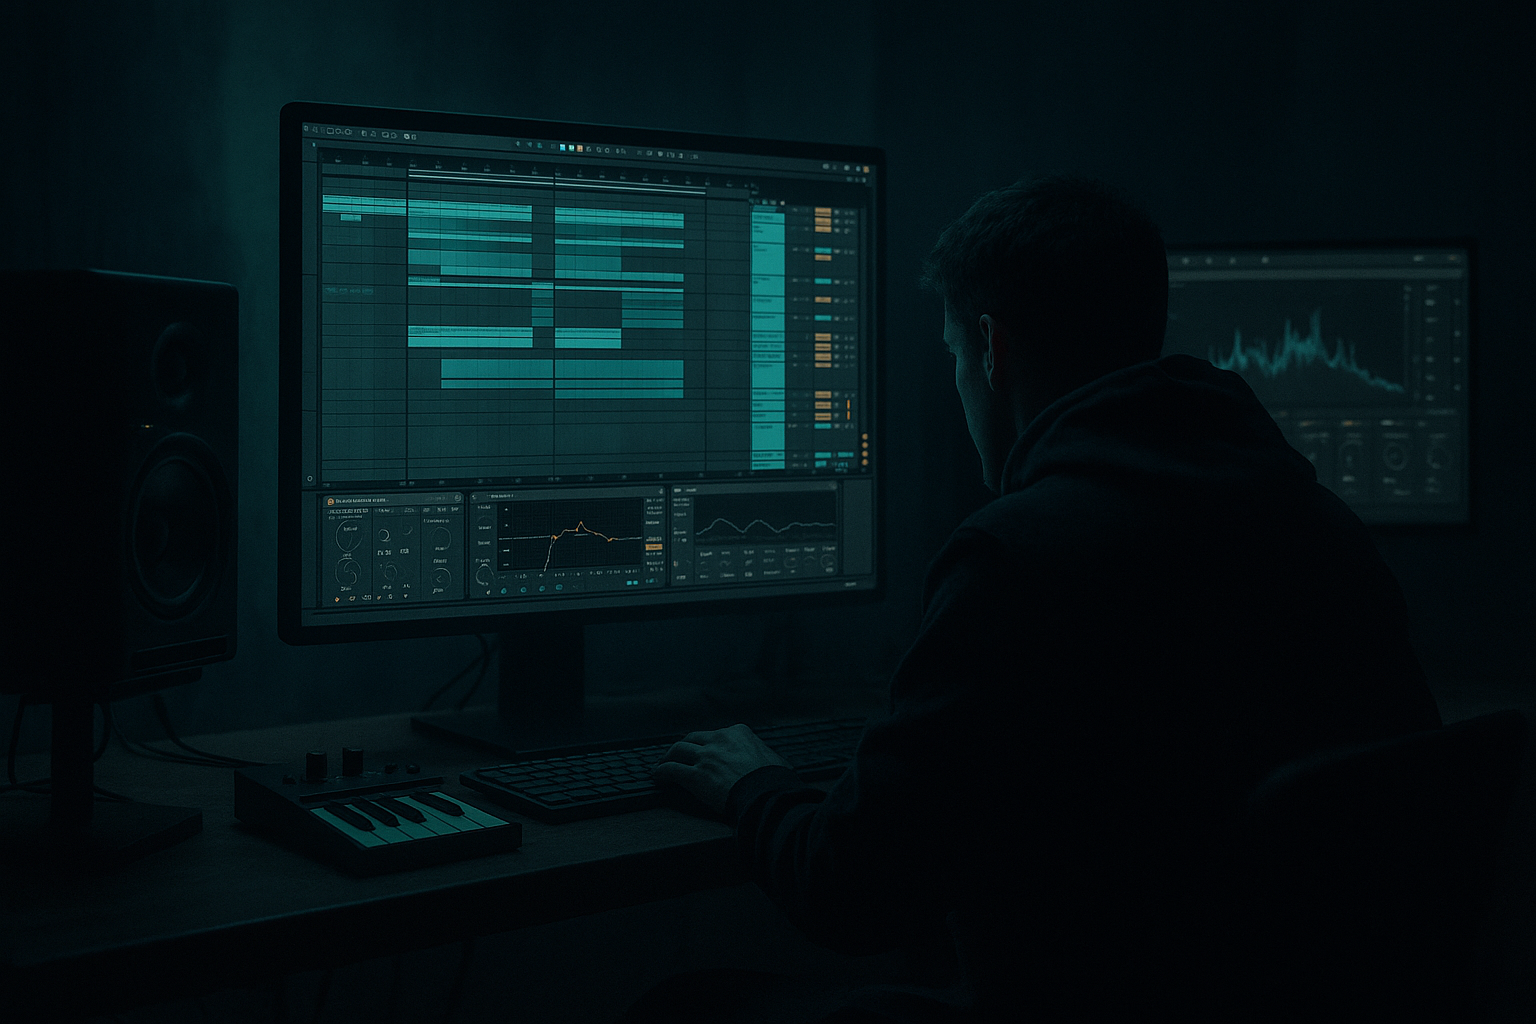
Main tutorial
Lesson Overview
Ragga cuts are one of the most effective ways to give a DnB intro, breakdown, or switch-up real attitude. In jungle, rollers, neuro, and darker bass music, a chopped vocal phrase can do three jobs at once: create tension, add character, and make the drop feel bigger when it lands.
In this lesson, you’ll learn how to take a ragga-style vocal cut inside Ableton Live 12 and turn it into a clean, punchy, modern atmospheric element with vintage soul. We’re not trying to make it polished in a pop way — we want it gritty, rhythmic, and controllable, so it sits above drums, rides the groove, and still feels like it came from classic jungle culture.
This technique matters because DnB arrangement often depends on contrast. A raw vocal cut can carry the listener through the intro, support a break edit, or act as a call-and-response phrase before the drop. If you clean it properly, you keep the old-school vibe without letting mud, harshness, or sloppy timing ruin the mix.
You’ll use stock Ableton tools to:
- trim and warp the vocal cleanly
- shape tone with EQ and compression
- add controlled saturation and space
- make the vocal punch through busy drums
- place it in a dark atmospheric arrangement that feels ready for club systems 🎛️
- tight and rhythmically locked to a 170–174 BPM DnB groove
- bright enough to cut through drums, but not brittle
- gritty and vintage in texture, without sounding muddy
- wide in the atmosphere layer, but still centered where it matters
- ready for intro loops, build-ups, break edits, or drop-callouts
- a chopped vocal phrase with a fast, energetic feel
- a cleaned-up version with controlled low end and reduced harshness
- a parallel effect path for atmosphere and delay
- a simple arrangement idea: 8-bar intro tension into a drop with vocal call-and-response
- jungle intros with chopped breaks
- rollers where a vocal phrase repeats every 2 or 4 bars
- darker halftime or 174 BPM sections where the vocal becomes a haunting hook
- breakdowns before a bass switch-up
- Over-warping the vocal so it sounds watery or unnatural
- Leaving too much low-mid energy in the vocal
- Making the vocal too wet
- Over-compressing until the sample loses life
- Pushing saturation until the vocal becomes fizzy and thin
- Clashing with the snare
- Ignoring stereo discipline
- Use a band-pass filtered version of the vocal for breakdowns, then open it up before the drop. This creates a strong tension curve.
- Layer a very quiet second copy with more saturation and less high end to add “mood” without making the lead vocal muddy.
- Put Echo on a return with filtered repeats so the tail feels like part of the atmosphere, not just a delay effect.
- Automate a subtle increase in Saturator drive over 8 bars before the drop for extra urgency.
- If the track is more neuro or dark rollers, keep the vocal phrase shorter and more rhythmic — one strong cut can be more effective than a long vocal.
- Use a tiny amount of sidechain-style ducking with Compressor on the vocal return if it masks the kick or snare. Keep it subtle.
- For vintage jungle flavor, let a little noise and grit stay in the sample. Over-cleaning can kill the character.
- If the vocal sits behind the drums, raise intelligibility by cutting some low mids and adding a small presence boost around 2–4 kHz instead of just turning it up.
- Clean the ragga cut with warping, EQ, compression, and light saturation.
- Keep the main vocal punchy and centered; put space and width on returns.
- Use automation to turn a static sample into a living atmosphere.
- Think in DnB phrases: 2, 4, and 8-bar movement matters.
- Resample once it feels good so you can arrange faster and keep the vibe.
What You Will Build
By the end of this lesson, you’ll have a ragga cut chain that sounds:
You’ll create:
Musically, this works especially well in:
Step-by-Step Walkthrough
1. Start with the right ragga cut and set the project tempo
Drag your vocal sample into an audio track in Ableton Live 12. A ragga cut works best when it has clear consonants, a strong rhythm, and short phrases that can be repeated.
Set your project tempo to 170–174 BPM for a classic DnB feel. If the vocal was recorded slower, don’t worry — the point is to make it feel rhythmic, not perfectly natural.
In the Clip View:
- turn Warp on
- try Complex Pro if the vocal is long and melodic
- try Beats if it is very chopped and percussive
- set the start marker so the first word hits on the grid
Beginner tip: if the vocal sounds weird when warped, simplify. Use shorter slices instead of stretching the whole file too much.
Why this works in DnB: DnB drums move fast, so a vocal phrase needs to lock tightly to the grid or it will feel messy. A clean warp gives the sample the same “engineered” feel as the drums.
2. Chop the phrase into usable rhythmic pieces
Create a new audio track or keep it on the same track and duplicate the clip. Use Split and Consolidate to chop the phrase into 1/4, 1/8, or 1-bar fragments.
Focus on phrases with attitude:
- one short shout
- one answer phrase
- one tail or sustain for atmosphere
Try building a simple 2-bar pattern:
- bar 1: short vocal hit on beat 1, then a second cut on beat 3
- bar 2: a longer tail or echo phrase into the next bar
If the vocal has a lot of background noise, trim the ends tightly. Leave only the useful part of the phrase.
Good beginner workflow:
- duplicate the clip
- make one version as the main cut
- make one version for effect tails
- keep the original muted for backup
3. Clean the vocal with EQ Eight and basic gain control
Add EQ Eight first in the chain. The goal is to clear space for kick and snare while preserving the voice’s character.
Start with these moves:
- High-pass filter around 120–180 Hz
- Cut a little mud around 250–500 Hz if the sample feels boxy
- If the vocal is sharp or painful, reduce 3–6 kHz gently
- If it needs more air, add a small lift around 8–12 kHz
Keep the moves small. A ragga cut should still sound like a sample, not a polished radio vocal.
Use Utility after EQ Eight if the vocal is too loud or too wide. Keep the main cut centered and stable.
Suggested settings:
- High-pass: 140 Hz to 180 Hz
- Mud cut: -2 to -5 dB around 300 Hz
- Harshness cut: -2 to -4 dB around 4.5 kHz
This gives you the “clean with modern punch” part without losing the old-school grit.
4. Add compression for punch and consistency
Put Compressor after EQ Eight. In DnB, vocal cuts often need to stay present over dense drums and bass, so compression helps keep them steady.
Start simple:
- Ratio: 2:1 to 4:1
- Attack: 10–30 ms
- Release: 50–150 ms
- Aim for 2–5 dB of gain reduction on the loudest hits
A slightly slower attack lets the initial consonant through, which helps the vocal punch. A medium release helps it breathe with the groove.
If the sample has strong peaks, you can use Glue Compressor instead:
- Soft Clip on
- Ratio 2:1
- Attack 3 ms or 10 ms
- Release Auto or 0.1–0.3 s
Why this works in DnB: the drums are already transient-heavy, so the vocal needs controlled dynamics to sit in the pocket instead of jumping around unpredictably.
5. Add vintage soul with saturation, not overload
Add Saturator after compression. This is where the ragga cut gets attitude and warmth.
Start with gentle settings:
- Drive: +2 to +6 dB
- Soft Clip: On
- Output: lower if needed to keep level balanced
If the vocal still feels too clean, try:
- a little Analog Clip mode feel through Soft Clip
- small Drive changes while listening against kick and snare
- avoid pushing until it sounds fuzzy and thin
You can also try Dynamic Tube for a darker, more worn texture:
- Drive: subtle, around 5–15%
- keep it low enough that the vocal remains intelligible
The aim is to add harmonics so the sample feels more “present” on smaller speakers and more alive in the mix.
6. Shape space with Delay and Reverb on sends
For atmospheres, use Return tracks instead of putting heavy reverb directly on the vocal. This keeps the main cut punchy while still giving you depth.
Create two return tracks:
- Return A: Echo
- Return B: Reverb
On Echo, try:
- Time: 1/8 or 1/4
- Feedback: 20–40%
- Filter the repeats so they don’t fight the sub
- Use Ping Pong only if you want wider movement
On Reverb, try:
- Decay: 1.2–2.5 seconds
- Pre-delay: 15–30 ms
- High Cut: around 6–10 kHz
- Low Cut: 200 Hz or higher
Send just enough to create space behind the phrase. For a darker DnB intro, the delay tail can almost become part of the atmosphere.
Pro move for beginners: automate the send amount so the vocal is dry and punchy on the main phrase, then wetter on the last word or tail.
7. Add movement with Auto Filter and automation
Auto Filter is great for turning a static ragga cut into a living atmospheric layer.
Try this:
- use a High-Pass or Band-Pass filter
- automate the cutoff over 4 or 8 bars
- slightly open the filter before the drop
- close it again on the return or breakdown
Suggested ranges:
- High-pass cutoff: move between 200 Hz and 2.5 kHz depending on how thin you want it
- Resonance: keep low, around 0.20–0.50, so it doesn’t whistle too much
You can also automate:
- reverb send up in the last bar
- delay feedback rising slightly for tension
- Saturator drive boosted just before a fill
This gives you arrangement movement without needing extra sounds.
8. Place the vocal in a DnB arrangement
Think like a DJ and a track builder. A ragga cut usually works best in short, memorable bursts rather than constant repetition.
A simple arrangement idea:
- Bars 1–8: filtered vocal intro with break and atmospheres
- Bars 9–16: vocal call-and-response with drums
- Bars 17–24: tension rises, effects increase, vocal gets more sparse
- Drop: reduce vocal length and let the kick, snare, and bass dominate
- After the drop, bring back one signature phrase every 4 or 8 bars
In a roller, the vocal can act like a slogan: one short line every 2 bars.
In a darker neuro-influenced tune, the vocal should be more selective: use it like a warning signal, not a constant hook.
Keep one thing in mind: the vocal should help the drum/bass switch feel bigger, not block it.
9. Check mono compatibility and low-end separation
Ragga cuts often sit on top of the mix, but they can still bring low-mid clutter. Use Utility and your ears.
Do a quick check:
- turn the vocal return or main track down
- listen in mono with Utility on the master or vocal group
- make sure the vocal is still clear when summed
If it gets muddy:
- raise the high-pass a bit
- reduce 200–400 Hz
- shorten reverb decay
- reduce stereo width on the main vocal layer
If the vocal feels too narrow:
- keep the dry center vocal mono
- widen only the delay or reverb returns
This is a clean DnB habit: center the useful energy, widen the atmosphere, and keep sub and kick clear.
10. Resample a cleaned version for faster arranging
Once the vocal chain feels good, resample it. Create a new audio track and set its input to Resampling or the vocal group output.
Record 1–2 minutes of the vocal phrase with its processing and automation.
Then slice the resampled audio into:
- a short main hit
- a chopped fill
- a trailing atmosphere tail
- a reverse or pickup phrase if useful
This is a huge beginner-friendly workflow advantage:
- it freezes your sound choice
- makes arrangement faster
- gives you new material for edits and transitions
In DnB, resampling is often how a simple sample becomes a signature texture.
Common Mistakes
Fix: use shorter chops or a better Warp mode. Don’t stretch one phrase too far.
Fix: use EQ Eight to cut mud around 250–500 Hz and high-pass gently.
Fix: keep the dry main cut upfront and put ambience on sends.
Fix: back off the threshold and aim for controlled peaks, not flattening.
Fix: reduce Drive and compare at matched volume with bypass on/off.
Fix: place the vocal phrase around the snare rhythm, not directly on top of every hit.
Fix: keep the core cut centered; widen only atmosphere returns.
Pro Tips for Darker / Heavier DnB
Mini Practice Exercise
Set a timer for 15 minutes and build a simple ragga cut atmosphere in Ableton Live.
1. Import one ragga vocal phrase.
2. Warp it cleanly to 174 BPM.
3. Chop it into at least 4 slices.
4. Add EQ Eight, Compressor, and Saturator.
5. Create one Echo return and one Reverb return.
6. Make an 8-bar loop with:
- one vocal hit on bar 1
- one answer hit on bar 3
- one delayed tail on bar 7 or 8
7. Automate the filter cutoff over the last 4 bars.
8. Resample 1 pass and slice the result into 2 useful new clips.
Goal: by the end, you should have one clean main vocal and at least one atmospheric variation ready for a DnB intro or breakdown.
Recap
A well-processed ragga cut can make a DnB track feel instantly alive: raw, soulful, and ready for the drop.

