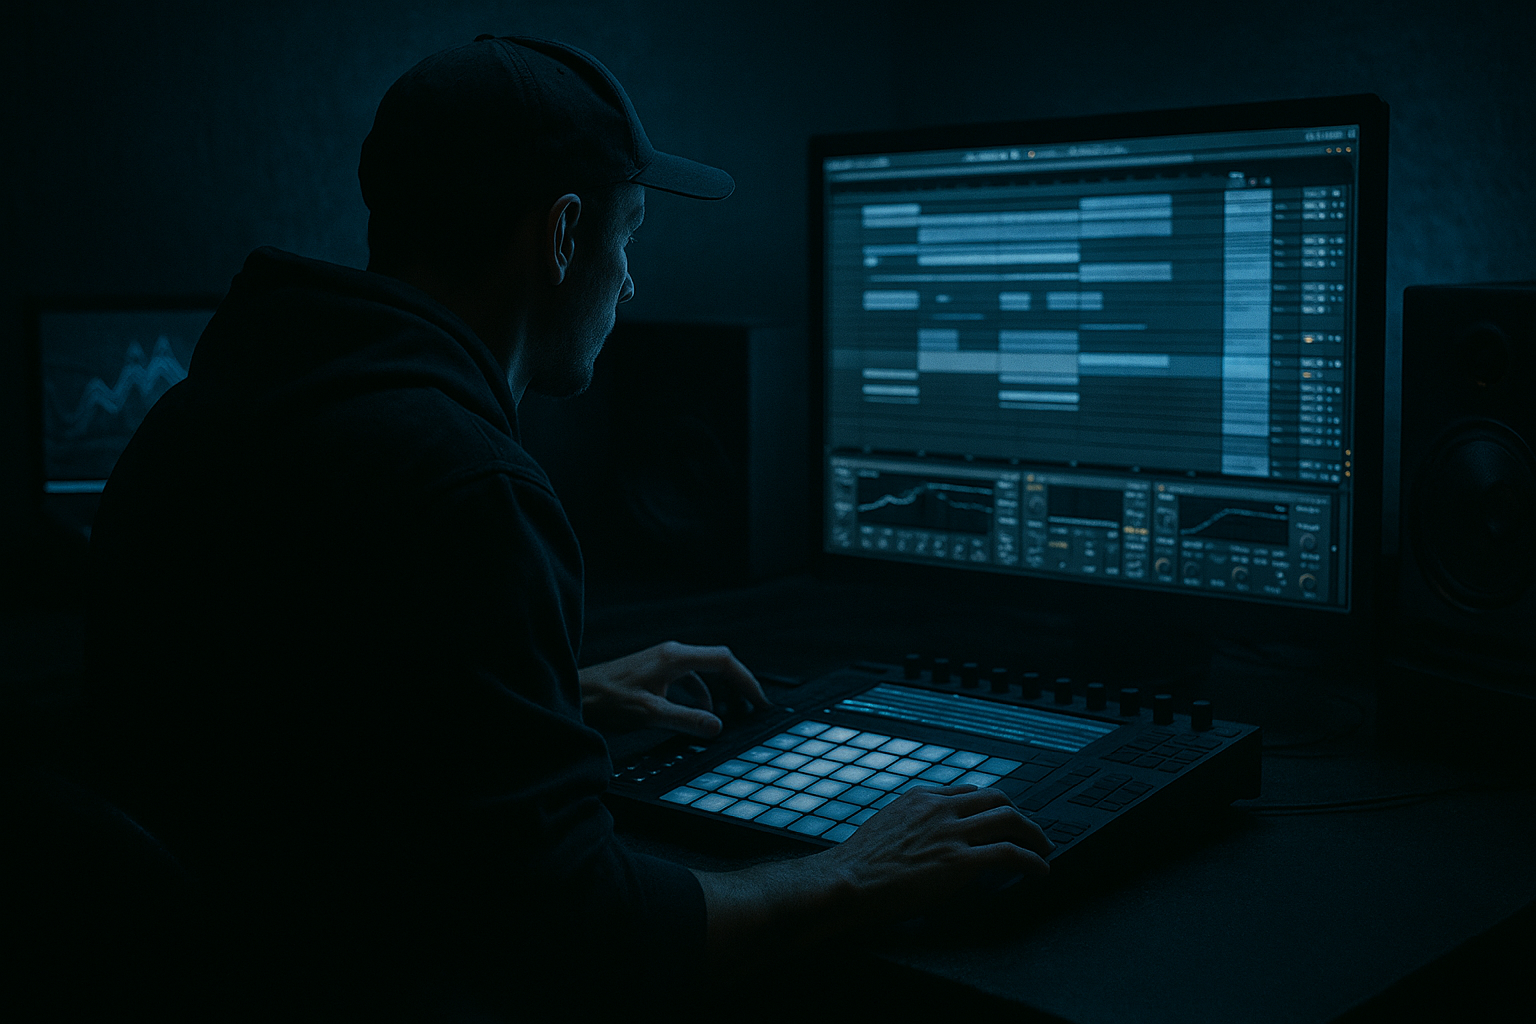
Main tutorial
Ragga Ableton Live 12 Ragga Cut Session for Warm Tape-Style Grit
Advanced mastering tutorial for drum & bass / jungle / rolling bass music 🎛️🔥
---
1. Lesson overview
This lesson is about building a ragga cut-style mastering session in Ableton Live 12 that gives your DnB track a warm, gritty, slightly worn tape character without destroying the punch, low-end weight, or stereo impact.
In drum and bass, “grit” is not just distortion. The best masters often feel like they have:
- A slightly compressed midrange
- Softened transients
- Dense harmonic thickness
- Controlled top-end
- A sense of old-school energy that suits ragga, jungle, and dancefloor rollers
- Add analog-style saturation
- Glue the mix with gentle bus compression
- Shape low-end and top-end with clean EQ
- Control harsh DnB transients
- Add parallel grit for density without killing the master
- Print a loud, dark, energetic master that suits:
- Export or bounce your mix with at least -6 dB peak headroom
- Keep the master bus clean while mixing
- Disable any “creative” master chain from the production session
- Drag the mix into a fresh Ableton Live 12 session for mastering
- 24-bit or 32-bit float export from the mix session
- Mastering at 48 kHz or 44.1 kHz
- Leave enough headroom so the mastering chain can work musically
- 1 audio track with your mixdown
- 1 return track for parallel grit if needed
- Master chain on the master channel
- Gain: start at 0.0 dB
- Width: 100%
- Use Mono button only for checks, not as part of the sound
- If your mix is too hot, reduce Utility gain before anything else
- -6 dB peak max before mastering
- Average level that feels healthy but not crushed
- High-pass filter at 20–25 Hz with a gentle slope if there is sub-rumble
- Small cut around 200–350 Hz if the mix feels cloudy
- Very gentle dip around 2.5–5 kHz if ragga vocals, snares, or hats are harsh
- Optional tiny high shelf cut around 10–14 kHz if the top is too crispy
- 0.5 to 2 dB maximum on corrective EQ in most cases
- Ratio: 2:1
- Attack: 10 ms
- Release: Auto
- Soft Clip: On
- Threshold: adjust until you get 1–2 dB of gain reduction on peaks
- Makeup: use carefully, avoid overdriving the next stage
- energetic snare hits
- chopped vocals
- busy percussion
- layered bass movement
- slightly faster attack, around 3–10 ms
- but don’t flatten the transient completely
- Soft Clip: On
- Drive: start at 1.5 to 3.5 dB
- Curve: default or gentle analog-style curve
- Output: compensate so level stays matched
- Base: leave unless you are doing frequency-dependent shaping
- Color: if needed, use subtly for tone shaping
- thicker mids
- a slight smoothing of transient edges
- richer harmonics on snares, vocals, and bass texture
- not obvious distortion
- Increase Drive until the track feels fuller
- Then back off until the low end stops blurring
- Match output level carefully, or you’ll think louder = better
- density
- transient control
- grit
- low-end reinforcement
- tape-ish compression character
- Drive: 2–8%
- Crunch: very low, or off to start
- Boom: use carefully; often 0 to 10%
- Boom Frequency: set around 50–70 Hz if needed
- Transients: slightly down if the master is too clicky
- Damp: adjust if top-end gets too fizzy
- ragga vocals need a worn edge
- snares need to feel thicker
- breaks feel too clean
- bassline lacks attitude
- GRIT CUT
- High-pass around 150–250 Hz
- Low-pass around 6–10 kHz
- Drive: 5–10 dB
- Soft Clip: On
- Drive: 10–20%
- Crunch: small amount if needed
- Sculpt the return so it adds harmonics, not mud
- an audio rack on the master,
- or a duplicated parallel chain in a grouped pre-master setup before export.
- making vocals cut like a ragga toaster
- adding texture to snares and breaks
- giving the track an old dubplate attitude
- Ceiling: -1.0 dB or -0.8 dB
- Turn on Lookahead by default settings
- Push the input only enough to reach target loudness without flattening the groove
- loud enough for club translation
- not crushed into constant square-wave energy
- preserved kick/snare impact
- Rolling DnB: around -8 to -6 LUFS integrated
- Darker, more dynamic jungle: often better around -10 to -8 LUFS integrated
- old jungle dubplates
- ragga-influenced rollers
- modern dark DnB with tape warmth
- sub weight
- snare density
- vocal presence
- top-end brightness
- stereo width
- loudness perception
- Utility on the reference track for gain matching
- A/B with your master chain bypassed
- gritty but not fuzzy
- warm but not dull
- loud but not brittle
- compressed but still moving
- a dry intro with dub FX
- a drop with chopped amen energy
- vocal callouts
- bass switch-ups
- Let it stay a bit looser
- Don’t over-compress into the same density as the drop
- This is where the Saturator/Glue/Drum Buss combo earns its keep
- The drop should feel more forward and more controlled
- Keep harmonic saturation subtle enough that vocal space remains clear
- automation of Utility gain into the master chain
- or different export versions for intro-heavy vs drop-heavy sections
- or stem mastering if the mix needs more sectional control
- headphones
- nearfields
- mono
- split processing in a rack
- distort a mid-bass layer
- keep the true sub safe
- mild saturation
- a touch of Drum Buss
- very gentle compression
- Does the ragga cut master feel warmer without losing clarity?
- Does the bassline still hit?
- Does the break still breathe?
- Utility: gain staging and width control
- EQ Eight: clean-up and tonal shaping
- Glue Compressor: glue and rhythmic cohesion
- Saturator: tape-style warmth and harmonics
- Drum Buss: gritty density and transient shaping
- Limiter: final loudness control
- punchy
- dark
- warm
- loud enough
- still dynamic
We are going to build a mastering chain and session workflow that can do this in a controlled, repeatable way using Ableton stock devices.
This is not about making the master obviously lo-fi.
It’s about getting that warm tape-style cut that feels musical, confident, and a little dangerous 😈
---
2. What you will build
By the end of this lesson, you’ll have a mastering session in Ableton Live 12 that can:
- ragga jungle
- dark rollers
- steppy minimal DnB
- jump-up-adjacent energy
- heavyweight amen tracks
Core idea
You’ll build a chain with:
1. Utility for mono/stereo control
2. EQ Eight for correction
3. Glue Compressor for glue
4. Saturator for tape-like harmonics
5. Drum Buss for grit and weight
6. Limiter for final level
7. Optional parallel return for extra cut and attitude
---
3. Step-by-step walkthrough
Step 1: Set up your mastering session correctly
Before adding any devices, make sure your session is prepared properly.
Recommended prep
Target format
For DnB, think in terms of:
Session layout
Create:
---
Step 2: Insert Utility first for gain staging
Add Utility as the first device on the master.
Settings
Why this matters
Tape-style mastering reacts better when the signal hits the chain in a controlled way.
If you’re slamming the next devices too hard, the result becomes brittle instead of warm.
Practical check
Aim for the incoming signal to sit roughly around:
---
Step 3: Correct the spectrum with EQ Eight
Add EQ Eight after Utility.
This is not for “making it sound cool” yet.
This is for pre-master correction.
Suggested starting moves
DnB-specific note
Don’t over-remove low mids.
DnB often needs that meaty 150–300 Hz body for the break and bass to feel alive.
Good mastering principle
Use very small moves:
---
Step 4: Add Glue Compressor for rhythmic cohesion
Place Glue Compressor next.
This is one of the best stock devices for getting that tight, glued, dancefloor master feel.
Starter settings
Why it works for ragga DnB
Ragga DnB often has:
Glue Compressor helps the track feel like one performance, not separate parts.
Advanced move
If the break feels too spiky:
You still need the snare to crack through the bass.
---
Step 5: Use Saturator for tape-style warmth
Now bring in Saturator. This is the heart of the warm tape-style grit.
Suggested settings
What to listen for
You want:
DnB-specific technique
If your bassline is reese-heavy or midrange-forward, Saturator can make it feel bigger without simply making it louder.
Try this:
Pro tip
Use A/B at matched loudness.
Saturation often tricks the ear by making things louder.
If you do not level-match, you won’t hear the real tonal change.
---
Step 6: Add Drum Buss for controlled grime
Add Drum Buss after Saturator.
Yes, Drum Buss is not just for drums.
In DnB mastering, it can add:
Starting settings
How to use it properly
Do not turn Drum Buss into a heavy effect.
Use it like a mastering tone box.
When it shines
Warning
If your kick and sub start pumping strangely, reduce Boom or bypass Drum Buss.
On full masters, less is usually more.
---
Step 7: Add a parallel grit return for selective attitude
This is where advanced control becomes powerful.
Instead of over-saturating the master directly, create a parallel return chain and blend it in.
Create a Return Track
Add a return track named:
Suggested return chain
1. EQ Eight
2. Saturator
3. Drum Buss
4. Auto Filter or another EQ Eight for band-limiting
Example settings
#### EQ Eight
This isolates the midrange attitude and keeps the sub clean.
#### Saturator
#### Drum Buss
#### Auto Filter / EQ
Blend amount
Send your master audio or mix bus into this return very subtly if your routing allows it, or use it during mix-stage stem mastering.
If you are mastering a stereo bounce, parallel processing must be handled through:
Best use
This return is perfect for:
---
Step 8: Final limiting for loudness
Add Limiter last.
Basic settings
DnB loudness approach
DnB masters are often loud, but if you kill the transient snap, the track loses drive.
Aim for:
Practical target
Depending on style:
Do not chase one number blindly.
A ragga cut master can feel huge even if it’s slightly less loud, as long as the midrange and transient shape are right.
---
Step 9: Use a reference and compare properly
Drag in 1–2 reference tracks from:
Compare:
In Ableton
Use:
What you’re checking
Your track should feel:
---
Step 10: Dial in arrangement-specific mastering decisions
This tutorial is mastering-focused, but DnB masters often benefit from arrangement-aware decisions.
Ragga/jungle arrangement considerations
If the tune has:
Then your mastering chain should preserve contrast.
#### Intro
#### Drop
#### Breakdown
Advanced approach
If the arrangement changes dramatically between sections, consider:
---
4. Common mistakes
1. Over-saturating the master
Too much Saturator or Drum Buss turns warmth into fuzz.
If the snare loses crack and the bass becomes cloudy, back off.
2. Ignoring low-end translation
Tape-style processing can smear the sub if you do not monitor carefully.
Always check the sub with:
3. Compressing too fast
Over-fast attack on the Glue Compressor can flatten DnB transients.
You want glue, not a dead mattress.
4. Making it bright to compensate
If the saturation darkens the mix, do not immediately boost highs aggressively.
Fix the saturation amount first.
5. Not level-matching A/B
This is a huge one.
A louder chain almost always sounds “better” until you match levels.
6. Crushing the limiter
If the limiter is doing all the work, the track will lose punch and stereo depth.
Use the earlier devices to shape tone, not just loudness.
---
5. Pro tips for darker/heavier DnB
Tip 1: Keep sub clean, distort the mids
For dark DnB, let the sub stay mostly clean and use saturation on the upper bass / low mids.
In practice:
Tip 2: Use parallel grit instead of main-chain abuse
The parallel return lets you add aggression without destroying the master.
Tip 3: Roll off unnecessary ultra-highs
A lot of heavyweight DnB masters sound darker because the top end is controlled, not because they’re muddy.
A tiny shelf cut or gentle low-pass above 16 kHz can make the track feel more “tape-like.”
Tip 4: Emphasize the snare body
If your track has ragga vocal chops and amen edits, the snare is the spine.
Try:
Tip 5: Mono-check the low end
Use Utility on the master for mono checks.
If the bass collapses badly, fix the mix before mastering harder.
Tip 6: Use clip-like softness before the limiter
A bit of Soft Clip in Glue Compressor or Saturator can catch peaks musically before the limiter has to work too hard.
---
6. Mini practice exercise
Goal
Create two masters of the same DnB track:
1. Clean club master
2. Warm ragga cut master
Exercise steps
1. Duplicate your mastering session
2. Keep the clean version minimal:
- Utility
- EQ Eight
- Glue Compressor
- Limiter
3. Build the ragga cut version:
- Utility
- EQ Eight
- Glue Compressor
- Saturator
- Drum Buss
- Limiter
4. Use a reference track for both
5. Match output loudness between versions
6. Compare:
- which version feels more “dubplate”
- which version keeps snare attack better
- which version translates better on small speakers
Listening question
Ask yourself:
If yes, you’re doing it right 🎯
---
7. Recap
To build a Ragga Ableton Live 12 ragga cut session for warm tape-style grit, your mastering chain should focus on controlled harmonic color, not brute-force distortion.
Core chain recap
Key mastering mindset
For DnB, the goal is:
If you balance these elements well, you get that ragga cut energy:
heavy, smoky, vintage-leaning, and built for the dancefloor 🔥
If you want, I can also turn this into:
1. a visual Ableton device chain preset layout, or
2. a step-by-step mastering template with exact parameter values for a dark jungle roller.

