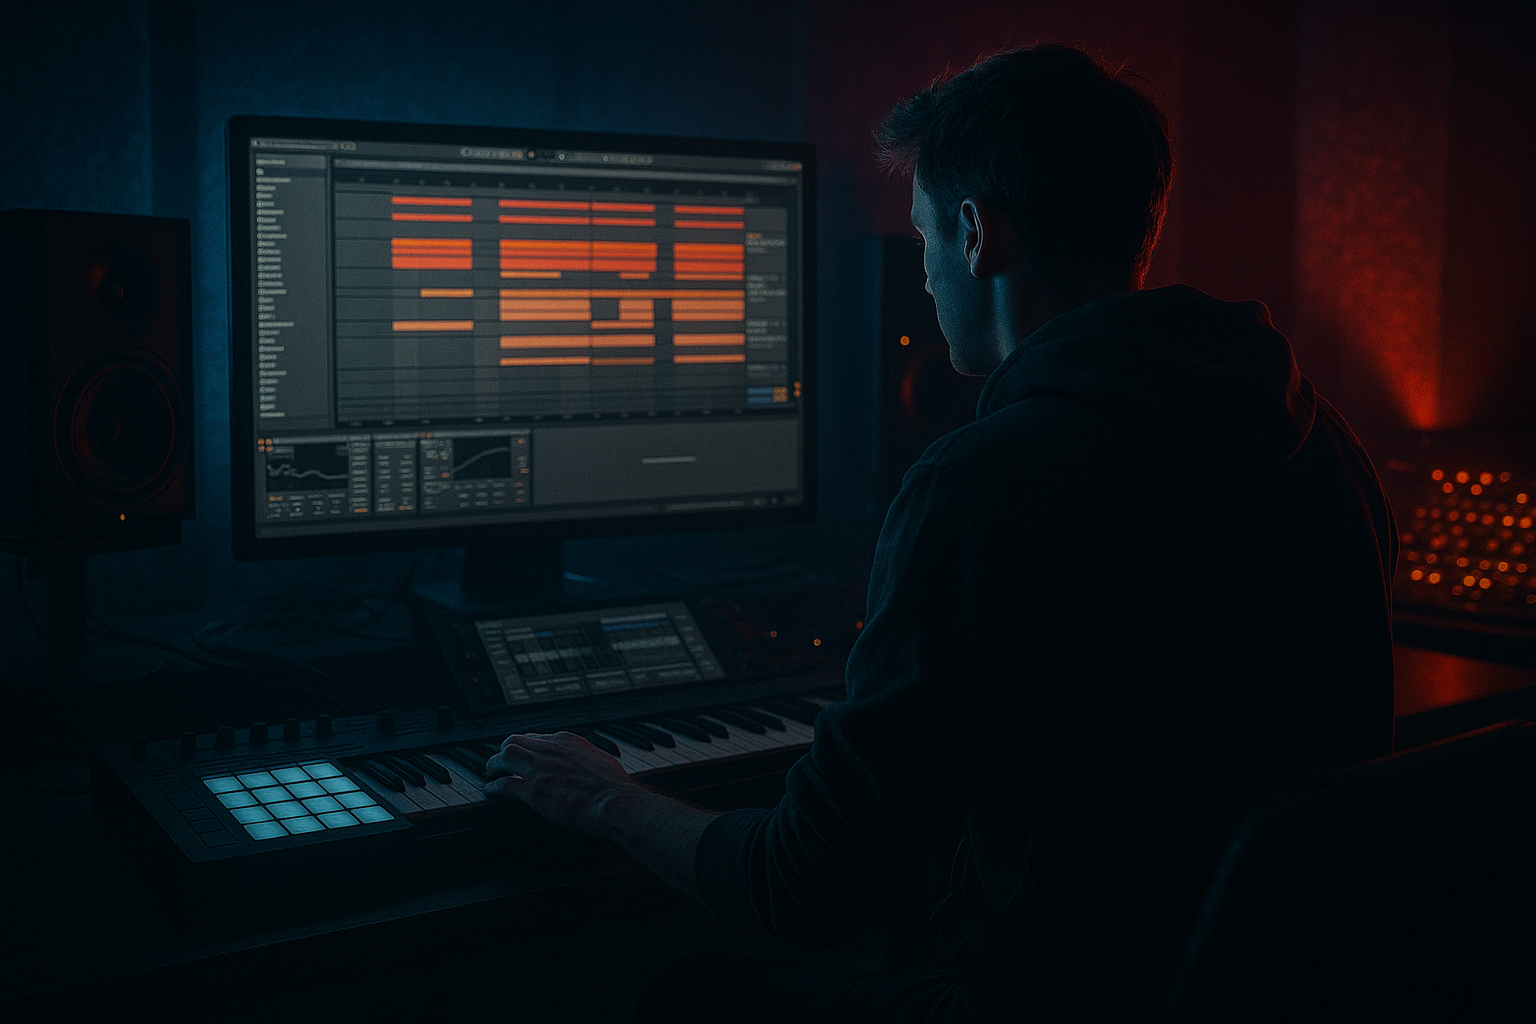
Main tutorial
Lesson Overview
An Amen-style drop lives and dies on tension. In Drum & Bass, especially jungle-, rollers-, and darker-neuro-influenced tracks, the riser is not just a “whoosh before the drop” — it’s the mechanism that tells the listener exactly how hard the floor is about to move. This lesson shows you how to build a push riser using only stock Ableton Live 12 devices, designed specifically to slam into an Amen-style drop with the right amount of pressure, anticipation, and rhythmic attitude.
The goal here is to create a riser that feels like it belongs in a real DnB arrangement: not too glossy, not too EDM, and not too predictable. You’ll learn how to combine noise, pitch motion, filtering, automation, distortion, and drum-energy cues so the riser carries the same DNA as the drop it leads into. In DnB, that matters because the listener is often reacting to micro-tension: a one-bar build, a filtered break loop, a pitch climb, a snare ratchet, a sudden stereo wideness, then a hard mono impact into the Amen. If the riser feels weak, the drop loses impact. If it feels too pretty, it can kill the underground character.
This technique sits in the transition zone before your drop — typically the last 1 to 4 bars before the first Amen hit or bass entry. It works especially well when you want the drop to feel “pushed forward” rather than “introduced gently.” That’s perfect for darker DnB where the energy should feel impatient, physical, and slightly dangerous.
What You Will Build
You’ll build a layered push riser using only Ableton Live 12 stock devices that:
- Starts narrow, gritty, and low-energy
- Gradually opens in pitch, filter brightness, and stereo movement
- Feels linked to drum-break tension rather than generic uplifter design
- Uses Amen-style rhythm cues so it naturally sets up a chopped break drop
- Resolves into a strong pre-drop hit or hard cutoff into the first bar
- One audio track for the Amen break chop that will lead into the drop
- One MIDI track for the riser layer
- One audio track or return track for impact/reverb support
- Osc 1: Basic Shapes or a brighter wavetable
- Set Unison low or off at first
- Filter: Low-pass 24 dB
- Envelope: short attack, medium decay, no sustain
- Add a slight pitch envelope via the amp or filter modulation if needed
- Use a sine or triangle starting point
- Add mild FM or harmonic complexity
- Keep the tone simple so the movement comes from automation and processing
- Attack: 0–10 ms
- Decay: 1.5–3 seconds
- Sustain: 0%
- Release: 200–500 ms
- Pitch
- Filter cutoff
- Noise or harmonic brightness
- Automate pitch up by 12 to 24 semitones across 2 to 4 bars
- Open the low-pass filter from around 200–500 Hz up to 8–14 kHz
- Increase wavetable position or brightness if available
- Add a touch of Drive on the filter if the tone feels too clean
- Automate oscillator pitch upward gradually
- Use a filter device after Operator and automate cutoff
- Add Resonance carefully, usually in the 10–25% zone for more edge
- First half of the riser: slow motion
- Second half: accelerated motion
- Final 1/4 bar: biggest increase in intensity
- Use Operator’s noise mode if available in your setup
- Or use a very short white-noise type sample in Simpler
- High-pass it so it doesn’t muddy the low end
- Apply Auto Filter with an envelope or automation for movement
- High-pass cutoff: 400–1,200 Hz
- Resonance: low to moderate
- Volume automation: start low, rise 6–10 dB over the build
- A muted, filtered Amen slice in Simpler
- A repeated transient sample shaped with Gate
- A short kick-snare ghost pattern processed heavily and tucked low in the mix
- Warp it cleanly
- High-pass aggressively
- Reduce the clip gain
- Automate the filter opening as the riser rises
- Slice the break to a Drum Rack
- Trigger a short repeated fragment, like a snare tail or hat tick
- Process through Auto Filter and utility devices
- Place 1/8-note pulses in the first half of the build
- Switch to 1/16-note pulses in the final bar
- Add a triplet burst just before the drop for jungle flavor
- Saturator
- Auto Filter
- Echo or Delay
- Reverb
- Utility
- Decay: 1.5–3.5 s
- Pre-delay: 10–30 ms
- High cut: 6–10 kHz
- Dry/Wet: automate from 10% up to 25–35% near the end
- Use short feedback times
- Low or band-pass the delay return so it doesn’t clutter the sub area
- Raise feedback only in the final bar
- Keep the first half of the riser fairly mono or narrow
- Slowly widen the stereo image as you approach the drop
- Then slam back to mono on the drop itself
- Ratio: 2:1 to 4:1
- Attack: 10–30 ms
- Release: Auto or 50–150 ms
- Aim for just a few dB of gain reduction
- Saturator Drive: 2–8 dB
- Soft Clip: on if needed
- Keep an eye on the top end so it doesn’t become harsh
- Cut the riser for 1/8 note to 1/4 note
- Let a reverb tail or delay tail continue
- Hit the drop after the silence
- Bar 1: filtered Amen hint + low-volume riser start
- Bar 2: add pitch motion and more noise
- Bar 3: open the filter, increase rhythmic density
- Bar 4: add the biggest automation, stop everything briefly, then drop
- A low-pass filtered sub pulse
- A snare roll or ghost snare pattern
- A vocal chop or texture hit if it fits the tune
- A reverse break stab leading into the first Amen chop
- Making the riser too bright too soon
- Using a generic EDM-style white-noise riser with no DnB identity
- Letting the riser fight the sub
- Over-widening the stereo image
- Overdoing reverb and smearing the drop
- Ignoring phrase length
- Use pitch tension rather than only noise. A semitone rise can feel more sinister than a huge bright sweep.
- Add mild distortion before the filter, not just after. That creates a nastier internal movement.
- Try a filtered reverse Amen fragment layered under the final 1/2 bar. Very effective for jungle and dark rollers.
- Use Echo with low feedback and high filtering for a haunted-space vibe without washing the mix.
- Automate Utility’s gain slightly upward into the build, then slam the drop down to preserve headroom and make the drop feel larger.
- If the riser feels too polite, place a Drum Buss lightly on the riser bus. Use only subtle Drive and Transients settings so it pushes without crushing.
- For neuro-leaning tension, modulate a filter with slow automation and add a small amount of frequency movement rather than a huge sweep.
- If the drop comes in with a heavy Amen chop, let the riser’s final motion mirror the break rhythm for a few hits. That creates a satisfying handoff.
- Use a single sustained MIDI note
- Automate cutoff, pitch, and volume
- Add one stock effect chain with Saturator, Auto Filter, and Reverb
- Render each version to audio
- Compare which one feels most believable before a hard Amen-style drop
By the end, you’ll have a riser that can be used in a jungle-inspired arrangement, a modern rollers tune, or a darker neuro-DnB switch-up. It will sound like a pressure ramp, not a fireworks show.
Musically, imagine this context: you have a 174 BPM track, 16-bar intro, 16-bar breakdown, then a 4-bar build into the drop. Your riser occupies bars 13–16 of the build section. It rises underneath a filtered Amen loop, a sub pulse, and a few tension FX. At the end of bar 16, the riser snaps into a half-bar fill and the first full Amen chop lands with the bassline. That’s the target.
Step-by-Step Walkthrough
1. Set up the transition lane and reference the drop
Start by choosing the exact moment your riser needs to hit. In DnB, the riser should be mapped to the structure, not just the waveform. Set your project around 172–176 BPM if you’re working in a standard DnB range.
Create three tracks for the transition:
Place your first drop downbeat on bar 1 of a new section and work backwards. For a 4-bar build, start the riser on bar 13, if the drop lands on bar 17. If the drop is more aggressive, use a 2-bar build instead and make the motion sharper.
Why this works in DnB: the drop feels stronger when the listener has time to subconsciously track the build length. DnB listeners are sensitive to phrase length, so the riser needs to “count in” the drop with confidence.
2. Build the core source with Wavetable or Operator
Create a new MIDI track and load Wavetable or Operator. For a darker, more synthetic riser, Wavetable is fast. For a leaner, more mechanical tone, Operator is excellent.
Option A: Wavetable setup
Option B: Operator setup
Suggested starting settings:
Draw a long MIDI note that spans the build section. If your riser is 4 bars, keep the note one sustained clip across the full rise.
For the note choice, use the root of the incoming drop or a tension note one semitone or whole tone above it. In darker DnB, a minor 2nd relationship can sound nasty in a good way if the arrangement can support it. If the drop is in F minor, try holding F, Gb, or C depending on whether you want stability or tension.
3. Shape the motion with automation, not just pitch
Now create the actual push. Don’t rely on a single pitch ramp alone — in DnB, that often sounds too obvious. Instead, automate at least three layers of movement:
If using Wavetable:
If using Operator:
A practical automation curve:
This curve matters because it mirrors the way breakbeat energy feels in DnB — not linear, but more like a quickening breath before impact.
4. Add a noise layer for air and urgency
Now duplicate the MIDI track or create a second layer on the same instrument chain. Use Ableton’s Operator or Wavetable to create a noise-based layer, or use Simpler with a noise texture if you already have a clean stock source.
A strong stock-device approach:
Suggested settings:
This layer should not dominate. It exists to add “air pressure” and make the listener feel the rise in the room. In a heavier DnB mix, this layer can be distorted lightly with Saturator or Overdrive to give it a gritty edge.
5. Put rhythmic tension into the riser with an Amen-derived pulse
This is the key DnB move. A pure synth riser can work, but an Amen-style drop wants rhythmic reference. To connect the riser to the incoming break, add a pulse or chop pattern underneath the rise.
Use one of these stock Ableton methods:
If you’re using a chopped Amen audio loop:
If using Simpler:
Useful rhythmic ideas:
This is where the riser becomes DnB-specific. Instead of generic uplifter motion, you’re borrowing the language of the breakbeat itself. That makes the transition feel like it grows out of the drum arrangement.
6. Make it breathe with Reverb, Delay, and controlled widening
Now give the riser space, but don’t let it wash out the drop. Use stock effects carefully.
Chain suggestion:
Reverb settings:
Delay or Echo:
Utility:
Important: if your riser is too wide too early, the drop won’t feel like it lands. DnB often benefits from a narrow build and a wider, heavier release.
7. Shape the final impact with compression, distortion, and a pre-drop stop
Once the riser is moving well, use dynamics to make it feel more urgent. Add Glue Compressor or Compressor to glue the layers together.
Suggested compressor behavior:
Then add Saturator or Overdrive for harmonic bite:
For the final bar, create a micro-stop or gap before the drop:
This stop is a classic tension trick in DnB. The brief absence makes the incoming Amen hit feel larger. It’s especially effective if the drop is busy and percussion-heavy.
8. Write the transition as an arrangement, not as an effect
Now put the riser in context. The best risers in DnB are arranged around the drop, not layered on top as random energy.
A strong 4-bar pre-drop formula:
Try pairing the riser with:
If your track is more rollers-oriented, keep the riser more understated and let the groove do the talking. If it’s jungle-inspired, let the riser feel more broken and breakbeat-connected. If it’s neuro-leaning, make the motion more clinical, with sharper automation and a harder stop.
Common Mistakes
Fix: keep the first half filtered and gradually open the top end only near the end.
Fix: add an Amen pulse, break texture, or rhythmic slicing so it feels like it belongs in the drum language.
Fix: high-pass the riser aggressively, and keep low frequencies out of the build.
Fix: stay narrow until the final moment, then widen subtly. Use Utility to check mono compatibility.
Fix: automate reverb up, then cut it hard or let it tail naturally without flooding the first drop bar.
Fix: align riser length with the arrangement. In DnB, 2-bar and 4-bar builds usually feel most natural.
Pro Tips for Darker / Heavier DnB
Mini Practice Exercise
Spend 10–20 minutes building three versions of the same 2-bar push riser:
1. Version A: pure synth riser using Wavetable or Operator
2. Version B: noise-based riser using high-passed white noise plus filter automation
3. Version C: DnB hybrid riser with a filtered Amen pulse underneath
For each version:
Then choose the winner and place it before an 8-bar drop section. Listen in mono and at low volume. If it still creates excitement at low volume, the riser is working.
Recap
A strong Amen-style riser in Ableton Live 12 is built from tension, rhythm, and arrangement awareness — not just a big sweep. Use stock devices to combine a pitched source, noise layer, filter automation, and a breakbeat-derived pulse. Keep the low end clean, narrow the image early, open it late, and give the drop a brief moment of silence or reduction right before impact.
Most importantly: make the riser sound like it belongs to the drum language of DnB. When the build feels like it comes from the break, the drop hits harder.

